Estimated reading time: 13 minutes
Beekeeping can be a vital aspect of your survival homesteading retreat plan. Keeping bees to pollinate your garden and apothecary crops is just one of the important reasons to add an apiary to your prepping routine. Not only will you be able to create your own delicious and healing honey, the honeybees will also provide wax for salve and candle-making.
Beekeeping as part of your survival plan will not only provide you with sweet-tasting honey, but also a natural healing agent as well as sustainable and substantial bartering material.
Want to save this post for later? Click Here to Pin It On Pinterest!
Beekeeping has been on the rise not only on rural homesteads but also in the suburbs and even in urban areas. Providing that you are not in violation of any local ordinances, it is entirely possible to keep a total of three beehives on just one-fourth of an acre.
In areas where residents are subjected to beekeeping restrictions, the four apiary guidelines below are the most commonly found:
1. Permits – Outside of rural areas, an annual permit fee may be levied on each beehive kept.
2. Inspections – An inspection by a governmental agency may be required either before or after (or both) paying a mandatory beekeeping permit. A fee may also be levied for the government inspection process.
3. Beehive Quantity – There may also be restrictions on the number of beehives that you can have on your property, regardless of the amount of space available.
4. Location – It is not entirely uncommon outside of rural areas to experience restrictions that prohibit bee hives from being located within 15 feet of a boundary line, shared driveway, or public sidewalk.
Choosing Your Bees
The top five most common and popular varieties of honeybees for residential keeping can be purchased as an “NUC” or an established colony complete with a queen and brood in development or purchased by the pound (drones and worker bees) and a queen purchased and introduced separately.
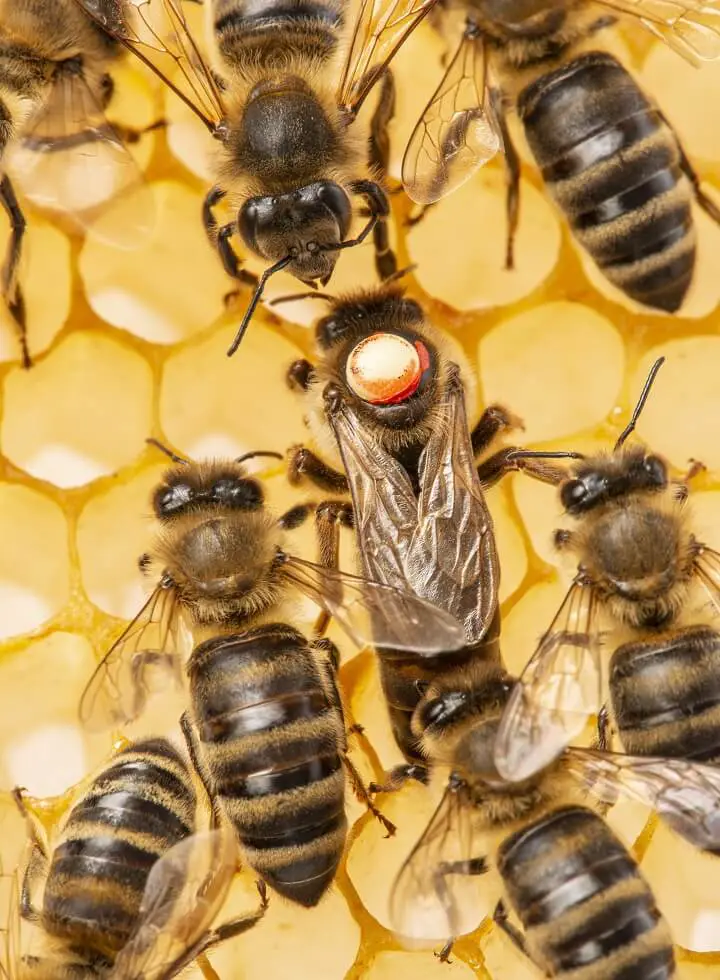
In my personal experience, purchasing a NUC is by far the best option for newbie keepers – and beekeepers in general. With an NUC, here is no chance that a queen will either be rejected or introduced improperly and harmed during the installation process.
• Italian – I chose this variety of bees for our survival homestead because they are not only incredibly hardy but are known to be amazingly docile, as well.
• Caucasian – These honeybees are avid foragers, even during cold weather months. While they do not typically produce as much honey as the Italian breed, their nectar is often heralded for its sweet taste.
• Carniolans – This breed of honeybee is also known to be docile in nature and good at foraging. They are smaller bees and do not generally produce as much honey as the first two types of pollinators on this list.
• Buckfast – This honey bee breed is a cross between European honeybees and Italian honeybees. They are not only incredibly docile but are amazing little pollinators that are known to be hardy against both varroa mites and common bee diseases.
Common Honey Bee Pests
- Varroa Mites
- Tracheal Mites
- Wax Moths
- Small Hive Beetles
Common Honey Bee Diseases
- Foulbrood
- Sacbrood
- Chalkbrood
Beekeeper Hives, Tools, And Equipment
Getting started in beekeeping typically requires the purchase of about $500 worth of tools and supplies – including the cost of enough honeybees to fill one hive. All of the tools and equipment purchased that first year should last for a minimum of one decade when properly cared for and used.

1. Hive – There are multiple different brands of beekeeping hives. These hives vary in size, setup, and frame style. But all beehives, including homemade ones, are made of wood. Beehives must be elevated off the ground to prevent the wood boxes from rotting and to protect the honeybees from the cold.
Typically, the beehives are placed upon a couple of cinder blocks or a bench that is made with cinder blocks and wood to elevate them two feet high. There are almost always two hive boxes used to make a beehive. In the bottom box, the queen lives, and the brood is housed.
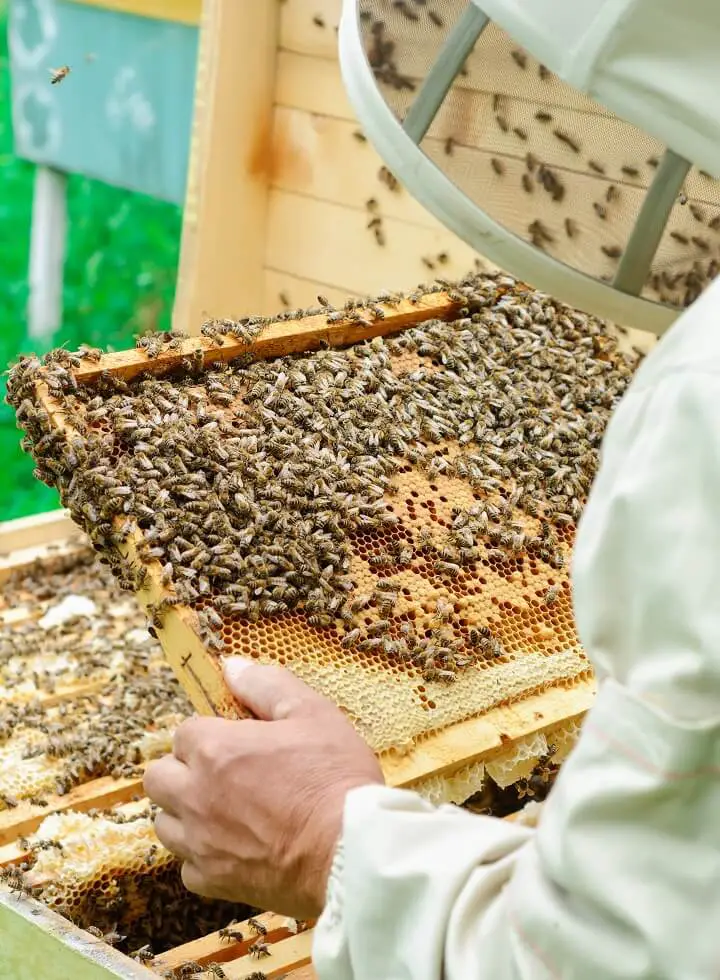
2. Hive Body – Almost every beehive is made of two parts, with one being placed directly on top of the other – this is the hive body. The top part of the hive body is where the colony actually lives and the lower portion is where the colony stores their food and baby bees.
In a properly placed hive, the lower portion is always warmer than the upper portion to help incubate the thousands of baby bees growing inside at any given time.
3. Beekeeper Suit – This protective suit will prevent you from being stung while installing and working with the bees. You can purchase either a jumpsuit style suit that includes a head veil or a three-piece set that is comprised of a topper with a veil, a jacket, and pants.
Both styles of the suit are tight-fitting at the wrists and ankles and loose elsewhere to keep the bees from getting close to your clothing and body.
Want to start a homestead but not sure how?
Click Here to get a FREE book, "How To Homestead No Matter Where You Live."
4. Hive Frames – The style or brand of beehive purchased will determine what type of frames you need to make or purchase. The most commonly used beehive brands include Warre, Langstroth, and British National.
5. Bottom Board or Screen – This portion of the beehive supports the frames and helps to regulate heat and airflow inside the hive.
6. Beehive Tool – The pry bar style tool is used to open the boxes so the frames can be removed.
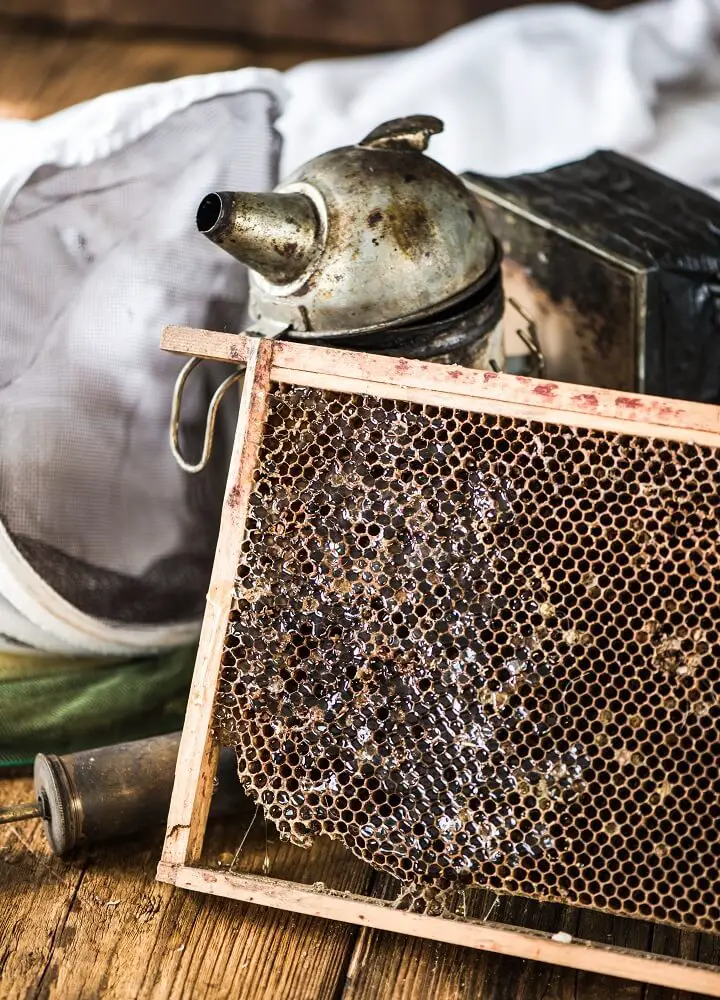
7. Smoker – Puffing smoke before working with the beehive and during the process will help keep the bees calm and deter swarming.
8. Uncapping Knife – This beekeeping tool removes the beeswax from the cells that were built upon the frame.
9. Super – The super is attached to the hive to collect honey and comes in two different types, shallow and medium. The type of hive used will dictate the need and size of a super.
10. Tray Covers – There are both inner and outer tray covers that help separate the top and bottom hive boxes. The inner tray cover has a ventilation hole to help regulate the temperature inside the hive. The outer tray cover serves as a roof that prevents moisture, water, and debris from getting inside.
11. Entrance Reducer – An entrance reducer decreases the size of the hive box opening to help regulate temperature during cold weather months. An entrance reducer is also sometimes referred to as a “cleat.”
The initial investment for all of the startup beekeeping needs is roughly $500 – depending upon whether you build the hive body boxes yourself and how many hives you set up.
Hive Installation Methods For Non-NUC Honeybees
Indirect Method
When honeybees are installed using the indirect method, the results can often be more successful, especially for newbie keepers. The queen is introduced to the rest of the bees in the hive by placing her in a container by herself and inching her into either a frame or the entrance. The drones and worker bees can see and smell the queen, but cannot actually touch (or harm) her.

The indirect method allows the bees to get acquainted and not swarm away in search of a new queen while increasing the chances that she will be accepted by the rest of the hive members. Because queen bees can cost between $45 to $200 each, no beekeeper wants to chance losing one or the rest of their bees due to a failed introduction.
Direct Method
The direct method is far simpler and quicker than the indirect method. Instead of introducing the queen in a container and allowing the get-acquainted period to last several days, the queen bee is merely released into the hive with a “let nature take its course” mindset.
The drones and worker bees could immediately embrace their queen … or kill her at first sight.
Honeybee Installation Tips
• Choose a warm but not hot day to set up the beehive – or at least install the bees during the early morning hours on a summer day.
• Make some honey bee sugar-water syrup to feed the hive members to ensure they get food right away as they grow accustomed to their new home. They will not venture out in search of food until they have settled down, which could take several days.
• Keep the area around the hive as quiet and calm as possible. Livestock, pets, and children may be curious about the new honeybees but should give the little pollinators several days to learn their new home is a safe space before coming to check them out.
• Bees typically prefer to remain within 10 feet of their hive at all times. Make sure there is a natural water source or purchase or make a honey bee waterer and keep it filled with cool water at all times. Bees can drown in only one inch of water. The pan used should be shallow and include smooth rocks for the bees to stand on when getting a drink if going the homemade route.
• If you are setting up more than one beehive, place them at least 10 feet apart to avoid the bees getting confused and going into the wrong hive – and being attacked by the drones that live there. Placing hives in too close of proximity can also spark too much competition for food.
How To Install Non-NUC Honey Bees Into A Hive
1. Light up the smoker about 15 minutes before it will be needed so the pellets have time to really start working.
2. Get into the beekeeper suit.
3. Smoke around the hive and containers that the bees arrived in.
4. Bump the container gently on the ground to remove any bees attached to the interior of the lid.
5. Cut an opening into the packaging if necessary with a sharp knife. Open remove the tape from the container opening.
6. Hit the bees with a few more puffs of smoke.
7. Gently dump the drone and worker bees onto the frames in the hive. Use your beekeeper gloved hands (sometimes gloves come with a suit but other times they need to be purchased separately) to dislodge any bees still on the sides of the container.
8. Place the queen into the container in her separate container.
9. Hit the hive with yet more puffs of smoke to help keep them calm.
10. Close the lid on the hive to keep the bees inside.
Want to start a homestead but not sure how?
Click Here to get a FREE book, "How To Homestead No Matter Where You Live."
11. Peek at the queen to see if she appears to be moving around, making sounds, and being active. If the queen dies or becomes lethargic while in the container, the remaining bees will desert the hive.
A queen container usually comes with a little feeder and directions for watering, but sometimes these tools will need to be purchased separately in advance. Typically, it is best to hand the queen container from the frames with a provided clip or a paperclip. Hang the queen as deep in the hive as possible.
12. After three days, use a clear plastic cup to carefully scoop up a few bees – smoke the hive first.
13. Place the cup next to where the queen is hanging to see if they will cluster as close to her as possible. If they do, the bees will release a joyous pheromone that will be picked up by the rest of the drones and workers in the hive. This is sort of like rolling out the red carpet for her highness.
14. Finally, release the queen from her solo chamber, cross your fingers, and hope she is truly accepted by the emerging colony of bees.
How To Install A Honeybee NUC
This is the simplest way to set up a beehive on your property. A NUC of bees is an already fully functional colony with an established queen.
Typically, a NUC will already have a brood chamber and will be producing honey. There is no need to spend time trying to introduce a queen and hoping she is accepted – she is already inside and running the joint.
1. Put on the beekeeper suit, gloves, and get the smoker ready to go.
2. Throw some smoke on the NUC box and then open it and remove the frames in the hive from left to right and place them in the exact same order in the permanent hive box.

3. Some bees will still be attached to the NUC transport box or the sack that you can wrap around it to catch any that flee the box during transport. Hit them with some smoke and gently knock as many in as you can. Leave the box and sack open next to the hive so any stragglers can find their own way into the hive after the installation is complete.
4. Put the outer tray onto the top of the hive.
5. Put our sugar water syrup and water for your bees and leave them alone to get used to their new digs. As tempting as it will be to open the lid and check on the bees, refrain from doing so for the first week, review them from a few feet away for the first six days only.
After the first 24 hours (at most) there should be a handful of drones patrolling the entrance, this is a very good sign that the colony has resumed their work. Expect a few bees to die during the installation process. Their little dead bodies will be carried out and placed near or on the entrance by other members of the hive.
Beehive Placement
You can place your beehive right in your garden, apothecary patch, or fruit grove to provide an easy food source and enhanced pollination for your growing fruits, vegetables, and herbs. The closer the bees are to a food source, the better.
“Making a beeline” is a commonly used phrase that you should adhere to when choosing the hive location. Bees prefer to fly straight to a food source without any obstacles between their hive entrance and the nutrients they required.
The honeybee hive needs to have some shade during the summer months and more direct sun during the winter months. If the hive needs to be relocated seasonally, do it during the day when the bulk of the bees are out pollinating and do so in five-inch increments to avoid confusion when the bees find their way home just before dark.
If a natural food source is not readily available during the time of year that the bees are installed, plant any of the following crops in containers near the hive: calendula, lemon balm, echinacea, thyme, mint, or sunflowers.
What read next: Pollinator Gardens: What They Are and Why You Need One
Like this post? Don't Forget to Pin It On Pinterest!


Leave a Reply