Estimated reading time: 14 minutes
As summer grows near, it’s time to start considering a vegetable garden. There are plenty of vegetable plants that thrive throughout summer, and there are a few that may need some extra care through the hottest days.
As we talk about a wide array of plants, there are a few basic principles to remember for all varieties:
- Water the soil, not the foliage, to help prevent disease and fungus infections like powdery mildew.
- Harvest in the morning or evening. A harvest in the hottest part of the day causes stress to a plant.
- Harvest plants when they’re dry. When plants are wet, it’s easier to transfer fungus and disease. The process of cutting or removing vegetables creates extra vulnerabilities for disease transfer.
- Give space between plants to help prevent fungus spread, and consider using natural fungicides and disease prevention early on like copper fungicide and neem oil.
- Use compost prior to planting to help create nutrient-rich soil.
Want to save this post for later? Click Here to Pin It On Pinterest!
Vegetables to Plant and Summer Needs
1. Tomatoes
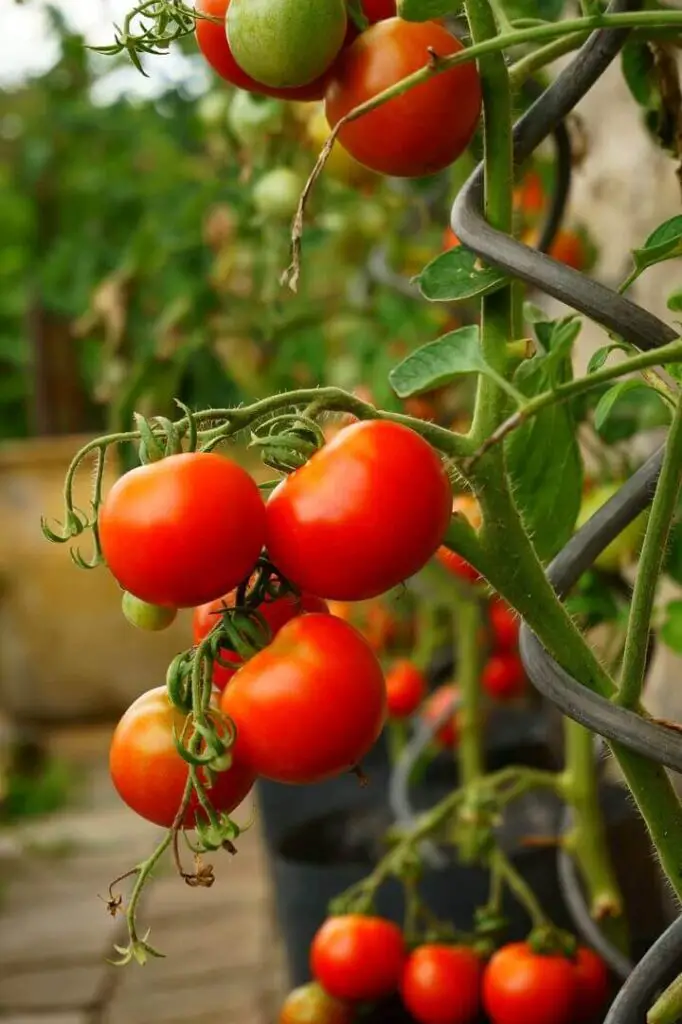
For even the most nervous gardeners, tomatoes are one of the most chosen vegetables to try out for a veggie garden, and with good reason. With a little bit of care a tomato plant will yield throughout the summer. As one of the most frost-sensitive plants, tomatoes are your best friend for summer.
Unfortunately, tomatoes can develop some diseases, but the best way to prevent them is to be intentional early. Start out by choosing great varieties of tomatoes, whether you go seed or nursey plant. Cherry tomatoes are fun for kids to pick and easy to use as they go great in salads and pasta dishes.
Heirloom tomatoes are vibrant in color and flavor but sometimes can have inconsistent yields. If you’re looking for quantity of crop, consider a hybrid. No matter what tomatoes you purchase, take a minute to investigate the variety to have specific growing tips and insights.
If you choose to grow your tomatoes from seed, hopefully you started in spring to have a jump start to get to the fruit season. When planting tomato seeds, if you choose to do indoor pots or outdoor rows, make sure you weed out any plants that are over-crowded.
You can also purchase a starter plant from a local greenhouse. To ensure success, each tomato plant needs to have sufficient room to root and absorb nutrients from the soil. Add a tomato cage around young plants to help support branches as they grow and get heavy.
Tomatoes love the summer heat; in fact, they won’t thrive until the soil and air are both hot, so if you are transplanting consider heating the soil if temperatures haven’t been warm enough to warm the soil themselves. Plant in full sun to optimize the warmth. You can add a black or red plastic cover over the soil for a few weeks to heat the soil.
If you remove the plastic, once the soil is consistently hot, add mulch to trap the heat into the soil. If you add mulch when temps are still dipping to chilly in the evening, you trap the cold instead, so add the mulch when you feel it’s warm enough.
Mulch also helps prevent disease. Tomatoes are prone to some soil-born disease and when they’re watered the disease can splash from the soil. Mulch acts as a barrier to prevent the spread.
When you plant baby tomato plants, bury them higher than the roots, as high as up to the first leaves. This helps the plant create a stronger root system, which will boost the health of your plant. Consider some companion planting, like borage which promotes healthy tomatoes and repels the hornworm. Onions are also a good companion plant.
As your tomato grows and spreads, prune extra long branches, especially where there are no flowers. This helps redirect energy and growth to the fruit. Also, trim lowest branches to the soil, they tend to be the first to get sick from lack of sunlight and soil-borne diseases.
Removing these parts of the plant stays ahead of disease spread. You can also apply neem oil for a natural preventative as this acts as a pesticide for harmful insects and has fungicide and antimicrobial properties. While pruning, take notice of small suckers of growth in between established branches. These will typically not grow much or bare fruit making them energy suckers.
Water tomatoes deeply, regularly, in the early growing part of the summer. They need at least one inch of water per week. If they have a dry week with an influx of water the following week this can result in blossom end rot, so it’s ideal to be consistent and not dependent on rainfall. If you are in a particular hot week, add an extra watering session and keep an eye on plants that look wilted.
Once tomatoes start to form, slightly pull back on your watering to help sugars concentrate in the tomato. This can also help the plant ripen the tomatoes. When waiting for them to ripen on the vine, pinch off the ends of the tomato branches to stop the plant energy from extending further.
When you feel you’re nearing fall frost and you still have a few you hope to ripen on the vine, cut off any remaining flowers to help all leftover plant energy go into ripening.
2. Cucumbers
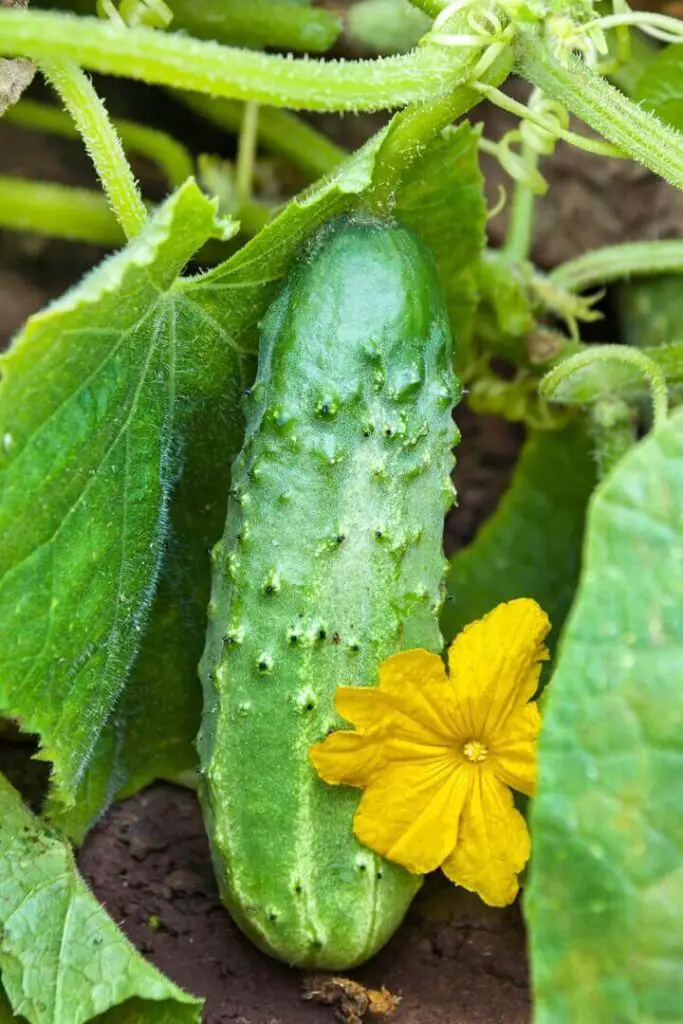
Crisp, fresh cucumbers are a delicious addition to any summer meal. Most gardeners lean towards the vining variety, but there is also a bush variety that is ideal for containers or a smaller space.
Vining cucumbers do best growing up a trellis or cage. The cucumbers stay shaded by their leaves as they grow and have better balance of color and health with no part in contact with the soil.
Cucumbers will not handle any frost. Do not plant cucumbers outside until it has been a couple weeks post the last frost of the season. They like warm soil to germinate, so if you plant indoors consider setting the soil in a warm area. If you’re planting outside directly shoot for soil temperatures that are consistently hitting 70 degrees.
Cucumbers prefer full sun and nutrient-dense soil. Add compost, brut worm casing, or manure prior to planting. If you choose to test your soil, it should be neutral to slightly acidic with a pH of around 6.5-7.
If you are planting cucumbers from seed, as soon as you have plants sprouting, develop a regular watering schedule. Cucumbers need a lot of water, especially in the early stages of growing. Aiming for at least an inch a week is a good idea, but as temperatures climb make sure to increase your watering.
Like tomatoes, carefully water the base of the plant trying to not splash the leaves and vines to prevent disease spread. Mulching the soil helps with the splashing but also helps the soil stay moist. In addition to the nutrition added to the soil, consider a liquid fertilizer every few weeks to help keep your plant healthy and strong.
Great companion plants include corn, pes, carrots, beets, radishes and dill! If you’re going to make pickles, dill works as a great companion plant for flavor but also because it attracts beneficial predatory insects to the garden.
3. Zucchini and Yellow Summer Squash
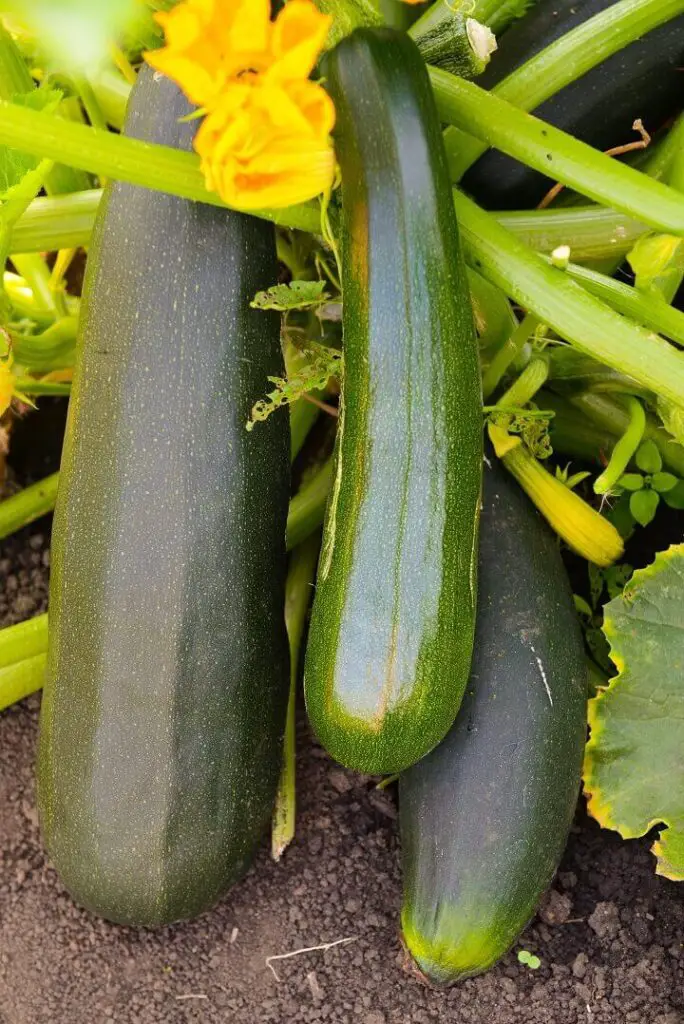
Zucchini is a vegetable with many uses, tasty cooked in soups, roasted vegetables, pasta dishes, and more. It’s also great spiraled as a noodle substitute or shaved to make a fresh salad. You can even use the squash blossoms in the kitchen.
Zucchini is easy to grow in the vegetable garden and have a high yield of production, but there are a few important things to know to keep a healthy zucchini plant. When deciding where to plant, make sure you have a sunny spot. Zucchini’s love sun and nutritious soil.
Use a fertilizer to help keep your soil nutrient rich, and your soil pH should be around 6-7. Great companion plants are corn, peas, and beans which can help fix nitrogen issues and fertility in the soil.
A mature plant will take up quite a bit of space by rounding out about 3-4 feet wide. To help prevent diseases like powdery mildew, make sure you have adequate room between plants. Powdery mildew spreads by contact and wind in crowded gardens, so having some airflow and space helps prevent this fungal infection. Spacing also helps ensure the plant is getting plenty of sun, and water.
Zucchini plants like 1-2 inches of water per week, with a higher need in the hottest months. Water carefully hitting the soil instead of the plant.
Not only are squash plants susceptible to diseases like powdery mildew, but also squash bugs and blossom end rot. Squash bugs seem harmless, but they can cause several problems for your plants. One variety feed on the sap of the plant, while the other bores inside the plant, with both causing damages.
There are natural remedies like neem oil that will help prevent an infestation, but the best defense is checking your plants. Squash bug eggs are clumped together as small reddish-brown bumps on the underside of the leaves. Remove the eggs before they hatch, as well as any live bugs that you see.
You can try adding foil to the base of your plant to stop vine borers or plant in later summer to avoid bugs that might burrow into the stem. Introducing bugs like ladybugs can help with an active infestation because they eat young aphids.
Blossom end rot is often due to a calcium deficiency or inconsistent water schedule. Test your soil’s level to determine with certainty. If you’ve planted in the same bed frequently, you may have a nutrient imbalance and need added calcium. You can purchase a calcium supplement for the garden or try a natural option like lime. Lime can raise the pH of your soil though, so it’s worth taking measurements.
Once your zucchini plant starts producing, remove the vegetables as they are the size you prefer. Removing the zucchini does stimulate more production. If there is a large one forgotten, still remove it to continue energy building towards new growth.
4. Peppers
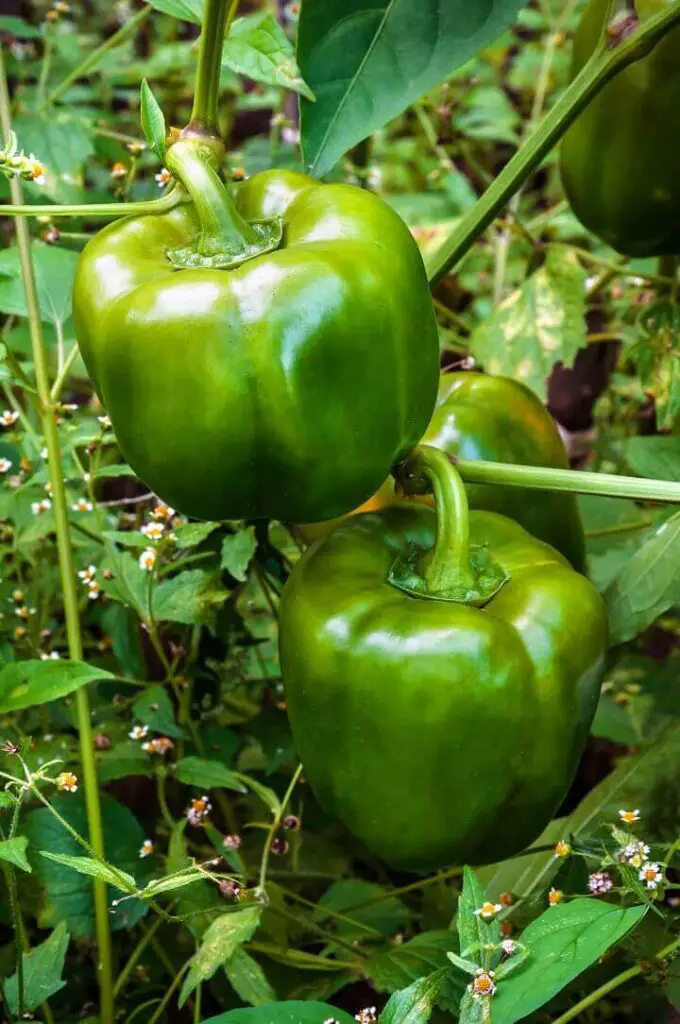
Both bell peppers and hot peppers are great in a summer garden. Bell peppers are sweet and lack the spicy ingredient capsaicin, whereas there is a huge variety of hot pepper plants that all possess capsaicin at a varying level. All pepper plants tend to grow similarly and can cross pollinate.
Peppers will have best success not being directly sown into a garden unless you live somewhere warm year-round. Otherwise, start seeds indoors or purchase a plant from a greenhouse and transplant a healthy sized plant.
Pepper plants do best in warm soil, so if you’re started seeds, keep them somewhere warm. Peppers can take 60-90 days to be ready to harvest, so getting an early start will help you enjoy the fruit of your labor. When you plant, add compost or other organic matter to the soil.
Pepper plants do best in sandy soil, because it heats up well and drains quickly. They need full sun (or 6+ hours), with a soil pH of 6-6.8. They thrive in warm weather, but in the hottest climates may need some sun protection and extra watering.
Mulching the soil can help trap heat in the soil and helps in moisture retaining. Pepper roots like an inch of water a week, more when it’s especially hot. Like other plants, try to water the roots and soil opposed to the foliage.
As you begin to fertilize use a low nitrogen fertilizer. Too much nitrogen in your soil will result in very leafy plants, but not necessarily a lot of harvest. Onions and carrots are companion plants that offer benefits like repelling pests and managing root health by crowding out weeds in the soil.
When it’s time to harvest, cut the stem of each pepper opposed to pulling because it can damage the integrity of the plant. As your pepper plant gets heavy with peppers, consider staking or adding a cage to help support the plant and keep peppers off the ground.
5. Green Beans
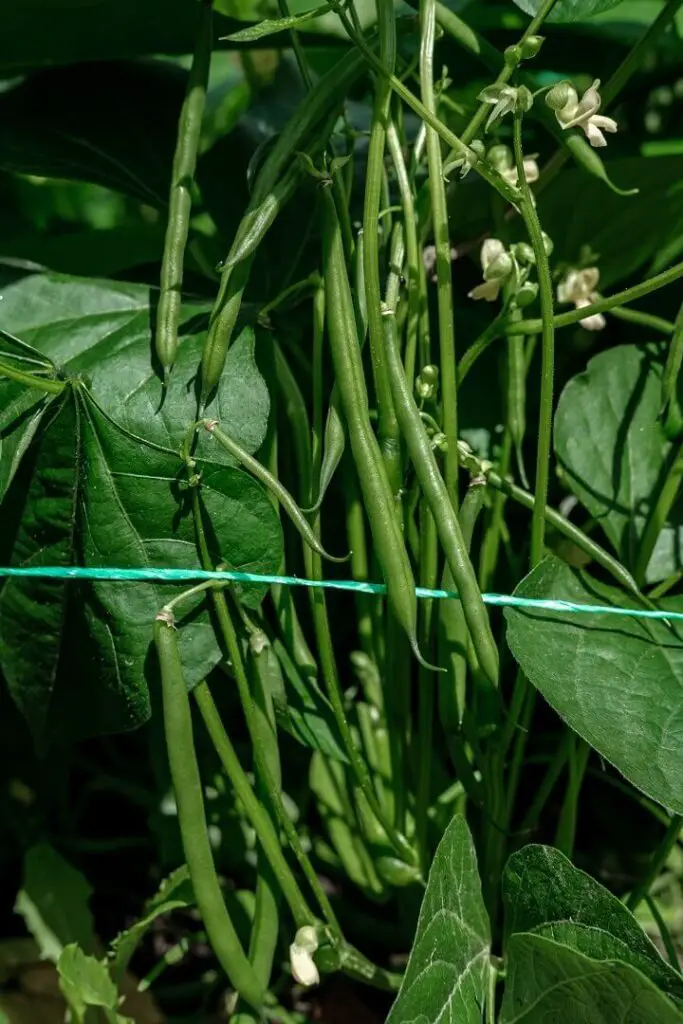
Green bean plants are easy to grow, generally do well in summer heat, and have a big harvest. You can direct sow seeds into the garden after the last frost. Beans can also be planted again mid-summer for a fall harvest before the first frost.
Well-draining soil is ideal, and they can be shallowly sown. Ideal soil pH is between 6.5-7.5. Green bean plants are considered soil fixers when it comes to nitrogen. They can pull nitrogen from the air and return it to the soil. This makes it a great companion plant to corn, tomatoes, eggplant, cucumbers, and carrots. Don’t plant it with onion, garlic, beets, or basil, which are companion plants with others in the garden.
When you water your green bean plants, aim for ½- 1 inch of water per week but if it’s extra hot you will need to increase your watering. Add a balanced fertilizer once a month.
If you’re growing pole vines, or other climbers, introduce your trellis early on to help the plant grow. If you’d like to have a longer bounty of beans, consider spacing out when you plant green bean plants. Typically, each plant produces for 3-4 weeks, so timing when you plant can help you elongate your harvest time.
Bean plants will produce several at a time, and they grow quickly. I try to keep an eye on new growth because I prefer to pick green beans when they’re about 3 inches long though this will vary among variety. Younger green beans are more tender, so this will come down to preference. As you pick, the plant is stimulated to produce more.
Green beans can pick up a few fungal infections, diseases, and bug pests. Pay attention to your plants and follow the basic rules of watering carefully to not wet the plants, applying natural fungicides and pesticides, and if a plant gets sick, removing it.
6. Carrots, Radishes, and Beets
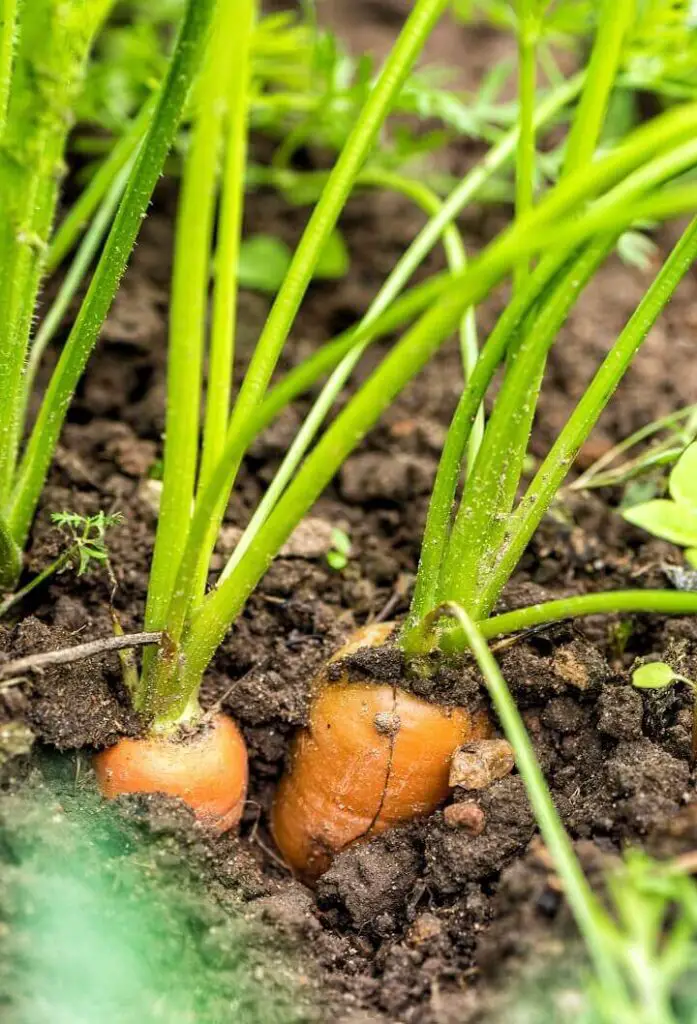
These root vegetables are simple to grow from seed and have a quick turnaround time with radish maturing in about 30 days, carrots and beets growing to maturity in just 60 days. With plenty of culinary uses for each, these nutrient dense roots take up minimal space and should be added to the garden.
They are tricky to plant in the middle of summer because they thrive in the cooler temperatures of spring and fall. If possible, plant in the earliest or later stages of summer to try to have plants that mature in cooler temperatures. If your plants are maturing in the hottest part of summer, they may be fibrous and bitter.
Plant seeds in rows and thin as the greens develop. You can thin simply by trimming the greens for a plant you wish to eliminate. Do not pull greens as this can disrupt several plants. These root vegetables can be especially affected by weeds in the early stages of growth. Weed regularly for best success.
Your soil pH should be around 6-.6.5. Root veggies prefer loose soil that has been fertilized or had compost added. All root vegetables require even watering. When seeds are first planted, be careful to not directly hit lines with water to not dislodge the seeds. Do your best to provide an even watering of the root vegetables to a 6-inch depth. Without adequate watering the roots can be cracked and have strong flavor.
When you harvest your plants, try to use the greens as well as the more commonly used root. The greens to these three plants are incredibly nutritious and edible.
A summer vegetable garden is a fun family activity. The saying that you reap what you sow came about for a reason. Putting in the simple effort of planting your garden comes with great benefit of having cucumbers all summer, fresh tomato dishes like bruschetta just a few steps away with tomatoes and basil in the garden, and endless veggies to throw into a salad.
If you have kids, have them join you in the planting and harvesting because it’s a lesson they will enjoy and pass on the love of homesteading.
Like this post? Don't Forget to Pin It On Pinterest!

