Estimated reading time: 8 minutes
Great gardeners make growing look as easy as dropping seeds into the ground and adding water, but there’s usually a little backstory to a successful garden, part of which involves testing the soil quality.
Even if you don’t have a fancy soil testing kit, you can still conduct some simple tests to determine your soil’s composition and PH. Sure, you can wing it, but if you want to maximize yields and minimize crop failure, getting to know your soil intimately is important.
Want to save this post for later? Click Here to Pin It On Pinterest!
Why Soil Composition Matters
Contrary to popular belief, soil is far more than “just dirt.” Soil is a complex matrix composed of soil particles, organic matter, air, water, and living organisms. But the three primary parts are sand, silt, and clay.
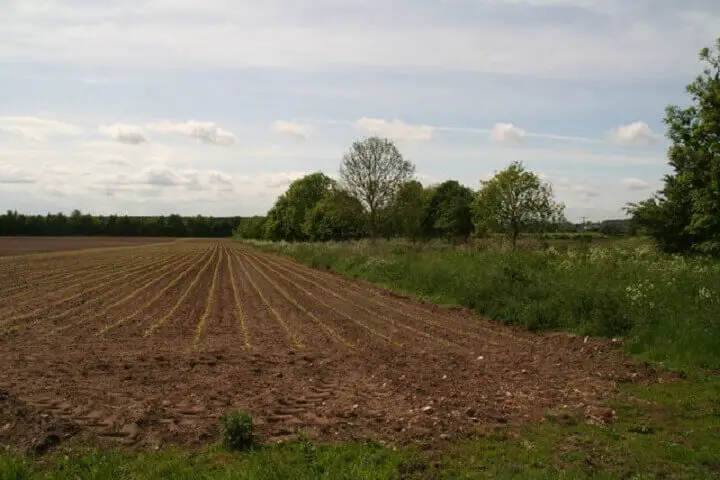
Ideally, you want a healthy balance of the three, but knowing what you’re working with in the first place will help guide your planting plans, fertilization schedules, and amendment strategies. Yes, some geographical areas are blessed with rich, fertile soil. But for the most part, great soil is cultivated over time by thoughtful, savvy growers like you and me.
In a nutshell, soil composition is important because each part of the soil performs a different, but equally vital job. Too much of one and not enough of another can make it difficult for you to grow anything.
The most desirable soil contains 40 percent sand, 40 percent silt, and 20 percent clay. Sand provides good drainage, while silt is full of minerals and air pockets, and clay retains water and nutrients.
All of these positive qualities can be negative if there is too much of any element:
- Sandy soils dry out quickly, are prone to erosion, and don’t retain nutrients well.
- Silty soils are prone to compaction and erosion.
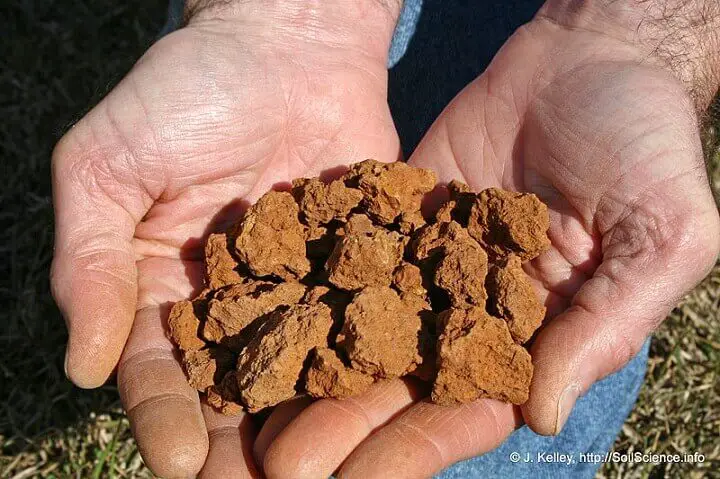
- Clay-heavy soils can get waterlogged or can dry out and become rock hard.
If your soil is badly skewed in one direction, there are plenty of things you can do to help get it into balance—which is why we test.
How to Test Soil Composition
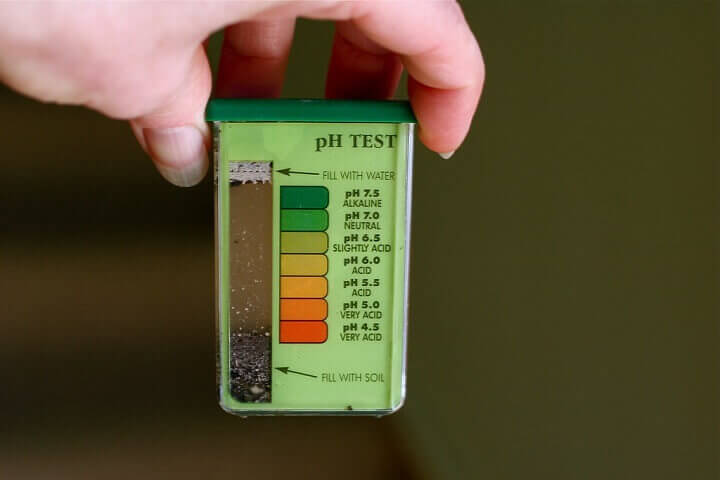
There are plenty of fancy soil testing kits on the market that measure micronutrient and PH levels. But you don’t need any fancy equipment to determine your soil composition. All you need are a few simple household items.
Materials Needed:
- Glass jar with straight walls
- Permanent marker
- Ruler
- Stopwatch (or smartphone with a stopwatch feature)
- Powdered dishwashing detergent
- Metal sieve or old colander
- Baking sheet or pan
Instructions:
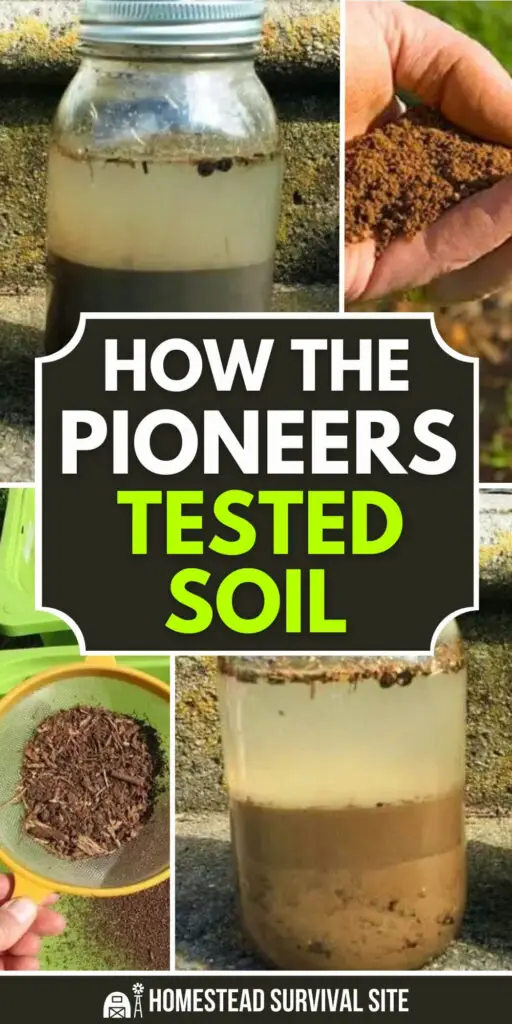
Your soil sample should be an accurate representation of your growing area, so if you have a large garden, you may want to sample from a few different beds. You’ll put these samples together to get an average.
Step 1
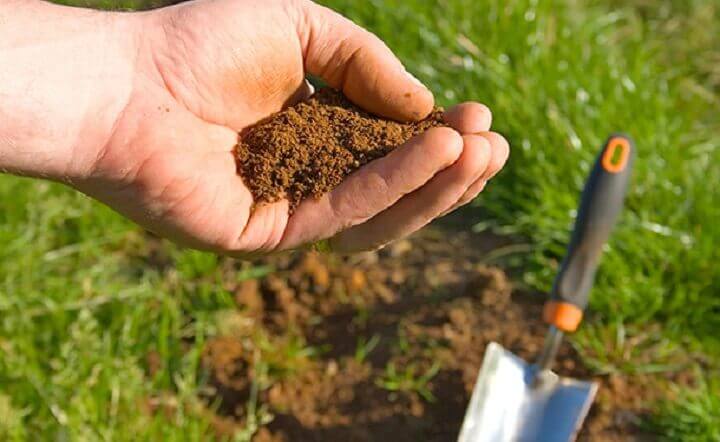
Using a shovel, scrape away any plants and roots from your sample areas and take a scoop around 6 inches deep. You’ll need the sample to be uniform and free of rocks or organic material, so spread your soil out on a baking sheet and let it dry out for a day or so.
Step 2
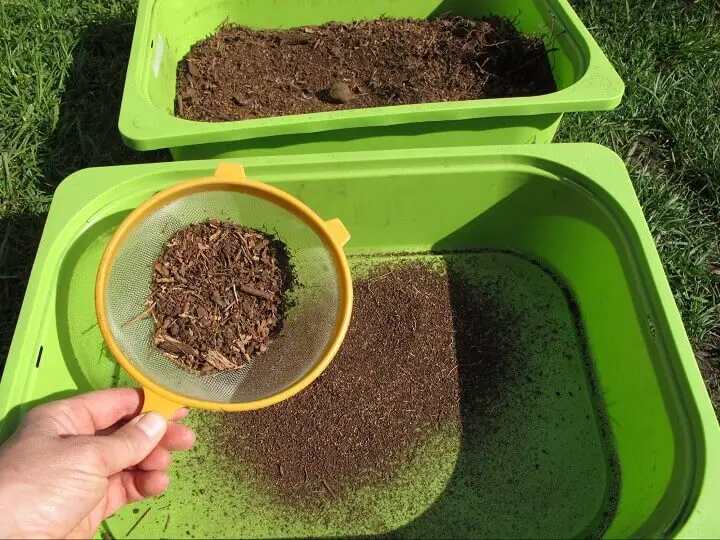
Once it is dry enough to crumble, run the soil through a sieve and make sure it is a nice, uniform mix.
Step 3
Spoon enough soil into the jar to fill it one-third of the way full.
Step 4
Fill it almost to the top with water, and then add a tablespoon of dishwashing detergent. This acts as a surfactant and helps to keep the particles separated from one another.
Step 5
Give the jar a good shake, and keep it going for at least 3 minutes. You want to completely integrate the water, soil, and soap.
Step 6
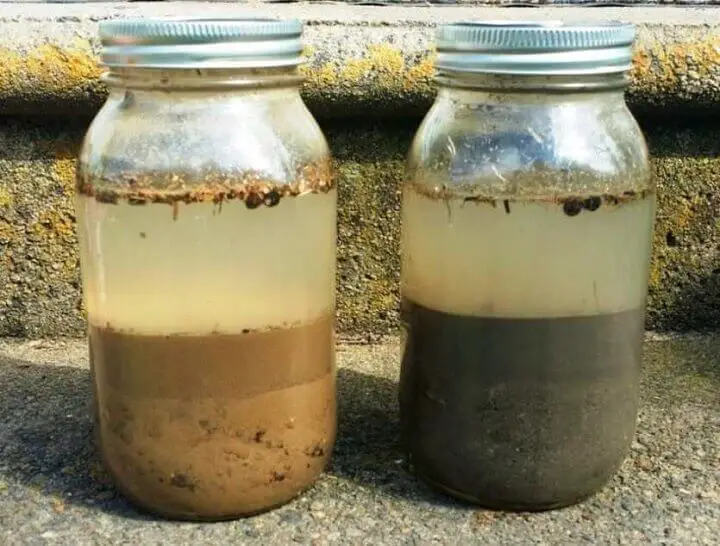
Place the jar on a level surface and set the timer for one minute. After the minute is up, mark the jar where the sand has settled.
Step 7
Set a timer for two hours. At that point the silt layer should have settled. Mark a line to indicate the top of the silt layer.
Step 8
Because the clay particles are very fine, it will take up to 48 hours for them to fully settle. Go live your life for a couple of days, and return to the jar to mark the level of the clay layer.
Step 9
Get out your ruler and measure each layer carefully. Then use the worksheet and chart below to determine your soil type.
Worksheet:
Height of sand layer ________inches / cm
Height of silt layer ________inches / cm
Height of clay layer ________inches / cm
TOTAL HEIGHT OF LAYERS ________inches / cm
% SAND=(sand height)/(total height) x 100 =___________ % SAND
% SILT=(silt height)/(total height) x 100 =____________ % SILT
% CLAY=(clay height)/(total height) x 100 =____________ % SILT
Use this triangle to determine your soil type:
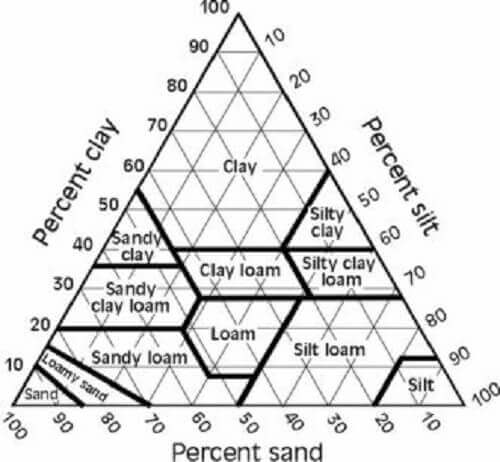
The most desirable type of soil is loam, so if your sample lands in the loamy sweet spot, cool! If not, there are specific amendments you can use to condition your soil for optimal growing.
Silty soil can be amended by adding organic matter: add an inch of compost each year and several inches of mulch to the top of your beds after planting season, and take care not to walk on your bed surfaces to avoid compaction.
Sandy soil needs a lot of compost, mulch, irrigation, and cover cropping to help it hold water and nutrients more effectively.
Clay soil is the opposite of sand: annual amendments like compost, composted leaves, gypsum, and pine bark will help to increase drainage over time. All soils benefit from a layer of mulch added annually after planting.
Bonus Tip: Observe the Life in Your Soil
Pioneers may not have had microscopes, but they knew healthy soil by its feel, smell, and signs of life. Good soil is alive. It's teeming with worms, insects, fungi, and microbes. Here are a few clues:
- Worms are a great sign of healthy, oxygenated, and nutrient-rich soil.
- Earthy smell often means microbial activity is strong.
- Fungal threads or white fuzz in compost-rich soil are beneficial fungi breaking down organic matter.
When you dig a soil sample, pay attention to these signs. A biologically active soil will often outperform “technically balanced” soil that lacks life.
While you can also use an inexpensive PH test kit or strips to test your soil, knowing what it is made of is the first step in understanding how to improve it. As you work to amend your soil, you can also plant crops that are well suited to it.
Certain crops, like carrots, prefer sandy soil, while heavy clay soils can benefit from root vegetables like daikon that help to break it up and deposit organic material. Understanding your soil type will help you plan and develop your garden, and you can do it right now, for free!
Like this post? Don't Forget to Pin It On Pinterest!
You May Also Like: