Estimated reading time: 25 minutes
Native Tribes Around the World Have Used Tree Bark for Everything from Cups and Shelters to Canoes and Rope.
The bark of many trees is soft, pliable, and sturdy. If you harvest it the right way and know how to work with it, you can shape it into just about anything you need in a survival situation. In some respects, it’s similar to the Japanese art of Origami or paper-folding.
With the right folds and shapes, you can craft critical survival tools. Better yet, it’s available year-round—and once you’ve fashioned a tool from bark, you can use it again and again.
The Basic Concept
To make a tool or utensil out of bark, you’re basically going to be folding it, shaping it, and possibly cutting and sewing a seam or two with (you guessed it) strips of bark. You could also use grasses for sewing some basic seams, but even a spare shoelace will work in a pinch.
Want to save this post for later? Click Here to Pin It On Pinterest!
What You Can Make from Bark
We’re going to cover nine basic survival tools using bark as the primary material. (You can click on one to jump straight to its section.)
- Bark Ladle/cup
- Bark Sunglasses
- Bark Shingles
- Bark Cordage
- Bark Hat (to protect yourself from the sun)
- Bark Candle Lantern
- Bark Shovel
- Bark Forest Torch
- Bark Plate or Platter
Native tribes took it a level up and built shelters and canoes from bark that were both lightweight and highly portable.
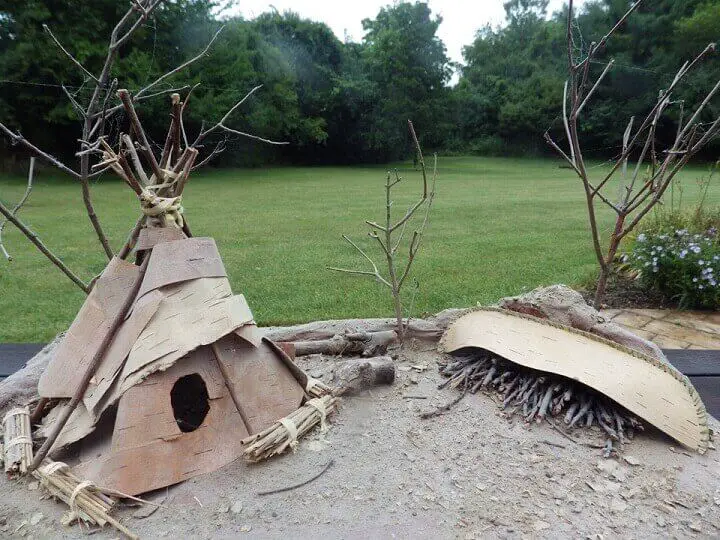
That’s a bit ambitious for now, but if you had to, you could do it.
The Best Bark
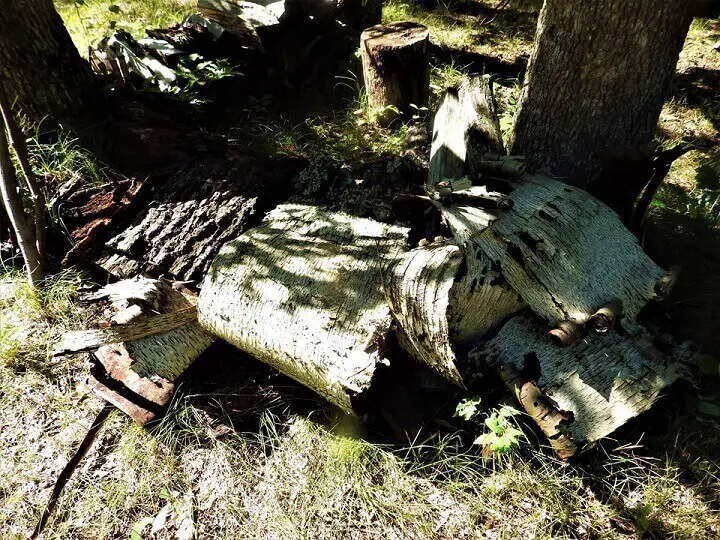
Some trees produce bark that’s easier to shape, fold, and work. However, there are some tools from bark like a shovel which requires a bark that is thick and strong. There are also times where you may need a long strip of bark that’s strong and flexible for cordage or sewing seams.
Here’s a short list of the best trees for bark harvesting in a survival situation and their unique characteristics.
Birch and Aspen
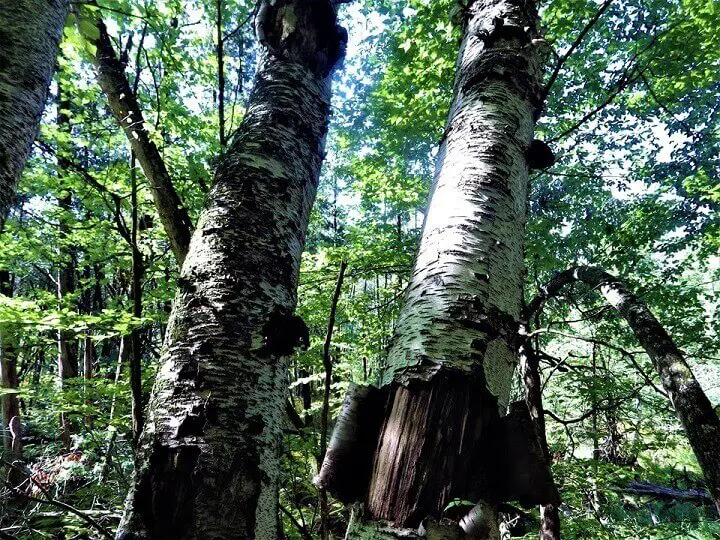
Both of these trees have a strong, pliable bark that can be cut off in large pieces or strips. The bark is flexible and, if folded or sewn properly, is highly waterproof for fetching or drinking water. The bark is also fairly thin so it’s easy to drill a small pilot hole for sewing seams or simple attachments.
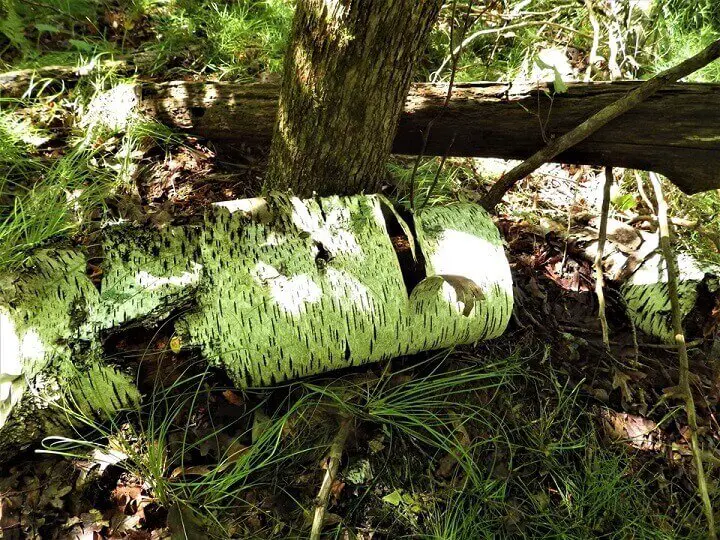
Paper Birch is the gold standard for fashioning anything out of bark, from lampshades to placemats. If you have Paper Birch growing around you in the wilderness, you’re in luck, although any Birch tree will have similar characteristics but not as good as the Paper Birch.
Immature Slippery Elm and Maple
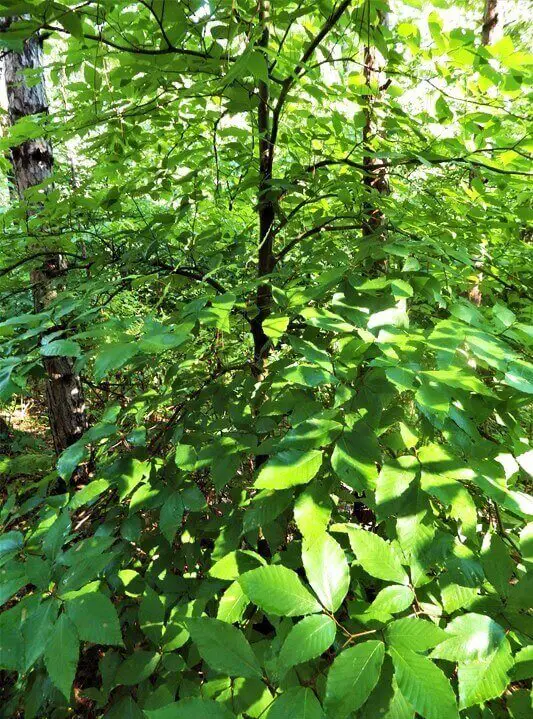
The bark of small, Slippery Elm and Maple trees peels off easily into long strips. It makes great cordage when braided and can be used to sew other pieces of bark together at the seams. If the trunk is up to 2 inches in circumference, you could also use it as a substitute for some tools made from birch bark.
Saplings from 6 to 12 feet high provide the best strips for cordage and sewing. Once the trees grow taller, the bark tends to thicken and isn’t as flexible as the tree matures.
Mature Oak and Maple
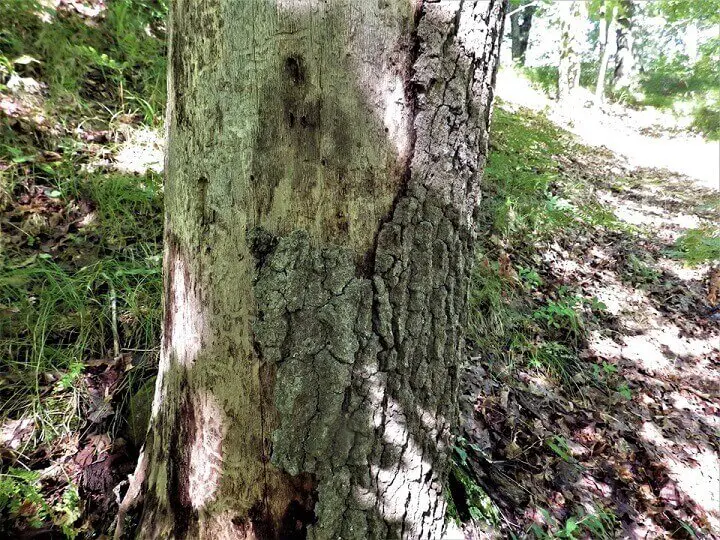
A dead or dying mature Oak or Maple tree will easily surrender its bark. While the bark is too thick and inflexible for folding or sewing, it can easily be fashioned into a plate or platter or used as a shovel for a latrine, or for shoveling snow to clear the ground for a winter fire.
Because you can peel off large slabs of the bark, they make excellent shingles for a lean-to and, if arranged properly, will shed rain much like shingles on a roof.
Willow Branch Bark
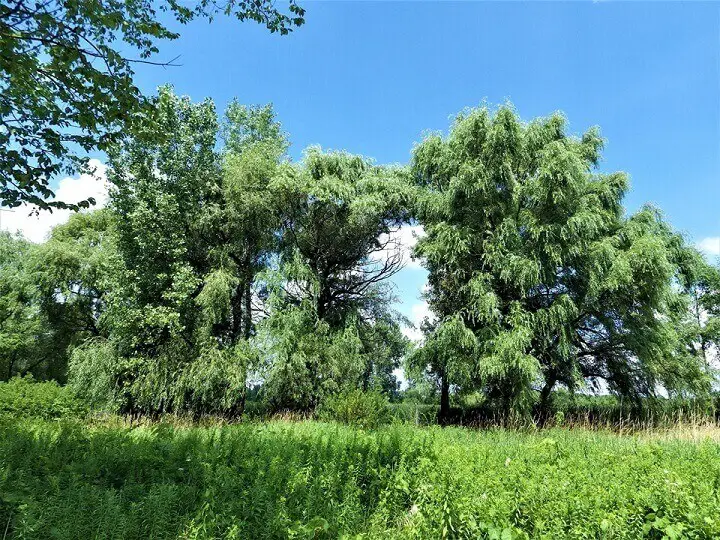
This isn’t about using the actual branches. There’s a whole category of basket weaving and furniture building designed around Willow branches. However, the same flexibility that makes a willow branch suitable for bending into furniture makes the bark an excellent choice for cordage or sewing other pieces of bark together.
A Caution About Bark Harvesting
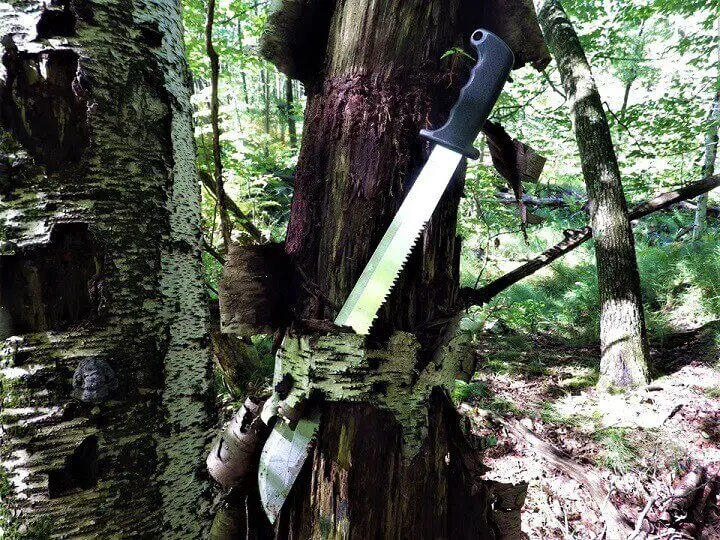
In a survival situation, all bets are off, and you may have to be somewhat indiscriminate about your bark harvesting. But if you’re harvesting bark from your yard, a forest-preserve or an area where the trees are valued, remember to harvest carefully.
Girdling
The bark of any tree is its primary circulatory system. Beneath the coarse outer bark are thin inner layers called the Cambrium and Phloem layers.
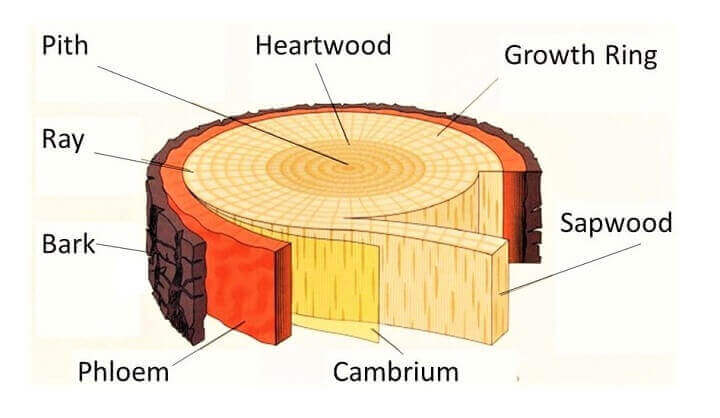
These thin membranes act as the veins and arteries of a tree, drawing water and nutrients up from the ground through its roots and returning carbon dioxide and chlorophyll from photosynthesis through its leaves and back down through the inner bark to the roots.
If you cut all of the bark around the circumference of a tree, you've cut off its circulatory system. It’s called “girdling.”
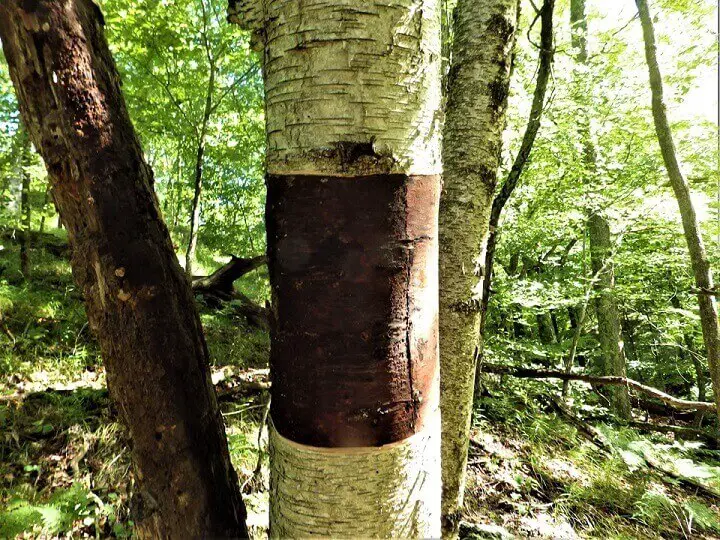
The tree will die in weeks and be deadwood the following season. The tree pictured was already dead so no harm, no foul.
In actual fact, native tribes would intentionally girdle trees to make them easier to cut down. After the tree was girdled and had died, a fire was built at the base of the dead tree until the trunk had burned through bringing the tree down.
Window-Paning
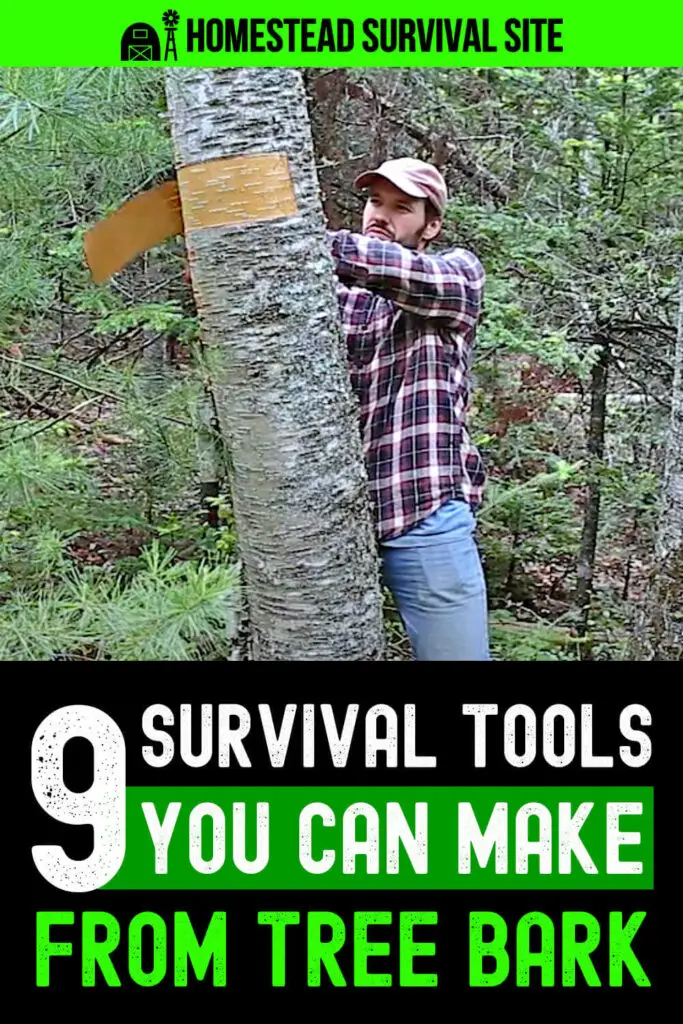
A good option for harvesting bark without killing the tree is to cut a square or rectangle of bark from the trunk without girdling or cutting around its entire circumference. This square piece of bark leaves the appearance of a windowpane on the tree—thus the name “window-paning.”
Exceptions include harvesting bark from a dead tree or, in the case of saplings, you just cut them down and strip them and maybe use the small trunks as walking sticks or as tent or lean-to supports.
Prepping The Bark
Even with the most pliable Paper Birch, a little prep and pre-treatment make bark easier to work with, whether you’re trying to fashion a cup or make a sunhat.
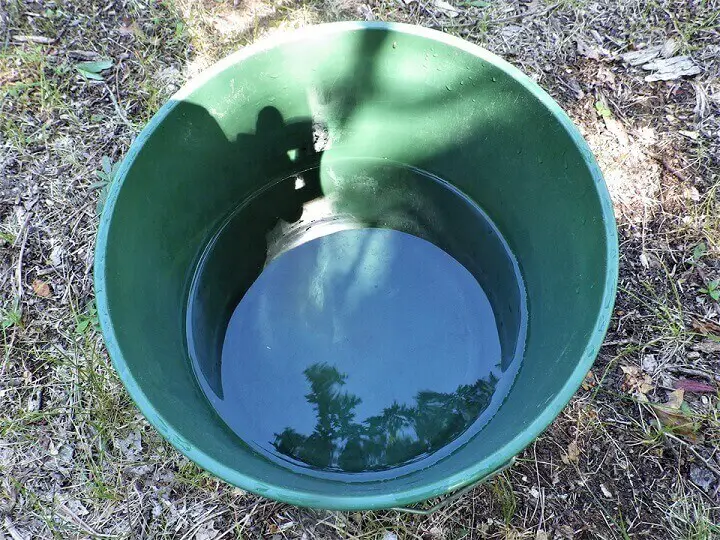
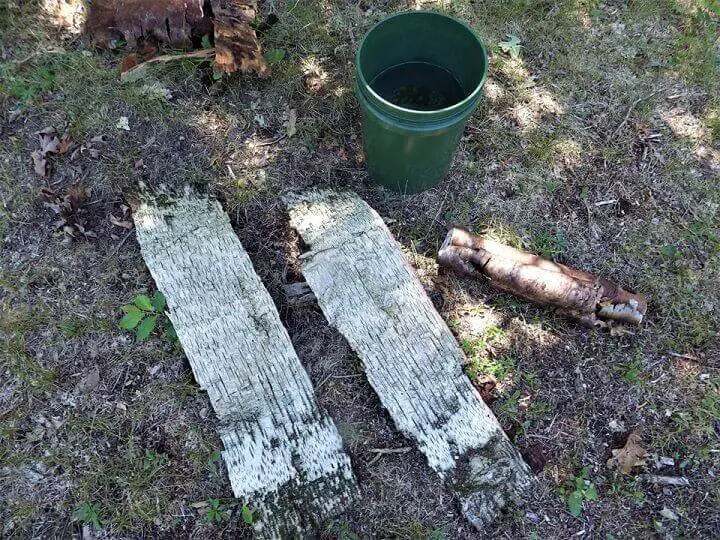
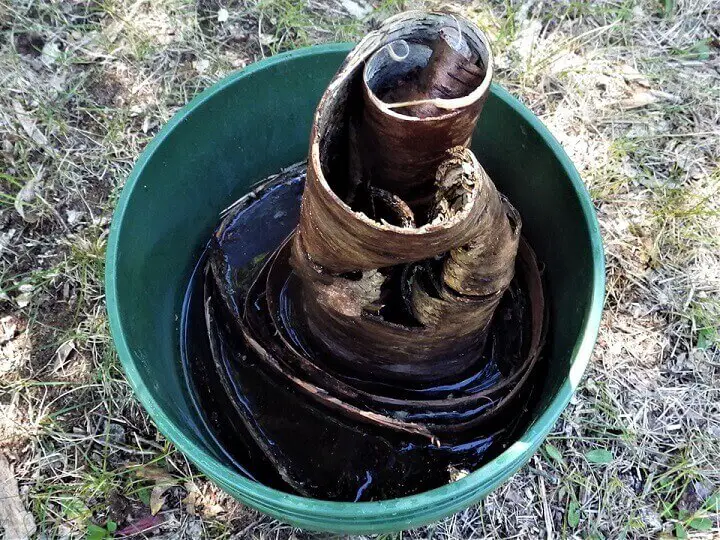
The primary prep step is soaking the bark in water if you plan to fold or sew it. This softens the bark and makes it a bit more flexible. As the bark dries it will retain its shape.
This is a good first step for Birch or Aspen and also helps to make strips of Slippery Elm or Maple easier to braid into cordage or use for sewing seams.
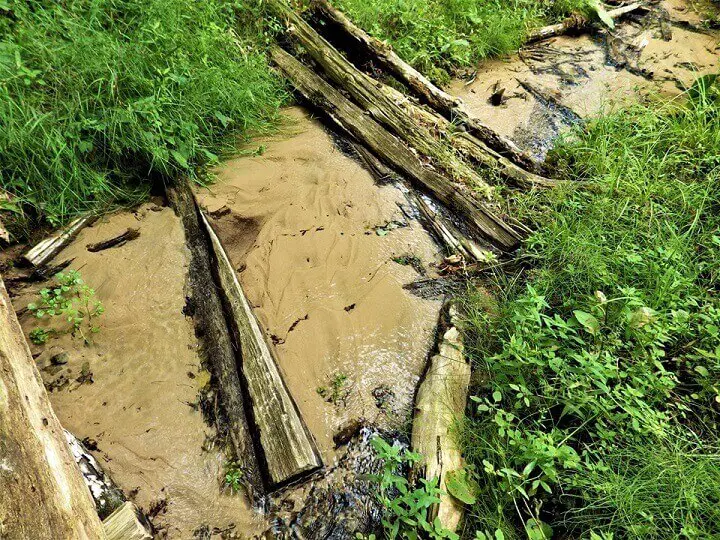
You probably won’t have a bucket in a survival situation, but any spring-creek or pond will do.
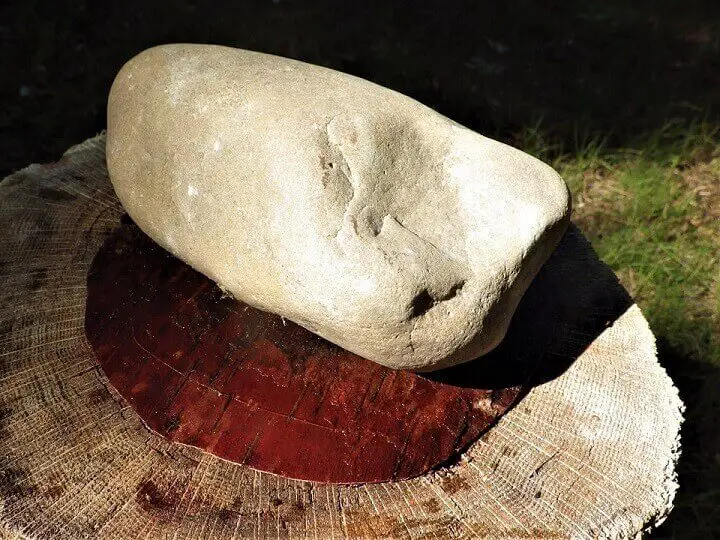
You may also have to flatten the bark to remove the natural curvature it forms as it grows around a tree. The best way is to soak the bark and then flatten it under stones or logs for a few hours in the sun. When the bark is dry it should retain a flattened shape, assuming that’s what you want.
Tools For Working with Bark
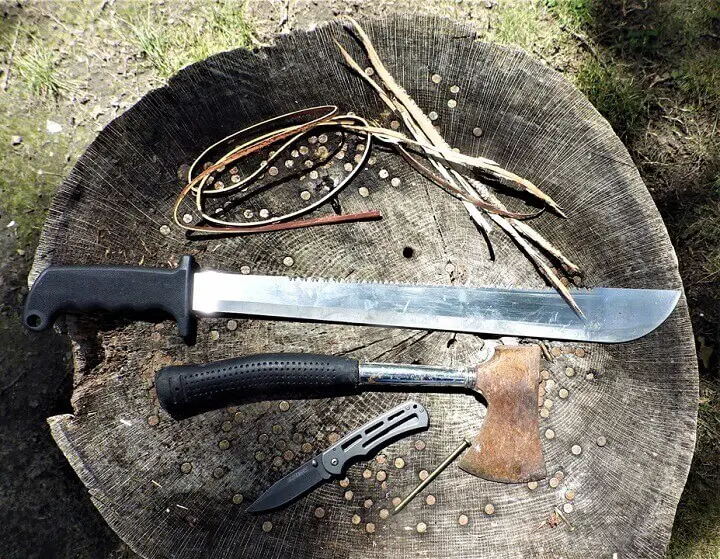
Chances are good you may have some of these tools in a survival situation. They’re used to harvest, cut, and shape or work the bark.
- Knife for trimming bark to various sizes and shapes.
- Hatchet for first cuts before removing bark.
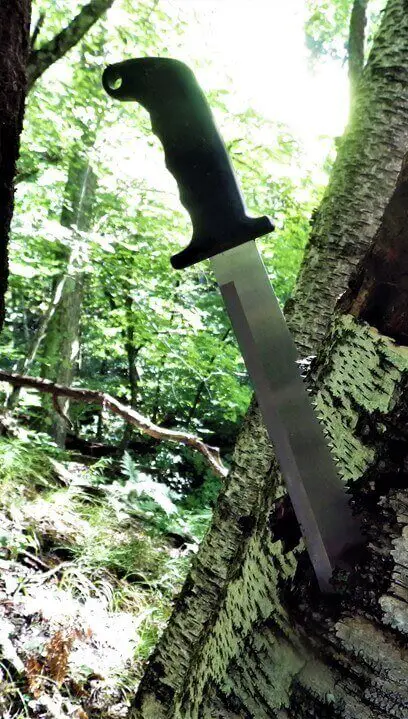
- Saw-tooth Machete used to pry bark from a tree or saw into the bark on the tree.
- Nail for pounding sewing holes in bark, or you can use your knifepoint.
- Reeds, shoelaces, or strips of bark for sewing.
If you’re so inclined and plan to do a lot of projects with bark, leather crafting tools make short work of anything you want to do with bark.
Tools And Utensils Made With Bark
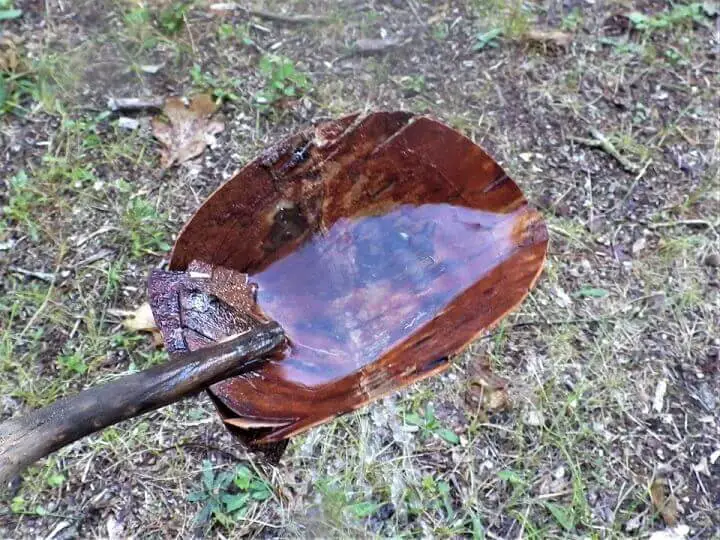
1. A Bark Ladle/Cup
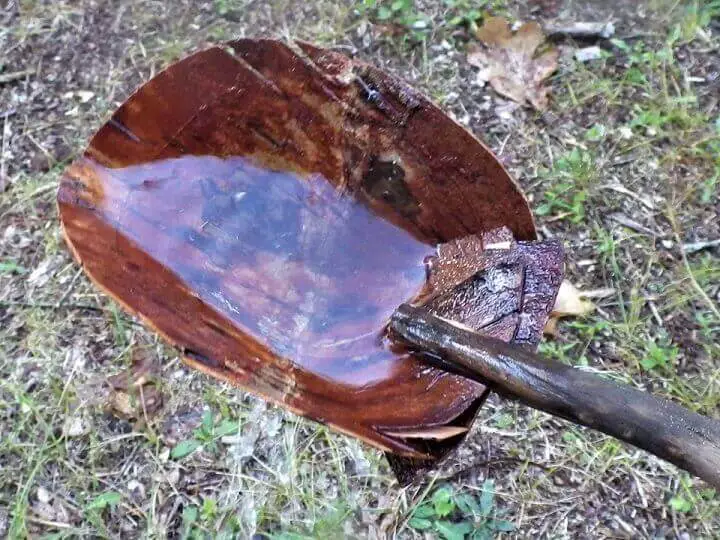
There’s a simple way to make a seamless cup using an Origami folding technique.
- Using a cut log as a template, cut a circle of Birchbark about 8-inches in circumference.
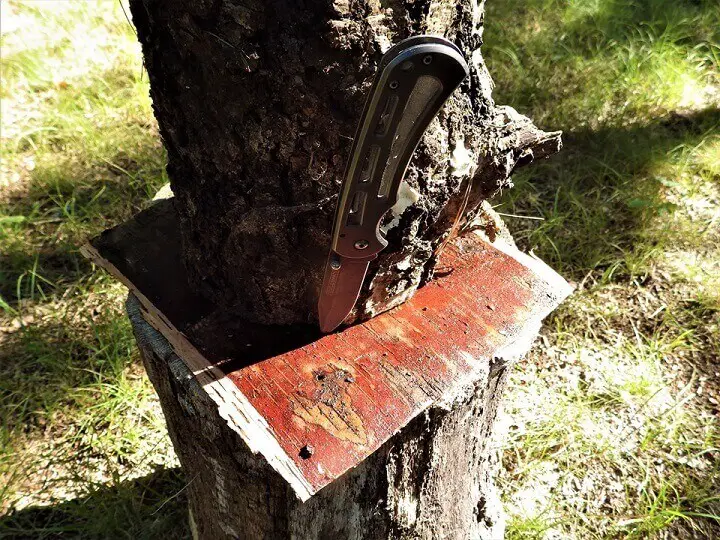
- Flatten the circle of bark with a rock overnight.
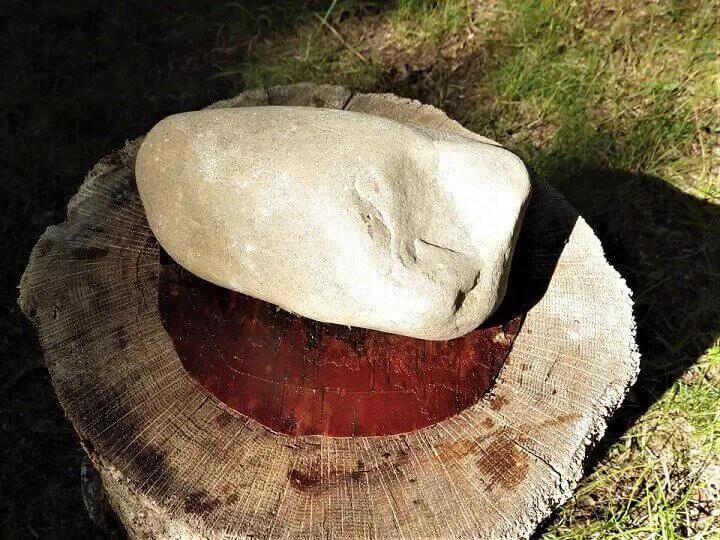
- Place the edge of a knife or machete so the tip touches the center of the circle and fold the bark once.
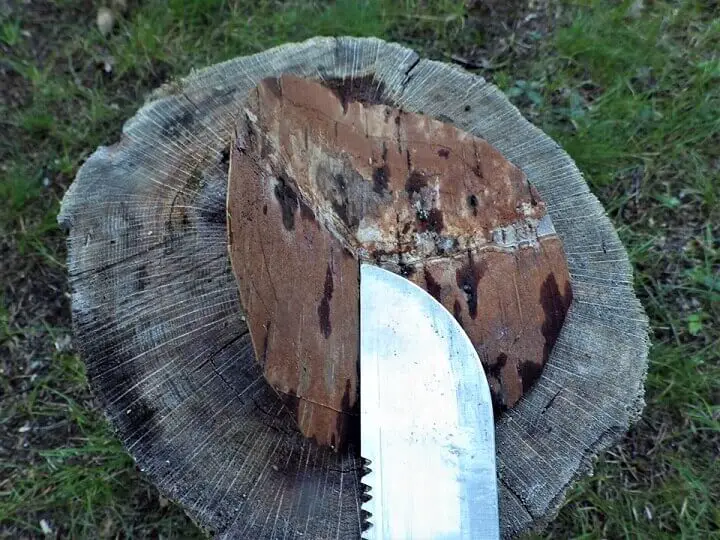
- Move the edge about 2 inches to one side and put the tip of the machete or knife back to the center and fold again.
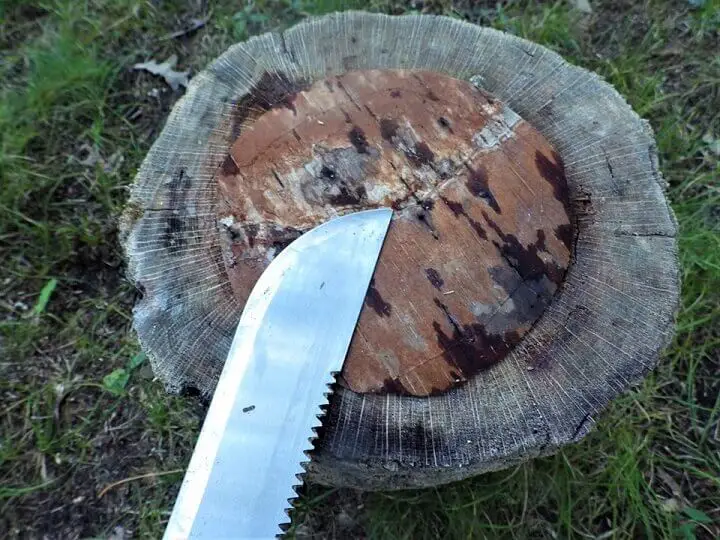
- Pull the circle together at the folded seams to make a cone.
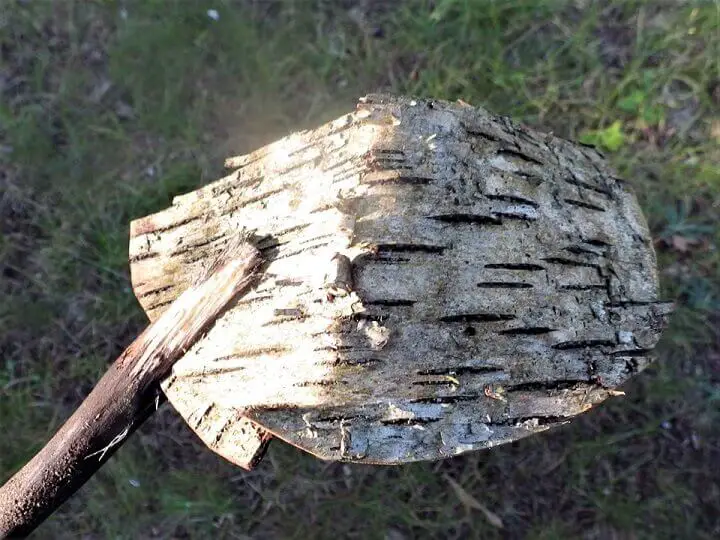
- Split a 6 to 8-inch length of a branch with a cut about 3 inches down from the top.
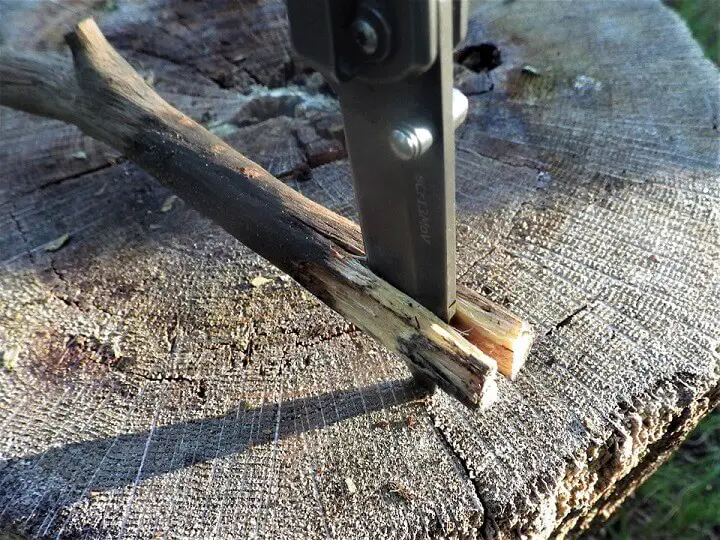
- Use the partially split branch like a clothespin to hold the folded seam together.
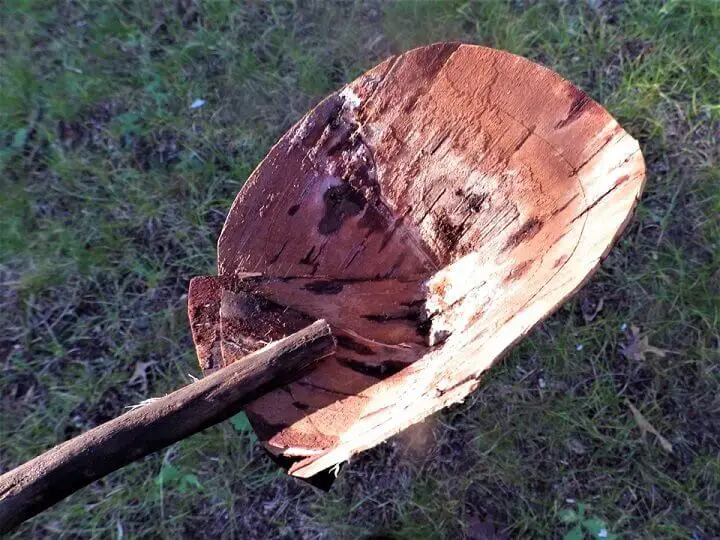
- You now have a ladle that can double as a cup.
2. Bark Sunglasses

This is actually an old Inuit trick. They were designed to shade the eyes from the sun, especially in winter when the bright light of the sun reflecting off the snow could cause snow blindness. They’re portable and surprisingly resilient. Don’t leave the igloo without it.
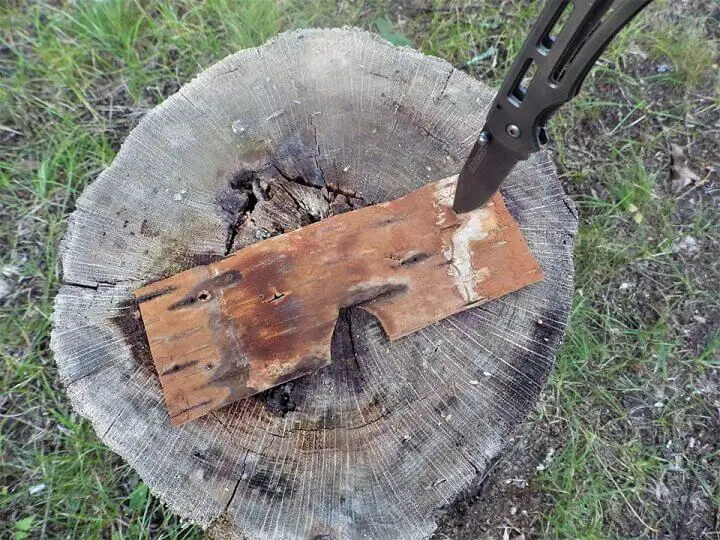
- Cut a piece of Birchbark, Aspen bark, or Slippery Elm bark into a rectangle about 2-inches wide and 6 to 8-inches long.
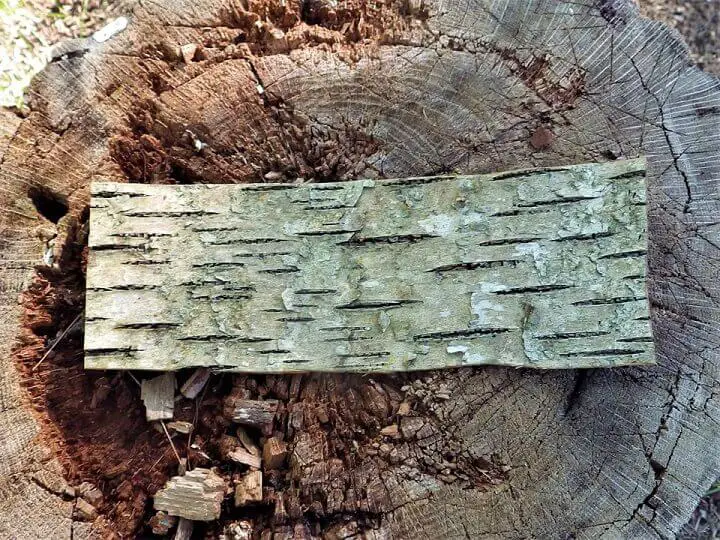
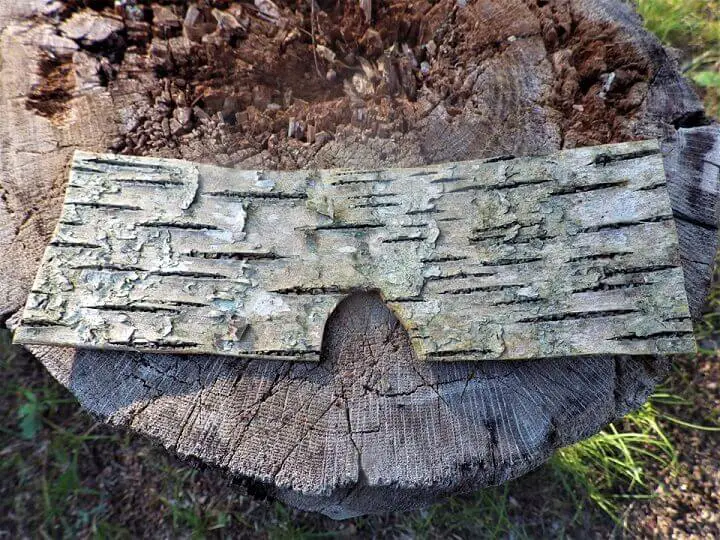
- Cut a small semi-circle at the bottom center and see if it fits over your nose.
- Close your eyes and measure the distance between the center of your eyes with your fingers.
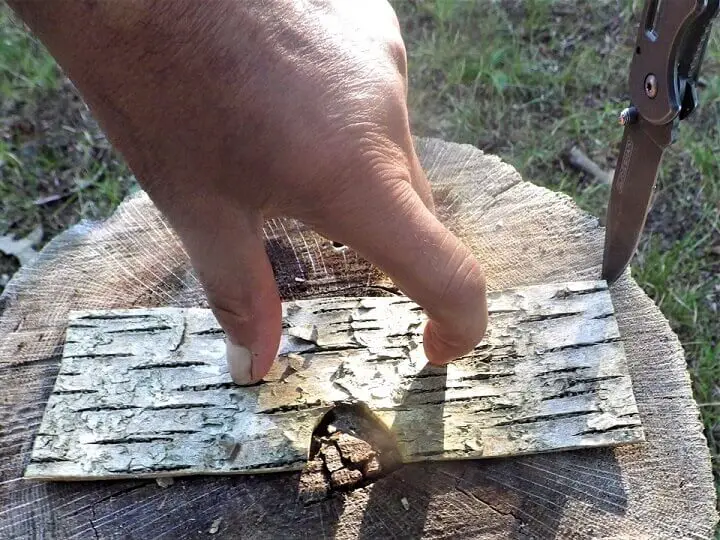
- Mark the rectangle of bark in relative proximity to where you think your eyes would be.
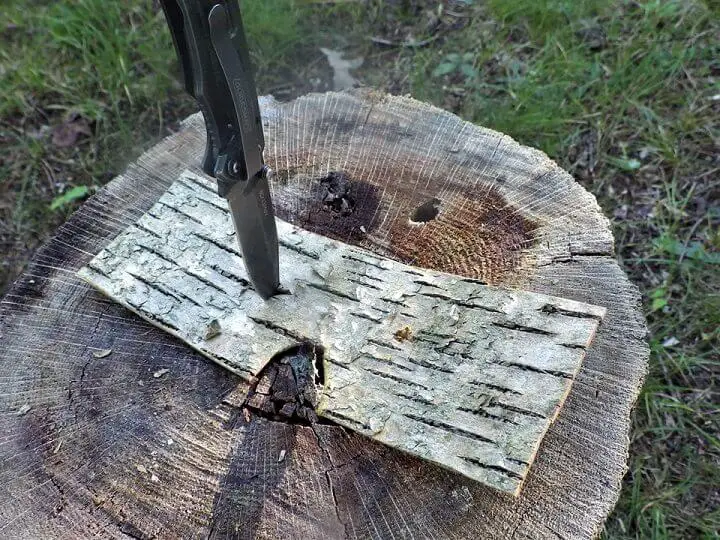
- Cut a crisscross up and across where you marked your eye location.
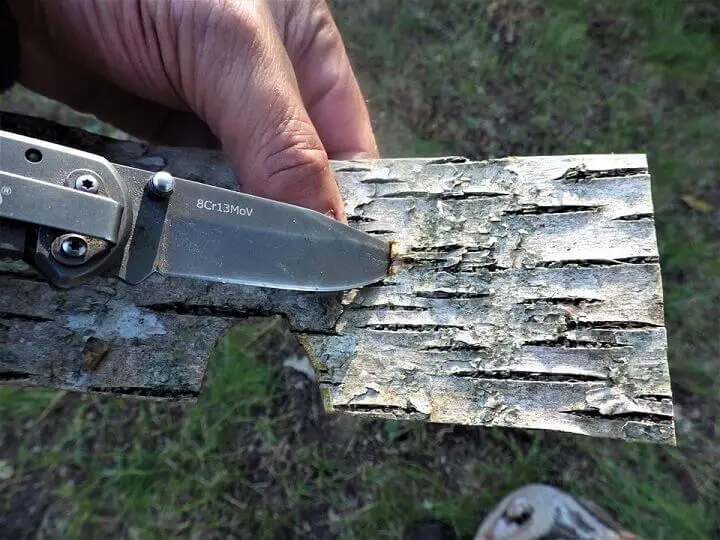
Gently wobbling the knife blade in the crisscrosses makes this easier.
- Cut two forked sticks to make the temple supports which are actually called “temples.”
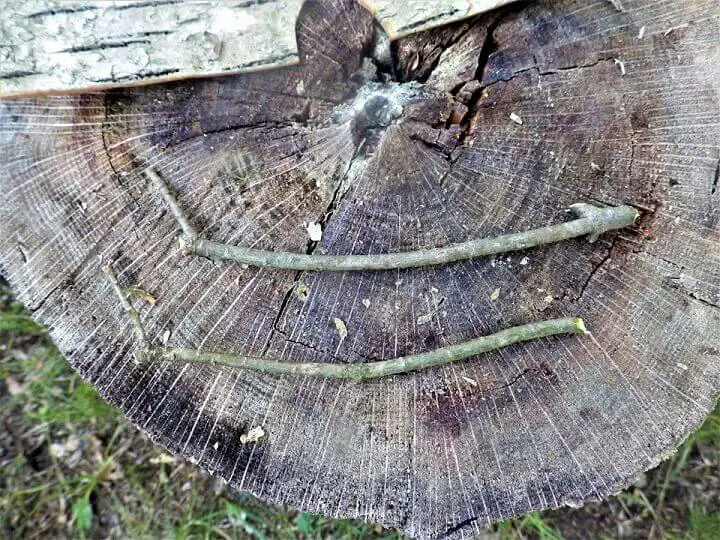
- Place the sunglasses on your nose to get an idea where your temple supports should be on the bark piece. Cut holes on either side to insert the temple supports.
- Insert the temple supports into the holes you drilled in the bark with your knife or nail.
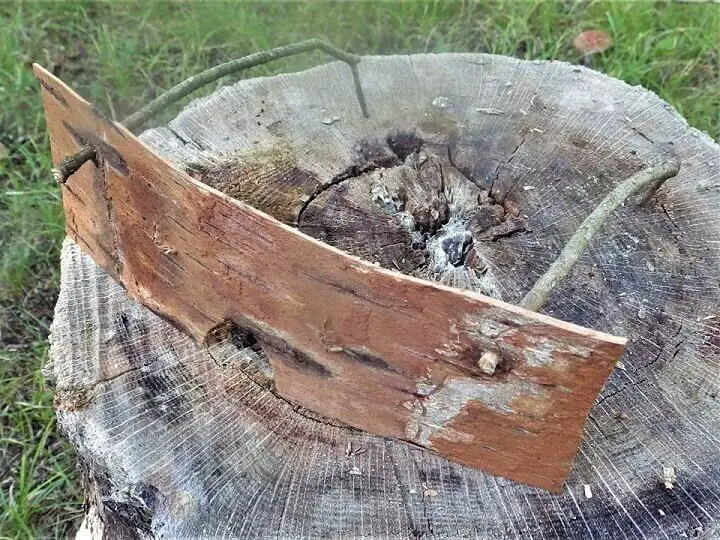
- Try them on and make any necessary adjustments.

3. Bark Shingles
Bark shingles are great on the roof of an improvised survival shelter. This is easy to do, but you need to follow the roofer’s rules.
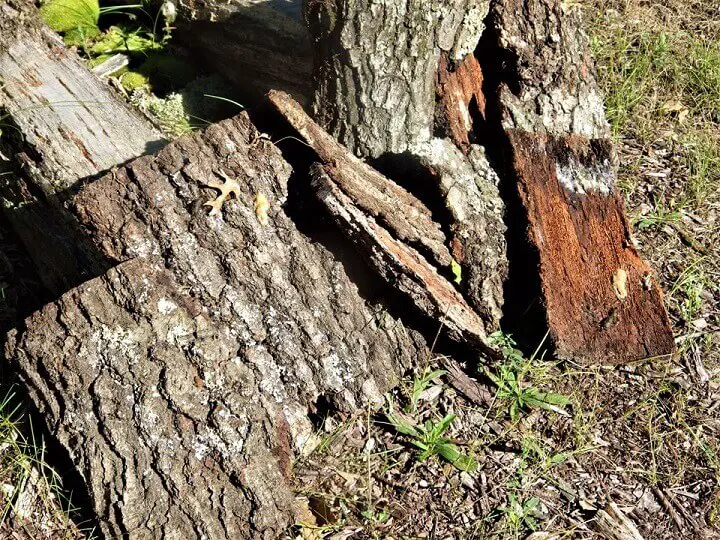
- Large slabs of bark from a dead Oak, Maple, or elm work best because the bark is thicker and tends to have fewer splits or holes.
- The roofer’s rule is to start your layers of bark at the bottom and overlap them as you work up the roof of your lean-to or shelter.
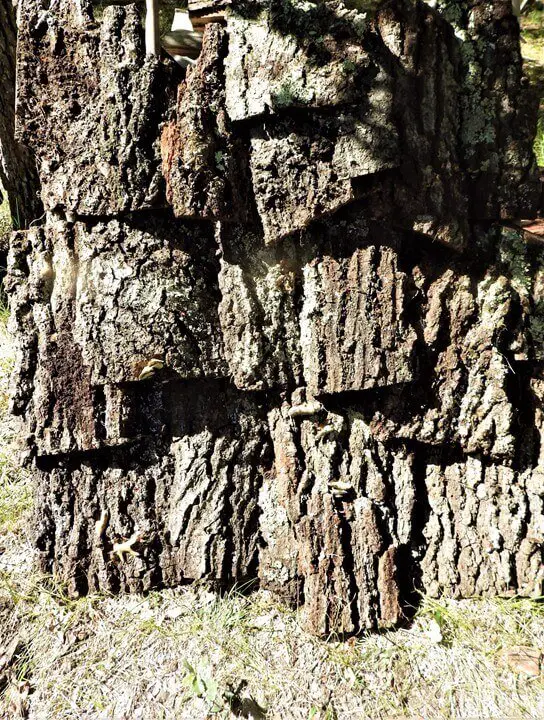
- This ascending overlap allows the rain to runoff from one shingle to another, keeping the area underneath relatively dry.
4. Bark Cordage
This is similar to braiding a rope, only you’re using bark. Long thin strips of immature Elm, Maple, or the bark from Willow branches work best.
- Begin by stripping the longest strips you can from a sapling’s trunk or long branches. A good way to do this is to use your knife to start a peel at one end, then use your hands to peel the strip down the length of the trunk or branch.
- Soak the strips in water for an hour or two.
- Split a stick and wedge 3 strips of bark into the strip.
- Brace the stick with your feet with the strips facing you and begin to braid, overlapping the 3 strips as you go.
- You may need to splice additional strips as you go, but make sure you splice one at a time so you don’t create a weak point.
- Use your cordage for general binding in your survival camp. Don’t assume it will hold your weight on a cliff.
5. Bark Hat (to protect yourself from sun or rain)

This is a quick variation on a hat that is popular in the rice fields of Asia. It’s the same design as your drinking cup, only scaled up to a larger size. Birch or Aspen bark is best due to its flexibility.
- Cut a curve into the bark about 10 to 12 inches in diameter with a flat end opposite the curve. The larger the bark piece, the better. You’ll also need a shoelace, strip of bark, or reeds for a lanyard.
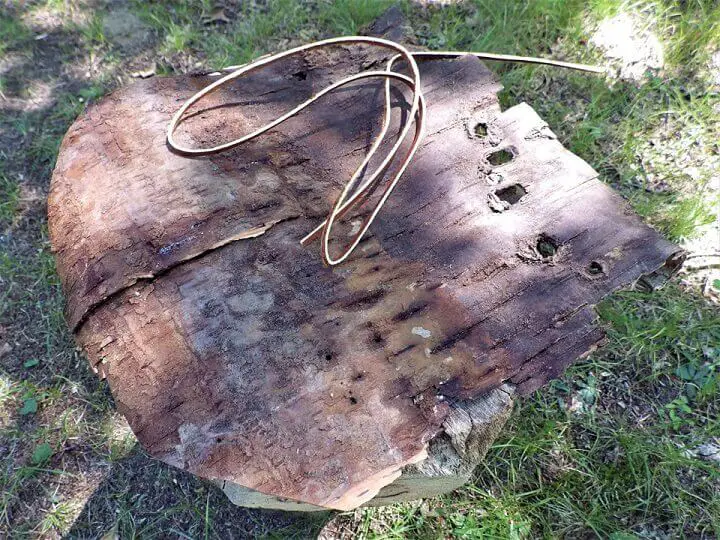
- Cut a gash about 5 to 6 inches long from the center of the bark down towards the curve.

- Cut a green branch about 4 inches long and create a split on one end about 2 inches deep.
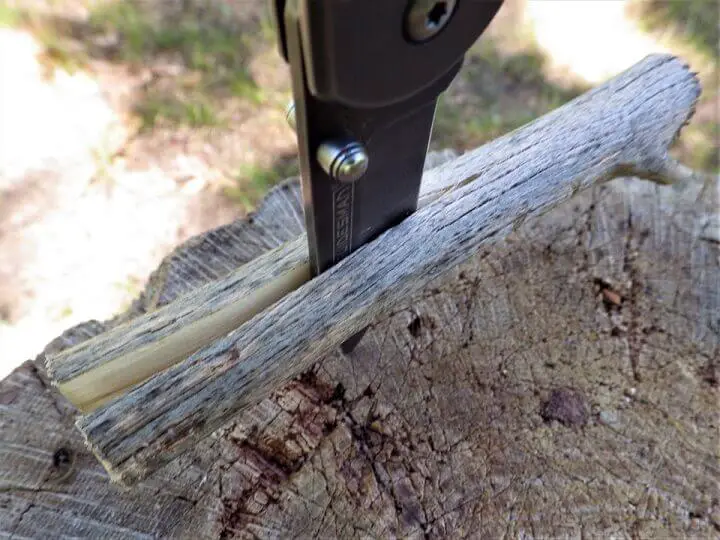
- Fold over the two seams and use the split piece of wood as a clip or clothespin to hold the seam together.
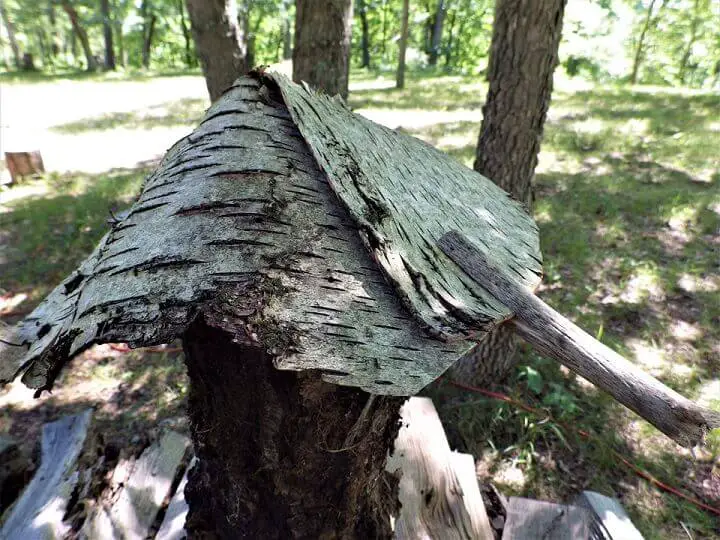
- Use straw, a strip of bark, or a bootlace to create a lanyard to hold the hat on your head.
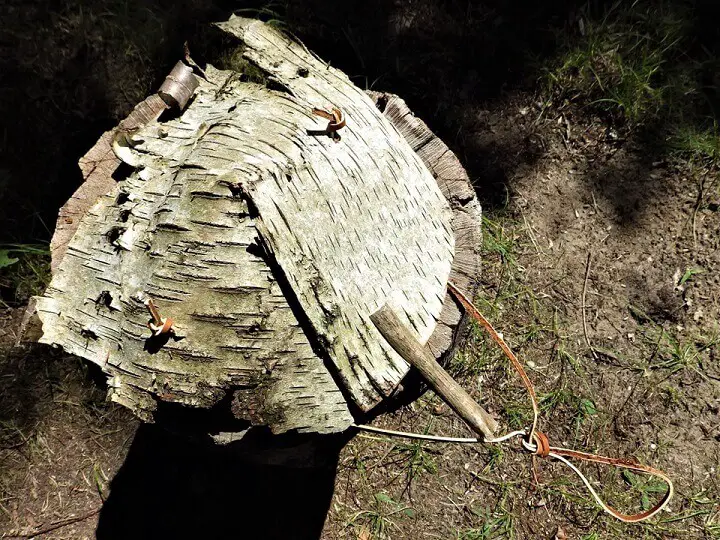
- Cut two holes in the hat about the size of your head and thread the lanyard through the holes, then either tie a pretzel knot or tie to two small sticks to hold it in place.

- Try it on and adjust the lanyard with a knot under your neck to keep comfortably tight. Put on your bark sunglasses and you’re ready to hit the beach.
6. A Bark Candle Lantern
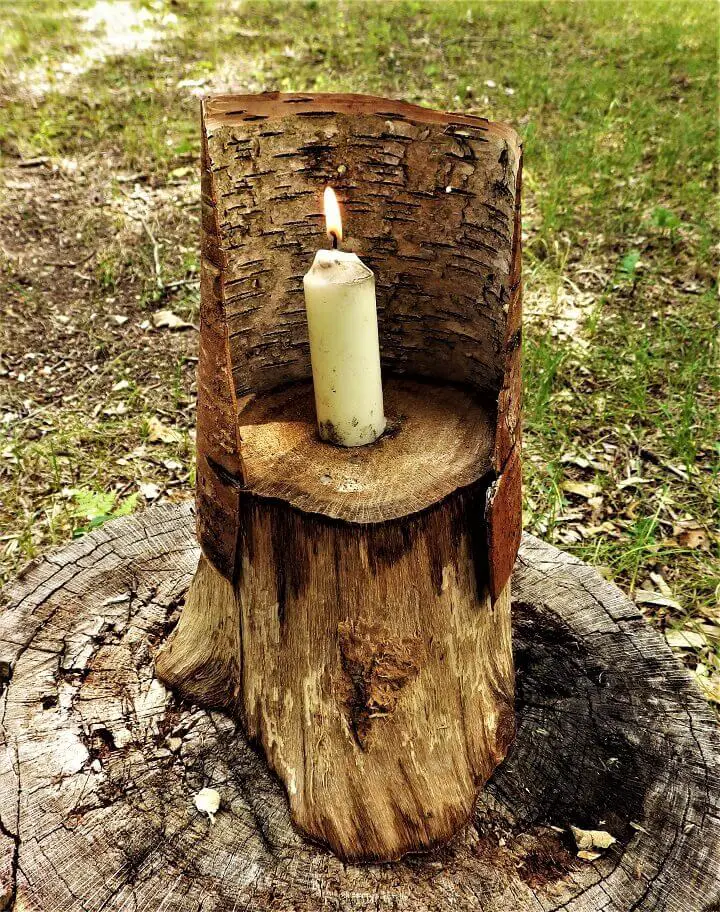
A piece of birch bark around the top of a cut log or circle can not only protect a candle’s flame from the wind, but the white inner bark of birchbark and aspen act as a reflector casting brighter illumination.
- Start by cutting a piece of Birch or Aspen bark about 12 to 16-inches long and 6 to 8-inches high.

- Roll it tightly and compress it under a log or rock for a few hours so the bark holds a curved shape.
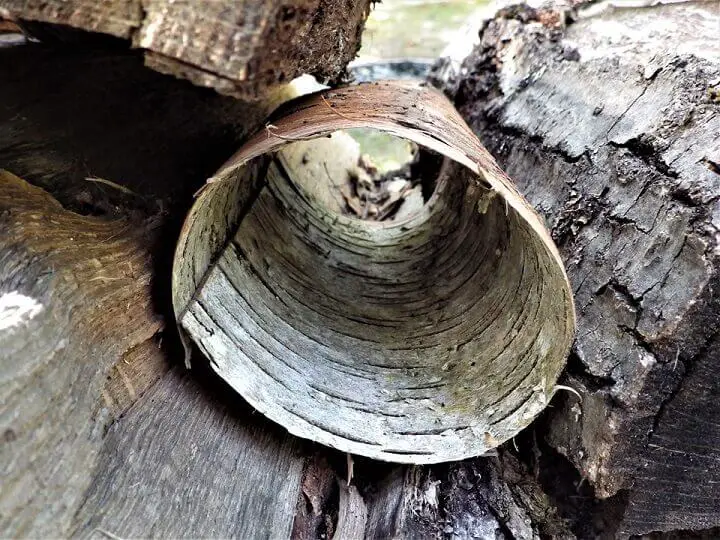
- All you need for assembly is the curved bark, a stump or cut round of wood, and a candle.
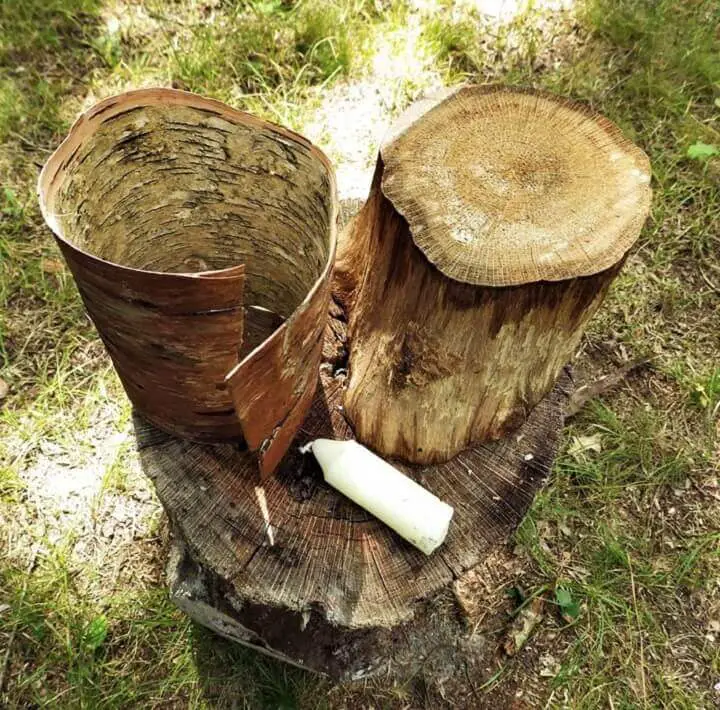
- Unfold the curved piece of bark and let it grip the sides of your base.

- Cut an angle on the front sides of the birchbark and melt some wax on the base to hold the candle and light.
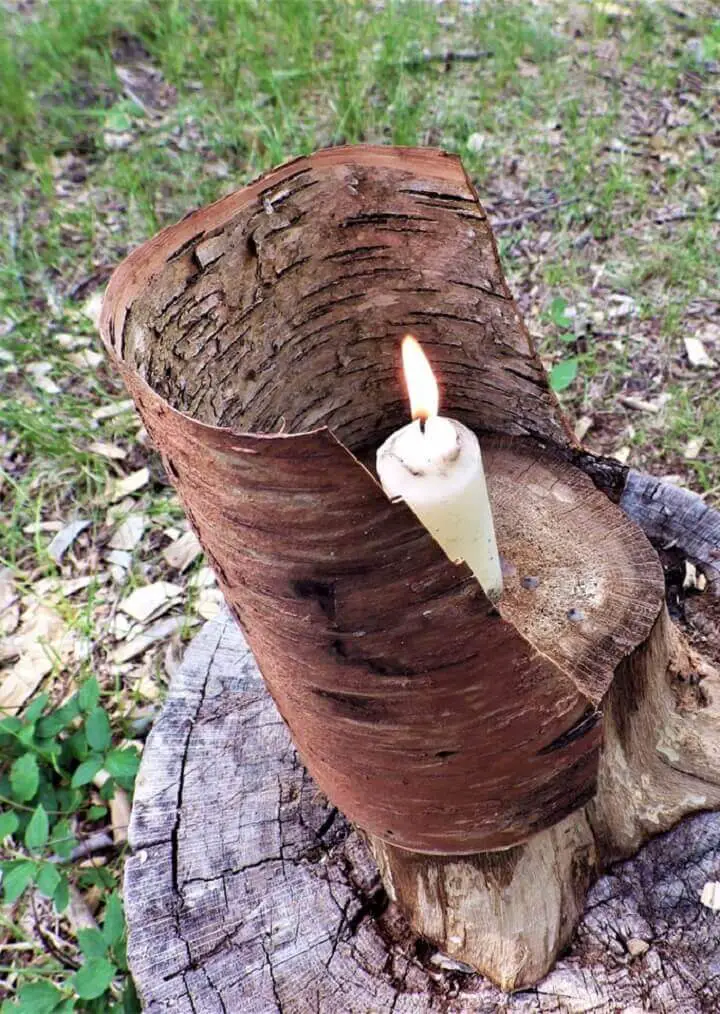
- Yes, you can take it with you. All you have to do is roll up the birchbark for travel and pack the candle.
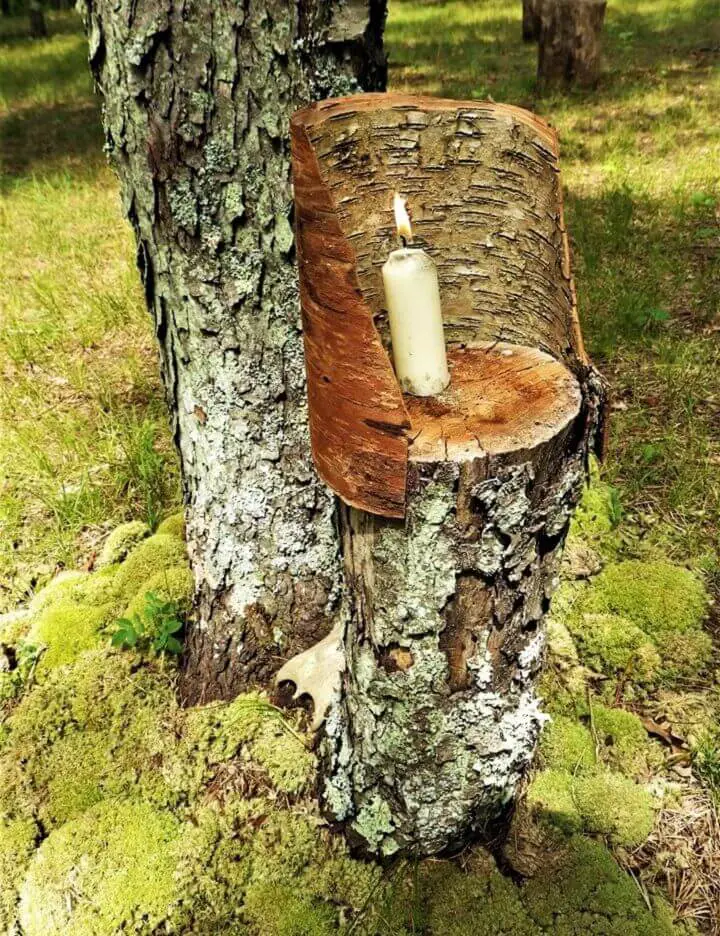
If you have a stump in camp from a felled tree, just unwind your bark around the stump and light the candle.
7. Bark Shovel
Making a bark shovel is as easy as finding a stiff piece of dead bark from a mature tree. Oak and Maple are best, although Ash and Elm will work in a pinch.
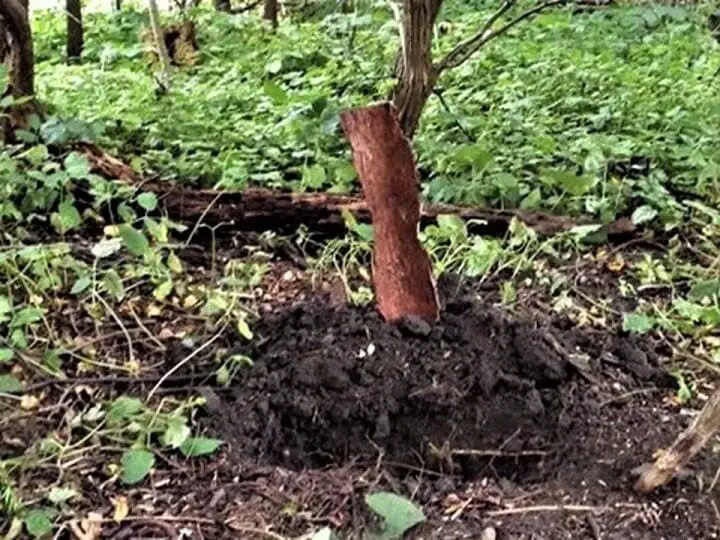
You’re not going to end up with a shovel that you can pound your boot on top of to dig into hard soil or clay.
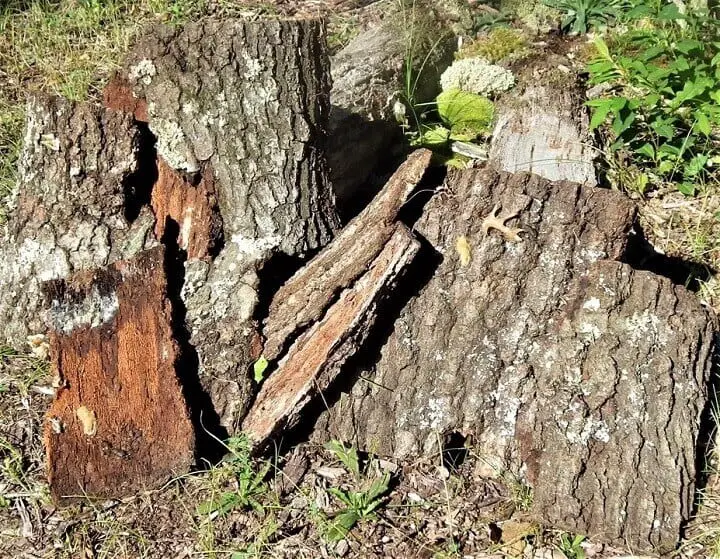
You’re just looking for a large, stiff slab of bark that you can use to scoop dirt into a latrine or snow off the ground for a shelter or a fire. If you need to dig a hole in hard soil, use a sharpened branch to break up the soil and then scoop it out with your bark shovel.
8. Bark Forest Torch

In case you didn’t know, birchbark burns like a rag soaked in kerosene. With a little work, you can make a reliable torch for any nighttime treks through the woods. Better yet, you can insert birchbark into both ends of your torch, so you have a backup for when your first light starts to go out.
- Collect some birchbark and pull it into strips about 3 to 4-inches wide and about 2 to 3 feet long.
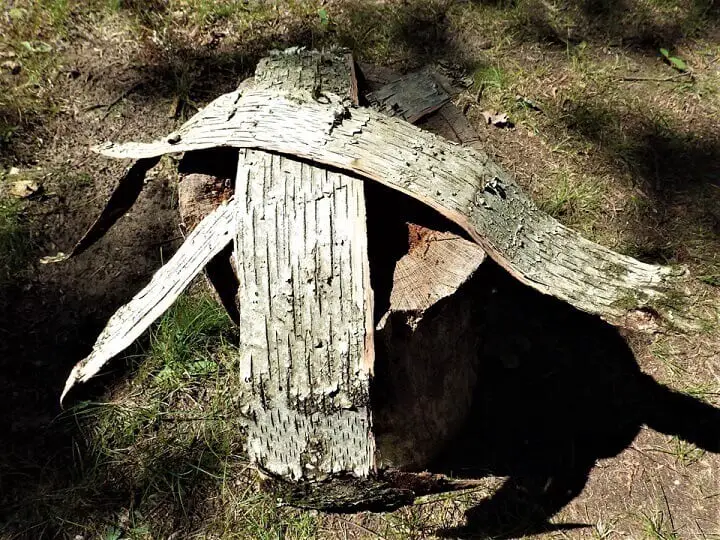
- Cut a gap into both ends of a branch about 3 to 4 feet long.
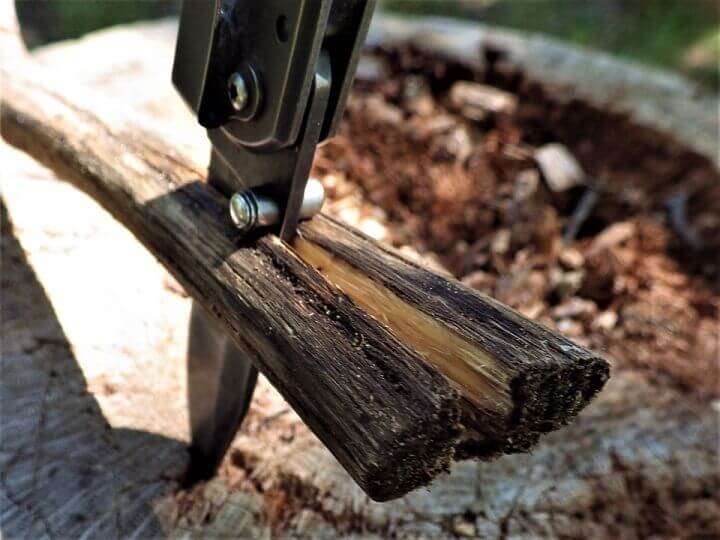
- Roll up the birchbark and jam it into the gashes on both ends of the branch.
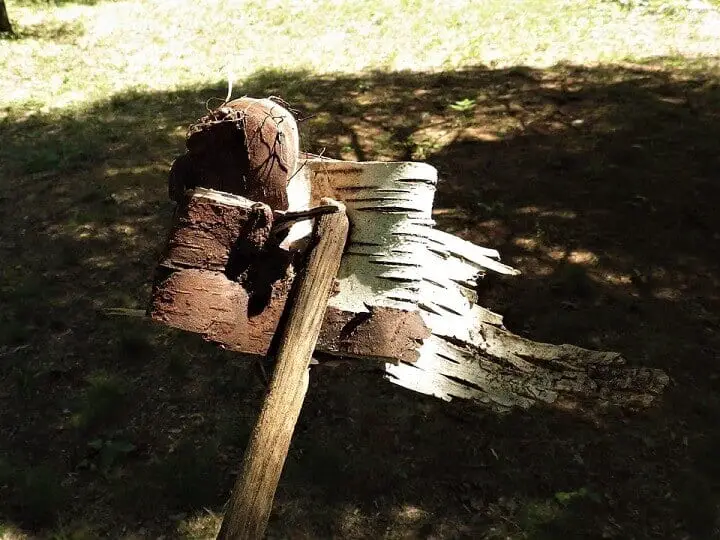
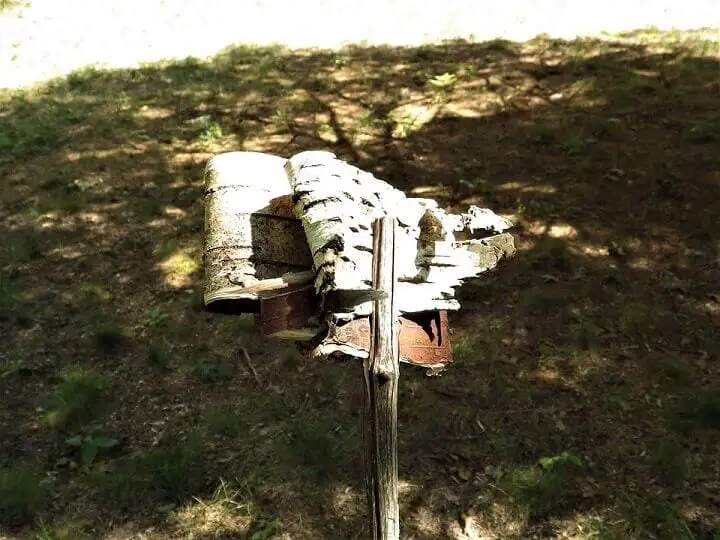
- Keep some extra rolls of birchbark in your pocket to replenish your torch on the go.
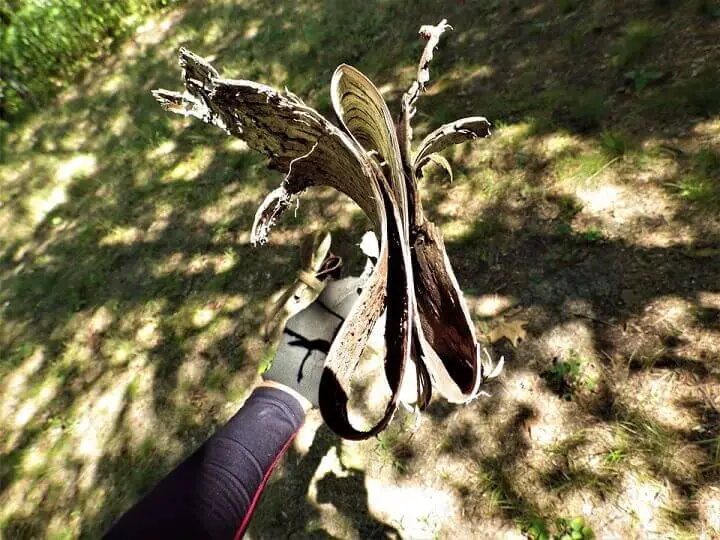
- Light your torch and head out.
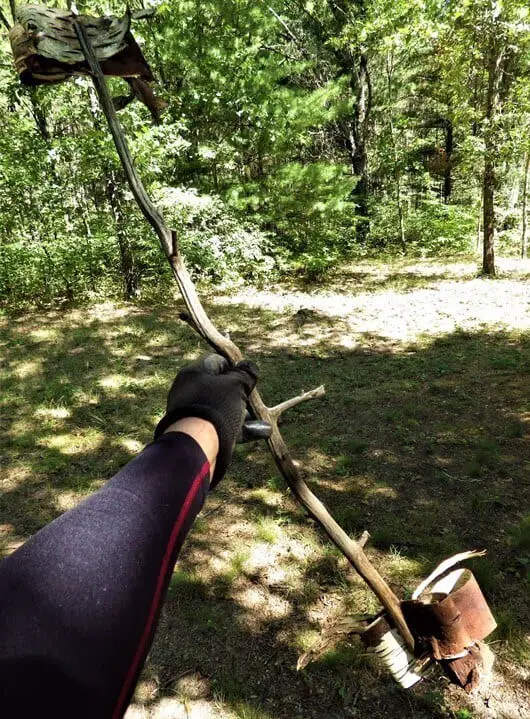
When the torch starts to burnout, use a piece of birch bark to light the other end of the torch and replace the burned-out end with another fold of birchbark.
9. Bark Plate Or Platter
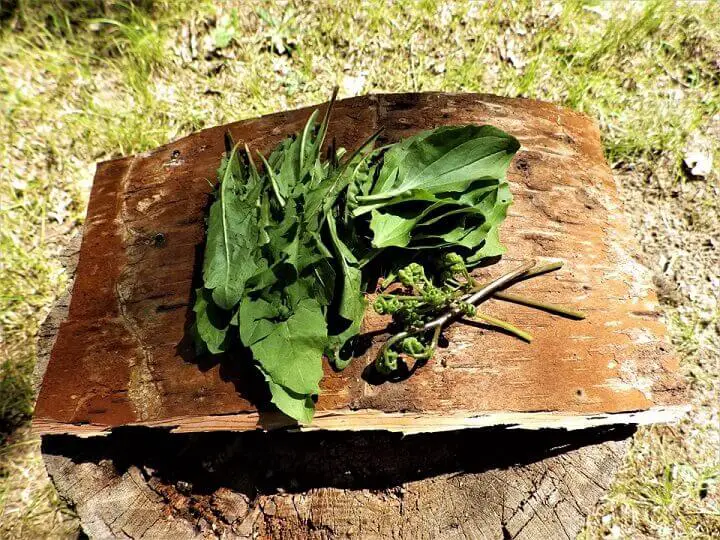
We saved the easy one for last. Birch or Aspen bark is best. Cut a rectangle the size of a plate or platter and place your foraged foods on the inner side of the bark, which is usually cleaner than the outer bark.
Yes, There’s More
Once you get used to working with bark, you can probably figure out how to fashion just about anything, although you might want to try out that first Birchbark canoe in shallow water.
Like this post? Don't Forget to Pin It On Pinterest!




The odds are good that I’ll never need to use these ideas.Or be in a situation where I’ll have to use them. but they are interesting.You also forgot obtaining fat wood from the heart of a pine tree.
What does fat wood has to do with bark .