Estimated reading time: 10 minutes

Growing squash vertically is one of the best ways to get more food from less space. Training vining squash up a sturdy stake keeps the plant off the ground which improves airflow and helps leaves to stay dry. That means fewer fungal problems, less rot, and a healthier plant. It also makes harvesting easier because the fruit is right in front of you instead of hidden under a bunch of leaves.
Another big benefit is efficiency. When squash sprawls, it can take over a whole bed in no time. But when you grow it vertically, you can keep your garden neat, organized, and productive without sacrificing yield. In this video, James Prigioni explains exactly how to grow squash vertically. You can watch the video and read the steps below.
Want to save this post for later? Click Here to Pin It On Pinterest!
What You’ll Need
- A vining squash variety (more on that below)
- A sturdy stake (a ripped-down 2×6 works great) or strong trellis
- Paracord or soft plant ties (avoid thin string that can cut stems)
- Compost or homemade soil
- All-purpose fertilizer (squash are heavy feeders)
- Wood chips or mulch (optional but helpful)
- Pruners + isopropyl alcohol (for disinfecting)
- Optional pest protection: Surround (kaolin clay) spray or insect netting/row cover
How to Grow Squash Vertically
Step 1: Choose the Right Squash (This Matters)
Vertical growing works best for vining varieties. You want the type that naturally sends out long runners and can be trained upward.
Don’t try this method with bush squash. Bush varieties don’t form long vines the same way, so they won’t climb well and can end up stressed or misshapen.
Quick tip: If the plant wants to trail and run, it’s a good candidate for vertical growing.
Step 2: Install the Stake Before You Plant
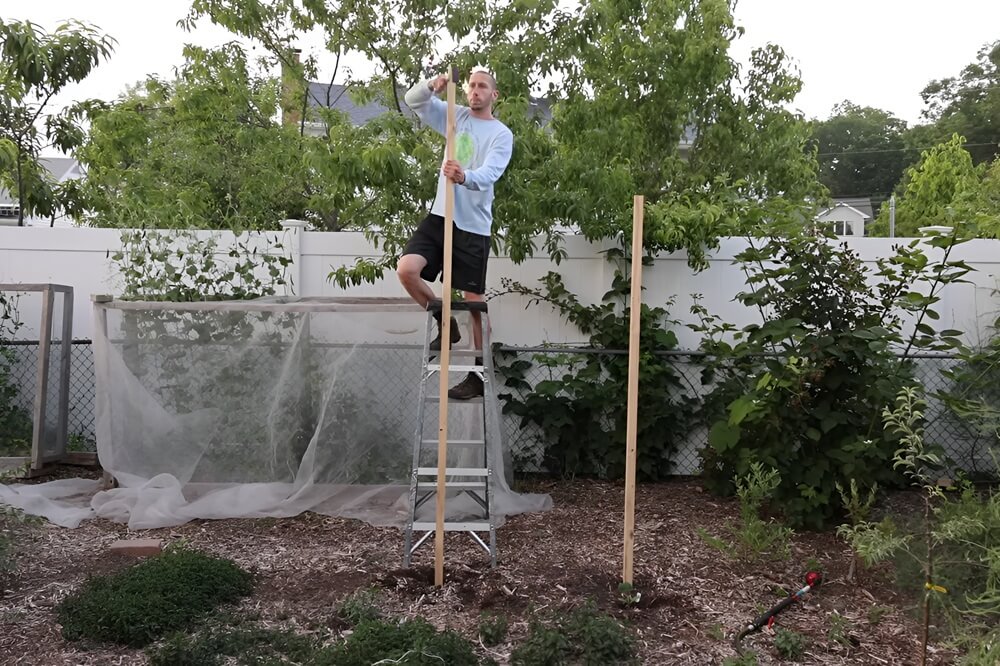
Drive your stake into the ground first. This is one of those steps that saves you from heartbreak later.
If you wait until after planting, you can easily punch through roots when you hammer the stake in, and squash plants do not appreciate root damage.
How to do it:
- Rip down a 2×6 into a strong stake (or use another sturdy option).
- Knock it firmly into the ground where the squash will grow.
- Make sure it’s stable enough to hold a heavy plant loaded with fruit.
Step 3: Prep the Planting Spot and Feed the Soil
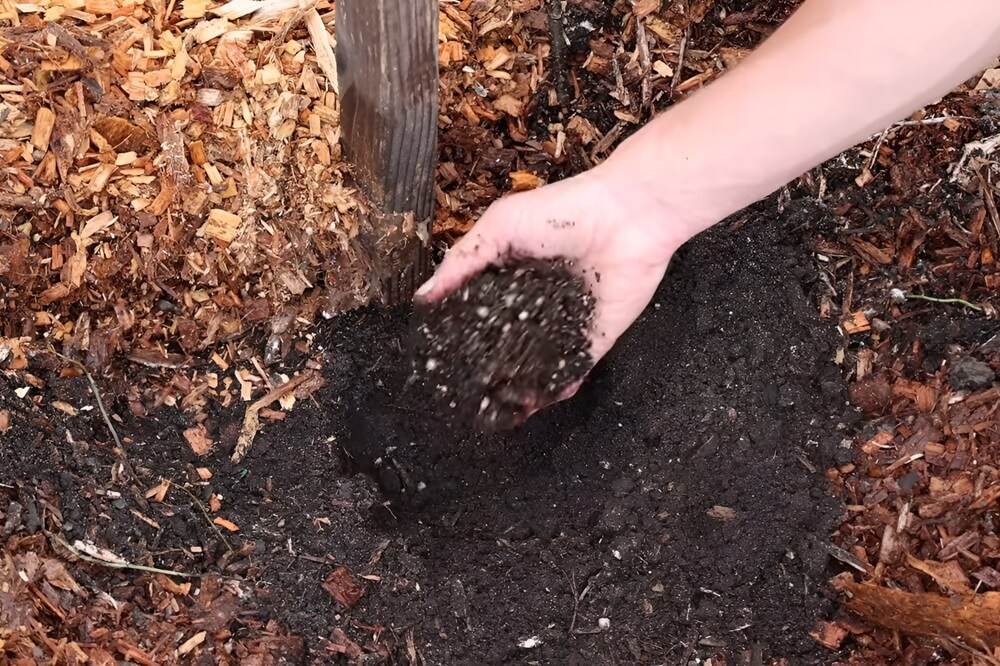
Squash are heavy feeders, and a strong start is a big part of getting early production.
- Pull back any wood chip mulch until you reach the soil level.
- Dig a planting hole.
- Mix in a handful of compost or homemade soil and a small amount of all-purpose fertilizer
This sets the plant up for fast growth and steady fruiting.
Step 4: Transplant Your Squash Next to the Stake
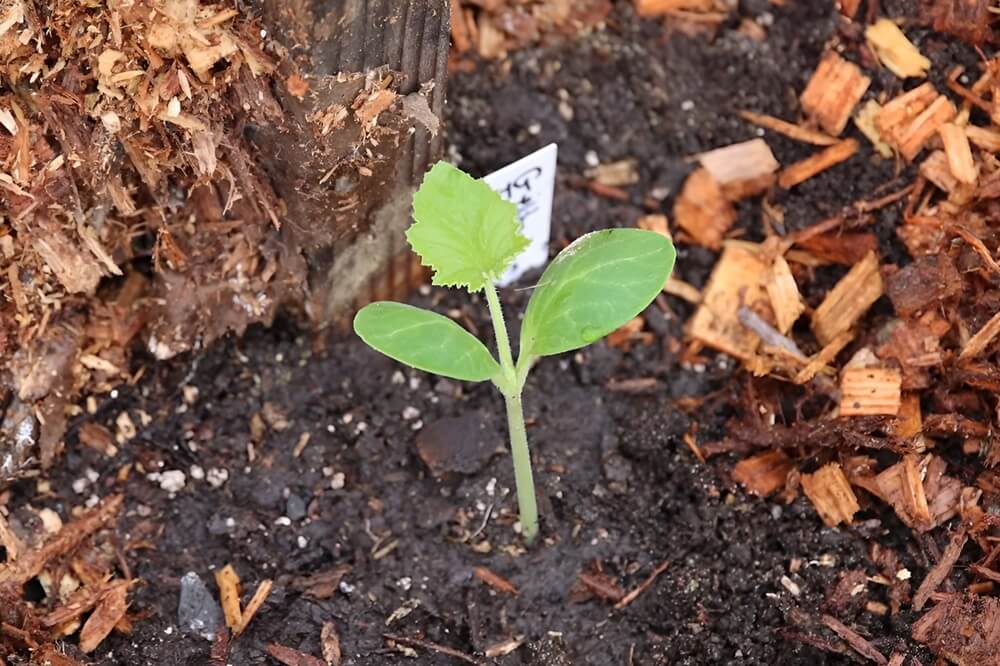
Start with a healthy young plant (James used a summer squash plant he started indoors), then transplant it right next to the stake.
- Plant the squash seedling beside the stake.
- Water it in well.
- Replace mulch around it (but don’t bury the stem deeply).
Then give it a few days to adjust.
Step 5: Protect Young Plants from Common Squash Pests
About a week after transplanting, once the plant is settled, protect it before pests move in.
Option A: Spray with Surround (Kaolin Clay)
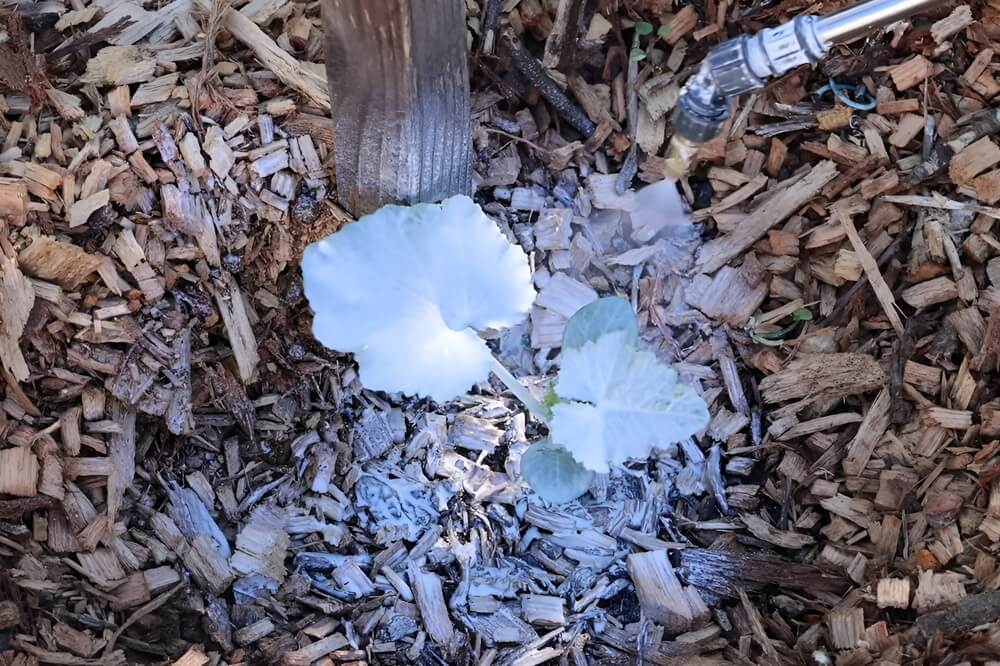
Surround is an organic clay powder that creates a protective coating. In the video, it’s used to help deter:
- Squash vine borers
- Cucumber beetles
Important: Spray especially well around the stem, since vine borers target that area.
Option B: Use Insect Netting Early On
If you don’t have kaolin clay, use insect netting/row cover while the plants are young.
- Keep it on while the plant is small.
- Remove it when flowers appear so bees can pollinate.
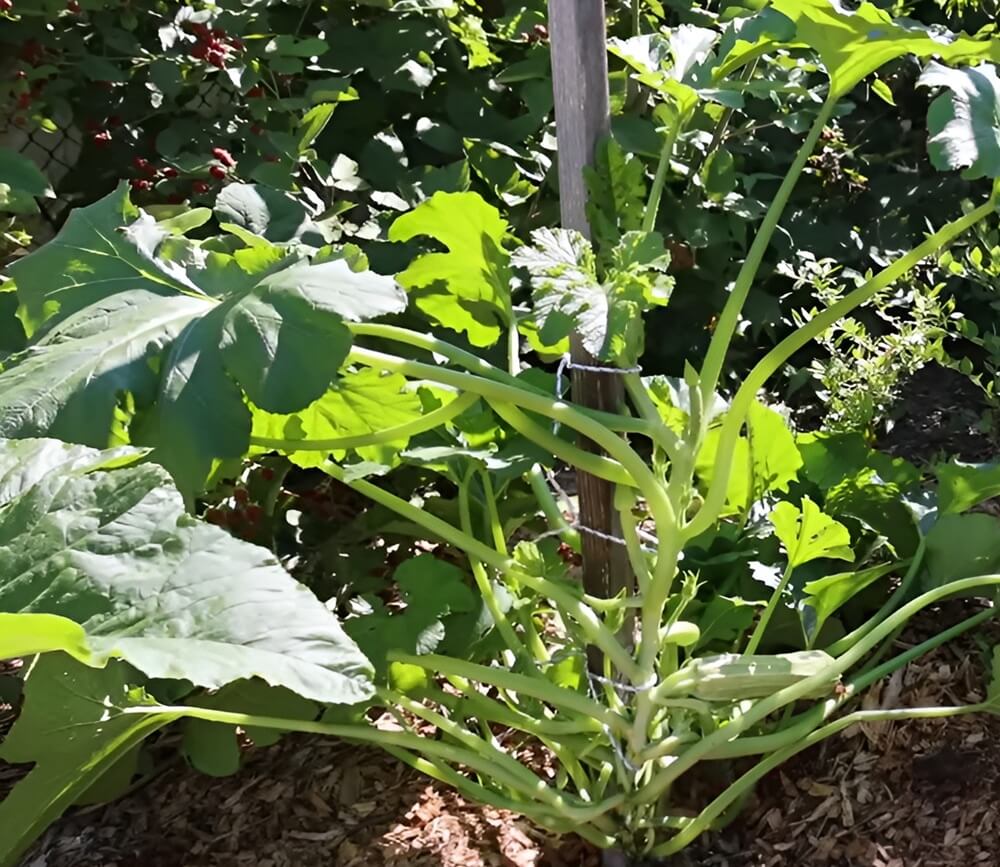
Step 6: Let the Plant Grow, Then Tie It Up Before It Gets Too Heavy

Once vines start stretching (and especially once fruit sets), it’s time to train the plant upward.
Don’t wait too long. In the video, James mentions cracking a stem because he tied the vine up after it was already heavy with fruit. It recovered, but it’s easier to prevent that mistake.
How to tie squash to a stake:
- Use paracord or soft ties (not thin string).
- Lift the vine gently into position.
- Tie it to the stake in multiple places.
- Spread out the support so the plant’s weight is distributed evenly as it loads up with squash.
Repeat as the plant grows.
Step 7: Hand Pollinate When Needed (So Fruit Doesn’t Abort)

If you’ve ever seen tiny squash start forming, turn yellow, and shrivel, that’s usually a pollination problem.
This often happens during, rainy stretches, cloudy weather, times when bees aren’t flying much.
How to hand pollinate squash
- Find a male flower (thin stem, no fruit at the base).
- Collect pollen using a Q-tip or pluck the male flower and peel back its petals
- Find a female flower (has a small fruit at the base).
- Rub pollen onto the center of the female flower.
This one step can dramatically increase your harvest consistency.
Squash Growing Tips
Use the “End of the Bed” Trick to Save Space
You don’t have to train every squash vertically.
A clever alternative is to plant vining squash at the end of a raised bed, then let it grow off the side and sprawl along a walkway.
This method uses about one square foot of bed space, converts unused walkway area into productive growing space, keeps your raised bed open for other crops.
It’s a great way to get more food without sacrificing your main planting area.
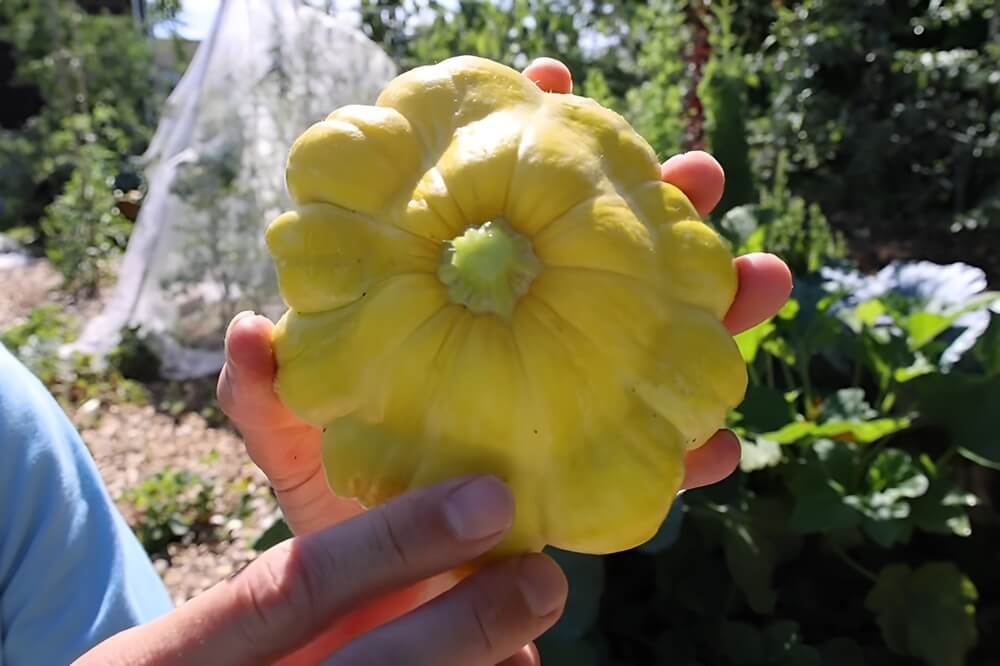
Harvest Summer Squash Early (The More You Pick, the More You Get)
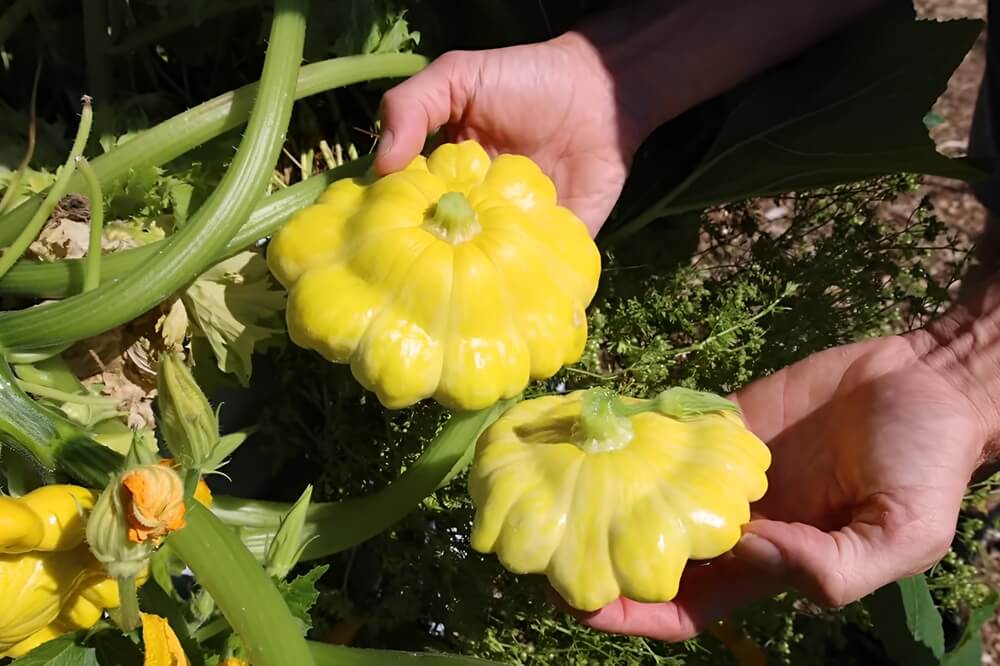
For summer squash (zucchini, pattypan, scallop squash, etc.), harvesting early is one of the best “production hacks” you can use.
The best time to pick is when the squash is still tender and the flower starts to drop off naturally.
If you leave summer squash on the plant too long, the plant shifts energy into seed production. When you keep harvesting, you “trick” the plant into producing more flowers and more fruit.
Bottom line: Stay on top of harvesting and your squash plant will reward you for it.
Handle Winter Squash Differently
Winter squash is the opposite of summer squash.
For winter squash, you should let fruit fully ripen on the vine and harvest when mature (depending on variety).
One extra midseason tip from the video:
- In midsummer, once a winter squash plant has a good set of fruit, you can remove some new flowers so the plant focuses on ripening what it already has before frost.
Prune for Health and Better Production
Squash plants can get messy fast, and sick leaves can spread problems through the whole plant.
Remove damaged or diseased leaves
- Spray pruners with isopropyl alcohol first (so you don’t spread disease).
- Cut off yellowing leaves, diseased leaves, and leaves dragging on the ground.
Manage side shoots when growing vertically
Squash vines can form side shoots (similar to “suckers” on tomatoes).
- When the plant is young: remove excessive side shoots to encourage one strong main vine.
- When the plant is established (around 4–5 feet tall): pinch off the growing tip of the main vine to encourage productive side shoots and increase overall fruiting.
This helps the plant shift from “just growing” to “producing hard.”
Don’t Panic if You Crack a Vine
If you accidentally crack a vine while tying it up, it’s not the end of the world.
Squash vines often push out new growth points and side shoots. One of those can become the new “top,” and the plant can keep right on going.
The bigger lesson: tie earlier and support in multiple spots so the vine isn’t bearing all the weight in one place.
Deal With Pests (and How to Save a Damaged Plant)
The toughest part of squash is usually pests, especially squash vine borers, squash bugs, and cucumber beetles.
If a vine borer attacks the stem
A clever rescue technique is to bury part of the vine farther down the line.
Squash vines can root from little bumps along the stem—so if you bury a section past the damage, the plant can form new roots and keep producing.
Spray options (use carefully)
- Neem oil (look for pure neem that includes azadirachtin)
- Pyrethrin sprays (effective but harsher, can harm beneficial insects)
If using stronger sprays, avoid spraying when bees are active.
Stagger Plantings for a Longer Season
If pests wipe out a plant midseason, you don’t want your harvest to stop.
Once your first squash starts producing, start another round in seed cells so you have a replacement ready.
That way if a plant gets too damaged, you can pull it, transplant the next one immediately, and keep harvests going late into the season.
Final Thoughts
If you want squash that produces early, keeps pumping out fruit, and doesn’t take over your entire garden, growing vertically is absolutely worth trying. Combine strong feeding, early pest prevention, smart tying, consistent harvesting, and simple pruning, and you’ll be amazed how much squash you can pull from a small footprint.
You can learn more gardening hacks at The Gardening Channel with Jame Prigioni.
Like this post? Don't Forget to Pin It On Pinterest!
You May Also Like: