

Estimated reading time: 6 minutes
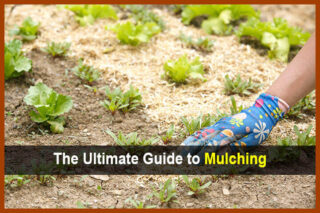
Adding mulch to your beds is one of the most beneficial tasks you can perform as a gardener. Mulch helps conserve water, suppress weeds, and protect against erosion. This insulating layer also can help provide nutrients to the soil.
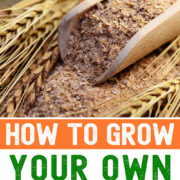
But what if you want to avoid the time and expense of buying and hauling bags of mulch to your garden? The answer is to grow and make your own garden mulch. It’s surprisingly easy and inexpensive. This article shares the information you need to know to get started.
Want to save this post for later? Click Here to Pin It On Pinterest!
Start a Rye and Oats Bed
Many gardeners plant rye and oats in the fall as cover crops because they germinate and grow quickly. As they decompose, they serve as a protective barrier, helping to retain moisture, discourage weed growth, and add nutrients.
For the same reasons, you can plant rye and oats in the spring to use as mulch. You don’t need much space for planting – you can easily use a small portion of your garden area for this purpose or even areas along a walkway or wall.
You’ll be surprised at how quickly these crops grow. To harvest the cuttings, try placing a collection bag on your mower to gather your first harvest and then again as the crop grows back. You may be able to use a string trimmer or a scythe in small areas. However, the advantage of using a mower is that it does the chopping for you, making it easier to throw down the mulch where you want it.
You may be able to harvest four or five times over the spring and summer season before having to reseed. If you have a large bed, you may need to mow before tilling and use a rototiller to work out the stems. Then, wait a week or so to allow the tilled stems to begin to decompose before reseeding.
Depending on your gardening zone, you may be able to plant these crops well into the fall. Some hardy species will go dormant in the winter and resume growth in the spring.
For more information on growing rye, oats, and clover — often called “green manure” — to use as mulch, here are a few resources:
- Planting Cover Crops in the Home Garden
- Winter Rye: A Reliable Cover Crop
- Benefits of Oats Cover Crops
- Cover Crops & Green Manures
Other DIY Mulch Ideas
Here are other ways to create mulch for your garden.
Leaves
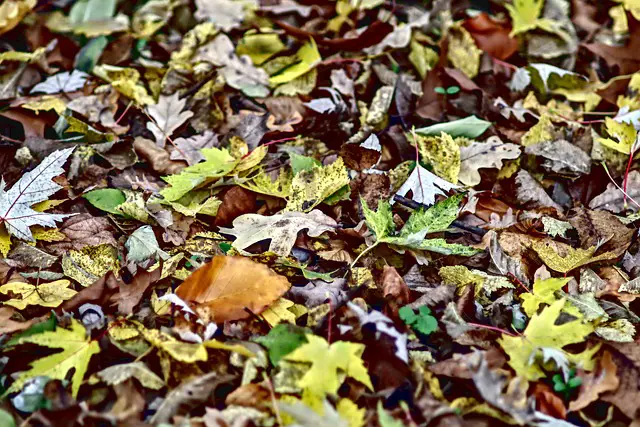
Another way to grow your own mulch is to use fallen leaves from bushes and trees on your property. Here are the simple steps.
- Rake leaves into a pile on a flat section of your lawn, spreading them out so they are about two inches thick.
- Then, go over the pile with your lawnmower a few times to shred the leaves into small pieces that are about the size of a dime. This size is ideal for your beds, allowing for faster decomposition.
- If you have leftover leaves, you can store them in bags that have aeration holes to use when needed. However, keep in mind that stored leaves will lose some of their nutrients.
Here is more information on leaf mulching.
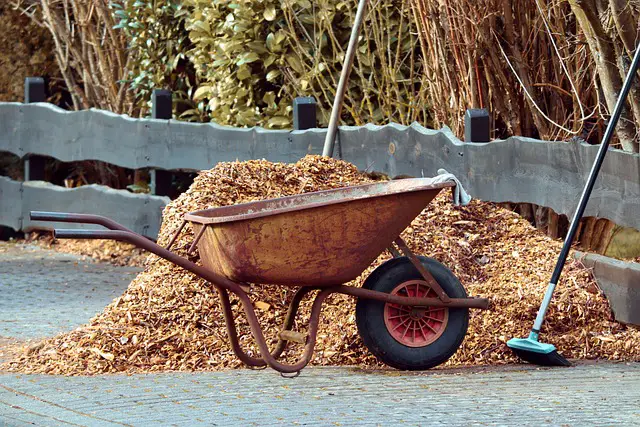
Bark, Tree Trimmings, Branches, and Pine Needles
In addition to leaves, you can make a wood chip mulch from other yard trimmings and clippings. Wood mulch decomposes more slowly than other mulches and can be a handy long-term solution.
Here is more on making your own wood chip mulch.
Grass Clippings
Another easy DIY mulch is to repurpose your dry, pesticide-free grass clippings. After gathering clippings in your mower bag or raking them, spread them out in a flat area to thoroughly dry in the sun.
They will be ready to distribute on your garden beds when they feel looser to the touch and have turned slightly brown. Then, sprinkle a one-inch layer of the dry clippings on your beds. You can keep adding new layers over the growing season.
Check out this article for more on using grass clippings as garden mulch. This video is helpful, too.
Compost
Using compost as mulch may take more time than the other options, but it is an excellent way to nourish your garden beds, providing beneficial nitrogen and carbon.
With what is known as “hot composting,” you can create mulch in a few months of warm weather. With “cold composting,” it often takes a year or so. With either method, you would use a mix of brown and green materials, including:
- Eggshells
- Fruit and vegetable peels
- Coffee grounds
- Dry leaves
- Grass clippings
- Chopped bark and branches
- Shredded newspaper
Do not compost diseased plants, sawdust, weeds with seeds, dairy products, or anything that contains meat, grease, or oil.
Chopping up the materials helps them turn to compost more quickly. Sprinkle water over the pile regularly, avoiding overwatering that can lead to rotting. Stir the pile about once a week. It should begin to feel like a warm, damp sponge. When the pile becomes dry and brown and no longer gives off heat, it is ready to use as mulch.
Here’s more on using compost as mulch.
Rules of Thumb for Mulching
As we mentioned, mulching can offer significant benefits to your garden. But there can be too much of a good thing. Here are some practices to keep in mind.
- Less can be more. Mulch layers of more than one or two inches can do more harm than good. Excessive mulching can deprive roots of water and oxygen.
- Place mulch away from the bases of trees and other woody plants. Maintain a minimum of a six-inch border between mulch and woody plant trunks to help prevent decay and discourage tunneling pests or wood-boring insects.
- Dry it out. Wet leaves and other materials can quickly become moldy. Dry out mulch components thoroughly before applying them to your beds.
- Keep it clean. Avoid using any materials that have been treated or sprayed with pesticides or other chemicals.
- Dry mulches, including wood chips, are flammable. To avoid a fire hazard, create a border between the garden bed and buildings.
After you get the hang of growing or creating your own mulch, you’ll wonder why you ever bought bags of the stuff at the garden center. DIY mulching is just another step in the process of living a more sustainable and self-sufficient lifestyle.
Like this post? Don't Forget to Pin It On Pinterest!
You May Also Like: