5 Ways to QUICKLY Become More Self Sufficient
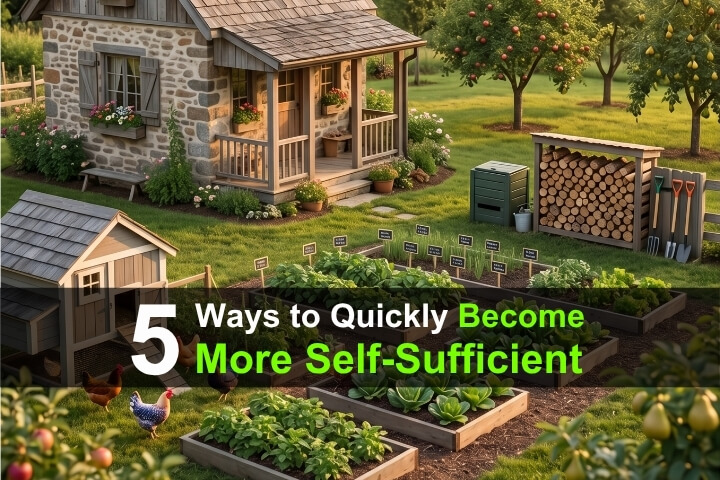
Becoming fully self-sufficient takes years, but you can start producing your own food almost immediately with these five practical tips.
Becoming fully self-sufficient takes years, but you can start producing your own food almost immediately with these five practical tips.

Learn how to make a simple, non-toxic homemade dish soap using castile soap. Skip the harmful chemicals with this easy, natural DIY recipe.

Learn how to build a thermal siphon water heater using a wood stove and copper coil to produce endless hot water off the grid.
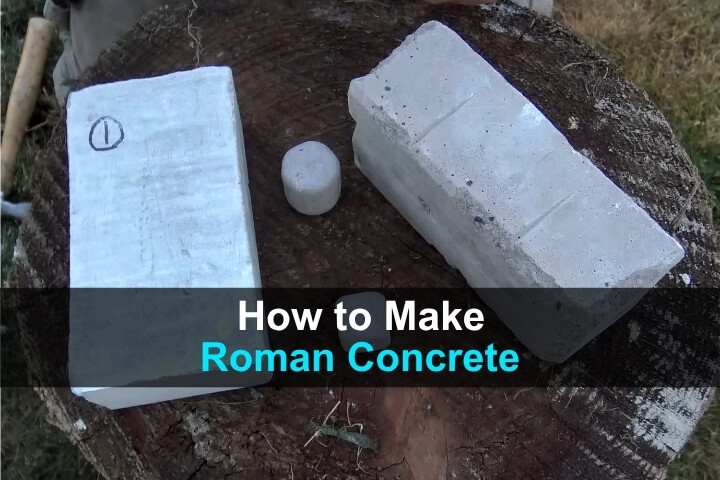
Roman concrete outlasted modern concrete by 2,000 years. Learn how to make it yourself using volcanic ash, limestone, and a few basic tools.
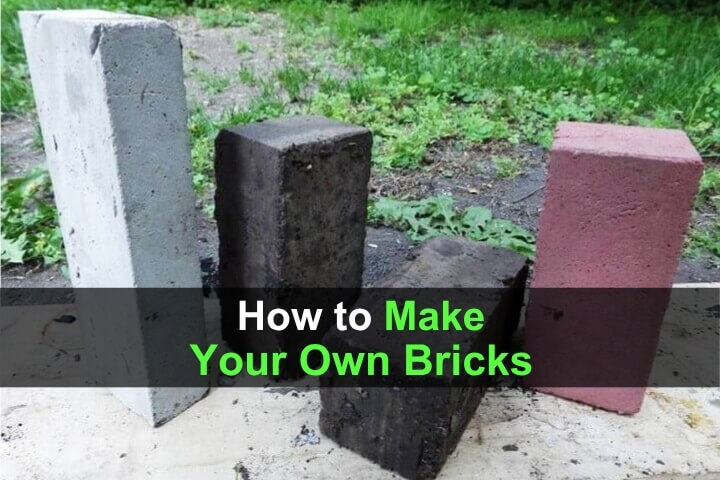
Learn how to make four types of bricks from scratch: clay, soil, papercrete, and concrete. Includes step-by-step instructions and pictures.
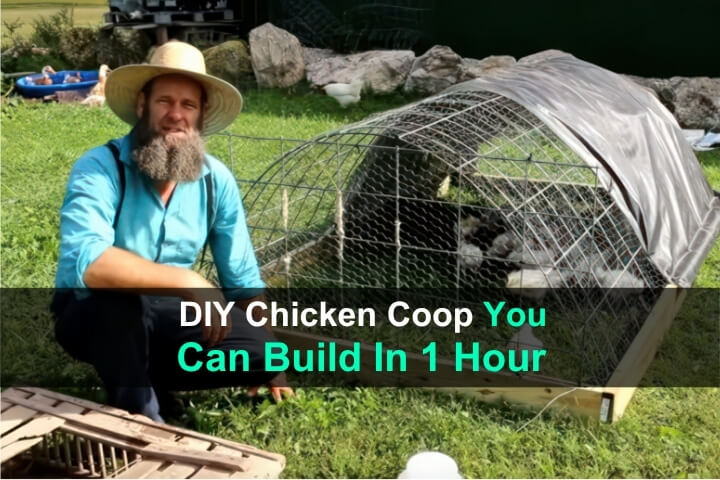
Build a DIY chicken tractor for just $50 using lumber, cattle panels, and chicken wire. Ready in under an hour and easy to move around.
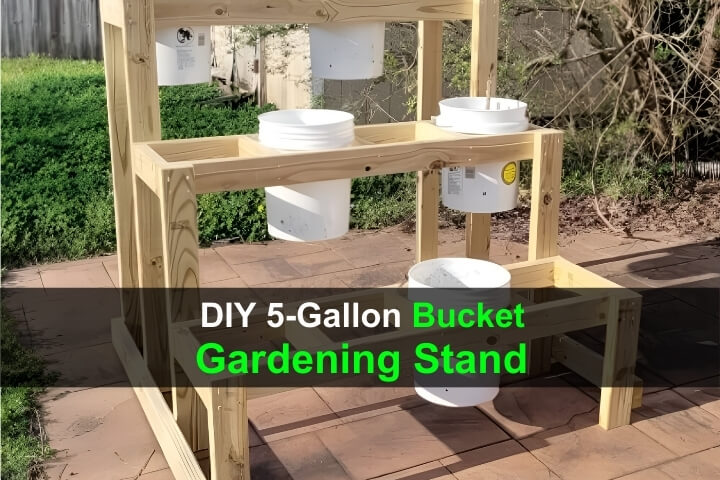
Build a DIY 5-gallon bucket raised bed garden stand with this simple step-by-step guide, materials list, cut list, and instructions.

Make elderberry syrup at home with dried elderberries, ginger, cinnamon, and honey. An easy immune-boosting recipe for cold season.
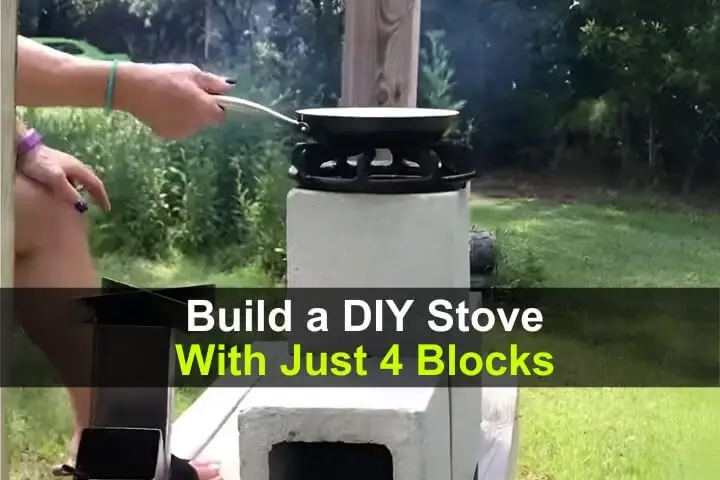
Build a cinder block “Banshee stove” in minutes and cook with twigs. An easy, efficient backup cooking plan for outages.
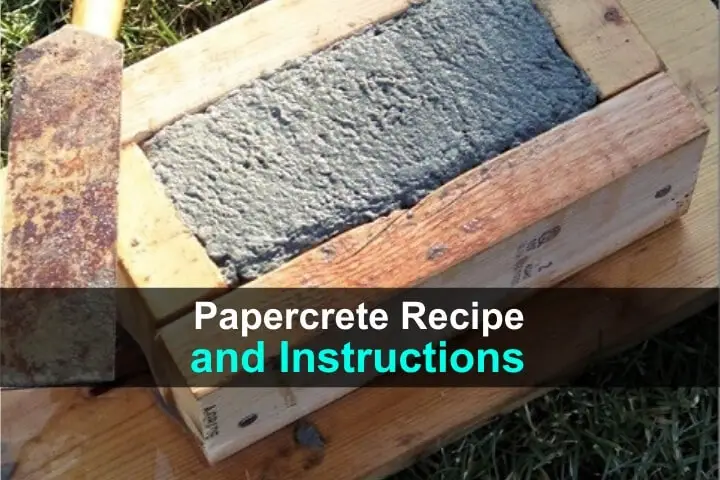
Papercrete was invented in the 1920s, but it was so easy to make, no one bought it. Papercrete has been used to build homes, walls, fences, and is easily formed into any object from flowerpots to furniture. The biggest advantage … Read more
