Estimated reading time: 9 minutes
Potatoes are the perfect food. You can turn them into French fries, hash browns, potato chips, mashed potatoes, and all sorts of other things. Plus, they're good for you! This is why I store lots of potatoes.
But storing potatoes isn't as simple as dumping them in the pantry. If you do that, you're going to get lots of sprouted potatoes. Or worse, you'll get soft, rotten potatoes that smell awful.
If you’re wondering how to save your potatoes from this fate, I have good news. There are a number of methods you can use to store your potatoes so they are safe to eat and delicious. Let’s take a look.
Choose a Variety of Potato That Stores Well
First things first, you’ll want to grow potatoes that are bred to store well. There are plenty to choose from. For example, you might want to grow varieties such as Yukon Gold, Yellow Finn, and Katahdin.
Kennebec is also a good choice of potato for storing. You’ll also want to make sure to grow a variety of potatoes that suits your climate, so check your grow zone and compare it to the growing zones of the potatoes you want to grow.
Want to save this post for later? Click Here to Pin It On Pinterest!
How to Cure Potatoes Before Storing Them
Curing your potatoes before you store them will help them last longer. Curing toughens up the skin of the potato.
In late summer, the foliage of your potato plants will die off. At this point, you can dig up the potatoes and cure them.
Choose a cool, well-ventilated, and dark area to cure your tubers. It should be around 50 to 60 degrees. Lay the potatoes out on newspaper, so they aren’t touching.
It takes about two weeks to cure your potatoes. At this point, you can rub off the dirt, but do not wash them. Discard or eat any damaged potatoes, and be careful not to cut or bruise the rest of the potatoes when you handle them. Potatoes need to be dry when they go into storage.
Now let's talk about the various ways to store potatoes.
1. Store Your Potatoes in a Root Cellar
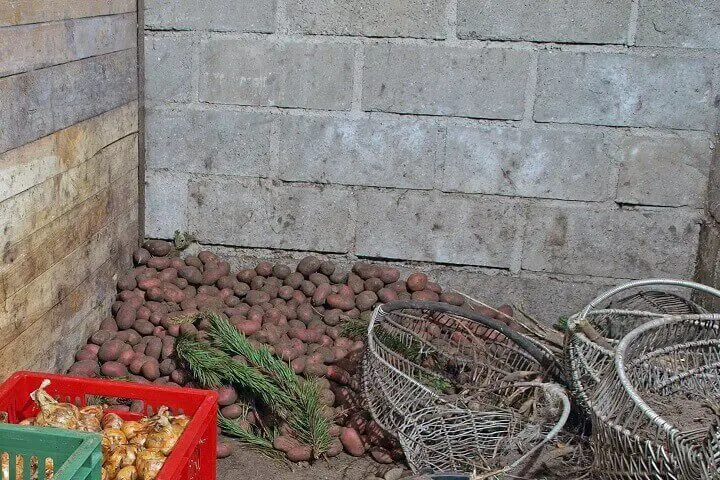
My grandma had a root cellar where she stored potatoes, apples, and squash for the winter. It was delightfully cool, even in the middle of summer. It was the perfect place to store potatoes.
If you have a root cellar or even an unheated basement, you can store your potatoes there.
First, gently place your potatoes in crates, baskets, perforated cardboard boxes, or ventilated bins. Don’t pack them too deeply or the ones on top will crush and ruin the ones underneath.
You’ll want to store them at 35 to 40 degrees for best results. Cover the boxes with newspaper to keep out any light. Light makes them turn green. The warmer the temperature, the shorter the storage time.
According to almanac.com, potatoes are genetically predisposed to be planted in the spring. Therefore, they’ll likely store well until around April, when they will begin to sprout.
2. Store Your Potatoes in the Ground
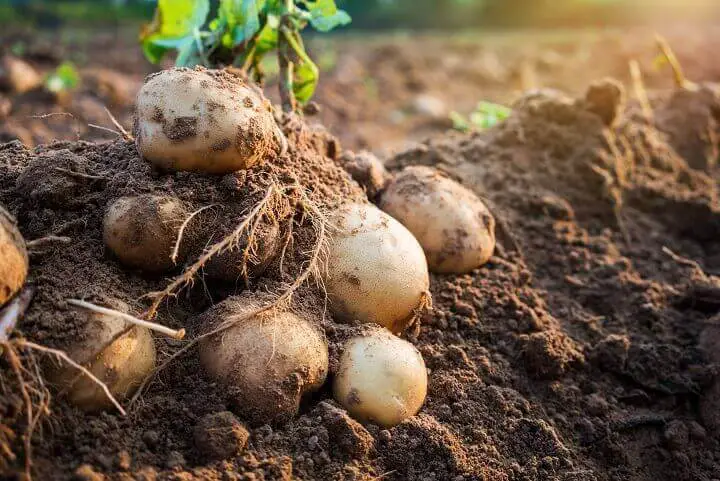
If you don’t have a root cellar, you can store potatoes in the ground, although this isn’t always the most effective method. Instead, just leave your potatoes in place until the plants die off. Then you can cover the potato plants with a thick layer of mulch or straw.
You can dig potatoes all year long if the ground doesn't freeze. However, once the ground freezes, your potatoes may go bad, or you might not be able to get them out of the frozen dirt.
If the potatoes remain in place until spring, they may begin to sprout.
3. High-Pressure Can Your Potatoes
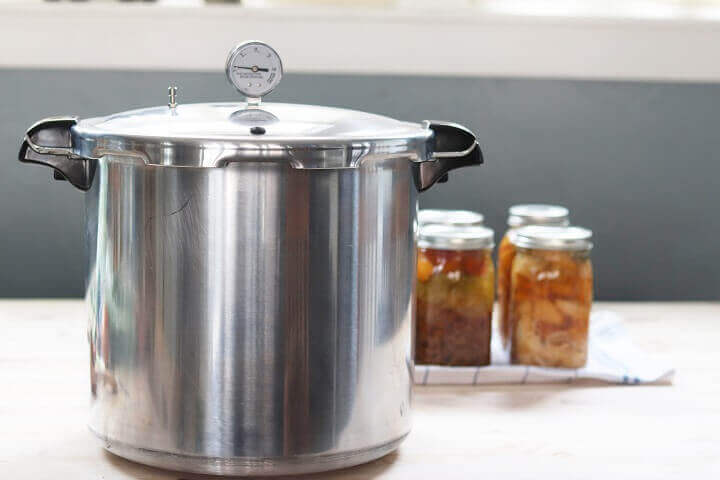
Another way to store potatoes long-term is to use high-pressure canning. Pressure canning uses steam and pressure to create higher temperatures so you can safely can low-acid foods such as meat and vegetables.
You’ll need to make sure you have a pressure canner, jars and lids, a canning kit, and your potatoes. It might seem scary to pressure can, but as long as you have good working equipment and can follow directions, it’s not that hard.
There are different types of pressure canners, so you’ll need to follow the directions that came with your specific canner. Make sure it’s a pressure canner, not just a water bath canner. Potatoes need the pressure and temperature that you can only get from a pressure canner.
Here is the basic idea:
- Peel your potatoes and slice them.
- Prep your jars and lids.
- Fill the jars with potatoes and pour boiling water over them, leaving a one-inch headspace.
- Place your jars in the canner and follow the directions for your specific pressure canner.
It’s surprisingly simple to do!
Store your canned potatoes in a cool, dark place. Sunlight and heat will cause the contents to degrade faster.
For detailed directions, though, you can check out this article on how to pressure can your potatoes.
4. Dehydrate Your Potatoes

Dehydrated potatoes are easy to make and should store well for 1 to 2 years in your pantry. You can make them in several different ways, depending on your needs.
Sliced, dehydrated potatoes work very well if you make recipes such as au gratin potatoes. On the other hand, if you like to use potatoes in soups and casseroles, you might prefer small cubes.
Here's what to do:
- Peel your potatoes and cut them however you like. While you are preparing your potatoes, keep them submerged in cold water to prevent browning. You may also want to add some lemon juice or citric acid (available where you purchase canning supplies) to the water.
- Dry them with paper towels.
- Spread them out on the trays of your dehydrator in a single layer.
- Process the potatoes according to your dehydrator’s directions. Generally, you’ll have the temperature set between 125 and 135 degrees Fahrenheit, and it will take 6 to 8 hours, depending on how thick your slices are.
If you don’t have a dehydrator, you can also dehydrate your potatoes in your oven. Here's how:
- Spread your potatoes out on a cooking sheet in a single layer. You’ll probably want to use baking or parchment paper to keep them from sticking.
- Set your oven on the lowest temperature and bake for around 6 to 8 hours until the potatoes are dry and crispy.
- Store in an airtight container away from heat and light for 1 to 2 years.
5. Turn Your Potatoes Into Potato Flakes
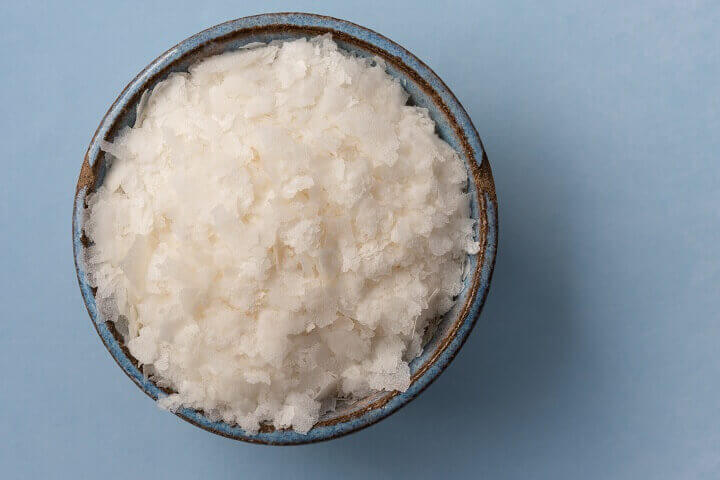
Potato flakes are easy to make, store well, and take up much less room than whole or canned potatoes. Here's how to make them:
- Peel and boil your potatoes until they are soft, as if you were making mashed potatoes.
- Use a mixer or masher to whip the boiled potatoes into a smooth texture, much like mashed potatoes.
- Put parchment paper on the trays of your dehydrator, then spread a thin layer of potatoes over the paper.
- Follow the directions on your dehydrator for specifics, but typically you’ll set the temperature to 140 degrees and dehydrate the potatoes for 24 to 36 hours. Dehydration time will vary depending on how thick your potatoes are. Try to turn any flakes or chunks about halfway through, if possible.
- After the potatoes are dry, you’ll have large chunks or flakes. Transfer them to a blender or food process to break them up into tiny flakes.
- Store in an airtight container for 1 to 2 years.
To use your flakes to make mashed potatoes, bring 2/3 cup of water to a boil. Then, turn off the heat and add one tablespoon of butter, 1/3 cup of milk, and 2/3 cup of flakes. Stir.
6. Slice and Blanch Your Potatoes for Freezing
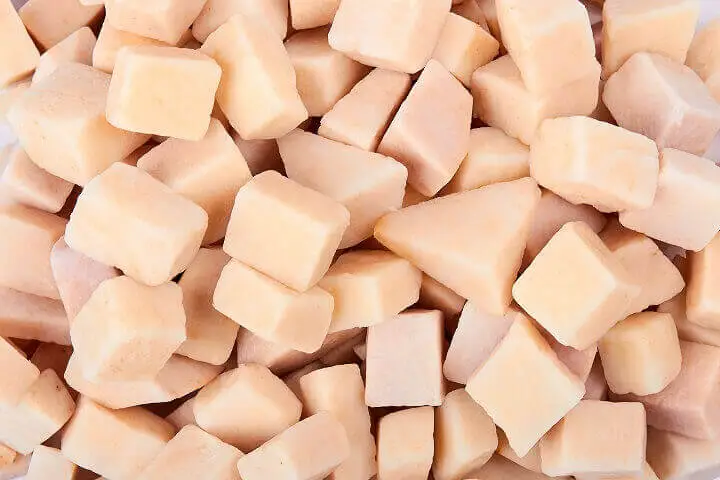
Blanching potatoes before freezing helps to retain the color, texture, and nutrients in your potatoes. However, make sure your potatoes are cured before you blanch them.
Here's what to do:
- Prepare and peel your potatoes just like you would for cooking.
- Slice them, dice them, shred them, or make French fries, depending on how you would want to cook them later.
- Boil a large pot of water.
- Add some potatoes and allow the water to return to a full boil.
- Boil the potatoes for a full three minutes.
- Submerge the potatoes in ice water to stop them from being cooked too much.
- Once the potatoes are cool, you can dry them with a towel or paper towel.
- Spread the potatoes out on parchment-lined cooking sheets so they don’t touch.
- Place the sheets in the freezer until the potatoes are frozen. This will probably take overnight.
- Once the potatoes are frozen, you can take them out of the freezer and move them into freezer bags or containers.
- Store them in your freezer until you are ready to use them.
To use your frozen potatoes, place them on a cooking sheet and drizzle with olive oil. Then, bake your frozen potato slices on a cooking sheet at 450 degrees for around 35 minutes.
If your potatoes remain frozen at 0 degrees Fahrenheit, they will technically be safe to eat indefinitely. However, they will keep their best quality for around 12 months.
Like this post? Don't Forget to Pin It On Pinterest!
You May Also Like:




A friend’s dad used to grow enough spuds to last for a year. For an amount of them he’d dig a hole down below the freeze line. Put a layer of sawdust in, then a layer of burlap bags, then a layer of sacks of potatoes in burlap bags. Cover the spuds with more burlap bags then another layer of sawdust then with cardboard on top then put the dirt on top of that. He’d keep out enough spuds to last until late spring then go out and dig up the stored spuds.
I can tell you for a fact that those spuds stored that way tasted absolutely exactly like they had just come out of the garden.
As I remember the stored spuds were enough to last until the first of the of the the new crop were big enough to use.