Estimated reading time: 10 minutes
For Our Pioneer Ancestors, The Only Candy Store Was At Home.
We take candy for granted. We can buy it anywhere, and it’s usually pretty cheap. But there was a time when it was a rare treat. Back in the 1800s, candy only showed up around the holidays or special events like a birthday.
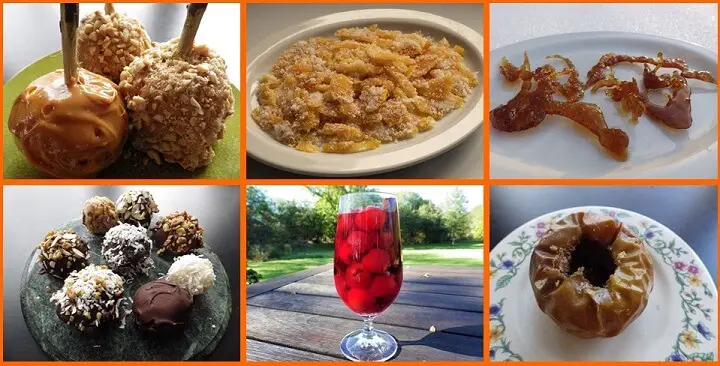
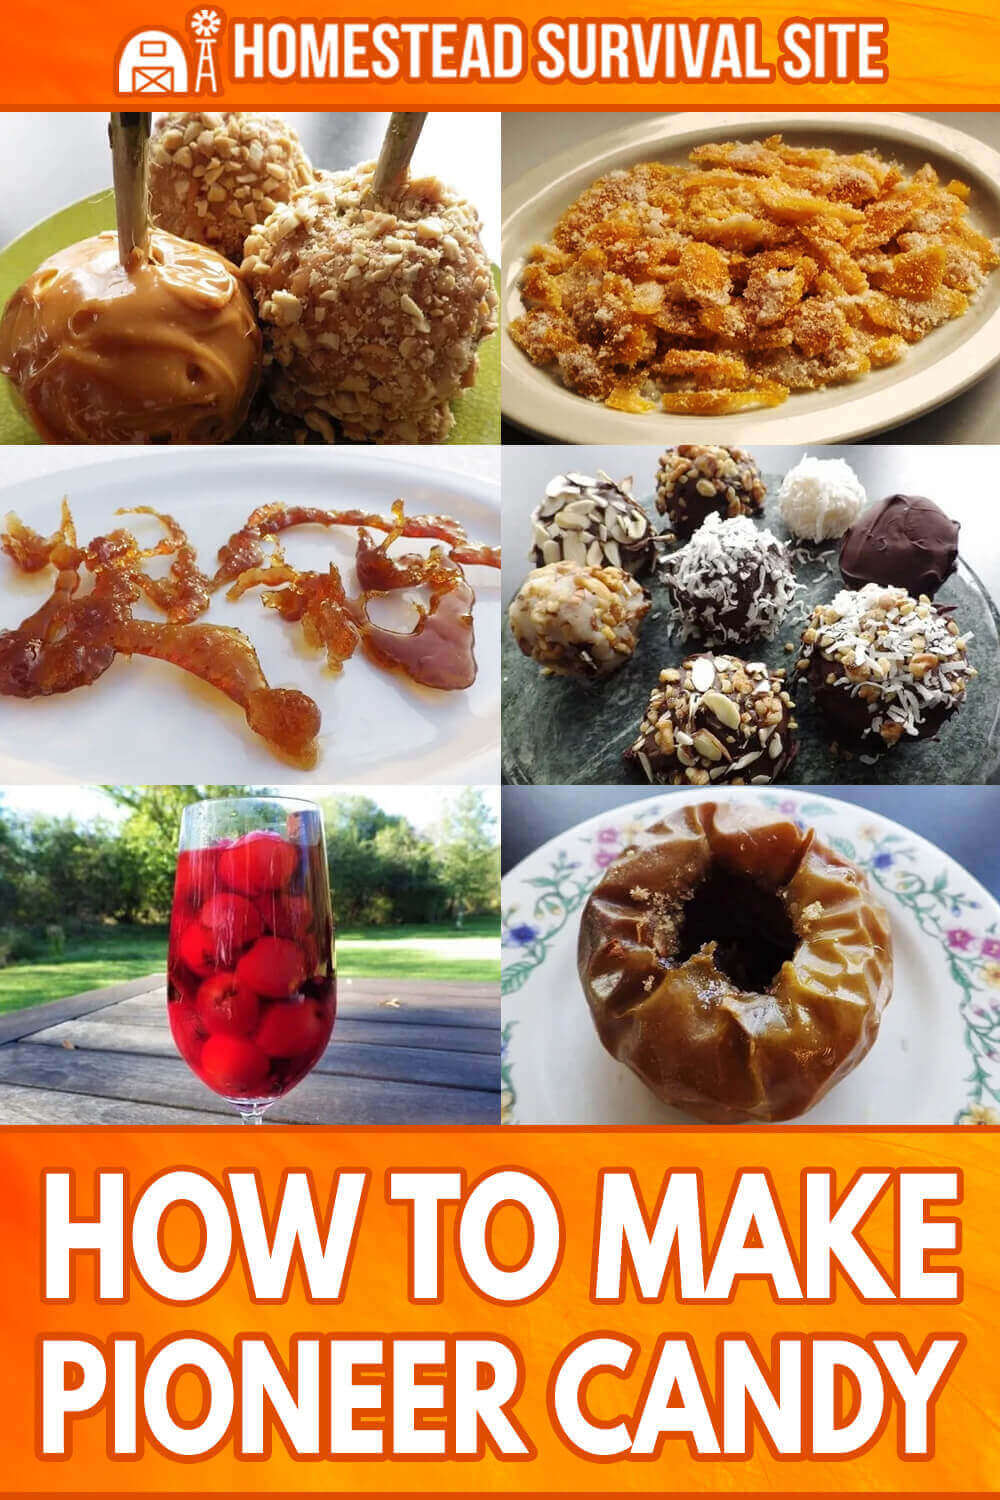
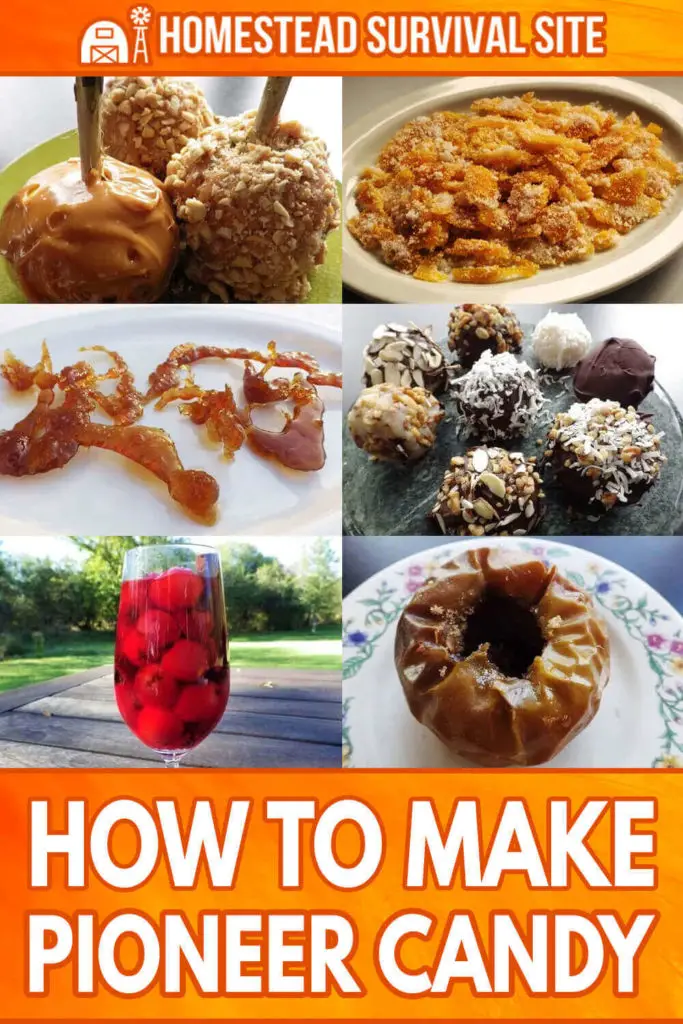
The candy was often improvised and highly creative using the found materials nature or the family garden provided. There was even an exotic candy that showed up rarely when a precious orange found its way home. Here are the candies with recipes we’ll cover (as pictured below):
Want to save this post for later? Click Here to Pin It on Pinterest!
2. Candied Orange Peel
3. Maple Syrup Snow Candy
4. Mashed Potato Candy
5. Candied Crab Apples
6. Baked Apples
It should come as no surprise that the primary ingredient for candy making was sugar, and sugar was very different back then. There was no such thing as granulated sugar in a bag. The white sugar was hardened and in the form of a cone with a hole up the center. It stood on a stick in a small circle of wood and the sugar had to be shaved from the hard cone with a knife.
Some of the sugar had a high molasses content and resulted in brown sugar that was actually more common than the refined white sugar.
The sugar was imported from the sugar cane plantations in the Caribbean and was always a valued addition in the kitchen. Natural sweeteners also found its way into the kitchen, including honey and maple syrup.
The concept was simple. If it was sweet, it could make a sweet treat. Here are the recipes our pioneer ancestors used.
A Note of Caution: Many of these recipes involve bringing sugar and water to high heat. The boiling point of water is 212 degrees Fahrenheit. That’s hot, but it will never get hotter. At 212 the water boils off as steam and the temperature stabilizes at 212.
When sugar is added to water, the temperatures can get as high as 245 degrees or more. That’s dangerous. Keep the kids at arm’s length for any part of a process involving boiling sugar. They can get involved once the sugar has cooled.
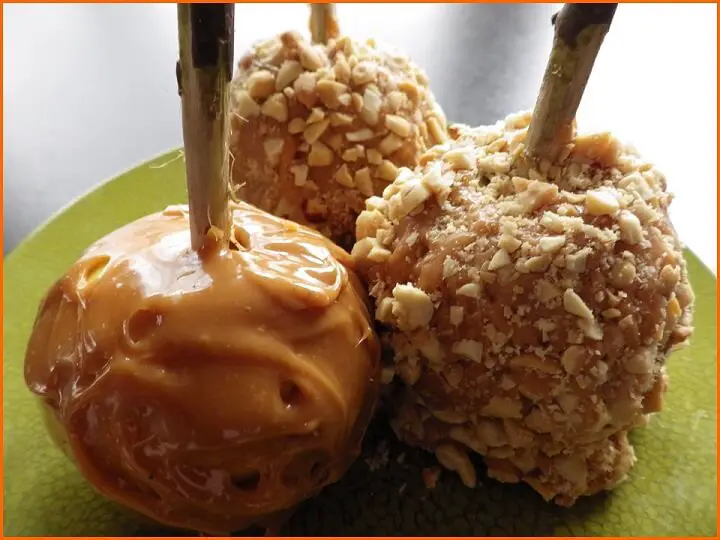
1. Caramel Apples
Apples were one of the most common fruits in early America. They were used for everything from cider and vinegar to pies and desserts. A particular favorite was an apple rolled in caramel and then sometimes rolled in nuts.
Ingredients:
- 1 16-ounce bag of caramel candies (the pioneers made this from scratch using sugar that was melted and cooked until caramelized, but we’re going to make this safe and easy).
- 6 apples of any variety except Grannie Smith, which are better suited for baking.
- 6 popsicle sticks or 6 twigs shaved of bark and sharpened to a point on one end.
- 2 cups of chopped nuts of any variety or a blend of nuts (the pioneer recipe called for walnuts, chestnuts or roasted acorns).
Directions:
- Insert the sticks into the center of the apple by the stem.
- In a double boiler, melt the caramel candy and stir constantly until melted and smooth.
- Remove the top of the double boiler to the counter-top on a hot pad and roll and spin the apples in the caramel.
- If you like, you can then roll the apples in chopped nuts or just eat them with only the caramel coating but let the caramelized apples cool on a plate for 20 minutes before eating.
- If you want to make more, double or triple the recipe. Keep them refrigerated and they should be good for up to 2 or 3 weeks.
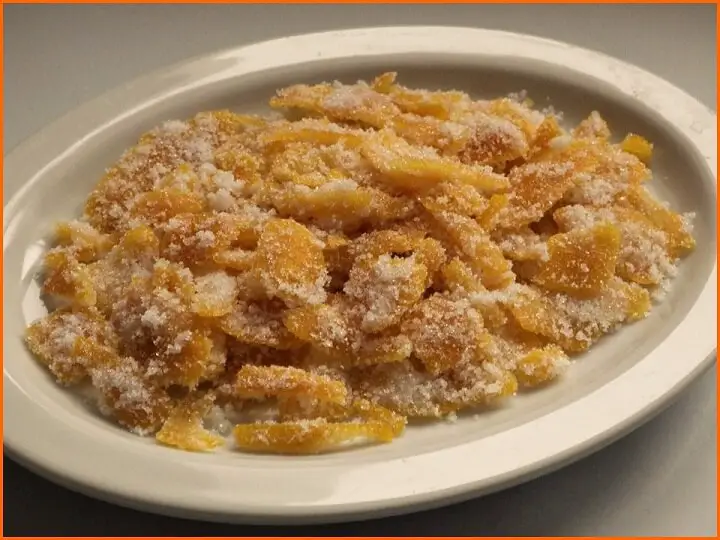
2. Candied Orange Peel
Ingredients:
- Oranges
- 3 cups of white sugar
- 3 cups of water
Directions:
- Cut the peels on each orange into 4 vertical segments.
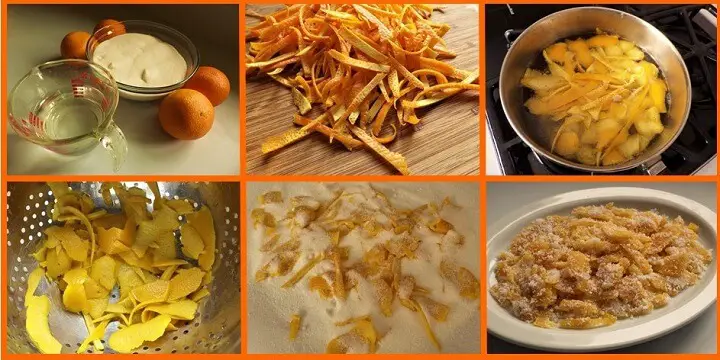
- Cut into 1/4-inch-wide strips.
- Cook the peels in a large pot of boiling water 15 minutes; drain and rinse.
- Bring 3 cups of sugar and 3 cups of water to boil in a medium saucepan over medium heat, stirring to dissolve sugar. Add the peels.
- Return to a boil. Reduce the heat; simmer until the peel is very soft, about 45 minutes. Drain.
- Sprinkle sugar onto a sheet of parchment paper and toss the peel while sprinkling another cup of sugar over the top. Toss the peels and transfer to a plate to dry. Let the sugared orange peels rest until the coating is dry, 1 to 2 days.
- You can wrap and freeze for up to 2 months.
3. Maple Syrup Snow Candy
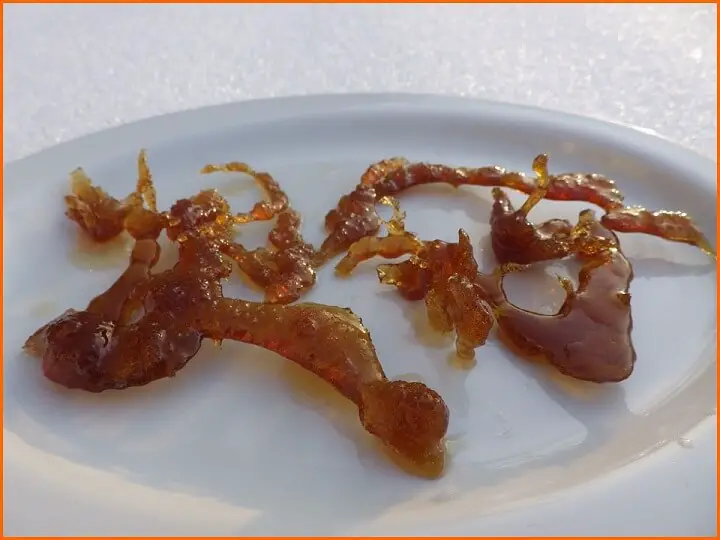
You’ll need a candy thermometer. The recommended temperature is 245 degrees F. that will result in a hard, crunchy candy. If you don’t reach that temperature, the snow candy will be soft and chewy.
Don’t try to just drizzle maple syrup in the snow. It will dissolve into the snow. It has to be cooked.
Ingredients:
- 1 cup of maple syrup (increase the amount if you want more candy).
Directions:
- Real maple syrup is the standard recommendation, but store-bought syrup made with corn syrup works as well.
- In a saucepan over medium heat, bring the syrup to a boil while stirring constantly.
- Clip your candy thermometer to the side of the pan until it reaches 245 degrees, or remove from the heat after 5 minutes.
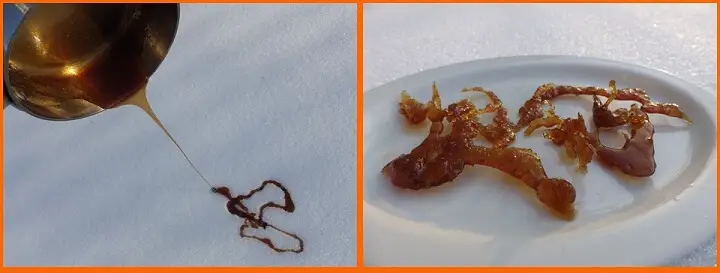
- Immediately drizzle the syrup onto snow or crushed ice and wait 2 or 3 minutes for it to get firm.
- Remove to a plate and eat immediately or freeze for later.
4. Mashed Potato Candy
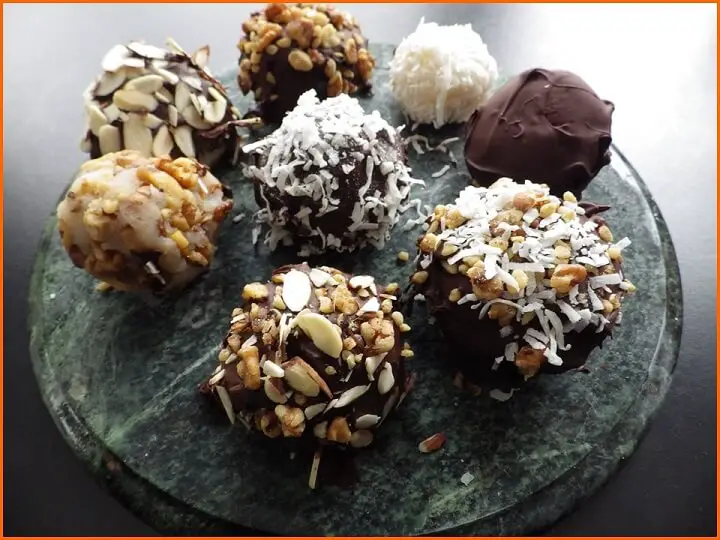
Don’t knock ‘em until you’ve tried ‘em. They’re easy to make and a great way to re-use those leftover mashed potatoes.
Ingredients:
- 6 large potatoes peeled and coarsely cut into pieces
- 3 tablespoons of sugar
- 2 teaspoons of vanilla
- 1 8-ounce bag of morsels or 8-ounces of chopped up chocolate
- 1 cup of chopped nuts of your choice (the pioneers used either roasted acorns or black walnuts).
- 1 cup of shredded coconut
Directions:
- Peel the potatoes and cut into 4 pieces.
- Boil the potatoes in water for 20 to 30 minutes until fork tender.
- Drain the water and mash the potatoes. Add the sugar and the 2 teaspoons of vanilla and mash some more.
- Refrigerate the final mash for 30 minutes to an hour
- Butter the bottom of a plate lightly and using your buttered hands, pick up some of the mashed potatoes and roll into a ball in your hands about the size of a medium-sized meatball.

- Place the mashed potato balls on the buttered plate and put in the freezer for 30 minutes.
- While they’re freezing, it’s time to chop the nuts and make the chocolate glaze.
- Chop your nuts of choice to the size you like.
Chocolate glaze
- To make the chocolate glaze you’ll need a double boiler.
- Place the 8-ounces of chocolate bits into the double boiler.
- Stir frequently until the chocolate is melted.
The finishing touch:
- Remove the potato balls from the freezer on the buttered plate and either drizzle the chocolate over the mashed potato balls or carefully roll them in melted chocolate and return to the buttered plate. Make sure the melted chocolate has cooled a little bit.
- As you do this, immediately sprinkle the chocolate covered mashed potato candy with nuts or coconut or both.
- Keep in the fridge for up to two weeks or freeze and keep up to two months.
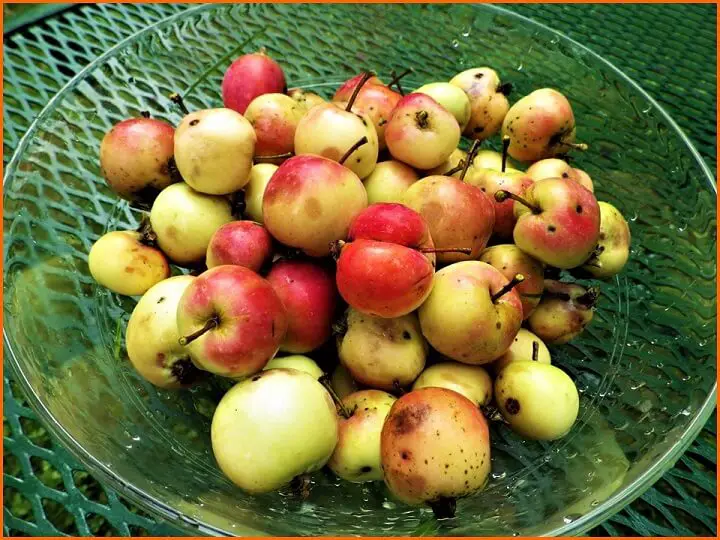
5. Candied Crab Apples
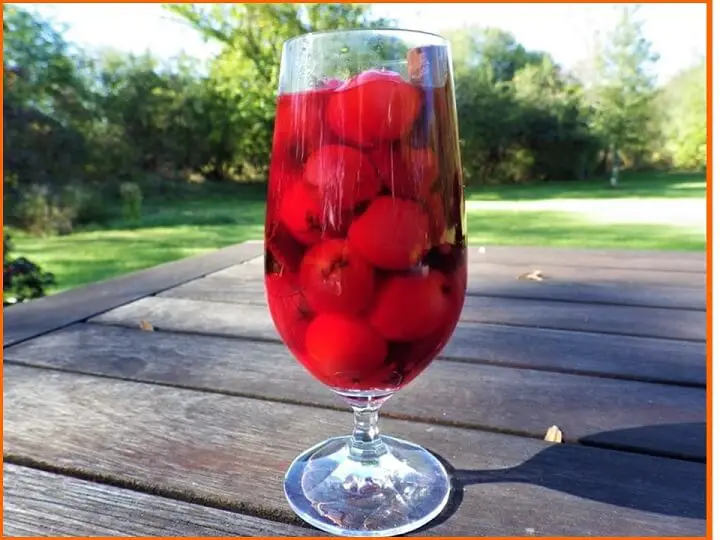
Ingredients:
- Crab apples with stems on, unpeeled
- 2 cinnamon sticks
- Syrup made from 3 cups sugar; 4 cups of water dissolved in a saucepan over medium heat
- Add 6 drops red food coloring (optional)
Directions:
- Wash and rinse the crab apples
- Add cinnamon sticks to jars
- Put crab apples into sterilized canning jars
- Pour syrup into jars
- Boiling water process for 10 minutes
- Cool and serve
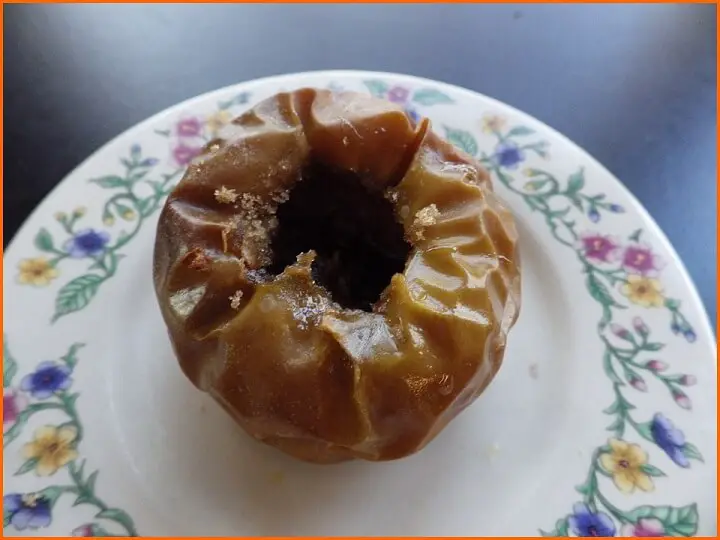
6. Baked Apples
Ingredients:
- 6 apples of any variety
- Cinnamon
- Cloves
- Brown sugar
- Butter
Directions:
- With a melon baller or knife, carefully cut out the center core of the apple, removing the core and the seeds. Do not penetrate the bottom of the apple or your filling will drain out.
- Sprinkle some cinnamon and cloves into the core and insert a piece of butter. Pack the core with brown sugar and place on a buttered baking sheet. The kids can help with all of these steps.
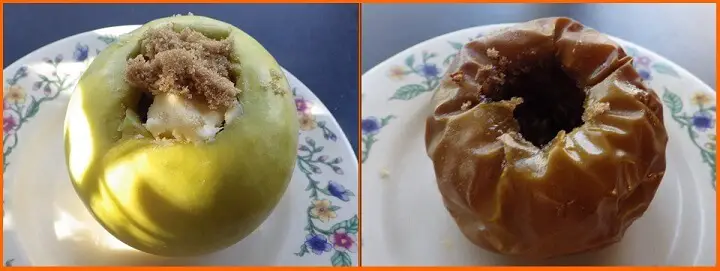
- Preheat the oven to 350 degrees Fahrenheit and when preheated, bake for 20 to 30 minutes until the apples are tender.
- Let the apples cool for ten minutes and then place in a bowl and, using a knife and fork, slice and enjoy.
- Baked apples don’t keep that well and are best enjoyed warm, but the fridge will keep them for about a week if you have leftovers.
Like this post? Don't Forget to Pin It on Pinterest!








I loved the information about the cones of sugar and the little bit of history. Thank you!