Estimated reading time: 21 minutes
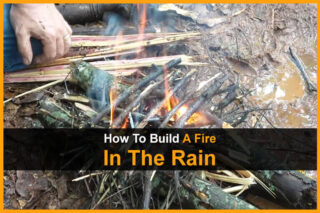
Anyone who has built a lot of fires outdoors has been through times when rain or snow made it way more complicated. If it's too rainy or snowy, it might seem impossible to start and maintain a fire. Fortunately, cultures around the world that live in wet or snow areas have found some simple ways to start and keep a fire going even in the wettest conditions.
Even under perfect conditions, building a fire can be a challenge. In some instances, the availability of firewood is the primary limitation. Finding a good source of tinder can also be a difficult task, especially if you don’t know where to look.
Want to save this post for later? Click Here to Pin It On Pinterest!
A Scandinavian Approach
Before we get into some of the solutions cultures have developed for building a fire in wet conditions, the Swedish Upside Down fire might be a good place to start. Sweden is known for its long, snowy winters. As a result, a solution to fire building across Scandinavia emerged.
The Swedish Upside Down fire is literally a fire that is built upside down.
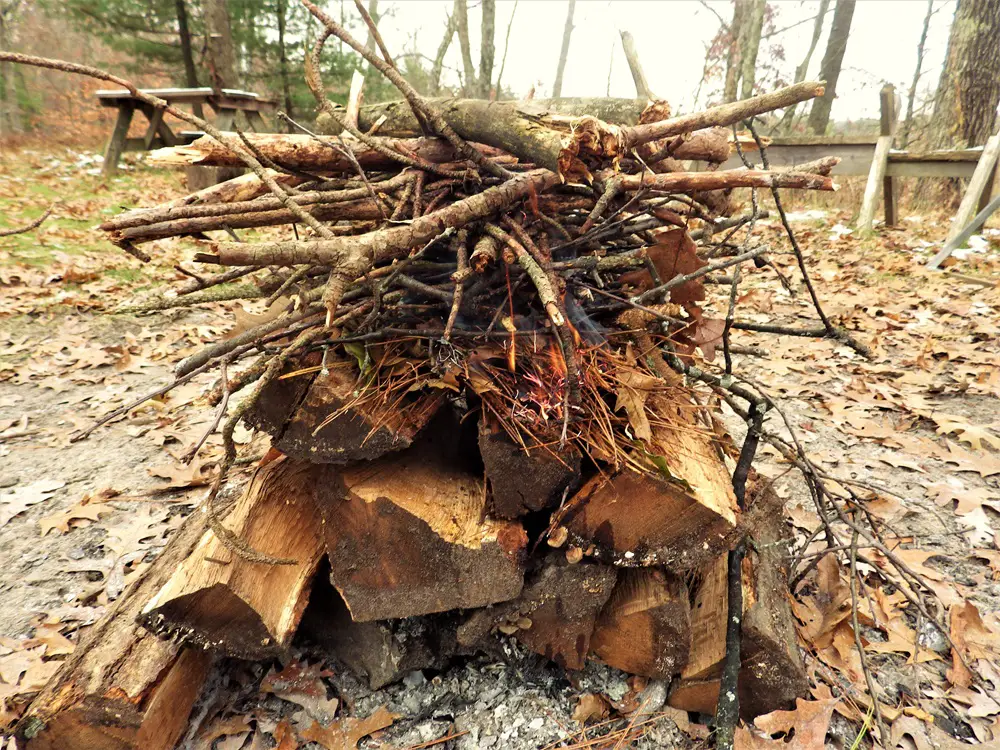
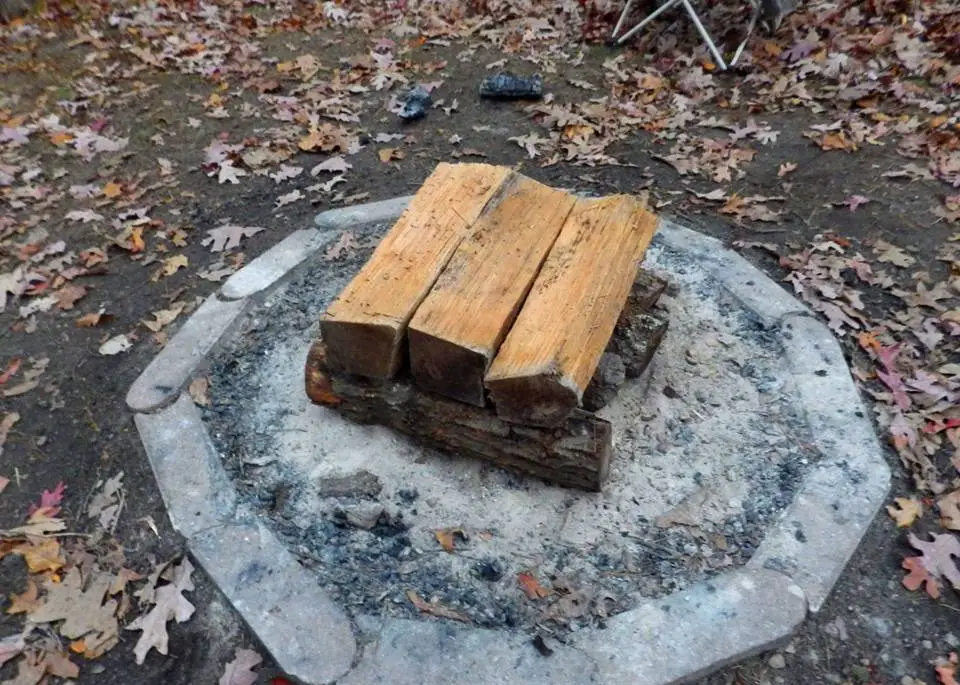
Rather than starting with a small nest of tinder under kindling and piling larger and large sticks and logs on top, the large logs start on the bottom and the fire is built with smaller and smaller sticks leading up to the smallest kindling and tinder on top.
The ground should be cleared of snow and ice regardless, but even the bare ground in winter will usually be frozen, and any fire built directly on the ground will quickly turn the soil into a puddle of water and mud.
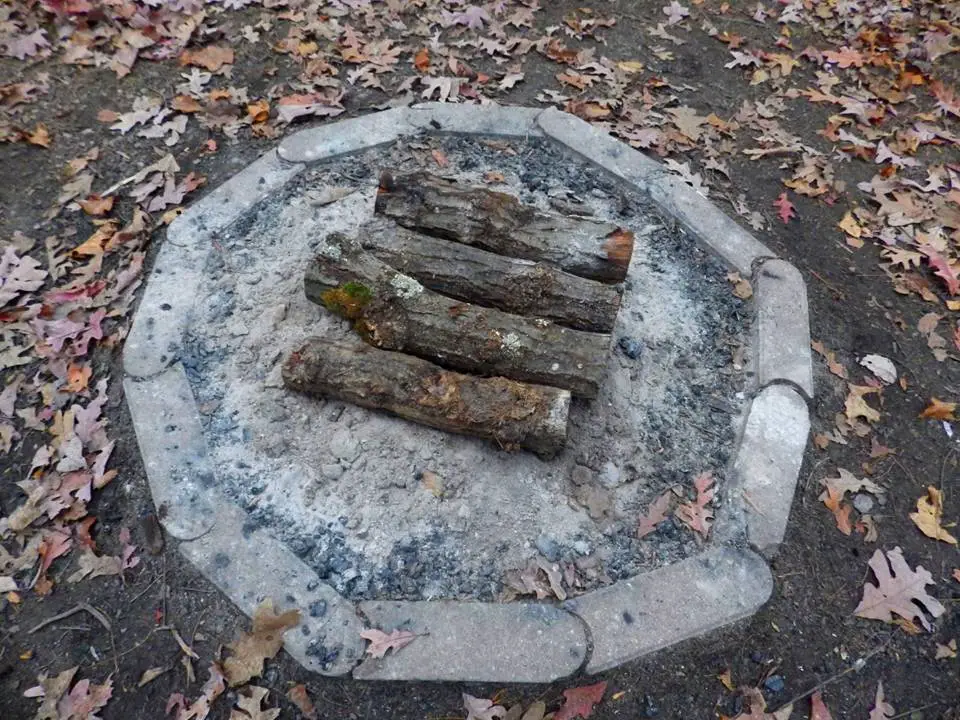
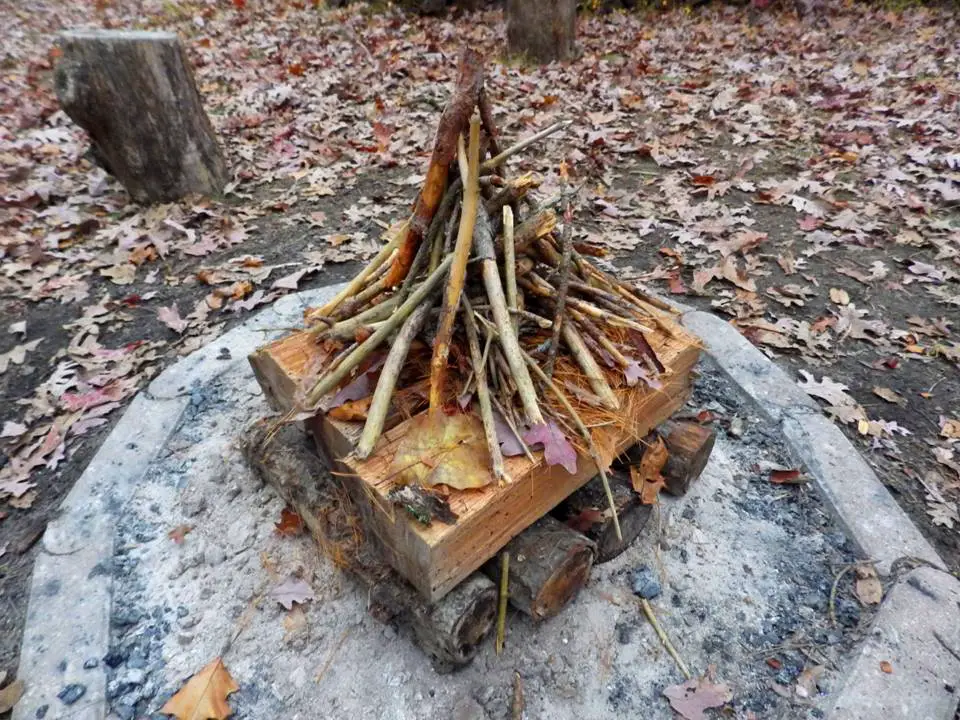
By placing a series of large logs on the bottom, the coals and flames are insulated from the melting snow and ice as the fire burns on the log foundation.
The next step is to put tinder and kindling across the foundation logs with large sticks from branches across the tinder and kindling.
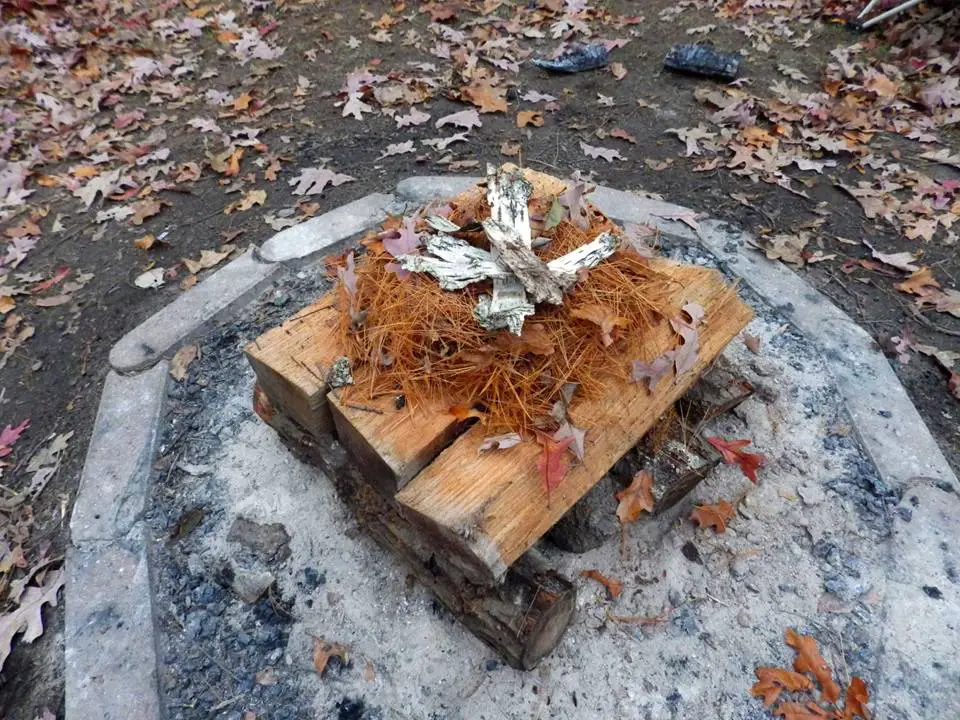
Finally, a small teepee fire is built on the top of the logs and sticks with the tinder underneath and the fire is started.

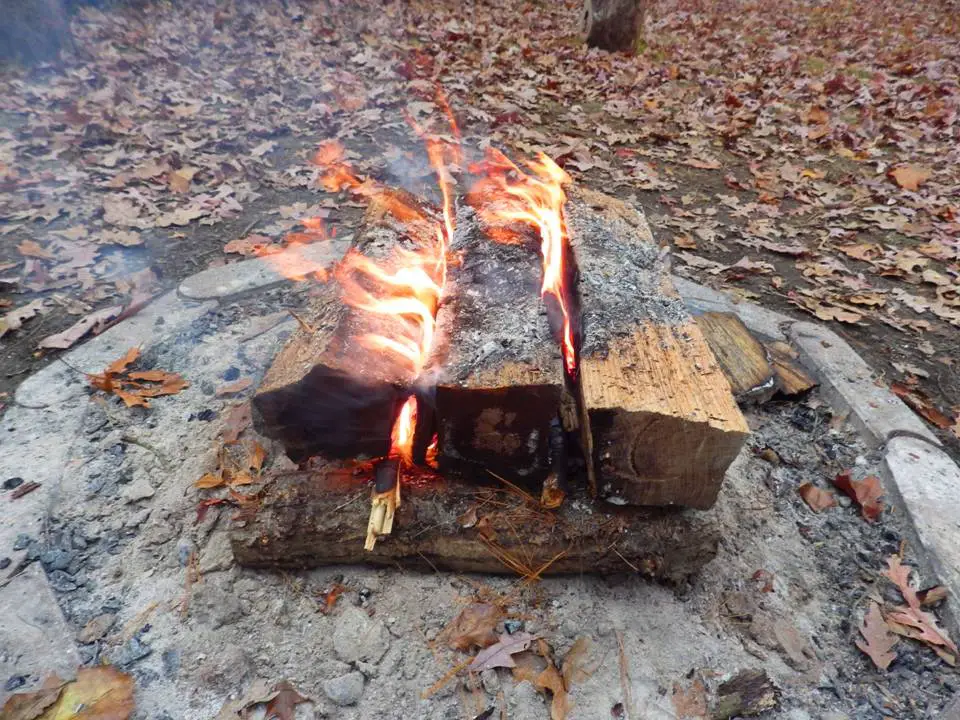
As the fire burns, the coals drop down into the layers of sticks and logs below, and eventually you have a roaring fire protected from the wet ground.

As time goes on, you can add logs to the top like you would with a conventional fire on a dry day, and the continuing heat will eventually thaw the ground and cause any melted snow or ice to evaporate. You’ll also see the fire emerging from the gaps in the foundation logs.
Eventually, the surrounding ground is dry and any wet logs or firewood can be stacked around the base of the fire to dry out to keep the fire going.
Some Fire Basics
There are lots of articles about building a fire without matches, but even when you have matches, a fire needs to get off to a good start, and that requires tinder.
Tinder and kindling are two of the most important elements of a successful fire, especially when wood for the rest of the fire is wet. Here are some of the best tinder sources especially when everything is wet:
Birch Bark
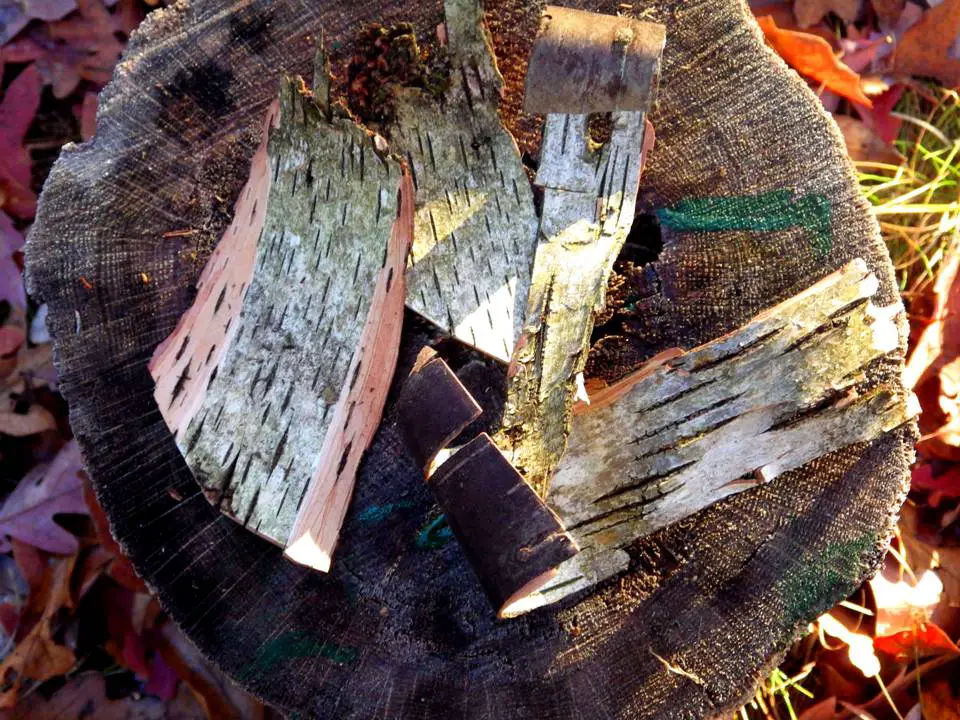
Birch bark is surprisingly flammable. Especially the thin, curly outer layers. Those thin curls are an excellent tinder source and will quickly flame even when wet.
Unfortunately, birch trees aren’t always that common so if you come across one, you might want to collect enough for numerous fires. If you come across a dead branch, just drag it back to camp or your homestead and harvest as much as you can for your woodpile.
Plant Fluff
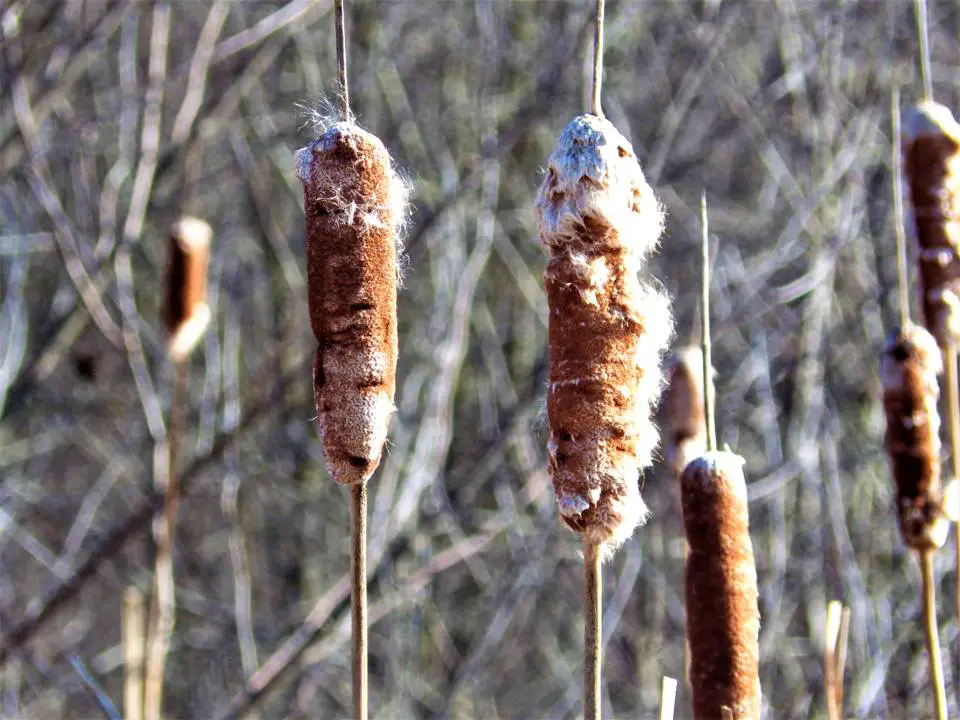
Many plants have a bit of fluff attached to their seeds. This allows the seeds to be carried far and wide by the wind. Sometimes you will see a good amount of plant fluff on the flower head of the plant, but often it will accumulate on the ground.
This is particularly true in the vicinity of cottonwood trees. Cattail fluff is another excellent possibility, and the interior will often remain dry even in wet conditions.
Dry Grass
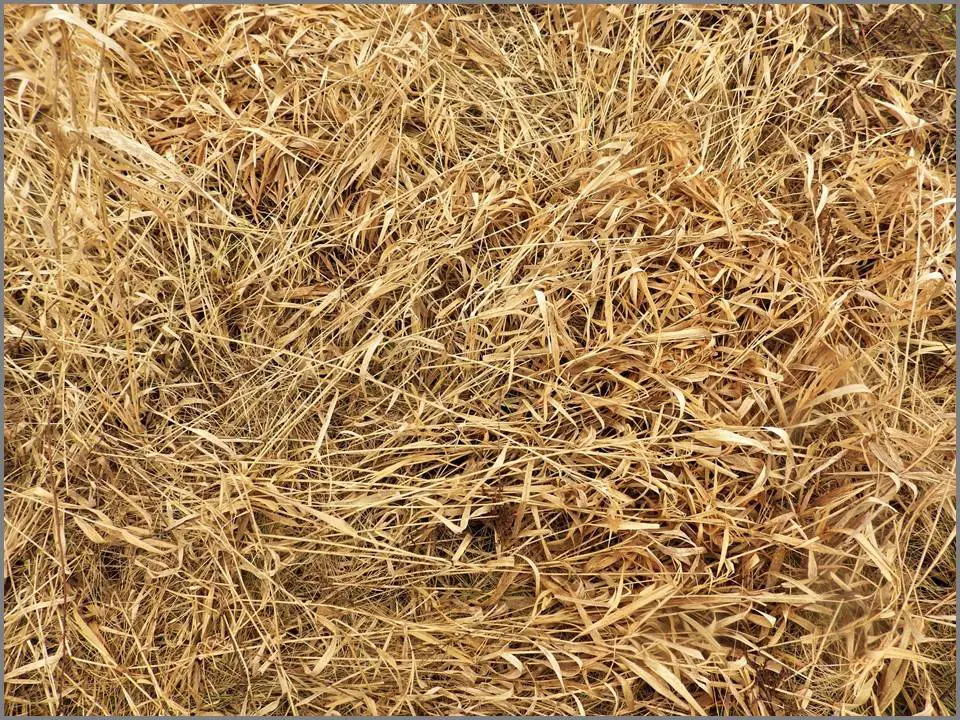
Tall, dead grasses make excellent tinder. The tops of the stalks and blades of grass may be the driest in wet weather. You’ll often see clumps of dry grass poking up through the snow as well. If it’s soaked by rain, move on.
Dry Leaves
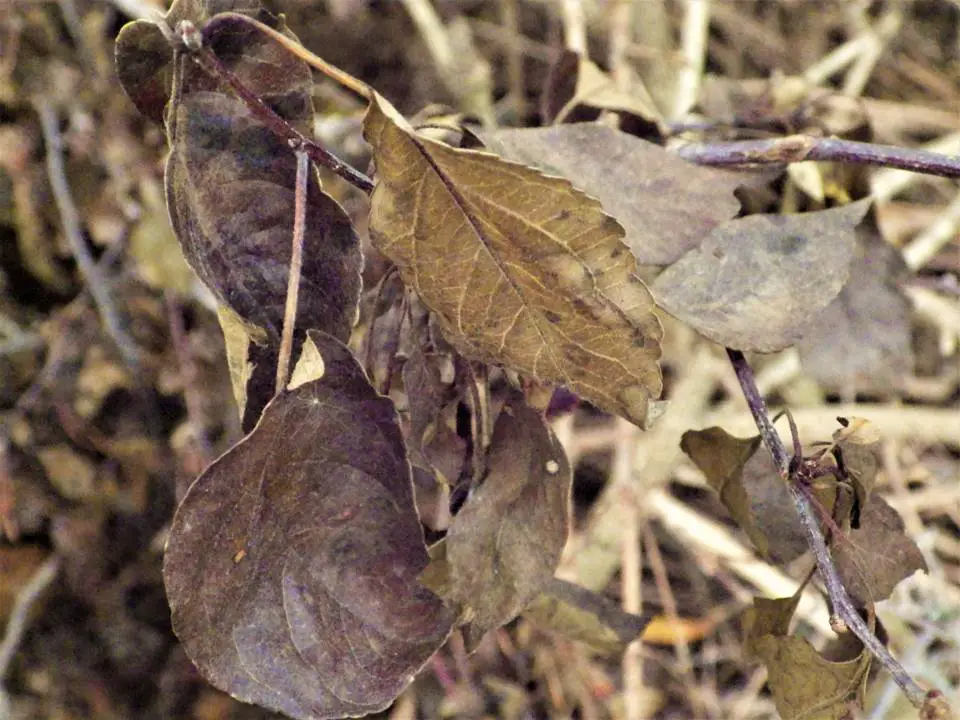
In wet weather, the leaves on the ground will probably be saturated. However, dead leaves still on the tree can work. Some oaks hold their leaves long after other trees have sent theirs to the ground. Crush them up into your other tinder.
Dead Pine Needles
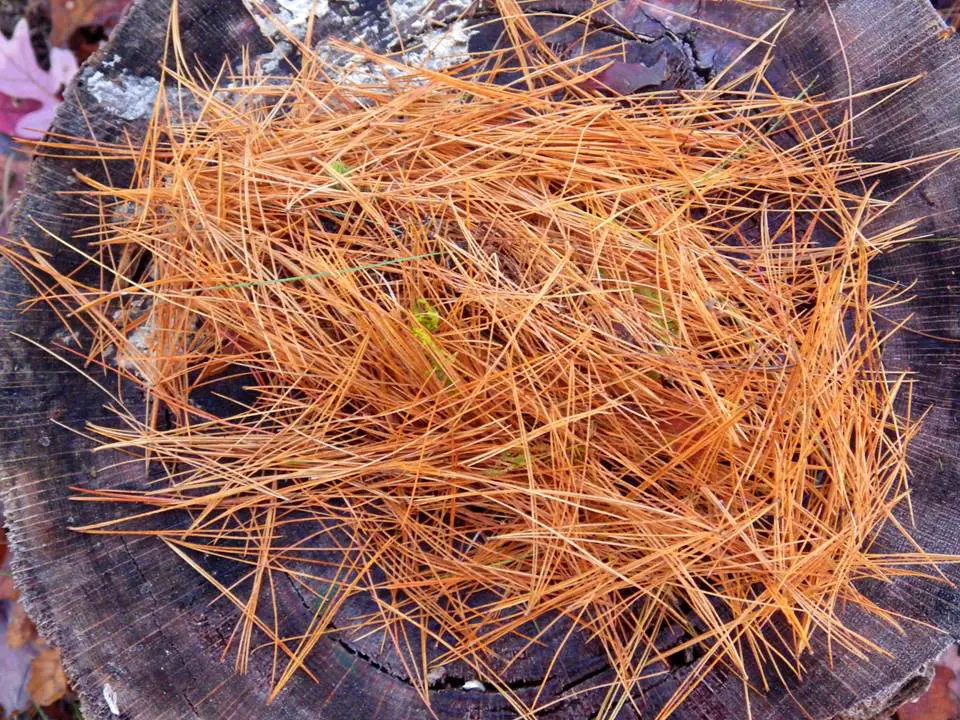
Dead and dried pine needles are another tinder option. Look for dead branches on the tree because once again, they may be much drier than anything on the ground.
Dry Reindeer Moss

Reindeer moss is actually a form of lichen and when it's dry, it's highly flammable. Because it’s so airy and open, it will dry quickly after a rain. Its structure also makes it ideal for holding other tinder in a tinder nest.
Fuzz Sticks
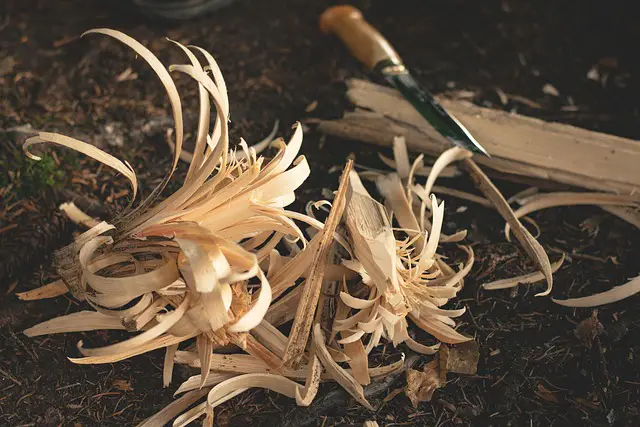
This is the old Boy Scout trick. You shave peels of wood but leave the bottom of the peel still attached to the stick or branch. Shaving the wood into peels exposes the dry heartwood and the thin peels will also keep the flames going to get the fire started.
Shredded Fabric from Clothing

Fabric makes excellent tinder. It helps to shred it a bit to expose some threads. In an emergency you could even cut a small piece from the bottom of a shirt tail or the top of your sock if no other tinder can be found.
Paper
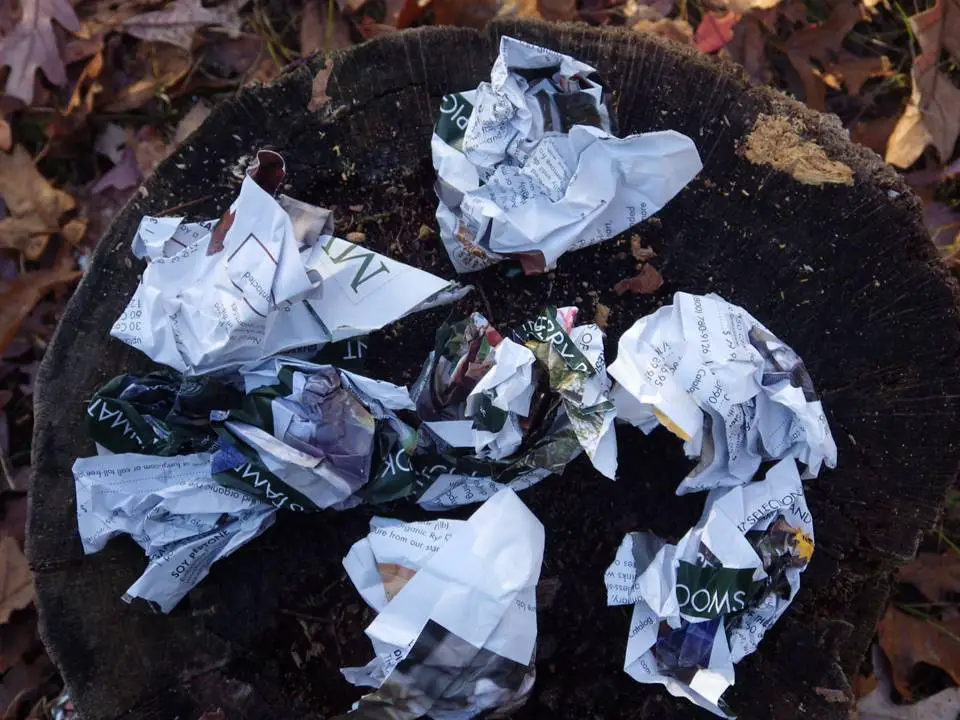
Paper may be the most common form of tinder, and crumpled newspapers have been used to start fires in fireplaces, stoves, and backyards for centuries.
Unfortunately, finding paper in a wilderness environment may not be so easy, but how many of us still have some of those old Home Depot receipts in our wallets? And if you’re really lucky, you’ll have one of those mile-long CVS receipts folded up in there.
Kindling
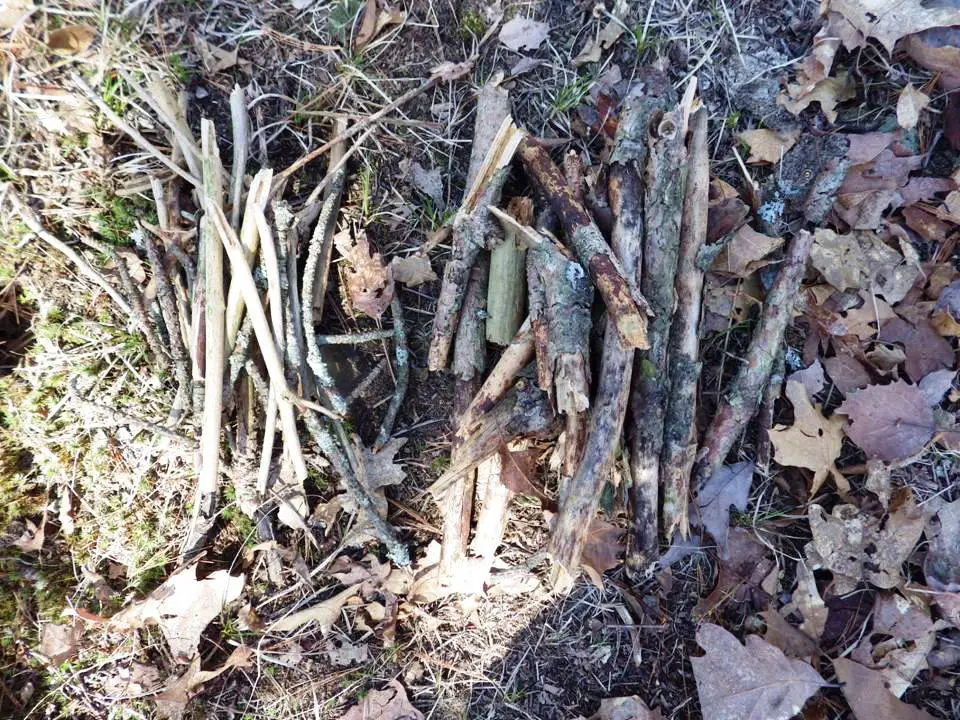
Many fires fail for the simple lack of kindling. And when it’s rainy and wet, or there’s snow on the ground, you have to know where to find the dry kindling.
The best place to start is with dead branches on a tree. They’re above ground, and sometimes sheltered by the trunk of the tree or branches above. Pine branches are good choice because they’re a softwood and burn quickly. In a pinch, any dead branch will do.
You could also look for branches sticking up from a fallen branch or tree. They’re also off the ground and may or may not have some shelter from snow or rain.
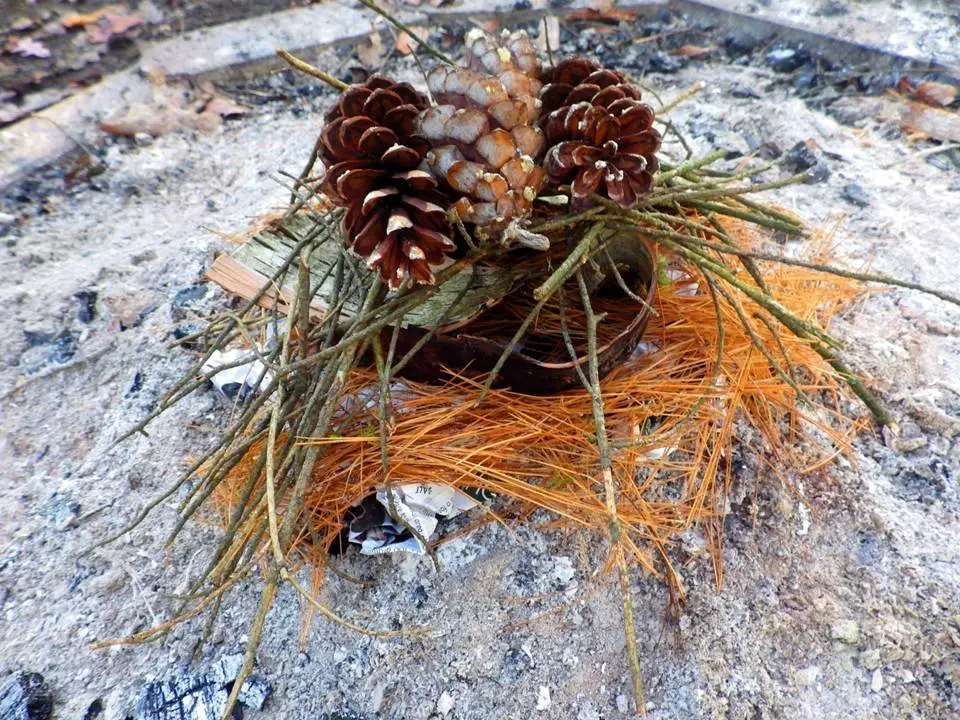
Pine cones are another kindling possibility. Many are filled with resin and once lit will burn for a while. That’s the key with kindling. Maintaining a flame long enough to light the larger branches and logs, especially if they’re wet and need to dry out.
Thin log splits are another kindling option, assuming you have an axe or hatchet. Use a stick to support the log on a stump and just keep splitting it until you have thin, narrow splits of wood. Splitting will also expose the dry interior in wet weather.
Logs
Logs are the final step when building any fire and are the critical fuel that will keep the fire burning. Curiously, cutting wood for your fire may be a better idea when building a fire in wet conditions. A wood pile makes everything easier – unless it’s soaked with rain or buried in snow.
Wet logs can kill a fire fast, but a simple solution is to split the logs.
In fact, if you split them so the wet, outer bark splits off, you’ll have dry firewood in the wettest conditions. That assumes it’s not raining while you’re splitting, but you could always improvise a small rain shelter over your firewood area. This is one of the reasons why cutting your wood for the fire might give you a better chance.
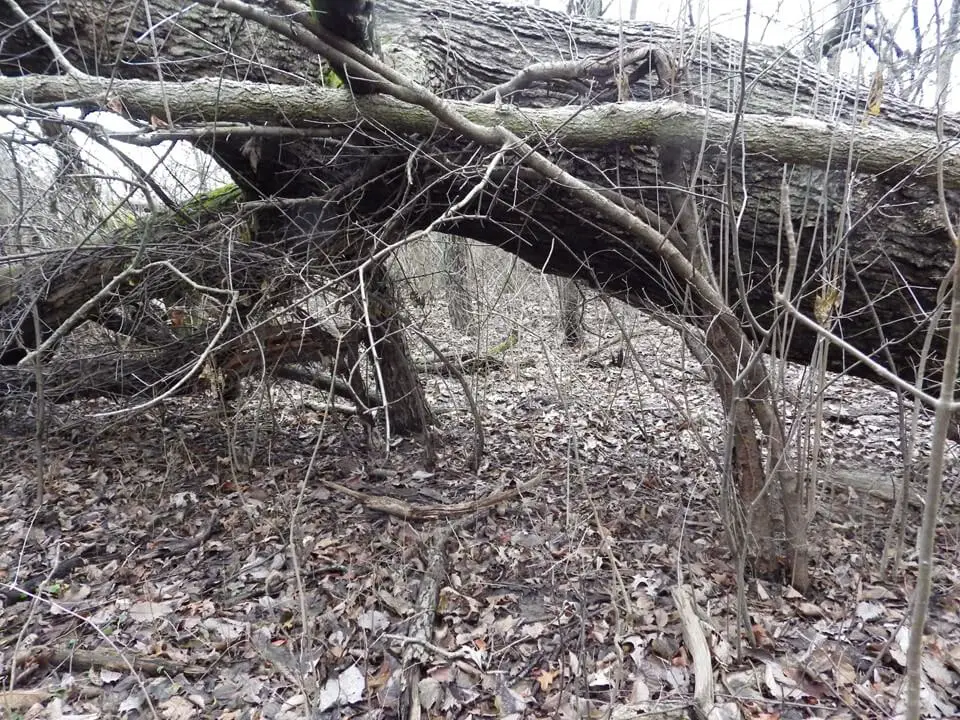
Dead standing trees offer another option for dry wood on wet or snowy days. They most likely won’t have a lot of snow on them, if any, and even rainfall will runoff a bit rather than soak in like it would for a tree on the ground. Saw, chop or pull them down and drag them to your fire pit.
Even deadfalls are worth a look.
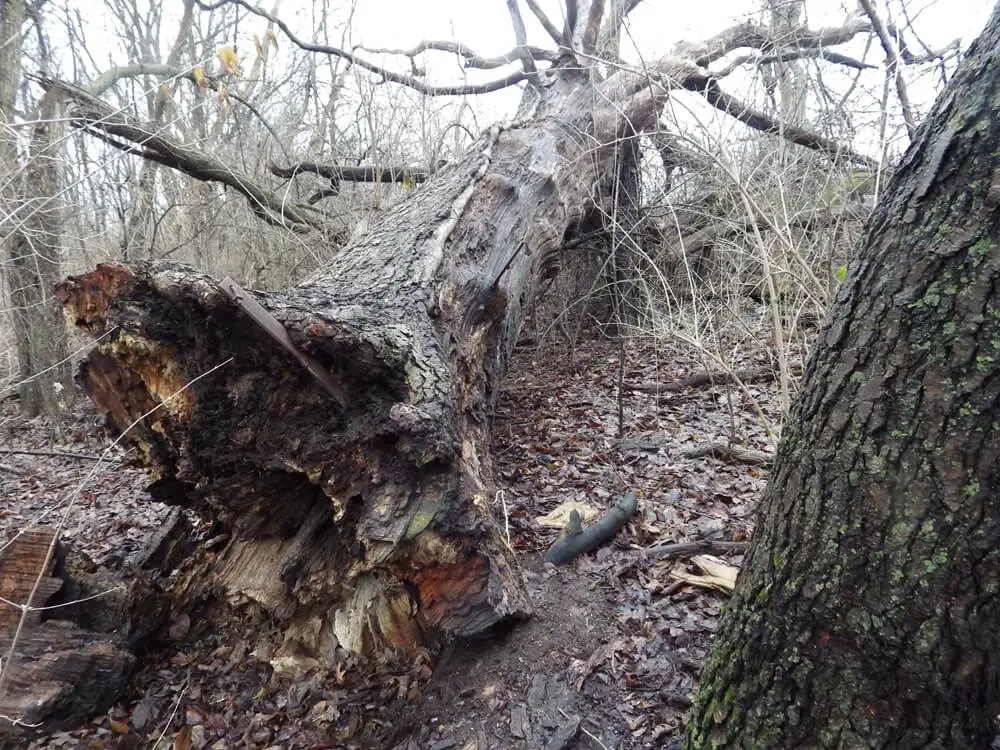
All branches are accessible, and branches next to or below the trunk may be protected from snow and rain. Harvest what you need and head back to camp.
And about that wood pile.
Wood towards the bottom of a wood pile will also be dryer and snow-free as opposed to any wood stacked on top. Just toss off the top logs and try to find the dry stuff.
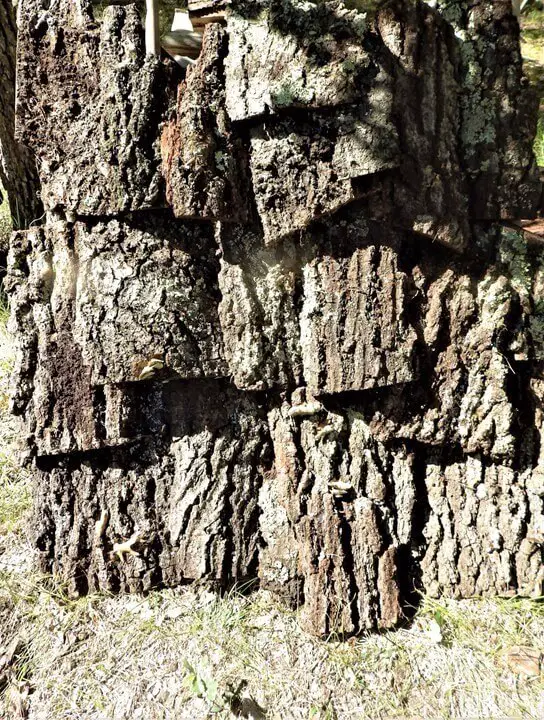
Peeling the bark off of an old, dead log is another option. The outer bark may be wet or covered with snow, but if you can peel the bark you’ll often reveal a dry core that will burn better than wet bark. This may be your only option if you don’t have a hatchet or an axe.
Other Wet Weather and Winter Fire Types
Once you’ve collected your driest tinder, kindling, and wood, it’s time to build the fire. The upside down fire is a good place to start, but there are other variations that can get a fire started and keep it going in wet weather.
Keeping that fire burning is the key because once it’s started, it can dry out wet wood to sustain the fire. The next fire example is a good demonstration:
The Log Cabin Fire
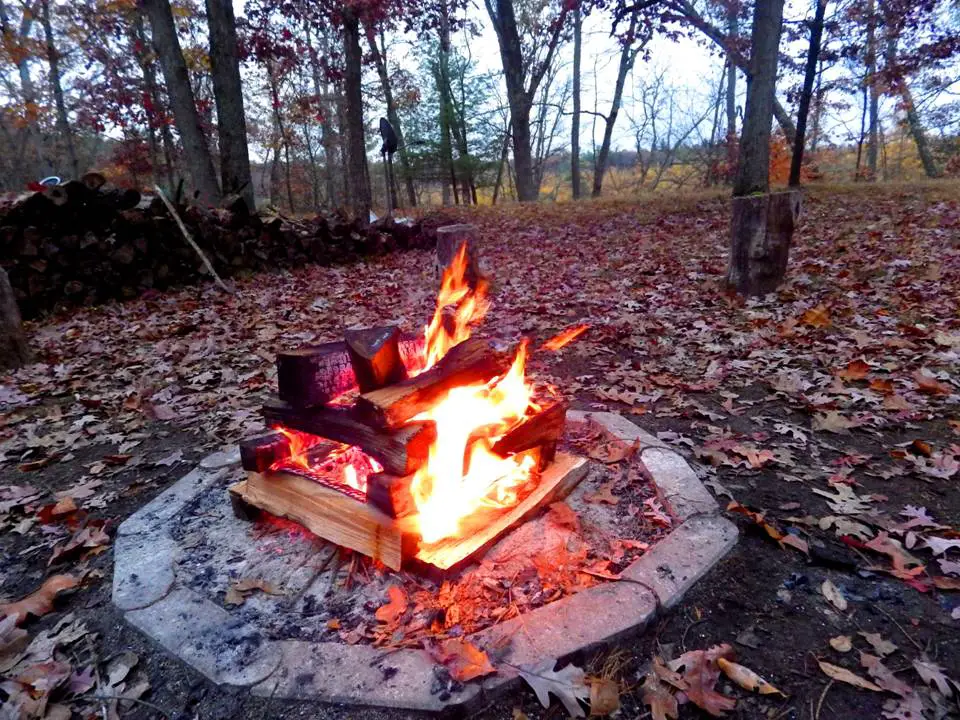
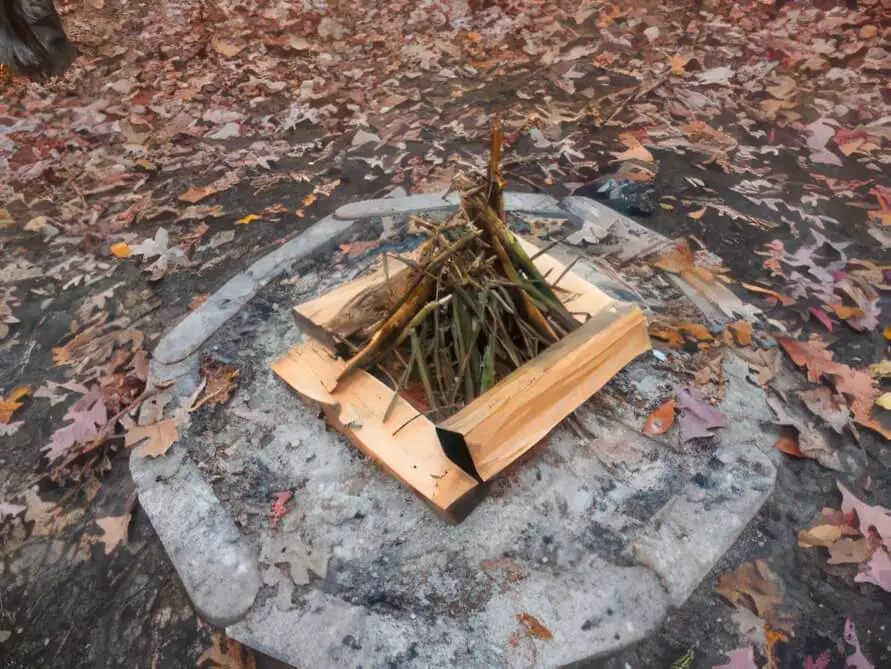
The log cabin fire starts with a foundation of logs similar to what you would put down for an upside down fire.
The next step goes immediately to assembling a tinder nest on the foundation logs.
Over the tinder nest you start building a teepee fire around the patch of tinder with kindling on top.
You then lay more kindling sticks against the fire to create a teepee. This can work because it’s sometimes easier to find dry tinder and kindling than it is to find dry logs.
Once you’ve built the teepee fire on your log foundation, begin to stack logs around the teepee fire in a square configuration. The corners of the logs lay one on top of another log cabin style.
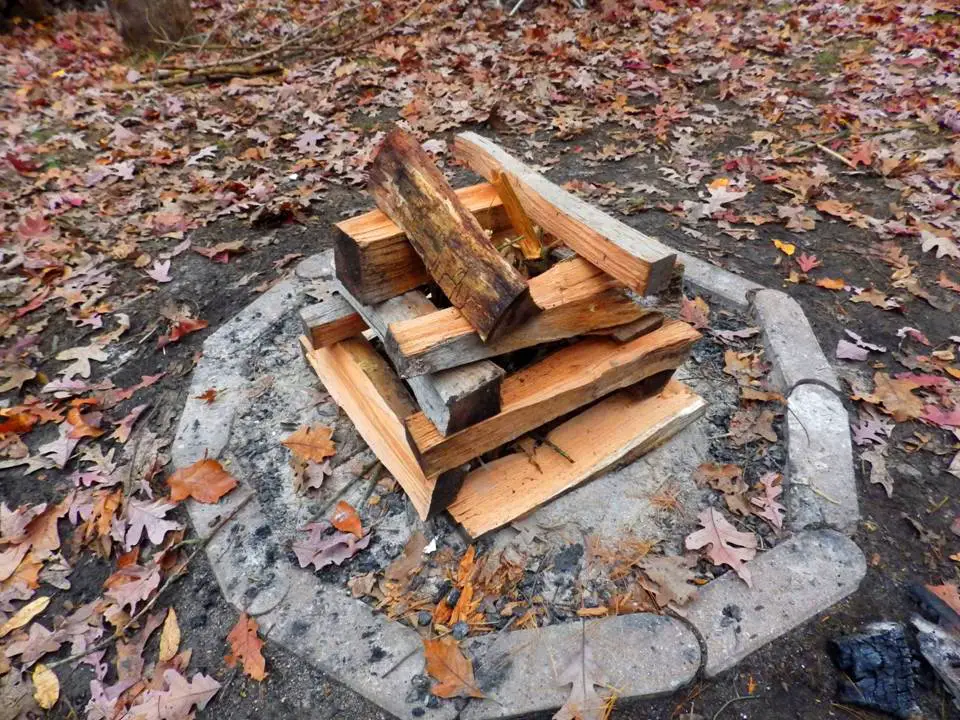
The log cabin fire configuration gives you the perfect set up for drying your logs. As they dry, you simply push them in closer to the central fire.
Once it’s started, you can rebuild the log cabin configuration to dry the next batch of logs and so on and so on.
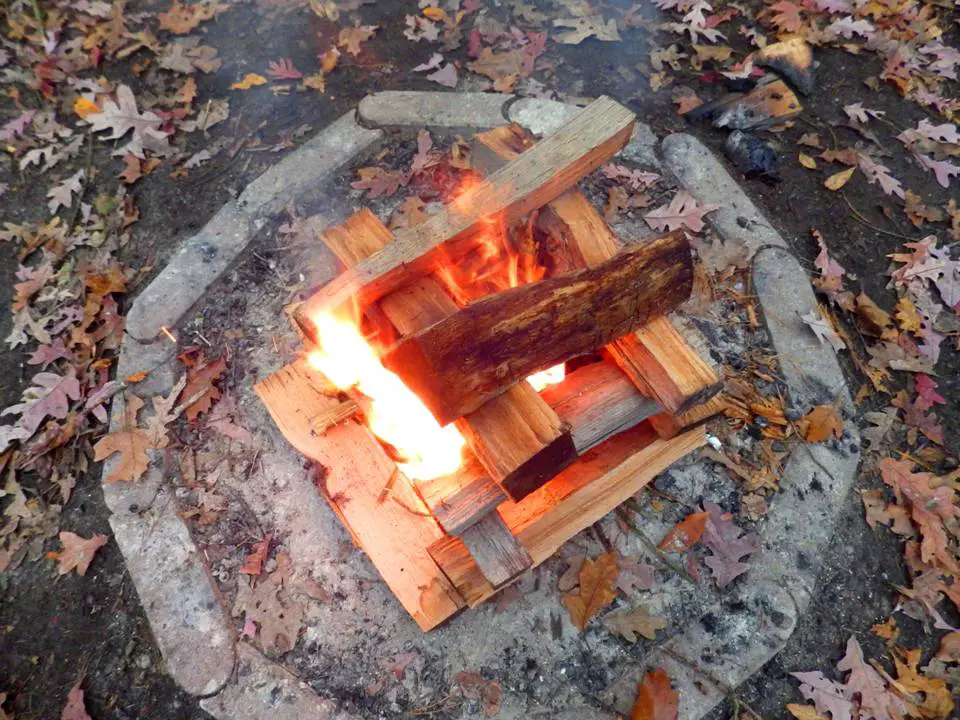
Eventually, you can have a roaring bonfire built around the log cabin configuration.
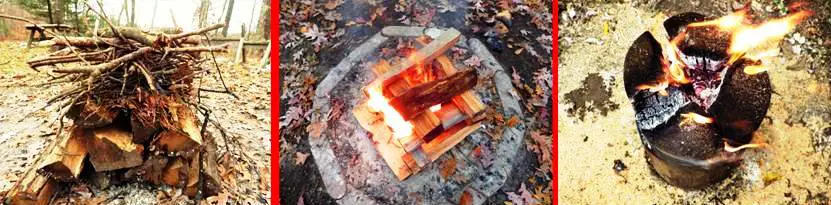
The Canadian Candle
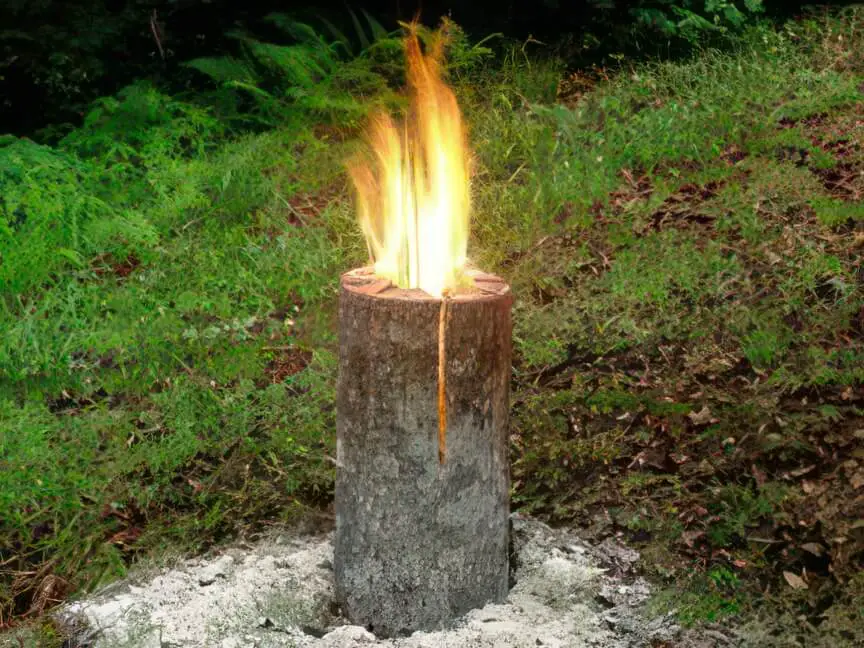
Once again, a country and a culture known for its winters have found a solution to building a fire when conditions seem impossible. The effectiveness of this fire is surprising to some, but there are some curious thermodynamics at play that really makes this work.
A Canadian candle is nothing more than a large log stood on end with slits cut into the top. You’ll need a saw to make this work, but the concept is fairly simple. Better yet, the log standing on end can allow the fire to burn for a long time up and away from any snow or ice on the ground.
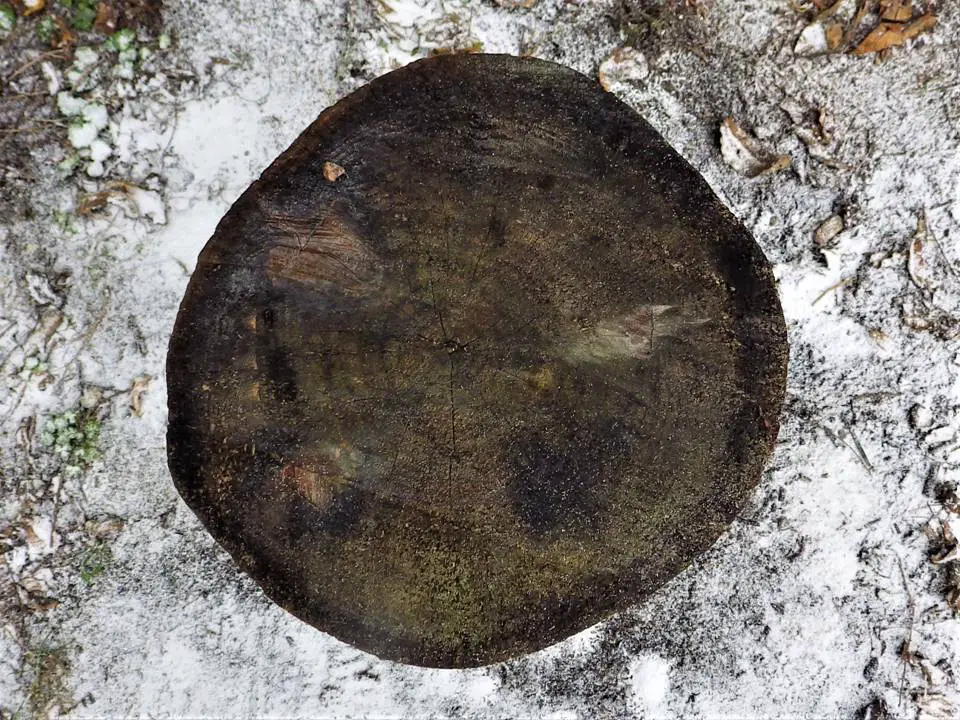
Start with a log at least 8-inches in diameter or more. You need a fairly thick log because the Canadian candle needs to stand upright.
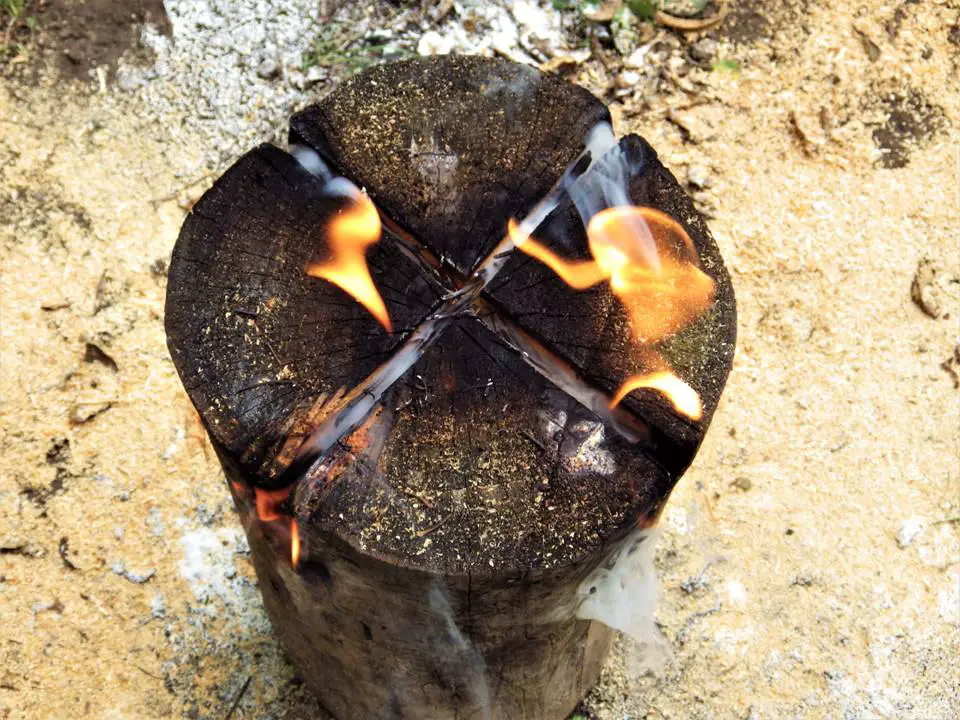
Cut a crisscross of slits in the top of the log. A chainsaw makes short work of this, but a hand saw can work if you cut the slits two or three times side by side to get a fairly wide gap in the slit.

The next step is tinder. No kindling required. You carefully drop your tinder into the slits in the top of the log and build a tinder nest on top and then light it.
You may need to drop more tinder in as you go, or some very thin and dry twigs.
The interesting dynamic of a Canadian candle is the way that any heat generated by the tinder in the gaps reflects back and forth in the narrow slits. This causes the exposed heartwood in the slits to continually reflect heat, and flames eventually emerge from the gaps.
The flames will continue to raise the heat level as it reflects and radiates into the heartwood. It creates a decent amount of heat, but there’s something else that the Canadian candle accomplishes exceptionally well. The Canadian candle is an ideal fire configuration for cooking.
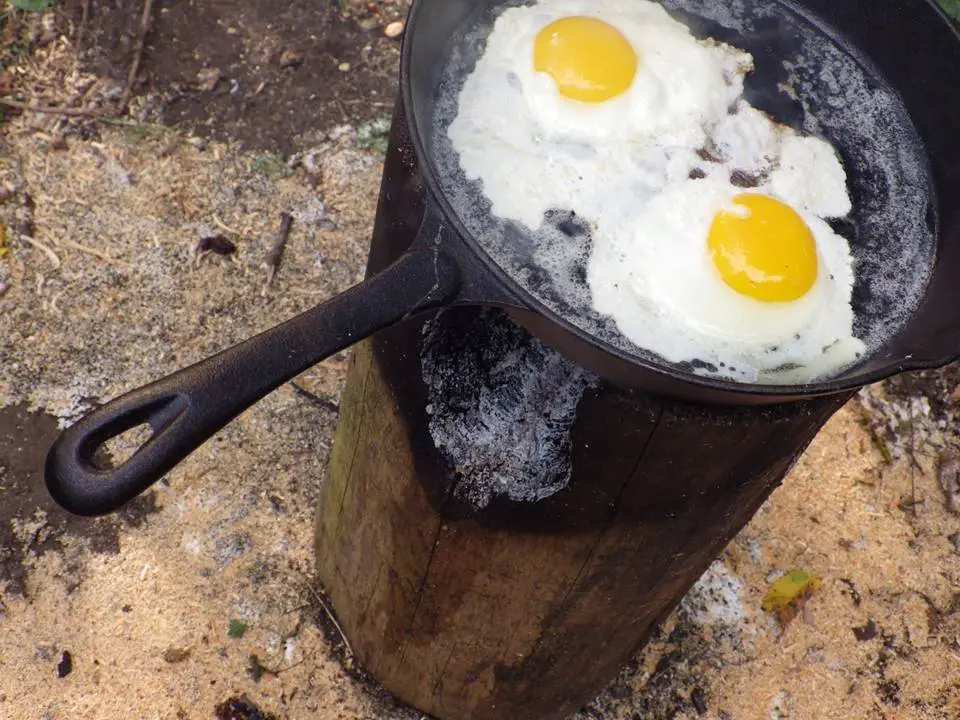
The flat surface on top can easily support a frying pan or pot, and the gaps on the side allow oxygen to flow into the slits and sustain the fire.
If you want to use Canadian candles for heat in cold weather, group 5 of them together and light each one.
Alone, they produce a fair amount of heat, but in a group, the thermodynamics spread from log to log to make a sizable and hot fire, but it may be a bit of challenge for cooking.
Sustaining a Fire in Wet Weather
Getting a fire started in rain or snow is one thing, but sustaining the fire is just as important. Especially when the weather is cold and wet.
Here are few things to keep in mind after you get that fire going:
1. Cover Your Firewood
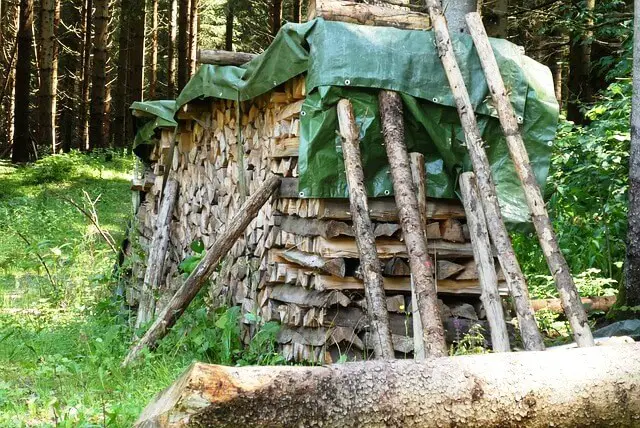
While your fire is burning, continue to stockpile firewood. It makes sense to put wet wood around the fire to dry it out, or split it with an axe. But any wood that doesn’t go directly onto the fire needs to be protected from the possibility of continuing rain or snow.
A tarp or spare poncho is the easiest solution. Just make sure you weigh down the corners with rocks or a few logs or tie-downs.
Large pieces of bark can also serve as improvised shingles to keep a wood pile dry. Overlap the shingles starting at the bottom and make sure any bark pieces on top of the pile are slightly angled to drain any rain or melting snow away from the wood pile.
A quickly improvised lean-to could also give a shelter for your firewood. This could be especially important if you’re in a location for while and the wet weather just won’t stop.
2. Continue to Collect Tinder and Kindling
While you’re out an about either exploring, foraging, or looking for more logs for your fire, keep your eyes peeled for future tinder and kindling possibilities. If you spot dry fluff on a plant, put it in your pocket or backpack. If you see a branch that appears to be dead and dry, bust it up and bundle back to camp.
Keep it dry when you get back, and it could save you some energy and time when you wake up one morning to dead fire.
3. Shelter Your Fire
It doesn’t matter how big the fire may be, if it’s exposed to rain and even snow, it will go out. It’s why fire fighters in a wildfire pray for rain. The trick is building a shelter over a fire that won’t burn because of the fire underneath.
The simplest solution is to build the roof of the shelter high and keep the fire low and manageable. An elevated lean-to is one approach. The corner supports keep the bark roof high and away from direct flames.
Use green wood for the supports because it will resist the heat and fire a little better. You could also use sheets of aluminum foil but don’t assume it’s impervious to fire. Keep the foil high and angled so it doesn’t simply buckle and fall into shreds.
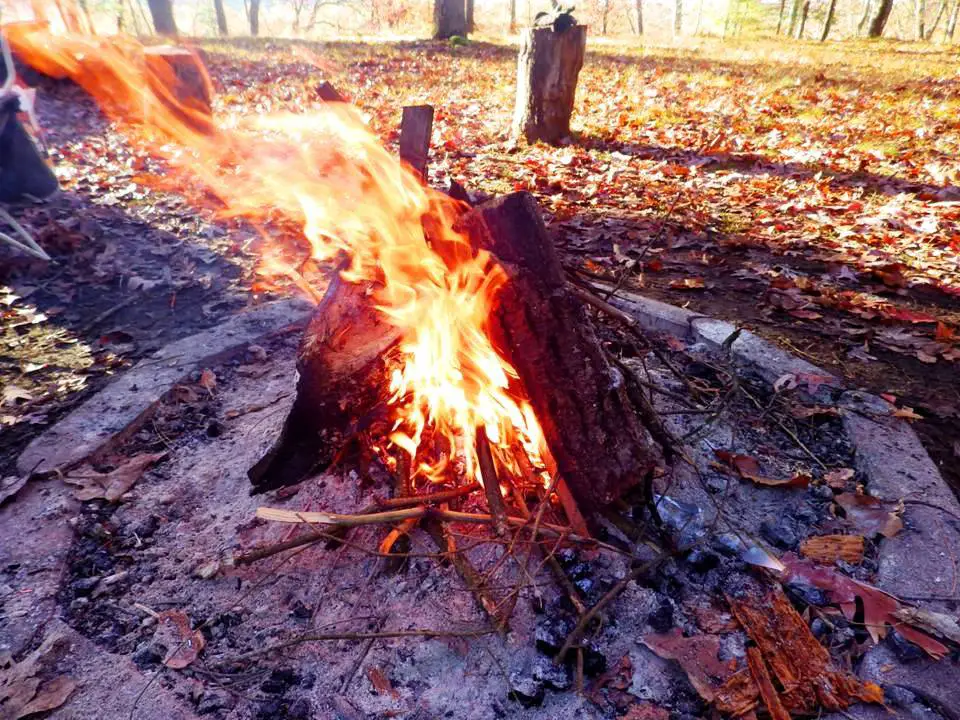
4. Construct a Sustainable Self-Feeding Fire Configuration
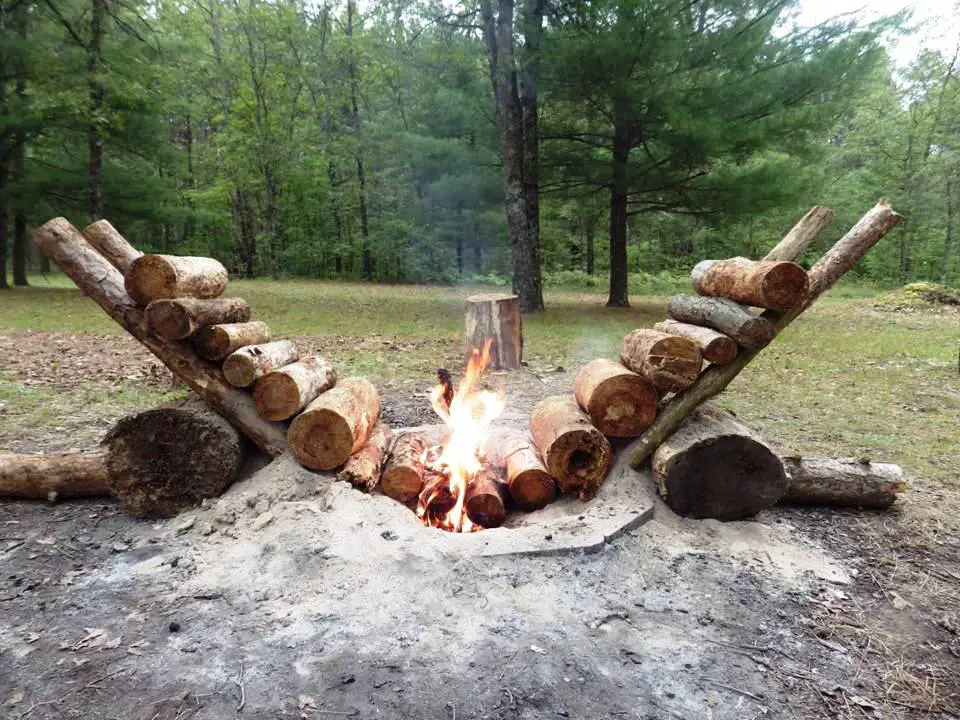
There’s a simple way to not only sustain a fire through a cold night but dry the logs before they’re on the fire. It’s a sustainable fire configuration, and it’s nothing more than two slanted logs with a series of logs stacked on an angle to the fire.
Here’s how to build one: How to Build a Self-Feeding Fire that Lasts All Night
Don’t Give Up
A fire when it’s wet or snowing may be the most critical survival task you can accomplish. Just take the time to think about how you can find or create dry materials to burn and how to structure your fire so it’s sustainable.
Once you’ve got your firing going, all you have to do is keep it burning.
Like this post? Don't Forget to Pin It On Pinterest!
You May Also Like:
- How To Build a Stealth Fire Pit That Won’t Draw Attention
- Ultimate 750-Piece Fire Starting Kit
- 6 Easy Campfires Everyone Should Know How To Make
- How to Build a Fire Even If The Wood Is Wet
- 15 Weirdest Ways to Start a Fire