

Estimated reading time: 7 minutes
The Old Testament Book of Genesis describes the Garden of Eden as an earthly paradise. Adam and Eve have everything they need at their fingertips. No tilling, planting, weeding, or watering is required to tend their abundant food supply.
It was this concept of an environment that regenerates itself that inspired Paul Gautschi to create Back to Eden Gardening. He explains and demonstrated his organic, regenerative growing techniques in his documentary film, Back to Eden Gardening, which ignited a worldwide interest in permaculture.
This article will provide an overview of what Back to Eden Gardening involves and offer some of its pros and cons.
Want to save this post for later? Click Here to Pin It On Pinterest!
What is Back to Eden Gardening?
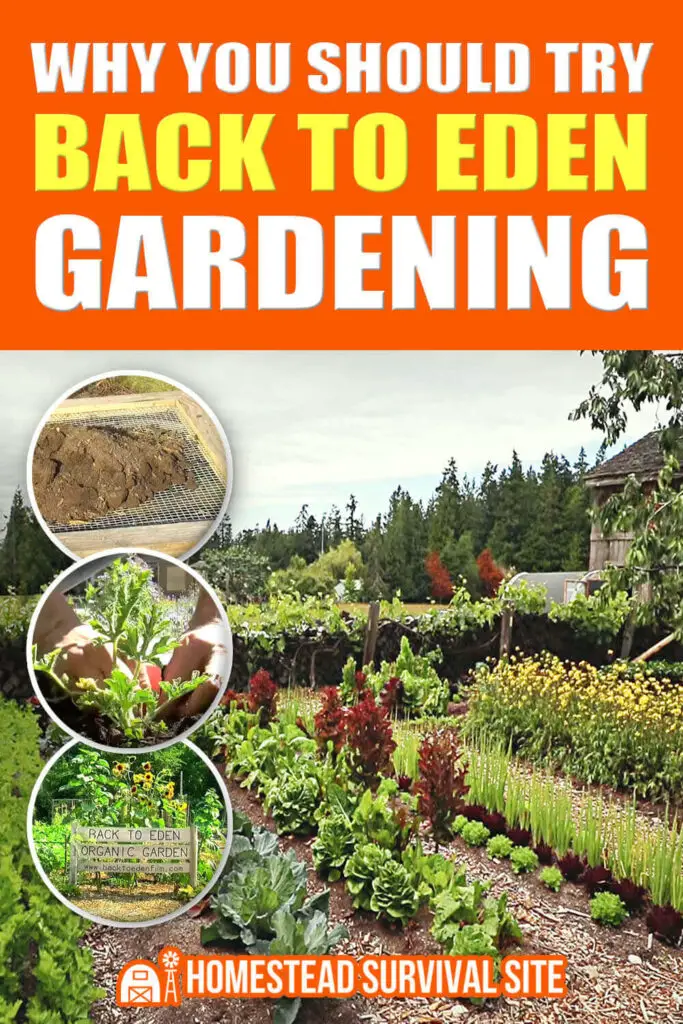
Back to Eden Gardening is a method of growing plants in the way Mother Nature intended for them to grow and thrive. It is called “Back to Eden” because the idea is that after the garden is set up, little human intervention is needed.
This type of garden increases the soil’s organic matter, reduces erosion, and helps trap carbon in the earth. In a Back to Eden Garden, the raw natural materials build up in layers that form a mound in the garden bed, keeping the soil moist and reducing the growth of weeds.
How do you create a Back to Eden Garden?
Your first step is to choose a location for your garden. It should be a spot that is exposed to plenty of direct sunlight. Other than that, you can create your garden in your backyard or anywhere you wish. The type of soil doesn’t matter much since you will be creating layers to build the garden bed.
While this type of garden will eventually become very easy to maintain, you must first lay the foundation. The best time to create your bed is in the fall, as that timeframe allows the materials to decompose over the winter and be ready for spring planting.
Start by removing the grass or other growth until you have exposed the topsoil. Then, continue by loosening up about four- to six inches of the topsoil. Remove any rocks that could hinder plant growth.
Create a boundary around your new garden with wood or bricks to prevent surrounding grass or other plants from extending into it. You’ll need cardboard or newspaper, compost, and woodchips to continue the process. Here are the three layers:
- For weed prevention, create a two- to three-inch layer of newspaper or light cardboard to serve as a barrier between the soil and your other layers of material. The newspaper or cardboard will naturally break down.
- Create a second layer of nutrient-dense organic compost that is three- to four inches thick. Lightly wet the compost if it is not already moist.
- The next layer for your garden is about six inches of wood chips. Be sure to avoid any wood chips that have been treated with chemicals or sealants. Chips made from whole tree branches (along with the leaves) work well. Lightly wet this layer as well.
In the spring, you will be ready to plant your seeds or your starter plants. You may need to pull away some of the wood chips as you plant. Your plants’ roots will penetrate any cardboard or newspaper that remains underneath the bed.
Aim to plant a diverse variety of plants and place them where tall plants can provide shade from the hot sun to smaller plants. Don’t worry about rows or patterns. Part of the charm of a Back to Eden Garden is that you can combine herbs with flowers and fruits with vegetables.
You will need to water your plants as they begin to establish themselves. As they do get established, push back any of the mulch and stop watering unless conditions are extremely hot and dry. A soaker hose under the mulch can do the trick if the mulch becomes too dry. Otherwise, the mulch should be retaining enough moisture for the plants.
Over time, the mulch will continue to decompose and will need replenishing. Any weeds that do appear should have only shallow roots. Pull them out at their base whenever they appear.
What are the advantages of Back to Eden Gardening?
Although it takes some time to create a Back to Eden Garden, there are many advantages of this method.
- Reduced watering
- Limited weeding
- Fertile soil
- Little to no tilling or other maintenance needed over time
- Organic produce
Are there any disadvantages to Back to Eden Gardening?
In order for a Back to Eden Garden to be successful, you must pay strict attention to the materials you use. Here are some possible challenges:
- It takes time to build up the garden bed. You have your best chance of success by starting your bed in the fall and planting the following spring. That takes some planning.
- The wood chips you use must be all-natural. The wrong choice of mulch can doom your garden to failure.
- Your choice of compost is crucial to the garden’s future. The idea is for the compost to build up enough heat in the soil to speed decomposition and kill weeds. Try mixing fine compost material with chunkier pieces to help airflow.
- It is a misconception to think you’ll never need to water a Back to Eden Garden. The method reduces the need for water, but if you get less than one inch of rain each week, you will need to water – especially when the plants are not fully established. When in doubt, you can stick your finger down about three inches into the bed to see if the soil feels dry.
Other tips for Back to Eden Gardening
You can plant just about anything you want in your Back to Eden Garden, including your favorite fruits and vegetables. Here are some tips we’ve gathered from the experts in this gardening method.
- Use a fine mulch when planting tiny seeds like lettuces, carrots, or radishes.
- Adding more mulch in your second year will help cut down on weeds. Gautschi adds about two inches of sifted wood chips every two years to keep his garden in good condition.
- Some gardeners prefer newspaper to cardboard, explaining that newspaper conforms to the ground better without leaving pockets of air.
- Don’t till the wood chips into your soil. Mixing the chips can limit your plants’ access to nitrogen.
- Although this method reduces the number of weeds, you’ll still get some blown in by the breeze or dropped by birds. However, if you pluck them out quickly, they will not spread.
- Don’t mix fresh wood chips in with the old. Instead, place a new layer of fresh chips on top of what is left.
- You may need to apply fertilizer in the first couple of years to encourage healthy growth.
- Wood chips attract slugs, so you’ll need to pay attention to preventive measures. Some natural examples include coffee grounds, eggshells, sand, wood ashes, and Diatomaceous earth. You can find other slug tips here in the Farmer’s Almanac.
In addition to watching the Paul Gautschi video mentioned above, here are some other resources in Back to Eden Gardening:
- The Nourished Soul: Nurturing Your Mind to Grow Unending Health and Happiness by Paul Gautschi and James Bars
- Growing Food God's Way: How Paul Gautschi Takes Us Back to Eden and Beyond by David Devine
- Back To Eden Gardening Method Of Paul Gautschi by Alyssa Belotti
- Back to Eden Organic Gardening: Mastering Ways to Grow your Own Food by William Canterbury
- Back to Eden Gardening: The Easy Organic Way to Grow Food by Bo Tucker
Like this post? Don't Forget to Pin It On Pinterest!
You May Also Like: