

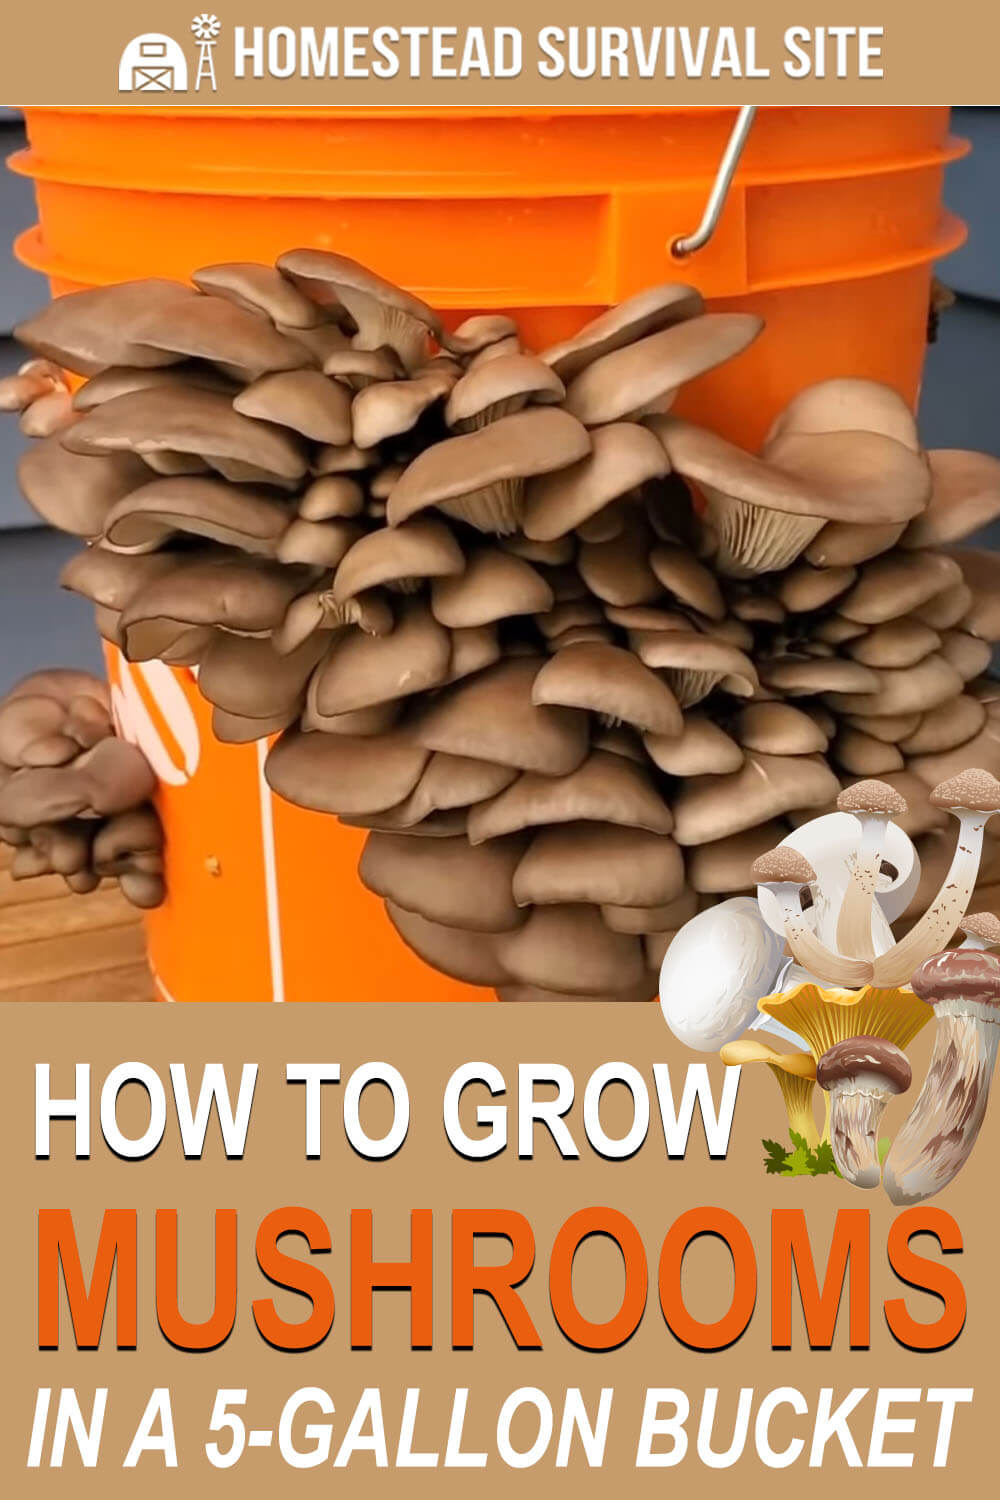
Mushrooms are easy to grow if you create the right conditions. In this video from the Youtube channel, FreshCap Mushrooms, Tony explains a simple way to grow mushrooms in a 5-gallon bucket using Aspen woodchips and some Oyster mushroom spawn.
To start, take a 5-gallon bucket and drill some quarter-inch holes in the bottom spaced about 2 inches apart. Drill some quarter-inch holes on the side of the bucket spaced about 4 inches apart.
Want to save this post for later? Click Here to Pin It On Pinterest!
In a large plastic container, soak aspen woods chips in hot water. You can buy Aspen wood chips at some home centers or on the Internet. You can use hot water from the tap but as the container starts to fill, top it off with a couple of gallons of boiling water to get it to 80 degrees Celsius. That’s 175 degrees Fahrenheit.
Let the wood chips soak overnight.
The next morning, grab some soaked wood chips from the container and let them drain in your hand for a few seconds and drop them into the bucket. Fill the bottom of the bucket with an initial layer of chips about 2 inches thick and top with crumbled Oyster mushroom spawn.
Top this first layer of spawn with another layer of wood chips and sprinkle some more spawn on top. Make sure you gently compress the wood chip layers as you go.
Repeat the process in layers until you have filled the bucket to the top.
Cover the bucket with a lid and place it either in the garage if the weather is cold, or if the weather is warmer -outdoors in the shade. Try to put the bucket in an area protected from the wind as well. The mushrooms will need some air circulating but they thrive on high humidity and you don’t want the wood chips to dry out.
After a week, lift the lid and check the wood chips. They should feel compact and you should notice the mycelium or young mushroom growth starting to spread into the chips. If the weather is particularly dry, cover the bucket with a plastic garbage bag but lift it from day to day to let air circulate.
After two weeks, check the bucket again. You may notice some mushroom sprouts emerging from the holes in the side of the bucket. As these buttons continue to grow you can mist them with water from a sprayer. Continue to do this as the mushrooms grow and mature.
As the mushrooms mature you can begin to harvest and make sure you pick them before their caps start to turn up. That’s a sign that they are about to quickly dry out and release spores.
After harvesting your mushrooms, you can leave the bucket to see if you get a second harvest. If little or nothing shows up, dump the wood chips in the yard and cover with straw. You should get a second or third crop this way and they may continue to grow in that area over the years.
Of course, this is much easier to understand if you can see it done, so be sure to watch the video below to learn more.
You May Also Like: