

Estimated reading time: 11 minutes
Everyone with chickens knows that homegrown eggs taste so good that you can never go back to store-bought. Well, the same goes for the flavor of a homegrown chicken. Whether you raise chickens for meat or eggs—or a combination of both—at some point you’re going to have to send some of your birds to the freezer club.
Even if you’ve never dreamt of slaughtering a chicken…things happen. Foxes, raccoons, stray dogs, and hawks happen, and before you know it, you’re hatching chicks. It seems like a brilliant idea: an endless supply of chickens, and all you have to do is let a broody hen sit on her eggs for a few weeks.
Next thing you know, you’ve got too many roosters (which is any number higher than 1, and plenty of folks would argue that 1 is too many), and they’ve got to go.
It doesn’t matter if you’ve never dispatched or butchered an animal before: with the right attitude and a little preparation, you can do it quickly and without too much fuss.
Want to save this post for later? Click Here to Pin It On Pinterest!
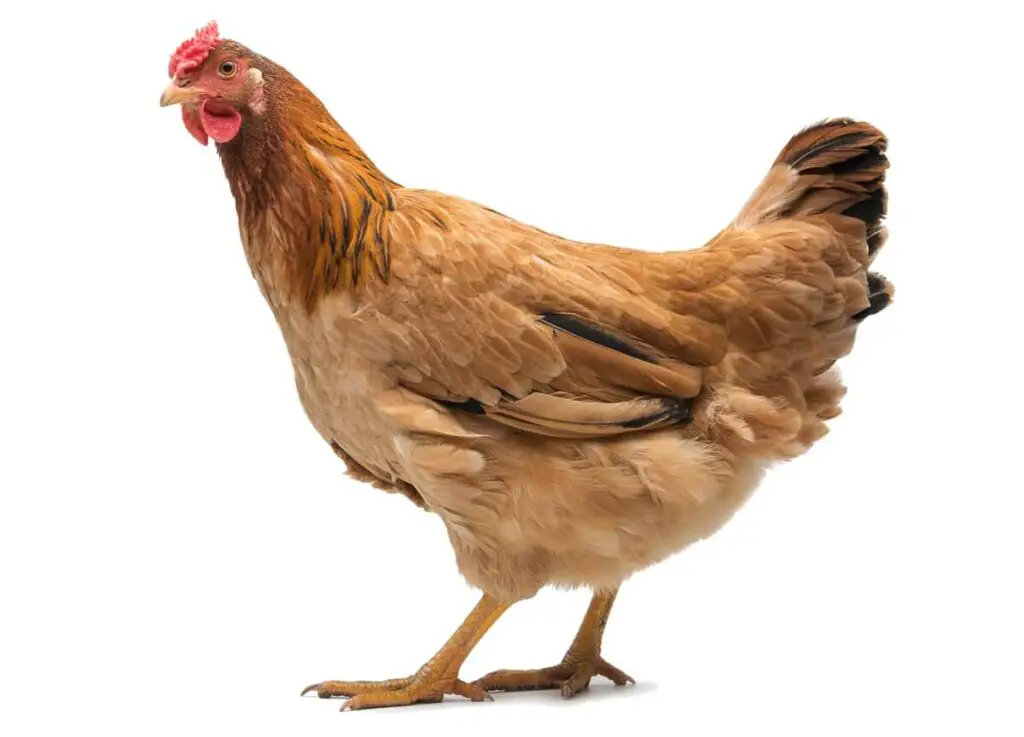
I’m going to walk you through the basics, give you a few photos to guide you along the way, and by the time you’re done reading this, you should have all the information you need to get out there and take your chickens from this:
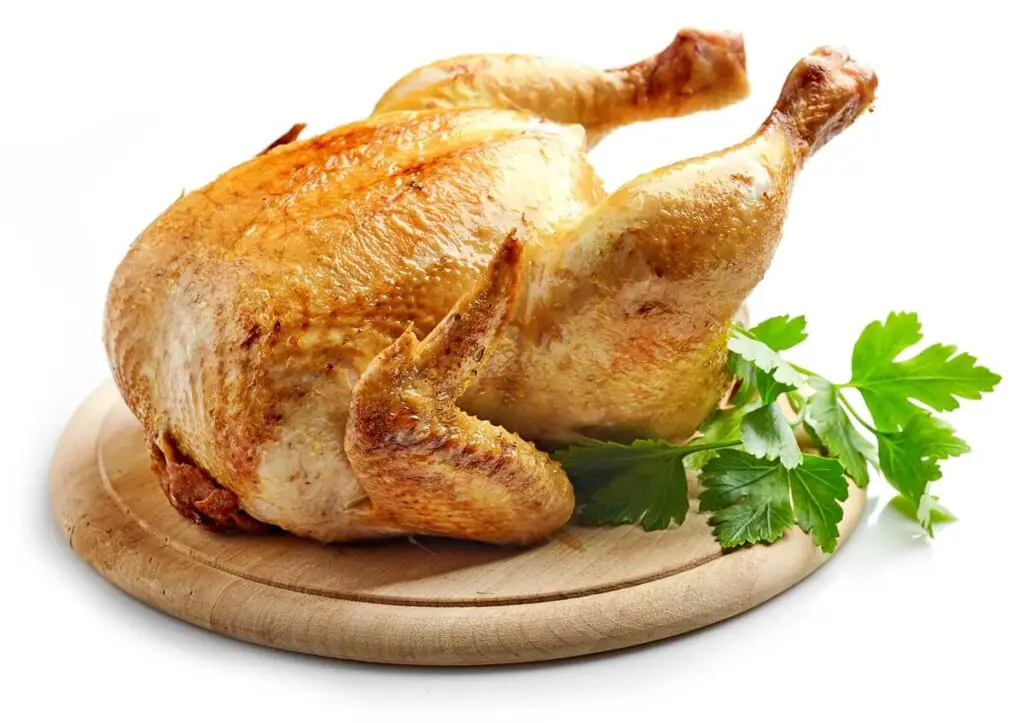
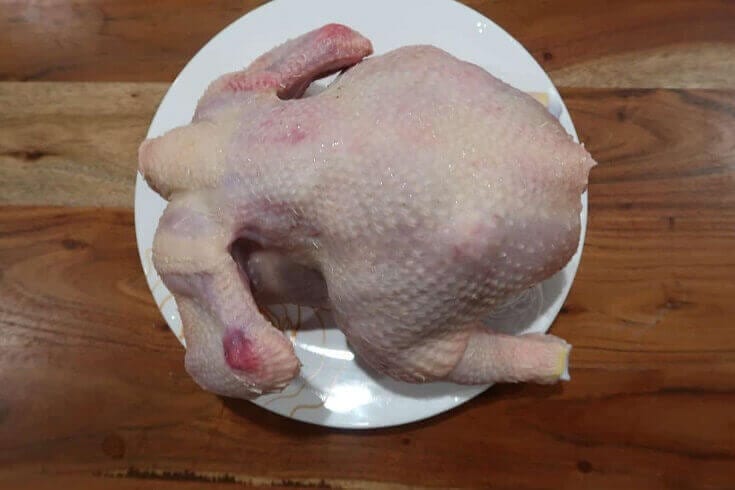
To this:
First things first, you’ll need a few supplies:
- A metal killing cone (ideal, but not 100% necessary, I’ve seen people use traffic cones)
- A very sharp knife
- Garden shears or heavy-duty kitchen shears
- An easy-to-clean surface (stainless steel, plastic, or heavy-duty plastic-draped table)
- Turkey fryer (to scald the birds for ease of plucking)
- A candy or meat thermometer
- A large, heavy wooden spoon
- A propane burner (like the one that comes with a turkey fryer)
- An ice chest filled with ice
- Several large bowls or buckets (for feathers, innards, and blood
- A hose
Now, some reassurance: if you do not have all of these items, you can still do a fine job of butchering a chicken with only a sharp knife, a rope (or makeshift cone), and a kitchen sink and counter. Don’t let a lack of supplies get in your way.
Early Preparation
I personally don’t feed my birds the night before a scheduled slaughter in order to ensure an empty crop and colon. Trust me on this one. I usually set up the evening before, because I prefer to butcher in the morning when everyone is still in the coop.
Not only is it easier to catch chickens that are confined, but I personally don’t like for the other chickens to see what I’m doing—I prefer for my hens to trust me, and after a visible slaughter I’ve had birds behave differently towards me…forever after.
If you have a killing cone, set it up and test it to make sure it is secure. Line up your table, hose, turkey fryer, and ice chest alongside the cone setup. If you can turn this into a sort of “assembly line,” your process will go much more smoothly. If you can’t, don’t worry.
Same-Day Preparation
- Before you do anything else, fill your scalding vessel with water and fire up the burner.
- Fill the ice chest with ice
- Turn on the hose and put it within reach of your processing table
- Sharpen your knife
- Gird your loins
The Process
If you’re only butchering a couple of birds, then you can do this using makeshift methods. If you plan on butchering an entire flock, say anything more than 10 birds, then you really need to have a system in place and some reasonably good equipment on hand.
(There is a lot of debate over whether it is better to cut the head off or to use this method. I choose this way because with the brain stem intact and heart beating, most of the blood is pumped out of the body and the meat is of better quality).
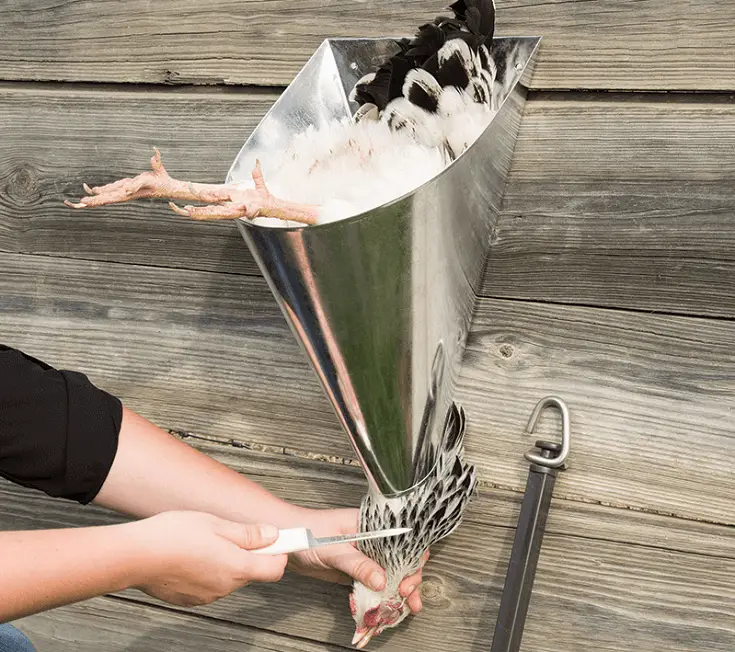
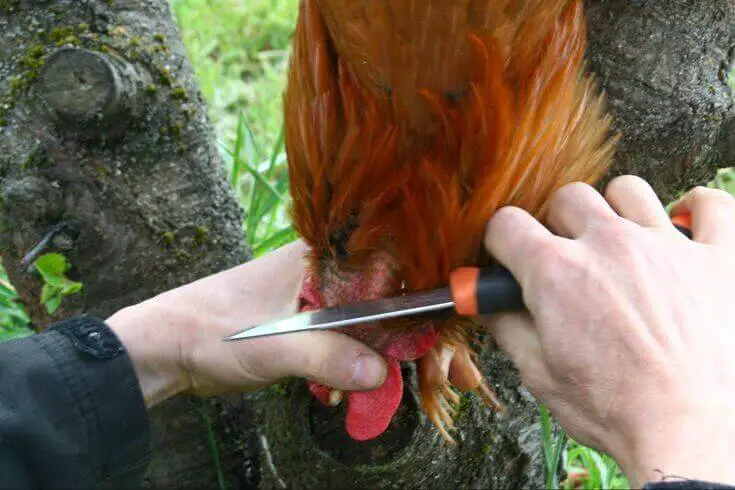
Step 1: Killing
Retrieve your chicken. Hold the bird by the feet and it will quickly calm down. Place it head-down into the cone, pulling its head out the bottom. You want it with its back facing away from you. If you want to collect the blood, place a vessel beneath the cone.
Feel the jawbone that runs between the beak and neck, and note the pulse of the jugular vein on each side. Hold the head steady, exposing the neck, and make two deep, decisive cuts on each side, severing the arteries. Use more force than you think is necessary, and be careful not to cut yourself!
I did not have a killing cone on hand and fashioned a rope noose for the feet instead. This works well, but you will want to hold the head firmly while it bleeds out and does a little flapping. Wear clothes you don’t mind getting blood on.
Step 2: Bleeding
Wait until all the blood is drained and the chicken is completely motionless. There will be a bit of flapping—it’s just nerves—before you see the feathers relax and the head go slack. Holding your bird by the feet, head to the scalding pot.
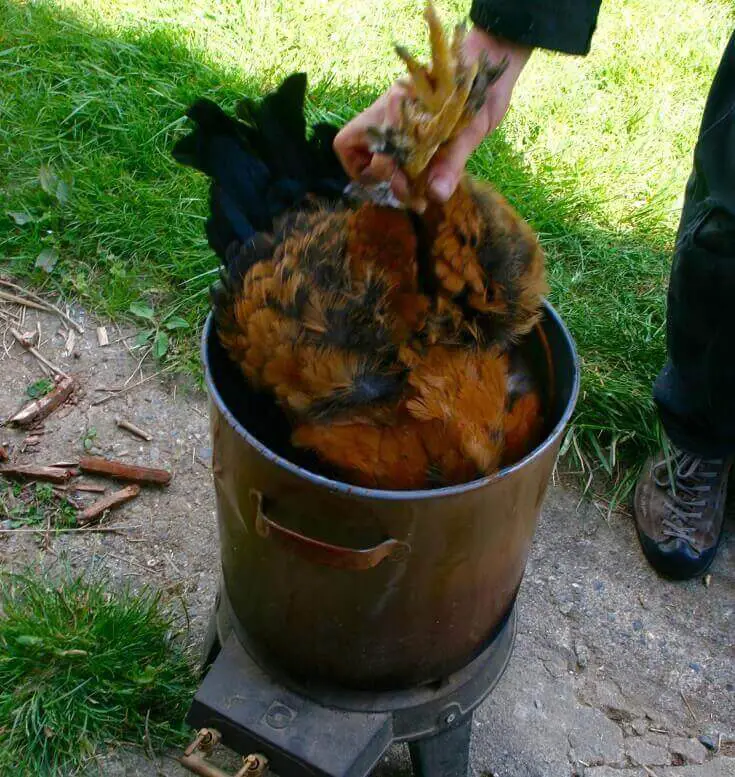
Step 3: Scalding
Measure the water temperature. You want it to be right between 130º and 140º. Any hotter and you risk cooking the bird. Submerge the chicken in the water, using the wooden spoon to get it fully immersed. Swish it around for about 10 seconds, then move to the table.
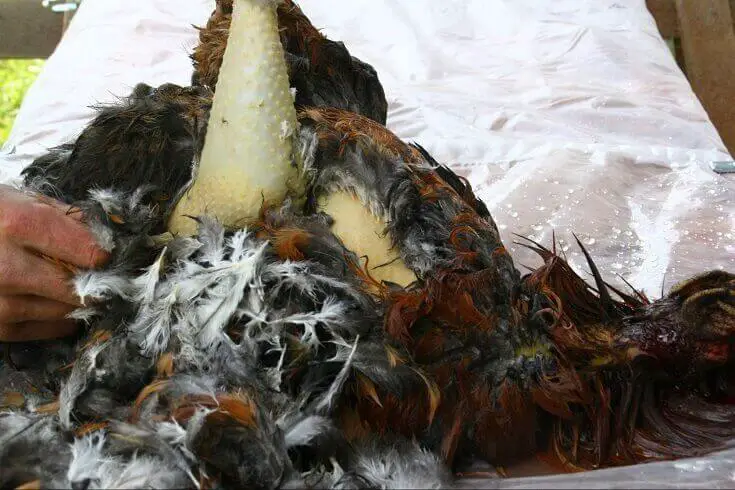
Step 4: Plucking
Pluck all the feathers. This should be easy on a scalded bird, they should pull right out with very little effort. If they don’t, give it another little dip in the pot.
If you are processing a lot of chickens, you may want to rent a plucker. Rinse the bird, and keep it on its back.
Step 5: Cleaning
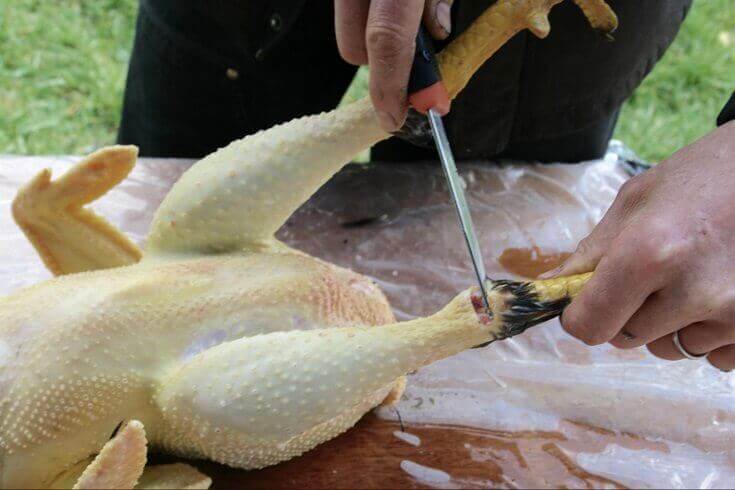
Remove the head and feet. The head you can do with garden shears, or you can use a knife to cut all the way around, then twist and pull.
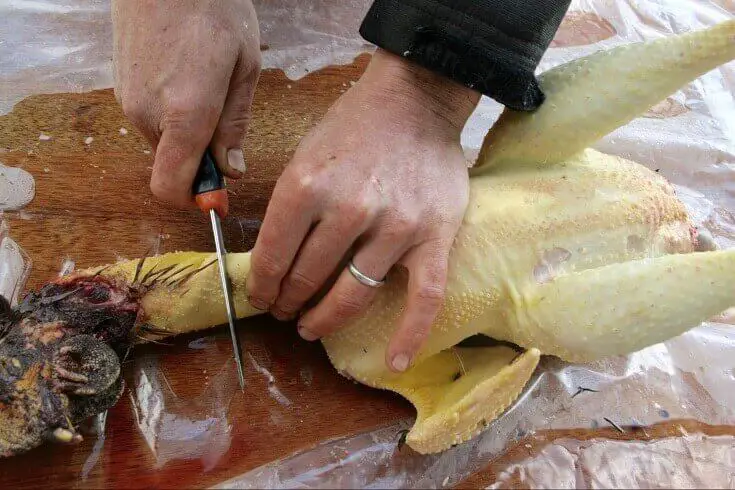
To remove the feet, bend the leg and make a cut across the “knee” and carefully cut through the joint, then twist and pull while cutting through.
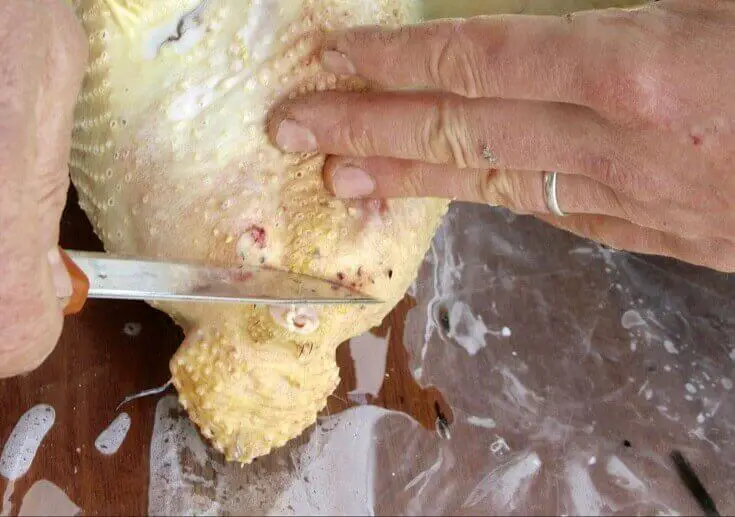
Save the feet for making a super-rich stock (but scald and peel them first). Cut out the “preen gland” just on top of the tail. Slice across the top and then cut from below to fully scoop it out.
Step 6: Gutting
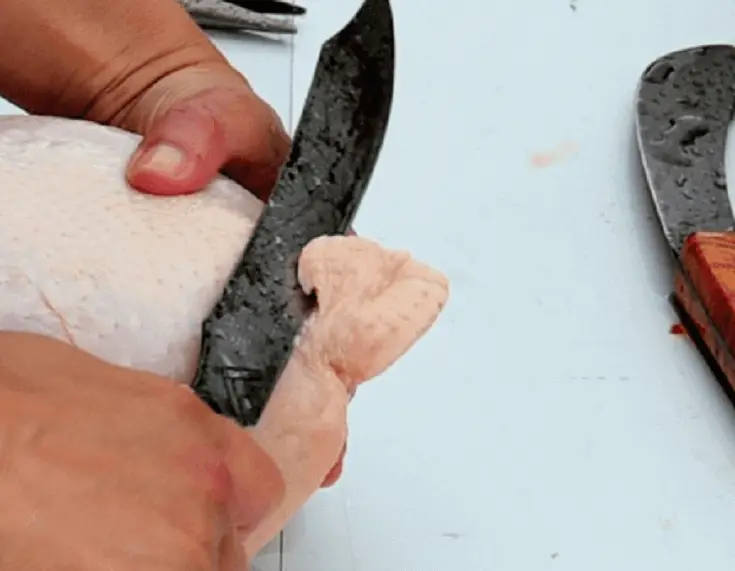
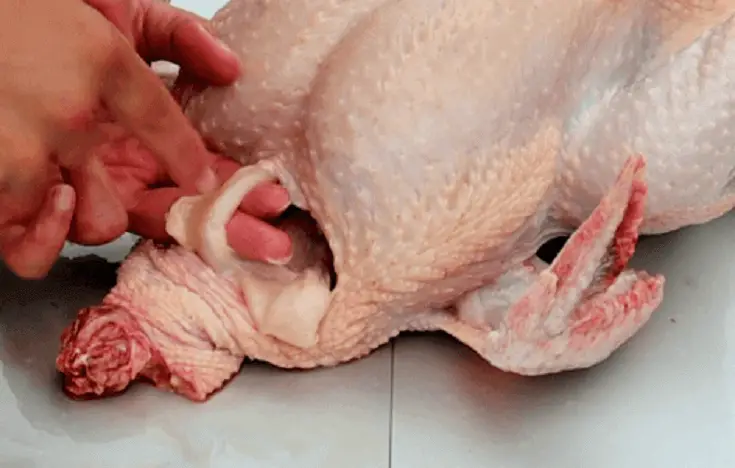
First, pinching up the neck skin, cut across the breastbone, at the front of the neck. Reach in and pull out the crop, esophagus, and windpipe. Here is where things can get a little messy with a full crop—if any undigested food comes out, just rinse it off.
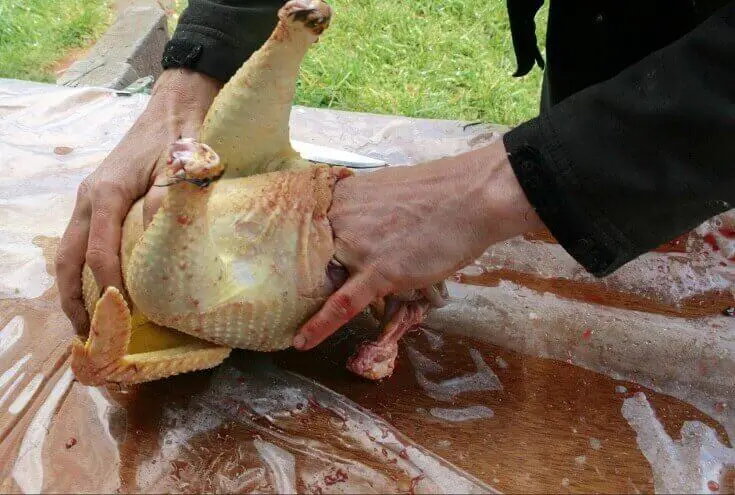
Turn the bird around, so you’re working with the tail end. Make a horizontal cut above the vent, taking care not to perforate any of the guts.
Some people use both hands to pull the carcass open, I usually just make a wide enough cut to get my hand inside the cavity. Reach all the way in and grab onto the crop—you can feel your way up from the gizzard (the biggest, hardest thing in the cavity).
Pull down on the crop and gizzard and you should be able to scoop all the innards out at once.
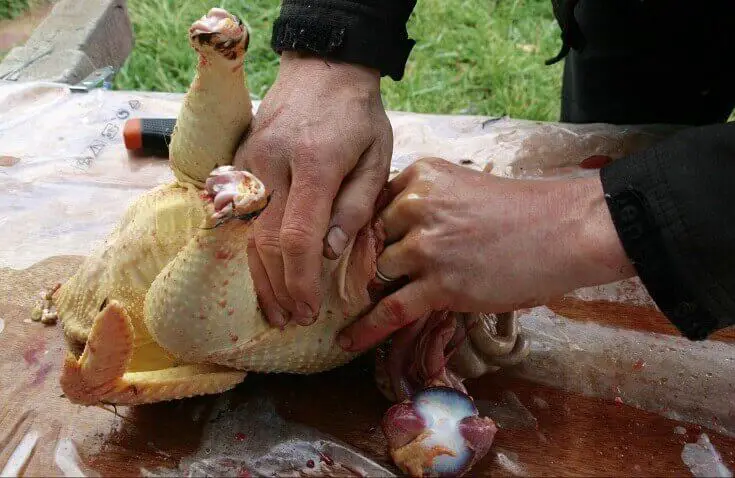
Cut around the vent (the anus) to pull this whole mess of guts free.
Separate out the heart, the liver, kidneys, and any other parts you might want to eat or feed to pets. You probably want to go back in and fish out the lungs—it’s a little tricky, as you need to scrape them out from between the ribs, along the spine with a fingertip. Now, rinse out the inside of your carcass until the water runs clear.
Don’t worry if you don’t get it right the first time. In fact, the first time is rarely neat or pretty. Every chicken you process after the first one will be easier, faster, and look better.
Step 7: Chilling and Packaging
Place your carcass into the ice chest filled with ice and just enough water to submerge the bird. You want to chill for 6-10 hours before you package and freeze.
You can use a food sealer or heat-seal bags to package your chickens with as little air as possible to prevent freezer burn. If you plan on cooking without freezing, let the meat rest for 2-3 days to completely relax so that it is tender and not tough.
Having processed a lot of birds over the years, I can process 2 to 3 in an hour without any assistance. If you make it a family affair, assigning 3-5 people a task, you can literally butcher dozens in a few hours. Your first one may take you 45 minutes or more, and that’s perfectly normal.
Now, your homegrown chicken may not look like the chickens you buy in the store. There are a lot of reasons for this, starting with breed and age. If you are processing heritage birds, laying hens or roosters, they will be lighter and have smaller breasts and less fat.
Keep an open mind though, and just wait until you taste them. I spent most of my life thinking I hated chicken…until I raised my own. Nothing compares to the flavor of diverse chicken breeds raised outdoors.
One last piece of advice: use a slow cooker or pressure cook old birds to make sure they turn out nice and tender. Save your youngest birds for roasting.
This is a lot of information, but the process of butchering your own chickens is much easier than it seems. Hopefully the next time you have an excess of roosters or hens who are past their prime, you’ll consider making a meal out of your freeloading chickens.
Good luck, and bon appetit!
Like this post? Don't Forget to Pin It On Pinterest!
You May Also Like:


Take an iron pipe or piece of angle iron about three feet long and holding the chicken by its feet place it’s neck under the pipe or angle iron and stand on pipe or iron with both feet. Pull up on the chicken feet and pull it’s head off. Then throw it away from you to let it flip and flop around as it bleeds out. This is quicker, safer than a knife or ax and more humane for the chicken. If my mom could do it then anyone has the strength to do it. She would some times wring their neck first by holding the chicken by the neck and swing it around in a circle like you were turning a crank. This would break the chickens neck killing them first before pulling their head off.
USELESS ! CANNOT DOWNLOAD ANY IMAGES