Estimated reading time: 6 minutes
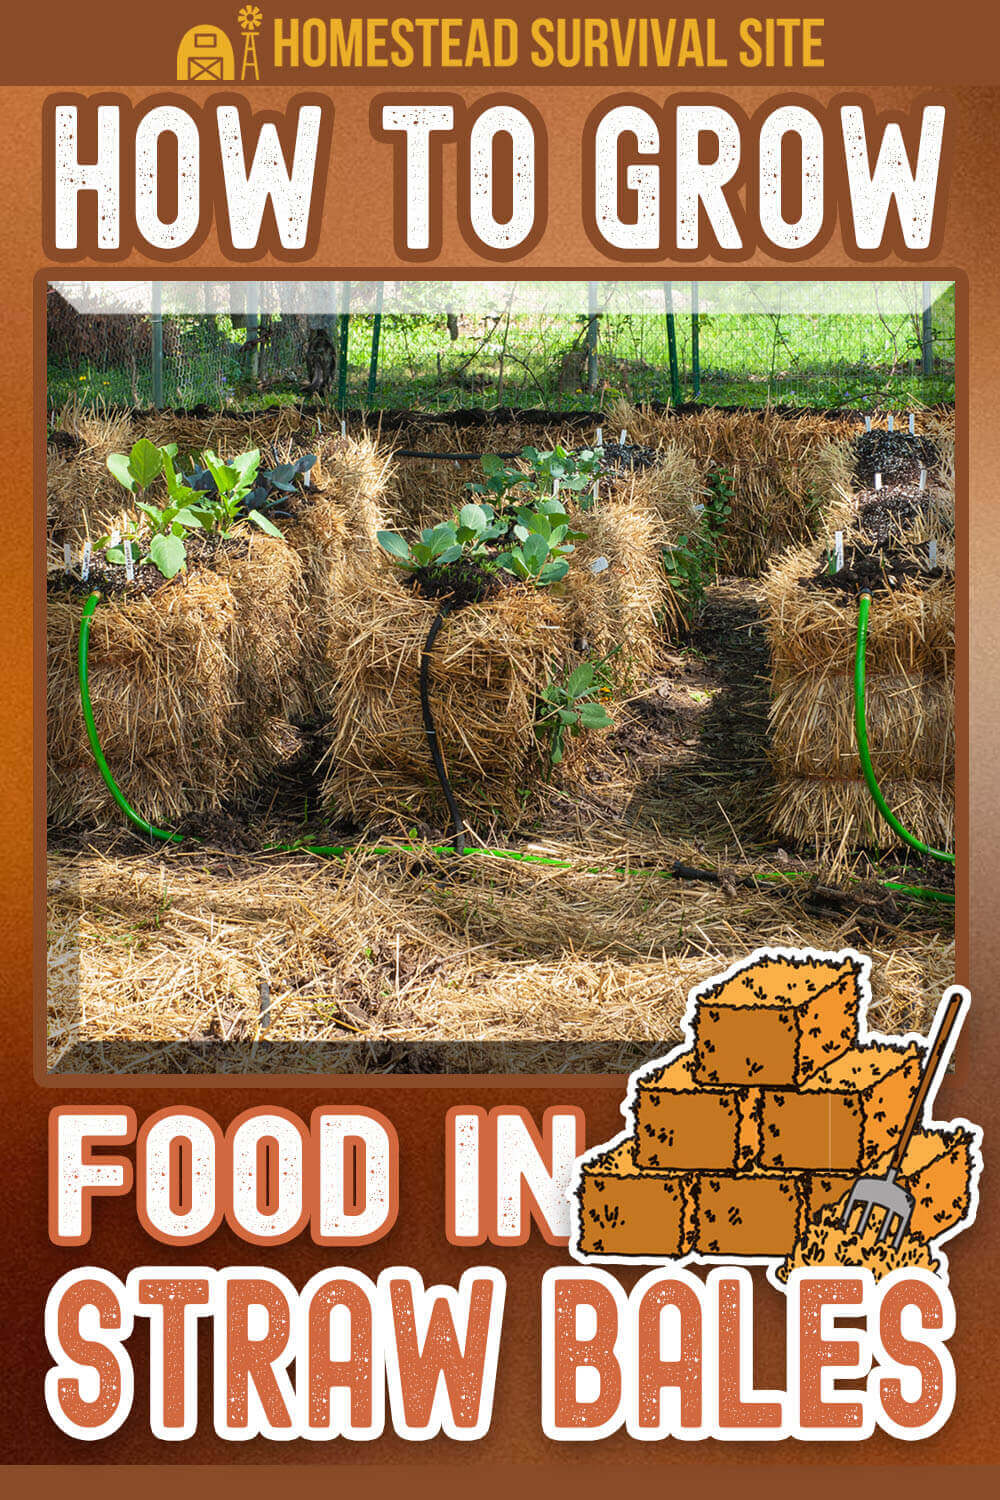
If you are looking to add more growing space to your garden or learn a new convenient growing method, you should consider straw bale gardening. It is an ancient method that has a simple concept – straw can serve as a planter/container/raised bed that slowly breaks down and nourishes the soil below.
You can use a straw bale to grow herbs, vegetables, and ornamental plants. With a straw bale garden, you eliminate the work of digging and weeding. And what’s even more significant is that you have the flexibility to place your straw bale garden in any sunny spot you wish, creating an instant garden.
Want to save this post for later? Click Here to Pin It On Pinterest!
What is Straw Bale Gardening?
Straw bale gardening is a self-contained garden method that uses straw as its growing medium. Instead of planting seeds in the soil, you plant them in bales of straw that you treat with a nitrogen source, such as bone meal. Within a few days, the bale will begin to warm, creating an ideal growing environment.
It is essential to use straw – not hay – for this method. Straw, which is composed of leftover stalks of oats, wheat, and other grains, is virtually free of weeds. On the other hand, hay contains alfalfa and other grasses that have seeds. These seeds can sprout and grow, defeating the purpose of an easy-care garden.
How to Start a Straw Bale Garden
People who have mastered straw bale gardening, such as Joel Karsten, author of Straw Bale Gardens Complete, recommend that beginners start slowly with this method and learn as you go. Here are the basic steps for creating a straw bale garden.
1. Locate Your Straw Bales
You can obtain straw bales from nurseries, gardening centers, of local farms. However, you’ll want to make sure to request organic bales so that you are not planting your seeds in bales that have been doused with commercial fertilizers. You can also purchase straw bale kits, like this one, online.
2. Solarize Your Bales
By wrapping the bales in black plastic and setting them in full sun for a few days, you will kill any seeds that could be inside. Remove the plastic after a few days.
3. Find a Sunny Location Near a Water Source
Once you have watered your bales, they will be quite heavy and difficult to move, so look for a spot that gets plenty of sunshine – six to eight hours for most vegetables — throughout the day. You’ll also want a location that is convenient to your garden water supply. However, you want to avoid a spot where water won’t drain well. Standing water can cause the bales to rot and plants to suffer.
4. Water the Bales
Water them thoroughly until water runs out at the bottom. Allow them to sit for a few days as they soak up the water.
5. Add Nitrogen
Sprinkle the bale surface with a high-nitrogen fertilizer (such as bone meal). Nitrogen helps boost the composting process and creates the ideal environment for the plant roots. Water to allow the nitrogen to soak into the bale. For the next week, water each day and add more nitrogen every other day. Follow your nitrogen packaging for directions as to the correct amount.
As this week of preparation goes on, you will notice the straw is warming and beginning to decompose.
6. Apply a Layer of Soil
Next, spread about a two-inch layer of moistened, peat-based potting soil on the top of each bale. Tamp it down and water enough to moisten this layer
7. Plant Your Seeds or Seedlings
Now you are ready to plant your seeds or seedlings. Some of the plants that thrive with this gardening method include:
- Strawberries
- Tomatoes
- Cucumbers
- Peppers
- Squashes
- Leeks
- Garlic
- Eggplant
- Cabbages
- Lettuces, greens, and herbs
Plant your seeds at varying depths into the top of the bale, mostly at a depth of a quarter-inch. You can push large seeds (such as peas, beans, and squash) further into the bale. Plant taller plants at the back of the bale so they won’t overshadow shorter plants as they grow.
8. Water Your Seeds
Keep the bale moist until the seeds have sprouted and are established.
Tips for Successful Straw Bale Gardening
- Some types of seeds will grow well when planted along the sides of the bales. You can try strawberries or potatoes or even flowering plants, like petunias or marigolds, if you wish.
- Be on guard against overwatering. You don’t want the straw bale to dry out, but too much water will wash away essential nutrients.
- Straw bale gardens resist many garden pests, but deer, rabbits, or groundhogs may be tempted by the tasty food growing in your raised beds. You may want to invest in a fence.
- The internal decomposition of the bale will offer your plants nutrition. However, it’s still a good idea to apply a water-soluble fertilizer weekly or every couple of weeks (see fertilizer for directions).
- You can support tall plants (such as tomatoes) with stakes or wire cages that you firmly insert into the bales.
- If slugs are a problem, a sprinkling of diatomaceous earth can be the answer.
- Straw bales are convenient and easy to grow food anywhere. However, be aware that the wet bales could damage a wood deck. If you want to place one on a patio, consider placing a protective liner under your bale.
By the end of the growing season, the bales will have broken down. The amount of decomposition will depend on the weather and the kinds of plants you have harvested. Some bales will collapse into rich mounds of compost, while others will remain intact enough to allow you to plant some garlic in the fall.
Either way, you are sure to appreciate the rich soil that remains, and you'll be ready to plan your next straw bale garden.
More Information on Straw Bale Gardening
Here are some sources if you want to dig deeper into straw bale gardening:
- Straw Bale Gardens Complete
- Growing Vegetables in Straw Bales
- Mother Earth News
- How to Create a Straw Bale Garden
Like this post? Don't Forget to Pin It On Pinterest!

