Estimated reading time: 8 minutes
Every time fall rolls around, my kids beg to go apple picking. It becomes a serious competition to see who can pick the most juicy ripe apples! But there’s always one problem – what do I do with all of those bushels of apples?
We can only eat so many pies before the apples start rotting and get sent to the chickens. But this year, I’ll be prepared because making apple chips is a great way to preserve and store all of those extra apples.
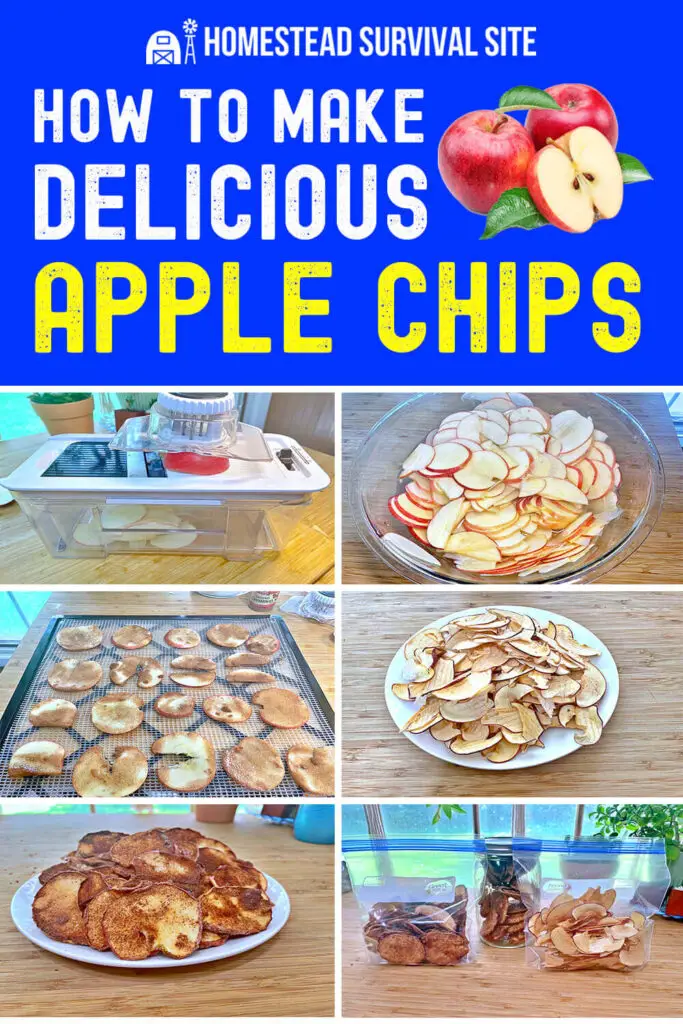
Apple chips are simply sliced, dehydrated apples. They’re absolutely delicious, but they’re also very expensive if you purchase them at the store. One tiny bag doesn’t go very far in my big family, so I decided to make some apple chips myself.
Making apple chips is easy and cost-effective. Total prep time is only about 15 minutes unless you count picking the apples! They’ll need 6 to 8 hours in the dehydrator, but you can also make them in your oven or even your air fryer. Let’s get started!
Want to save this post for later? Click Here to Pin It On Pinterest!
Ingredients:
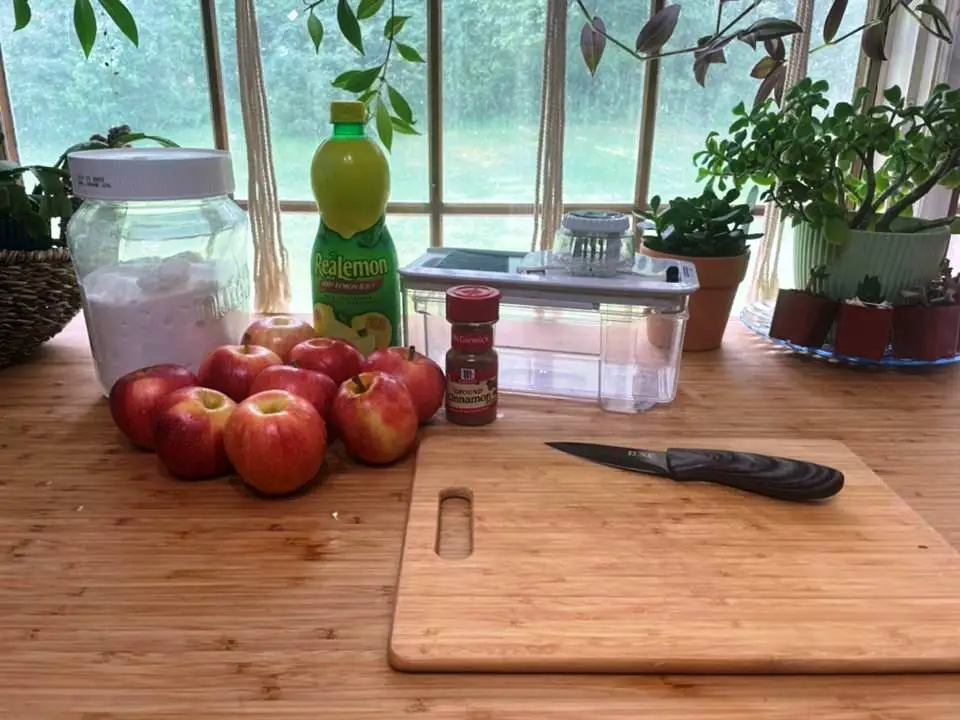
- 5 pounds of apples (or however many you would like)
- 4 cups water
- 4 tablespoons lemon juice
- 1 ½ cups sugar (optional)
- 4 tablespoons of cinnamon (optional)
You can use any variety of apples you like to eat. However, many people find that crisper apples hold together better. I had Gala apples on hand, so that’s what I used.
I was hungry for apple pie, so I decided to sprinkle my apple chips with cinnamon and sugar. But if you want a healthier alternative, you can use just cinnamon or nothing at all. The apples will have their own sweetness.
After you slice your apples, you’ll want to drop them into a bowl of lemon water. This keeps them from turning brown and helps to preserve some of the nutrients in the apple slices. If you don’t want to use lemon water, you could use citric acid instead. Just follow the directions on the bottle.
Tools:
- Mandoline slicer
- Apple corer or pairing knife
- Cutting board
- Measuring cups and spoons
- Bowls
- Dehydrator
1. Preparing Your Apples
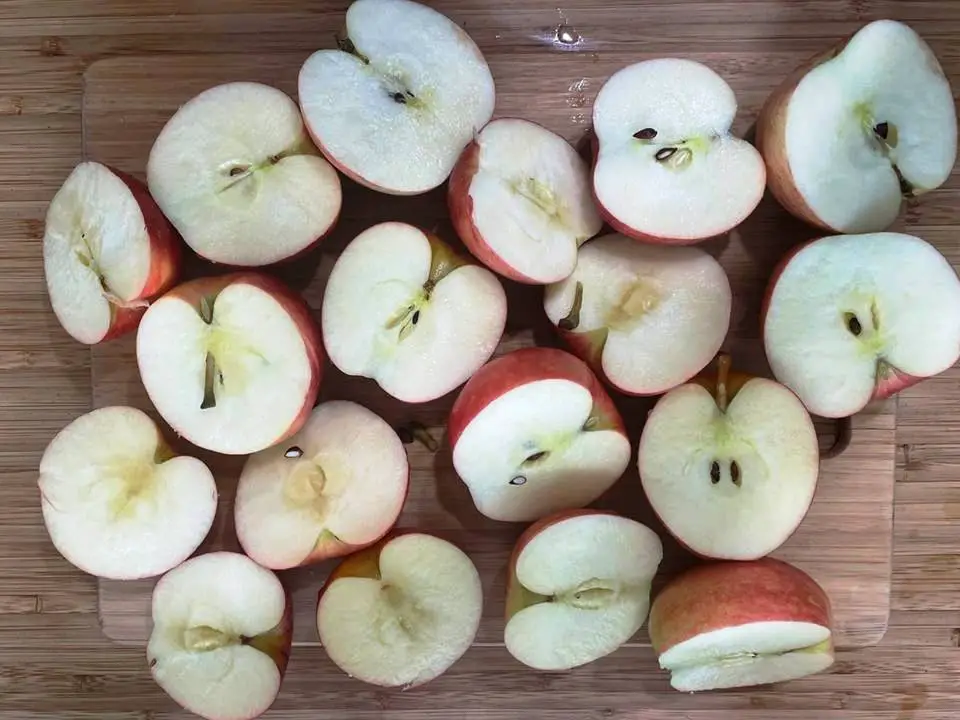
First, you’ll want to wash your apples. You can cut out any bad spots or bruises, too. You don’t need to peel them, but you can if you want.
An apple corer is the easiest way to remove the core. If you don’t have one, that’s ok. I just used a sharp pairing knife to cut the apple in half. Then, I cut out the core by making a V shape. Just make sure you remove all the seeds!
Any seeds and core parts go into the compost pile, and any peels or scraps other than that can go to the chickens or goats.
2. Slice the apples very thin
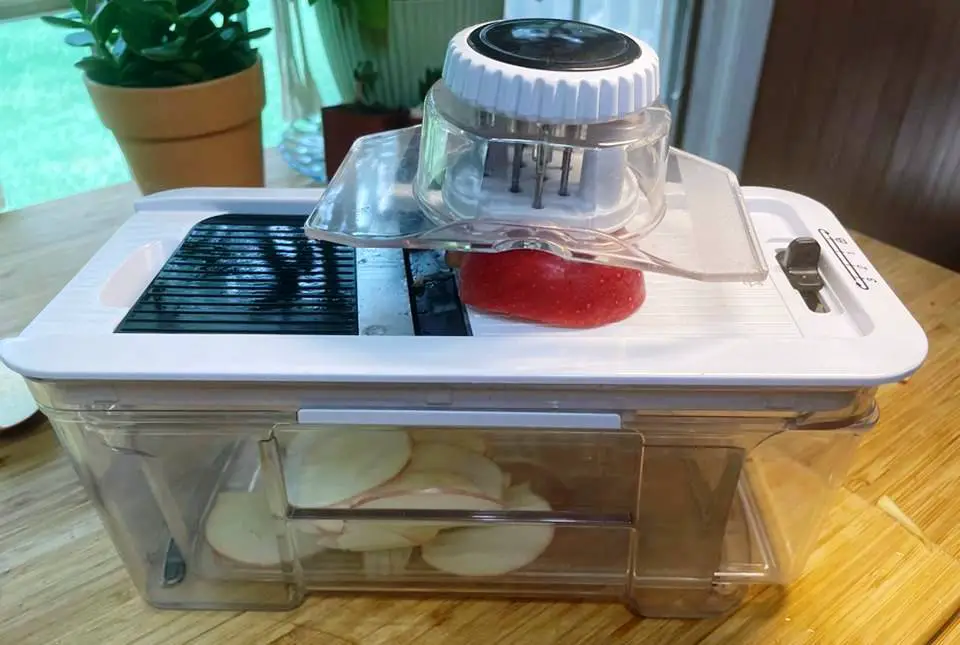
Next, I used a mandoline slicer to slice my apples evenly. You may want to experiment to find a thickness you like. Just make sure it’s no thicker than 1/8 of an inch. Otherwise, your apple chips will be more leathery and less crispy (but still delicious).
I found the thinnest setting made the apples harder to work with, so I settled on the middle setting of my mandoline slicer. If you don’t have a mandoline slicer, you can use the slicing blade on your food processor or cut them by hand. Just try to get them to be even.
Remember to be careful using your knives and slicer so you don’t accidentally cut yourself.
3. Soak the apple slices in lemon water
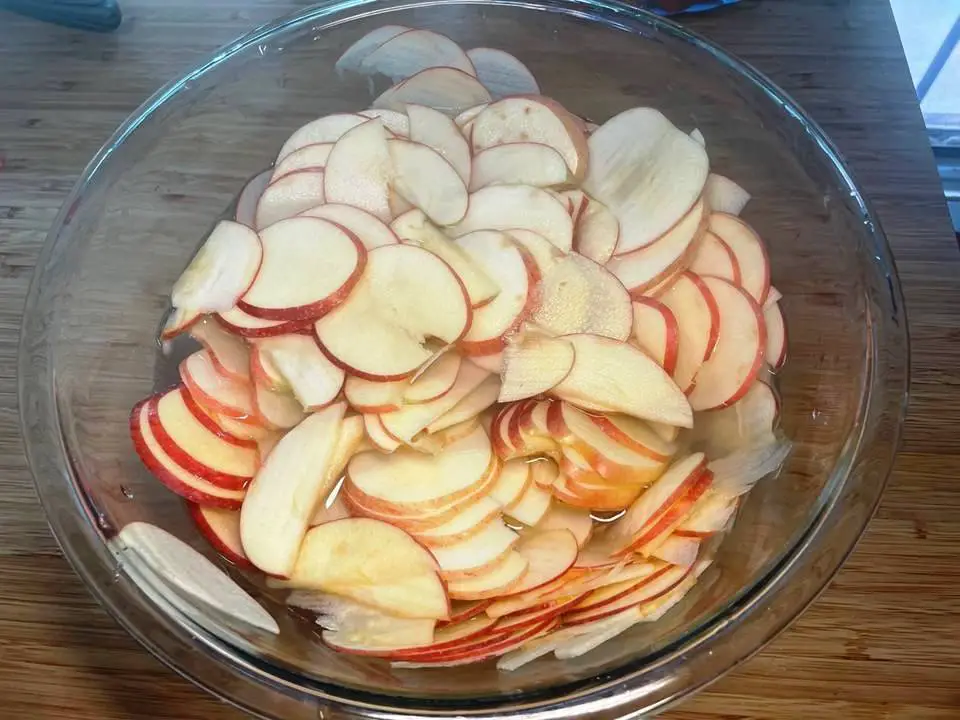
As you slice, you can dump your apples into a bowl of lemon water to prevent browning. I used 4 tablespoons of lemon juice in 4 cups of water (1 tablespoon per cup). This was just perfect for my 5 pounds of apples.
4. Prep your dehydrator and spices.
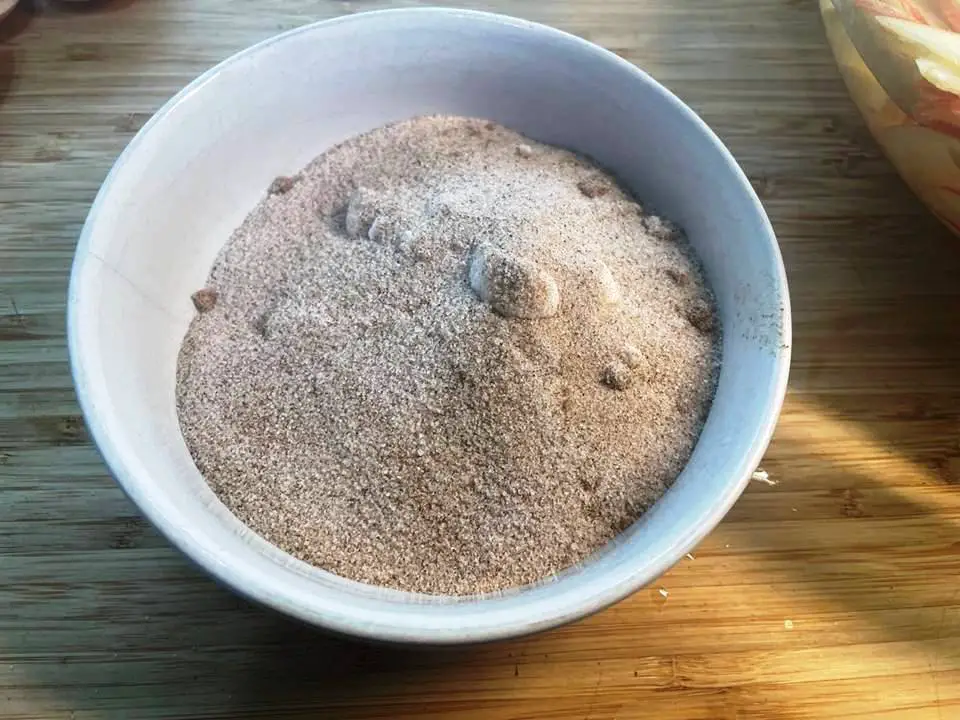
While my apples were soaking, I set up my dehydrator. Then I mixed 4 tablespoons of cinnamon with 1 ½ cups of sugar. This will create a very sweet, desert-like chip.
You can leave out the sugar and sprinkle with cinnamon, or skip both. If you feel like it, you can experiment with other spices, too, such as pumpkin pie spice or ginger. It’s up to you!
5. Dip your apple slices in the cinnamon and sugar
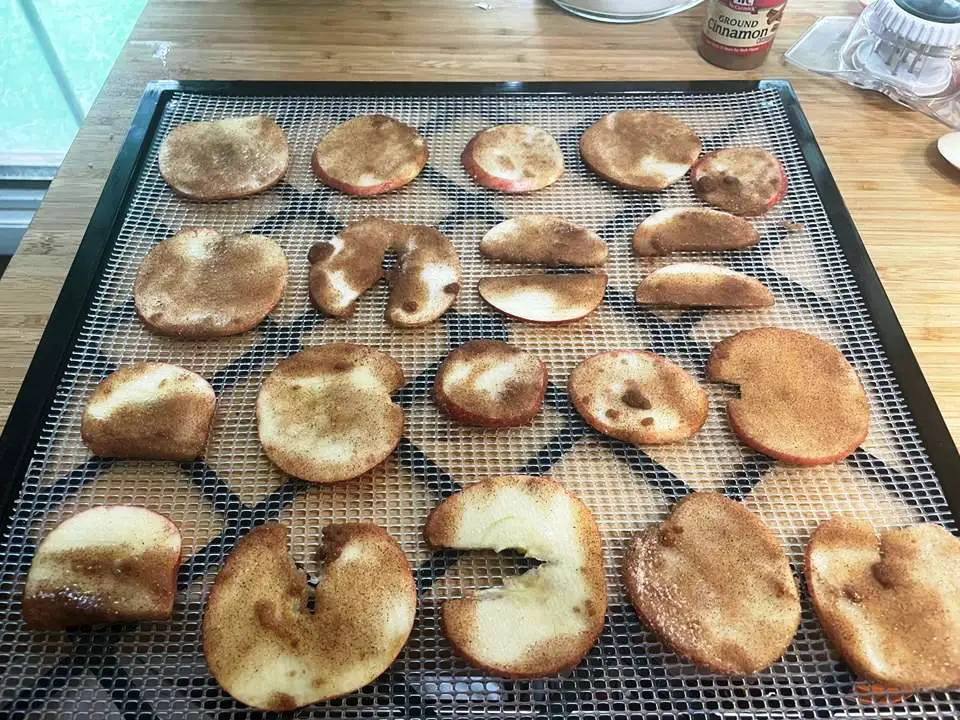
I mixed the sugar and cinnamon in a cereal-sized bowl. Then, I shook off the excess water from each slice beforeI dipped it into the cinnamon and sugar mixture. I then laid it out carefully on the dehydrator sheet. I did this for about half of the slices. The rest I left plain.
If you find your sugar is getting too wet and clumpy, you might want to set your apple slices on paper towels to drain off some of the water. You could even pat them dry if you need to.
6. Dehydrate
Lay them out on your dehydrator sheets, so there is plenty of circulation around them. Set your dehydrator to 145 degrees Fahrenheit for around 6 to 8 hours. If your slices are thinner, it will take less time. If your slices are thicker, it may take even longer. Start checking at around 4 hours to see how ‘done’ your slices are.
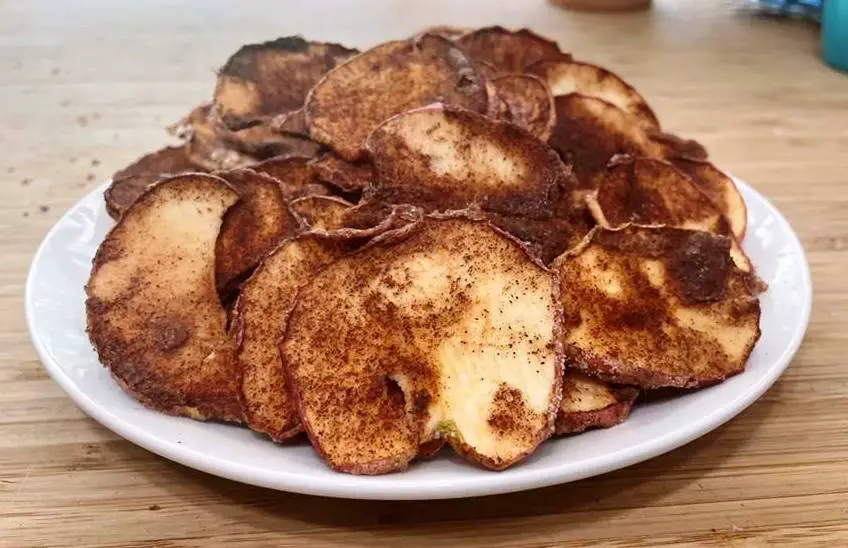
You’ll know they are done when you can break off small pieces of apple. If they bend, they aren’t done yet. However, if your slices are too thick, they may retain that leathery feel. That’s OK, they’re still safe and good to eat!
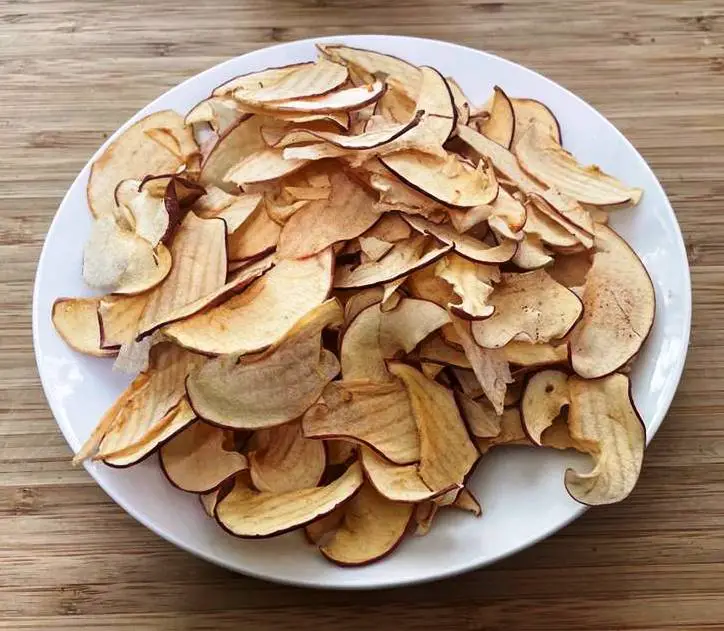
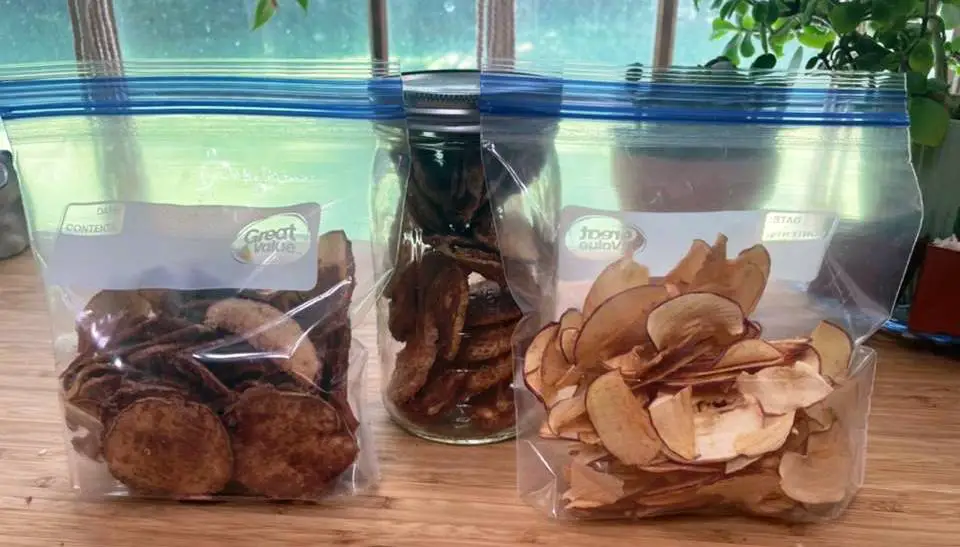
The extra thin slices that I cut came out more like traditional potato chips with a stronger apple taste, while the thicker, sugary slices had more texture and more of a dessert flavor. Both were delicious!
7. Store your apple chips
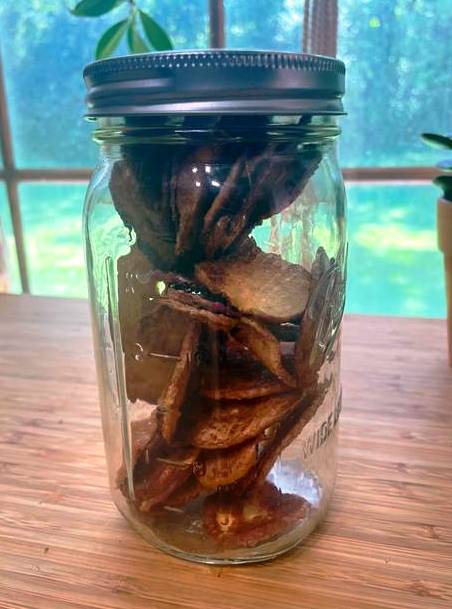
Store your apple chips in an airtight container in your pantry for up to 6 to 8 months. I like putting mine in mason jars with plastic lids. You’ll want to check often to make sure no moisture builds up or mold develops. In my case, I’ll be lucky if those apple chips last a whole day!
Alternative Dehydrating Methods
Oven Dehydrating
If you don’t have a dehydrator, you can dehydrate your apple chips in your oven.
Follow the directions above. Then, spread the slices out on parchment paper on cooking sheets. Preheat your oven to 200 degrees Fahrenheit and back for an hour and a half to two hours or until crispy. Flip your apple chips about halfway through.
Air Fryer Chips
If you only want to make an apple or two into apple chips, then you may want to use your air fryer. Follow the directions as listed above. Place your slices in a single layer in your air fryer basket and set the temperature to 380 degrees Fahrenheit. Set the cook time to 8 to 10 minutes. You’ll want to flip your slices about halfway through. Once they are done cooking, let them sit for 5 to 10 minutes to crisp up.
Like this post? Don't Forget to Pin It On Pinterest!

Apple Chips
Equipment
- 1 Mandoline Slicer
- 1 Food dehydrator
- 1 apple corer
- 1 cutting board
Ingredients
- 5 lbs. apples
- 4 cups water
- 4 tbsps. lemon juice
- 4 tbsps. cinnamon (optional)
- You can use any variety of apples you like to eat. However, many people find that crisper apples hold together better.
Instructions
- Preparing Your Apples First, you’ll want to wash your apples. You can cut out any bad spots or bruises, too. You don’t need to peel them, but you can if you want. An apple corer is the easiest way to remove the core. If you don’t have one, that’s ok. I just used a sharp pairing knife to cut the apple in half. Then, I cut out the core by making a V shape. Just make sure you remove all the seeds! Any seeds and core parts go into the compost pile, and any peels or scraps other than that can go to the chickens or goats.
- Slice the apples very thin. Next, I used a mandoline slicer to slice my apples evenly. You may want to experiment to find a thickness you like. Just make sure it’s no thicker than 1/8 of an inch. Otherwise, your apple chips will be more leathery and less crispy (but still delicious). I found the thinnest setting made the apples harder to work with, so I settled on the middle setting of my mandoline slicer. If you don’t have a mandoline slicer, you can use the slicing blade on your food processor or cut them by hand. Just try to get them to be even. Remember to be careful using your knives and slicer so you don’t accidentally cut yourself.
- Soak the apple slices in lemon water. As you slice, you can dump your apples into a bowl of lemon water to prevent browning. I used 4 tablespoons of lemon juice in 4 cups of water (1 tablespoon per cup). This was just perfect for my 5 pounds of apples.
- Prep your dehydrator and spices. While my apples were soaking, I set up my dehydrator. Then I mixed 4 tablespoons of cinnamon with 1 ½ cups of sugar. This will create a very sweet, desert-like chip. You can leave out the sugar and sprinkle with cinnamon, or skip both. If you feel like it, you can experiment with other spices, too, such as pumpkin pie spice or ginger. It’s up to you!
- Dip your apple slices in the cinnamon and sugar. I mixed the sugar and cinnamon in a cereal-sized bowl. Then, I shook off the excess water from each slice before I dipped it into the cinnamon and sugar mixture. I then laid it out carefully on the dehydrator sheet. I did this for about half of the slices. The rest I left plain. If you find your sugar is getting too wet and clumpy, you might want to set your apple slices on paper towels to drain off some of the water. You could even pat them dry if you need to.
- Dehydrate.Lay them out on your dehydrator sheets, so there is plenty of circulation around them. Set your dehydrator to145 degrees Fahrenheit for around 6 to 8 hours. If your slices are thinner, it will take less time. If your slices are thicker, it may take even longer. Start checking at around 4 hours to see how ‘done’ your slices are. You’ll know they are done when you can break off small pieces of apple. If they bend, they aren’t done yet. However, if your slices are too thick, they may retain that leathery feel. That’s OK, they’re still safe and good to eat! The extra thin slices that I cut came out more like traditional potato chips with a stronger apple taste, while the thicker, sugary slices had more texture and more of a dessert flavor. Both were delicious!
- Store your apple chips. Store your apple chips in an airtight container in your pantry for up to 6 to 8 months. I like putting mine in mason jars with plastic lids. You’ll want to check often to make sure no moisture builds up or mold develops. In my case, I’ll be lucky if those apple chips last a whole day!
Alternative Dehydrating Methods
- Oven DehydratingIf you don’t have a dehydrator, you can dehydrate your apple chips in your oven. Follow the directions above. Then, spread the slices out on parchment paper on cooking sheets. Preheat your oven to 200 degrees Fahrenheit and back for an hour and a half to two hours or until crispy. Flip your apple chips about halfway through.
- Air Fryer Chips If you only want to make an apple or two into apple chips, then you may want to use your air fryer. Follow the directions as listed above. Place your slices in a single layer in your air fryer basket and set the temperature to 380 degrees Fahrenheit. Set the cook time to 8 to 10 minutes. You’ll want to flip your slices about halfway through. Once they are done cooking, let them sit for 5 to 10 minutes to crisp up.
You May Also Like:


