Estimated reading time: 21 minutes
We’re well into harvest season and the first frosts have tinged the leaves and we’ve even had a first freeze overnight. Anyone who spends any time vegetable gardening knows what’s to come. Some hard freezes are going to hit, and all of the unripe fruits and vegetables are going to wilt, shrivel, and die on the vine.
Most of us move our garden waste to the compost heap, but it always hurts to see hundreds of green tomatoes, green beans, immature squash, and other vegetables from our garden tossed and toasted because of an early freeze, or a short growing season.
Want to save this post for later? Click Here to Pin It On Pinterest!
Salvage the Harvest
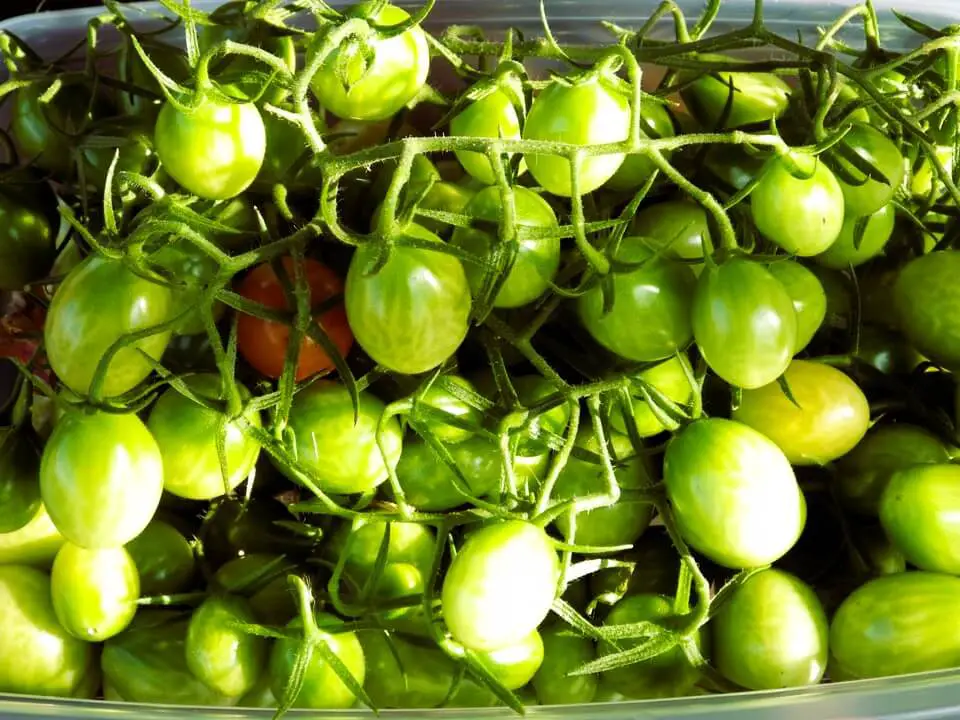
There are numerous recipes and processes out there for harvesting immature garden vegetables. Pickled green tomatoes, whether dilled or sweet, are a surprising treat and easy to make.
Pickled green beans, especially with a hint of garlic and hot peppers, sell in stores for more than $8 in a small jar. Why not make your own before the first freeze?
Immature squash often show up after the first freeze causes the large leaves to wilt. Beneath the jungle of leaves are small green squash that are far from mature but can be pickled, fermented, and even mashed into a sauce.
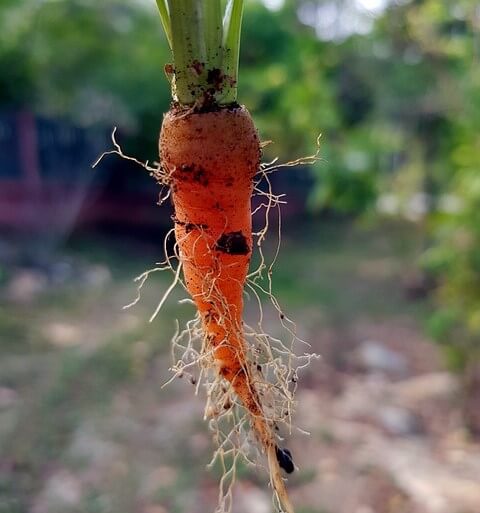
Root vegetables that have not grown to full size make for miniature snacks, especially when pickled in a sweet brine.
Immature fruits on trees are another crop lost to frost and freezes. Harvest and save them before they turn to mush.
And then there are those immature cucumbers. Grab ‘em! Turn them into sweet gherkins and your kids will love it.
Keep an Eye on the Forecast
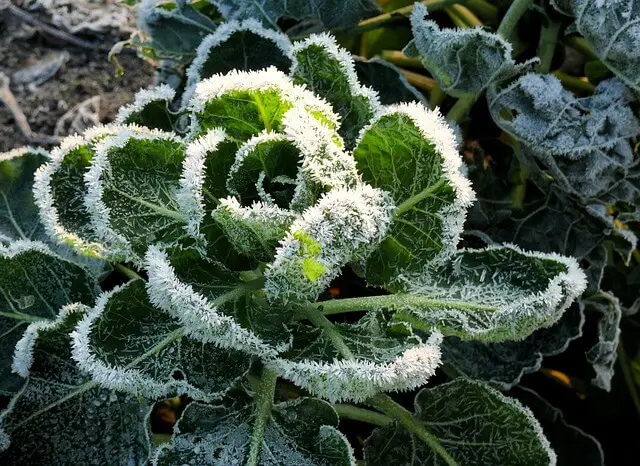
The first mild freeze of autumn is significantly different from the first hard freeze of early winter. You have to beat the system and get those vegetables harvested and out of the garden before temperatures dip well below freezing.
Very cold temperatures will turn everything in a garden into toast. Monitor coming temperatures in the days ahead, and when you see nighttime temps dipping well below freezing, get out there and pick that stuff.
Notes on Immature Vegetables
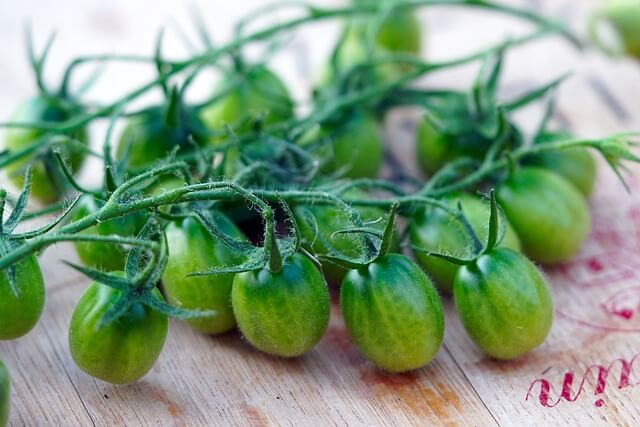
There’s a caution here. Many immature vegetables can be toxic or flavorless before full maturity. Tomatoes are a good example. Raw, green tomatoes are highly toxic. They’re members of the Nightshade family and can make you very sick.
The good news is that cooking green tomatoes neutralizes the toxins, but you need to cook them properly. We’re going to use a pressure canner to process some of our “raw garden” harvests to ensure any immature vegetables don’t have any toxins.
Pressure canning can raise temperatures up to 250 degrees Fahrenheit. The steady temperature for boiling water is 212°F, and getting the water up to 250°F not only ensures good shelf-life but neutralizes any toxins in immature vegetables, like green tomatoes.
A 15-pound PSI will take most pressure canners to 250°F, depending on altitude. Timing varies, and we’ll identify times in the specific recipes.
What About Fruit?
Think in terms of apple trees, pear trees, or any other tree that bears fruit. It’s rare that any vines are still producing berries in the fall, but fruit trees and their fruits are usually at their peak, while smaller fruits continue to emerge.
While many fruits may already be on the ground or still clinging to the tree, there are immature fruits that will fall and rot when the first hard freeze hits.
Clean up those dead-fall apples and make cider. Harvest those yellow pears and ripe peaches and store or can them. But don’t ignore the still-maturing fruits.
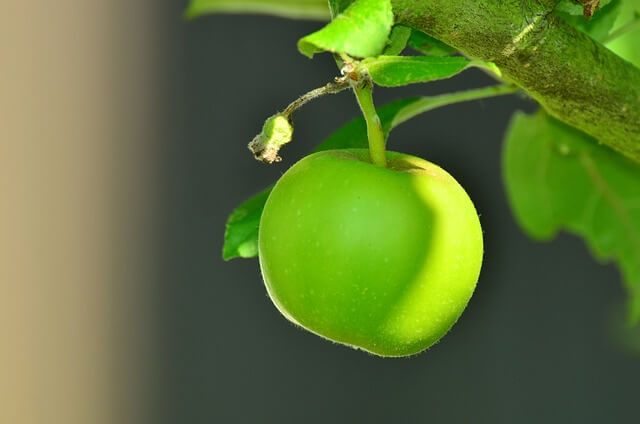
Small and raw green apples are excellent for pies and apple sauce. Green pears can ripen in a root cellar or be canned as sweet pears. Immature peaches can be boiled in syrup and canned.
If you find an immature crop of fruits on a tree as winter approaches, don’t ignore them. Even plums can continue to show up in autumn, and you can always dehydrate raw plums in the fall for prunes.
What Can Be Harvested Before Maturation?
Some of us plant a lot of stuff in our gardens. We even go an extra step and succession plant to try and get multiple harvests over a season. And then the season ends.
Unfortunately, not all vegetables and fruits can be harvested and processed in a very immature state. Here are the most common fruits and vegetables that can still be canned, pickled, fermented, juiced, jammed, or processed while still immature:
- Apples
- Green beans (all sizes)
- Green tomatoes
- Peaches
- Pears
- Plums
- Root vegetables (all varieties)
- Squash (all varieties)
And more in this next section…
Let’s Get Cruciferous
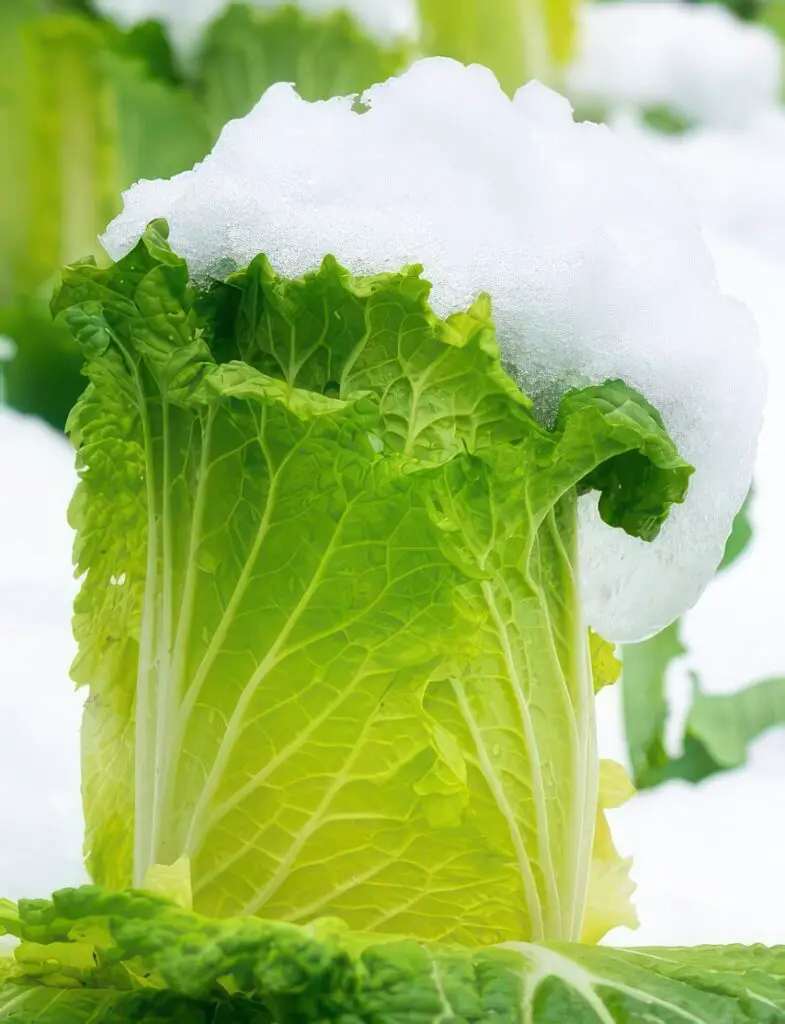
Cruciferous vegetables are known not only for frost tolerance but for surviving in freezing temperatures. Some of us continue to be amazed as we harvest brussels sprouts in December dusted with snow.
Here are some of the cruciferous vegetables that always seem to endure after most plants have withered and died in winter:
- Bok Choy
- Broccoli
- Brussels Sprouts
- Cabbages
- Cauliflower
- Collard Greens
- Kale
No guarantees. If the temperatures get cold enough, even the hardiest cruciferous vegetables can succumb. But until that time you can delay their harvest a bit and eventually use them in a recipe or preserve them.
Many cruciferous vegetables lend themselves to fermentation taking cabbage to sauerkraut and Chinese Cabbage to Kimchee. We’ll also include a recipe for spicy cauliflower and broccoli florets.
Salvage Harvest Recipes
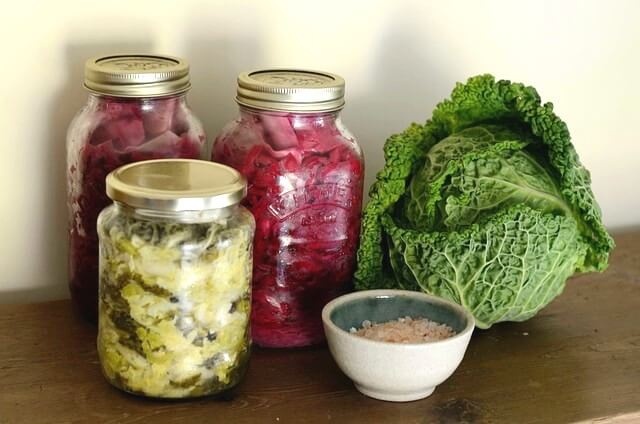
There are two approaches to canning fruits and vegetables: pickling and fermenting. There are also two processing approaches: hot water bath canning and pressure canning.
For the most part, we’re going to use traditional pickling recipes and hot water bath canning. The exceptions will be for things like sauerkraut and Kimchee from cabbages which are fermented, and green tomatoes which are best if pressure canned.
Pickled Green Tomatoes
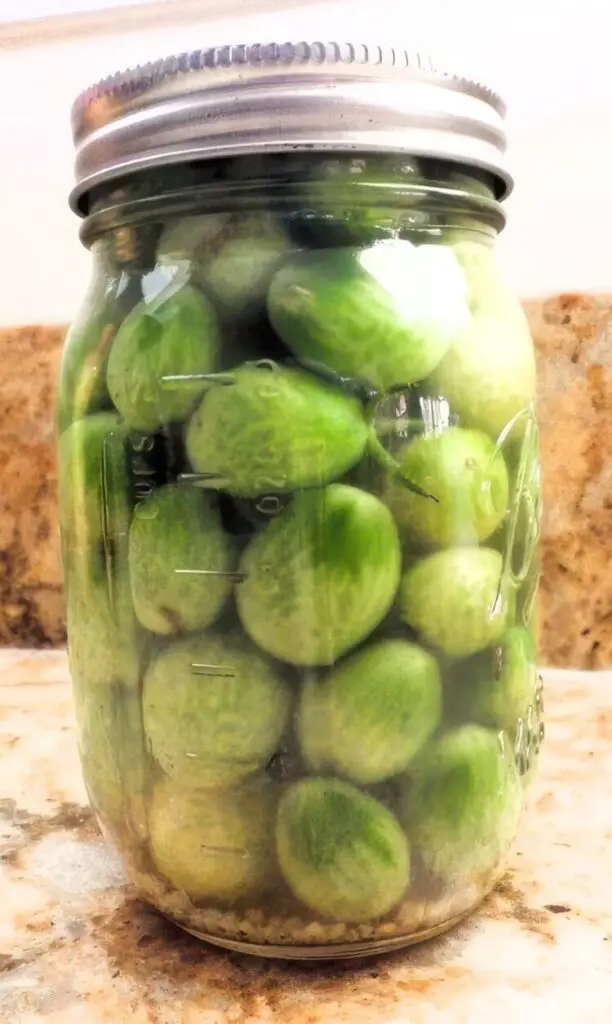
We had literally hundreds of green tomatoes in the garden. Mostly cherry and grape tomatoes and some larger ones. This recipe uses a pickling brine made from vinegar, water, and salt. We’re also adding some garlic cloves and mustard seeds to enhance the flavor and extend the shelf-life.
Equipment:
- Pressure canner
- Canning jars (pints)
- Canning lids and rings
- Jar lifter and canning funnel
- Large pot
- Ladle
Ingredients:
- Green grape and/or cherry tomatoes
- 3 1/2 cups vinegar
- 3 1/2 cups water
- 1/4 cup canning salt
- 1 teaspoon mustard seeds per jar
- Dill (optional)
- Whole Garlic cloves
Directions:
- Wash the tomatoes in a colander under cold, running water.
- Drop a couple of whole garlic cloves into the jar.
- Drop the whole grape or cherry tomatoes into the jar leaving 1-inch of head space at the top.
- Top the tomatoes with the teaspoon of mustard seeds and the dill if you are adding it.
- Combine the water, vinegar and salt in a large pot and bring to a boil. Stir to dissolve the salt.
- Pour the boiling vinegar brine into each jar leaving a ½ inch of head space at the top.
- Tighten the lids and pressure can for 15 minutes at 15 PSI.
- Use the canning tongs to remove the jars from the canner after it has depressurized and let cool.
- After cooling, tighten the lids again and store.
- Estimated shelf life is best at 1-year but refrigerate after opening.
Spicy Pickled Green Beans
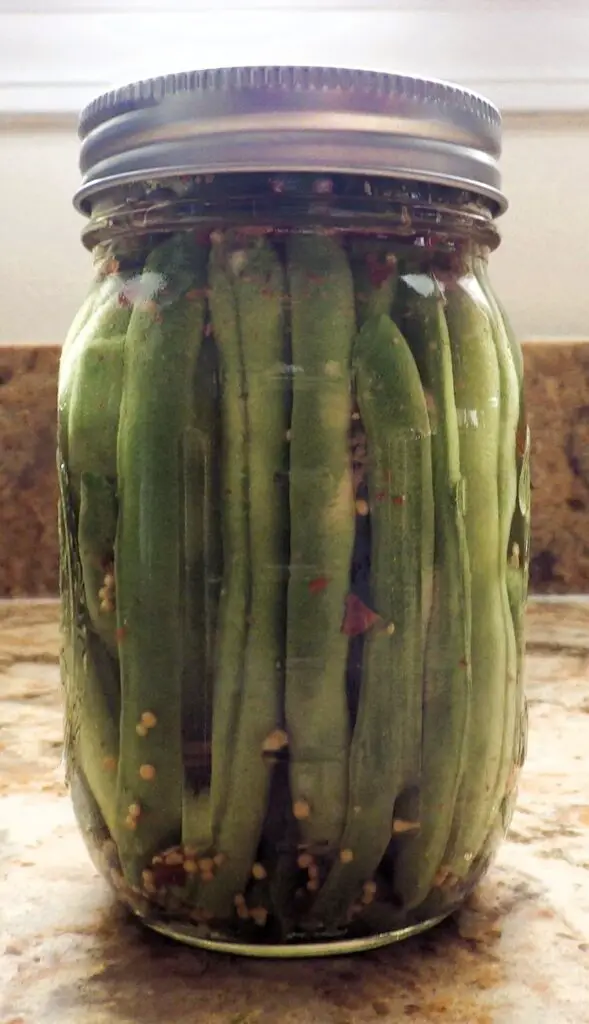
Anyone who has ever planted pole beans knows they just produce and produce. It’s nice to be able to go out and pick beans for every supper, but when the first hard freeze is around the corner, it’s time to pick all of them. The big question is: What do you do with them?
Here’s a popular approach resulting in a spicy pickled jar of green beans. Add garlic if you like, and you always have the option of adding a hot pepper or more pepper flakes if you like things a little hotter on the spicy side.
Equipment:
- Hot water bath canner
- Canning jars (pints)
- Canning lids and rings
- Jar lifter and canning funnel
- Large pot
- Ladle
Ingredients:
- Green beans
- 3 1/2 cups vinegar
- 3 1/2 cups water
- 1/4 cup canning salt
- ½ teaspoon of red pepper flakes (optional)
- Diced Garlic cloves
Directions:
- String the green beans by pulling the tips towards the bean. Some beans will strip their strings, others won’t. Trim any tips from the top and bottom.
- Rinse the beans in a colander under cold, running water.
- Drop a tablespoon of diced garlic into the bottom of the jar.
- Add the ½ teaspoon of red pepper flakes to the jar.
- Pack the beans in the jars vertically.
- Combine the water, vinegar and salt in a large pot and bring to a boil. Stir to dissolve the salt.
- Pour the boiling vinegar brine into each jar leaving a ½ inch of head space at the top.
- Tighten the lids and place into a hot water bath for 20 minutes.
- Remove the jars from the hot water bath with canning tongs and let cool.
- After cooling, tighten the lids again and store.
- Estimated shelf life is one year but refrigerate after opening.
Sweet and Smashed Green Squash
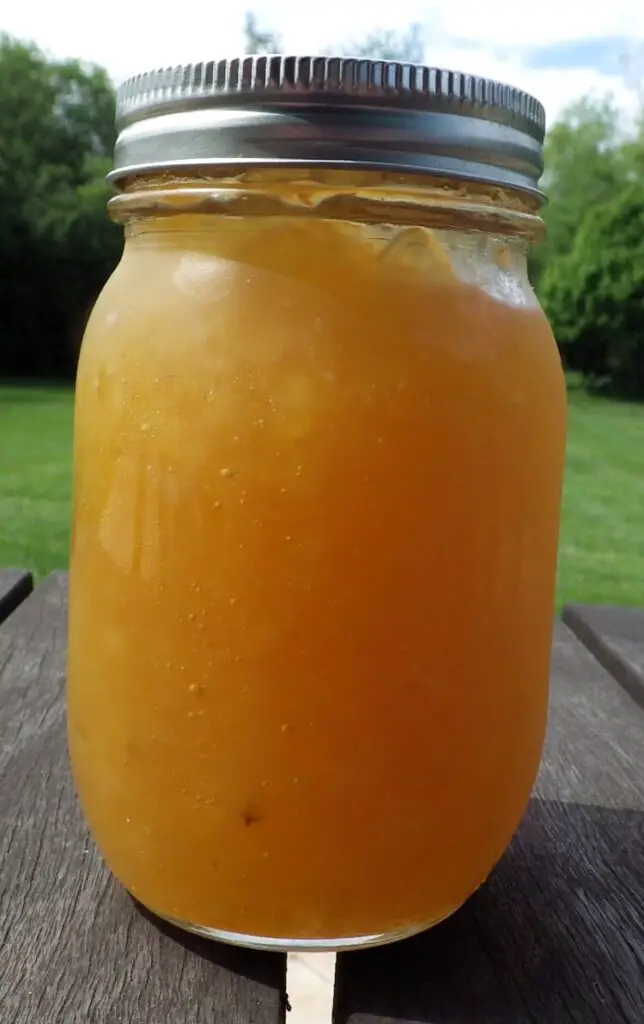
This comes as a surprise to some. Immature squash plants, whether butternut squash, spaghetti squash, or many other varieties usually need to ripen and mature to develop their full flavor.
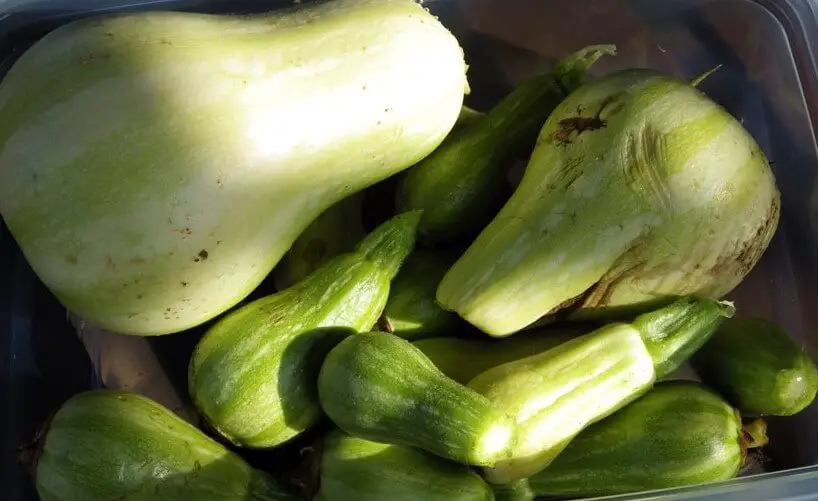
But wait a minute. You can turn that immature squash into a mash and season it as a side dish alternative to potatoes or even an apple sauce.
We’re also going to pressure can the immature squash. It doesn’t present toxic qualities, but the high temperature helps to cook and smooth out the mash and dissolve the brown sugar. And by the way, the whole process will turn that green squash into a golden color, mostly due to the addition of brown sugar, cinnamon, and nutmeg.
Equipment:
- Pressure canner
- Canning jars (pints)
- Canning lids and rings
- Jar lifter and canning funnel
- Large pot
- Large bowl
- Large spoon
Ingredients:
- Immature squash (it can be multiple varieties)
- Water
- Salt
- Brown sugar
- Cinnamon
- Nutmeg
Directions:
- Trim the stem and the blossom ends off of the squash.
- Wash in a colander under cold, running water. You may need to gently scrub with a wash cloth to get any dirt off the squash.
- Slice the squash into cubes about ½ inch thick.
- Bring the water to a boil in a large pot and add the squash chunks and boil for 10 minutes.
- Strain the squash and add to a bowl or food processor.
- Mash the squash or process in the food processor until you have a smooth mash.
- Measure your mash into another bowl and for every cup of mash add 2 tablespoons of brown sugar and a ¼ teaspoon of cinnamon and nutmeg.
- Once you know how much mash you have as measured by cups and the appropriate brown sugar and spices. Use a potato masher to blend things together.
- Use a canning funnel to spoon your mash into the canning jar leaving ½ inch of head space at the top.
- Pressure can for 10 minutes at 10 PSI.
- Remove the jars with canning tongs and let cool.
- After cooling, tighter the jar lids again and store.
- Shelf-life is good for a year.
Sauerkraut (Fermented Cabbage)
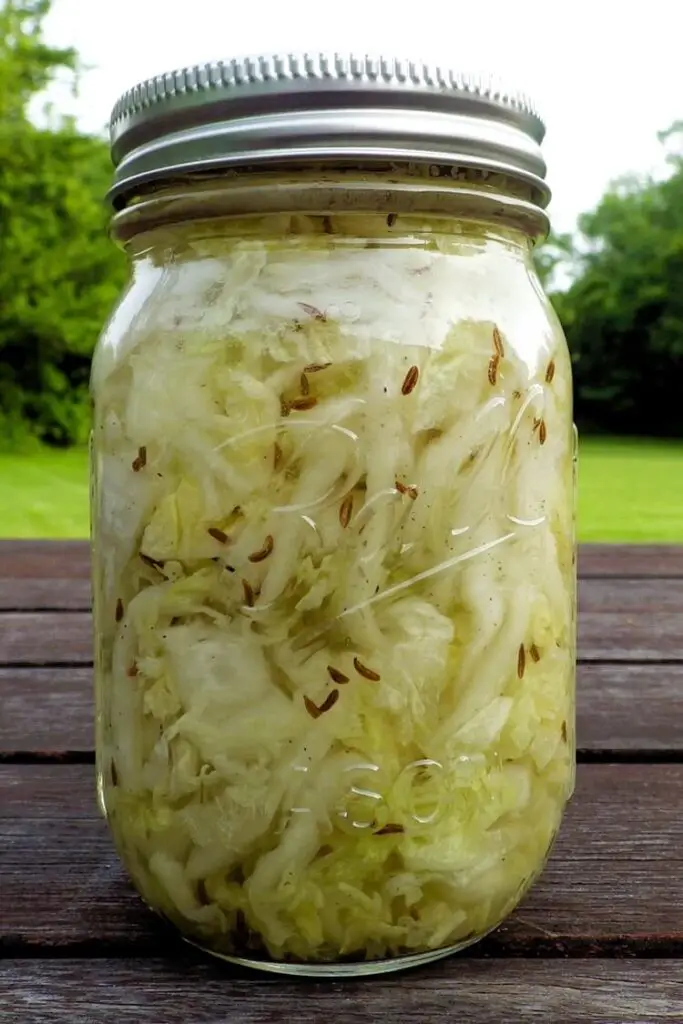
Sauerkraut is fermented cabbage and is an ancient recipe. The fermentation process is activated by salt and water and takes about a week. The result is one of the healthiest foods you can eat for overall health. That’s because of the probiotic bacteria that drives the fermentation process producing lactic acid to breakdown and ferment the cabbage.
Vegetable fermentation or lactose fermentation is triggered by salt. Sea salt is the salt of choice, and it naturally draws liquid or water from vegetables to trigger the fermentation process.
One of the key steps in fermenting vegetables is to keep them submerged in their own juices with sometimes the addition of a little water. Typically, a plate is placed over the immersed vegetables and a weight like a canning jar filled with water is placed on the plate to make sure everything stays submerged.
This creates an anaerobic or no-oxygen environment which causes good bacteria to grow and ferment the food. The result is a release of carbon dioxide which is often visible in the jar as the food ferments.
A quick reminder: fermented foods like sauerkraut require refrigeration. If kept at room temperature the fermentation will continue, and the jar could actually explode. Worse, the bacteria can go from good to bad bacteria. That’s not a good idea. Always keep fermented foods refrigerated after the initial fermentation step.
Equipment:
You really don’t need much to ferment vegetables. A cutting board and knife plus some mason jars or a small crock. Most of the recipes call for 1-quart jars. If you use a crock you might need some plastic wrap to tightly cover the top to create an anaerobic environment (oxygen free) in addition to the plate and weight to keep the vegetables submerged. The standard ingredients include sea salt and the vegetable you’re going to ferment.
Ingredients:
- 1 head of cabbage
- 3 tablespoons of salt
- 1 tablespoon of caraway seeds (optional)
Directions:
- Chop the cabbage into thin shreds and place into a large bowl.
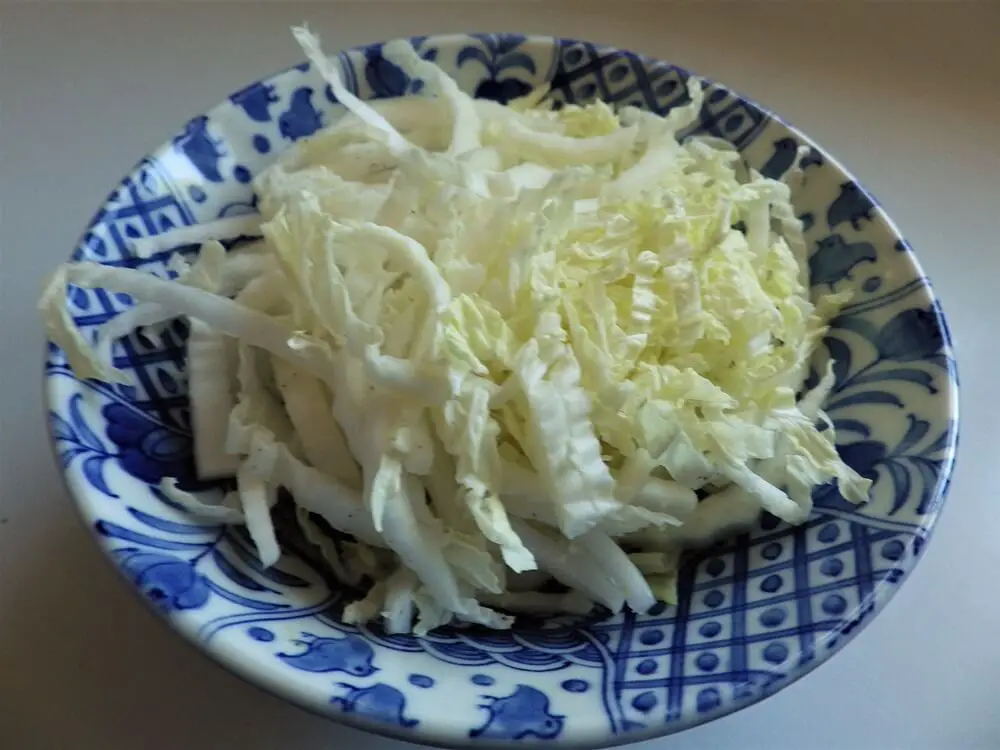
- Sprinkle with the salt and using your hands incorporate the salt into the cabbage shreds. If you’re going to add caraway seeds add them before you mix and blend the salt into the shreds.
- Press down and squeeze the cabbage as you go for about 10 minutes. Many often use a potato masher to really compress the cabbage.
- Slowly the cabbage will release liquid. Press the cabbage down firmly into a 1-quart jar and if you don’t see enough liquid covering the top, add a little water until the cabbage is immersed.
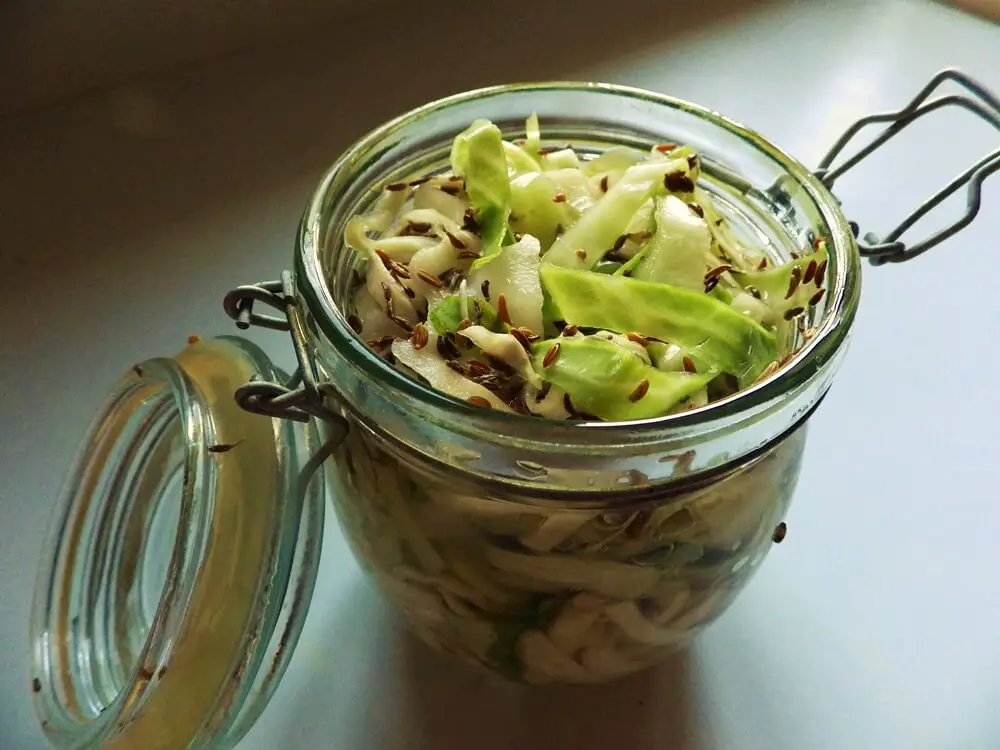
- Make sure the lid is sealed tightly and that the jars have been sterilized.
- Let the cabbage shreds sit at 60 to 70 degrees Fahrenheit for two weeks. If it’s cooler, it could take another week or two.
- Burp it every day by releasing the lid to let any carbon dioxide to escape and after two weeks give it a taste. If it’s too salty you can always rinse it, but not too much or you’ll lose some of the flavor.
- When it’s done keep it refrigerated or stored in a root cellar.
- Expect a shelf-life of 3 months refrigerated.
Kimchee (Fermented Napa Cabbage)
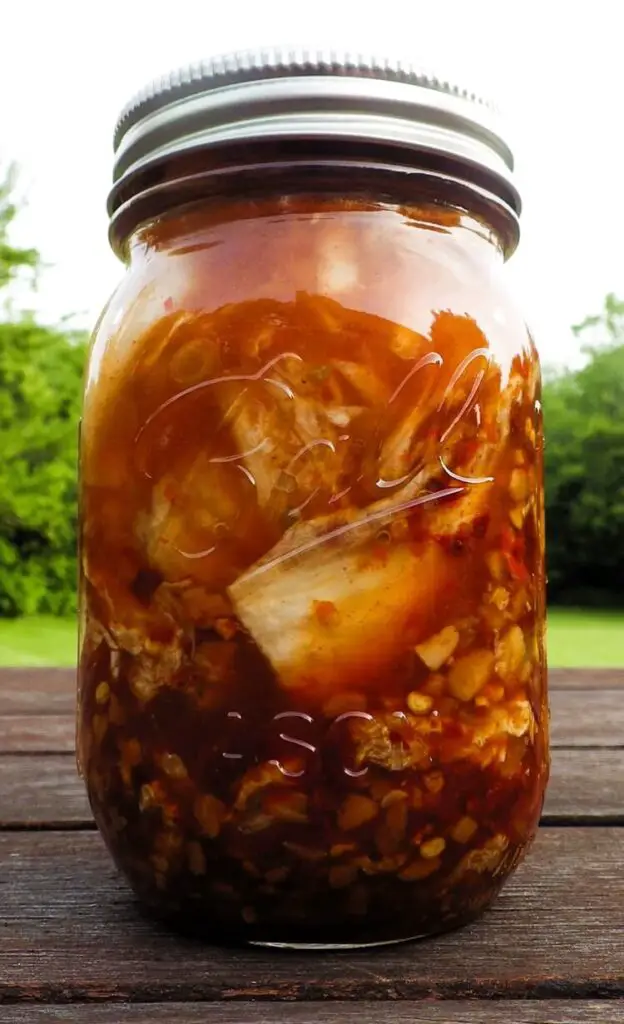
Kimchee is an ancient Korean food made traditionally made from Napa or Chinese Cabbage. It’s fermented with a mix of garlic, hot peppers and sometimes hot pepper flakes plus a bit of water and salt. The spiciness can be moderated depending on how much hot peppers or flakes you use.
The recipe can also be applied to traditional cabbage if you don’t have a crop of Napa cabbage growing in your garden. Think of it as Korean sauerkraut.
Equipment:
(Same equipment as above recipe for sauerkraut)
Ingredients for Step 1:
- 2 heads of Napa or Chinese cabbage
- 1 ¼ cups of sea salt
Ingredients for Step 2:
- 1 tablespoon of fish sauce
- 6 green onions chopped
- Small onion minced very fine
- 3 cloves of garlic minced
- 2 tablespoons of sugar
- 1 teaspoon of ground or finely grated ginger
- 5 tablespoons of red pepper flakes
Directions:
- This is a two-step process. The first thing you have to do is cut the Napa cabbage into 2-inch squares. You then toss it with the 1 ¼ cup of sea salt and place it into plastic bags or a large plastic bowl or crock and let it rest for 6 hours. This will tenderize the cabbage and soften it. You then rinse the cabbage and put it into a large plastic bowl.
- You then combine all of the ingredients left on the ingredient list and toss them together to blend. I wear rubber gloves from here on out for the rest of the process and jam it all into canning jars or your crock.
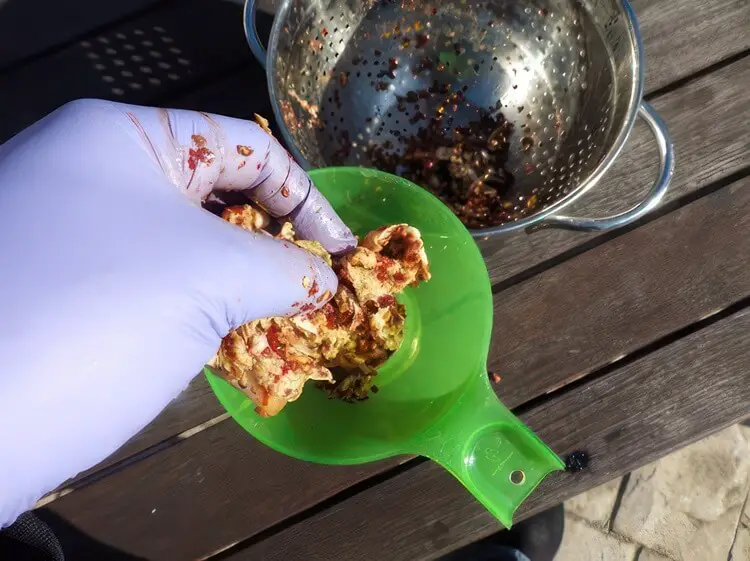
- Make sure your crock is covered or your jar is sealed. Burp daily and in 2 weeks at 60 to 70 degrees Fahrenheit you’ll have wonderful Kimchi. Reduce the pepper flakes or increase depending on your tolerance for spice and heat.
- Store in the refrigerator and expect a 3-month shelf-life.
Spicy Broccoli and Cauliflower Florets
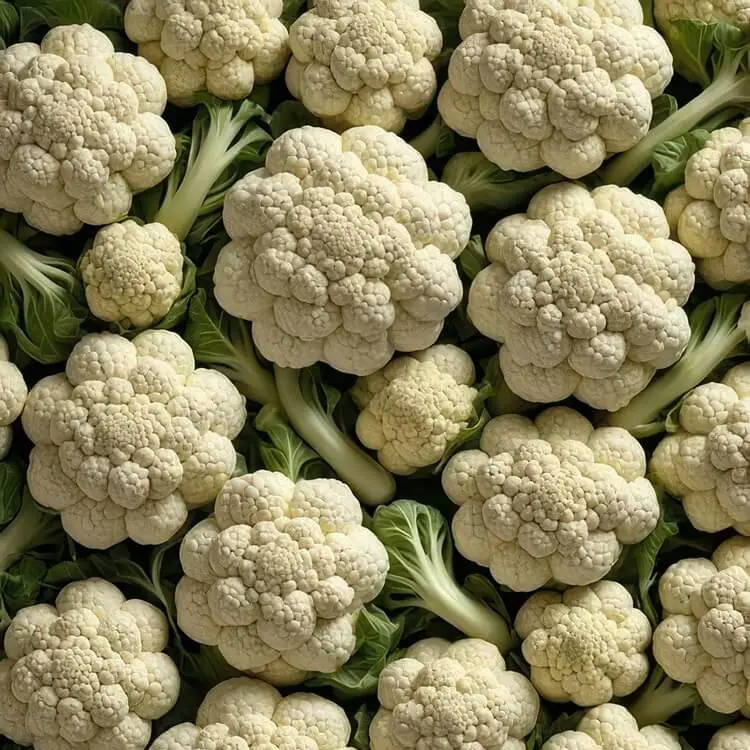
Broccoli and cauliflower are surprisingly resilient into and beyond freezing temperatures. This recipe uses the tops or florets in a brine with hot peppers or pepper flakes to make a spicy and cruciferous mix. Use any of the pickling recipes we already detailed above.
Green Apple Pie Filling
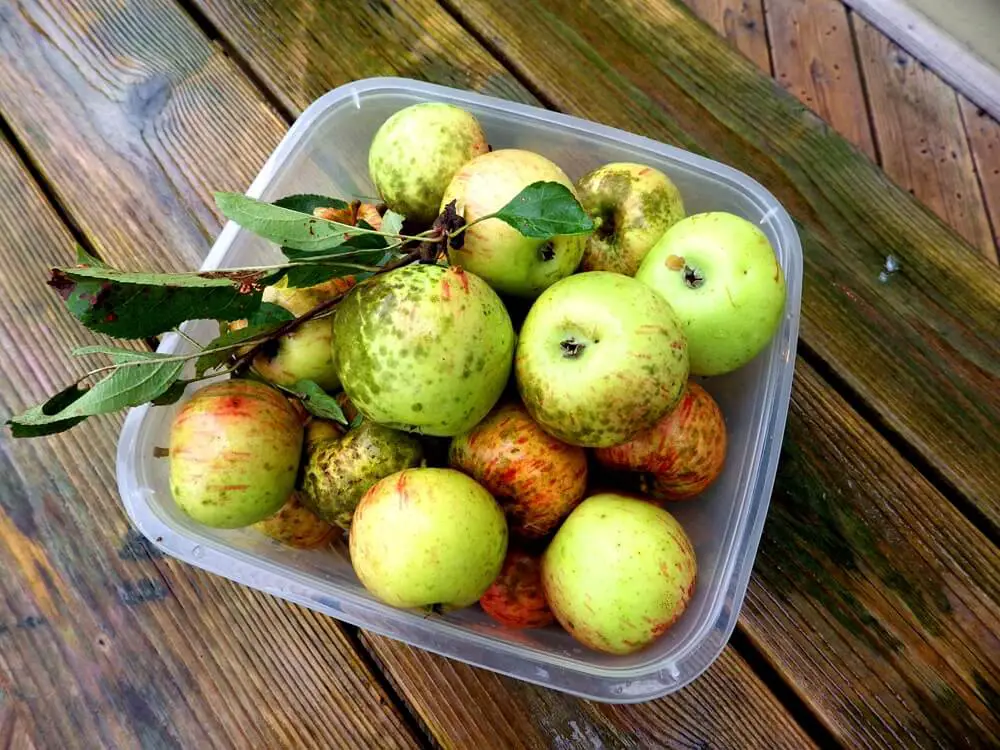
Those little green apples clinging to the tree in November are actually some of the best for an apple pie filling. Just ask Granny Smith. The idea here is to make the pie filling ahead of time and can it in jars. When you want to make an apple pie, all you need is a crust in a pan and pour in your green apple pie filling.
Equipment:
- Large bowl
- Apple peeler and corer
- Large wooden spoon
- Measuring cups and spoons
- Large pot
Ingredients:
- Green and immature apples
- ½ cup Brown sugar
- 1 tablespoon Cinnamon
- 1 tablespoon Nutmeg
- 1 tablespoon Ginger
- 3 tablespoons Corn starch
- 1 teaspoon Salt
Directions:
- Wash the apples under cold, running water.
- Peel and core the apples and cut into wedges or chunks
- Boil the apples in water or apple cider for 5 minutes until tender
- Drain the boiled apples and lace the apples into a large bowl and top with the brown sugar, cinnamon, nutmeg, ginger, corn starch and salt
- Toss the apples in the spice mix until thoroughly coated
- Spoon the apples into canning jars leaving ½ inch of head space at the top. You might need to mash them down a bit into the jars. Tighten the lids.
- Hot water bath can in boiling water for 15 minutes
- Remove using canning tongs and let cool
- After cooling, tighten the lids again and store for up to 1-year
Pickling and Fermenting Immature Root Vegetables
It’s wonderful to pull a thick 8-inch carrot out of the garden or a 3-inch diameter turnip. But then we have those orphans. Carrots, radishes, beets and other root vegetables that either started late in the season or never really seemed to take off. Don’t let them go to waste.
An easy way to harvest late season root vegetables that seem too small for traditional uses is to combine them.
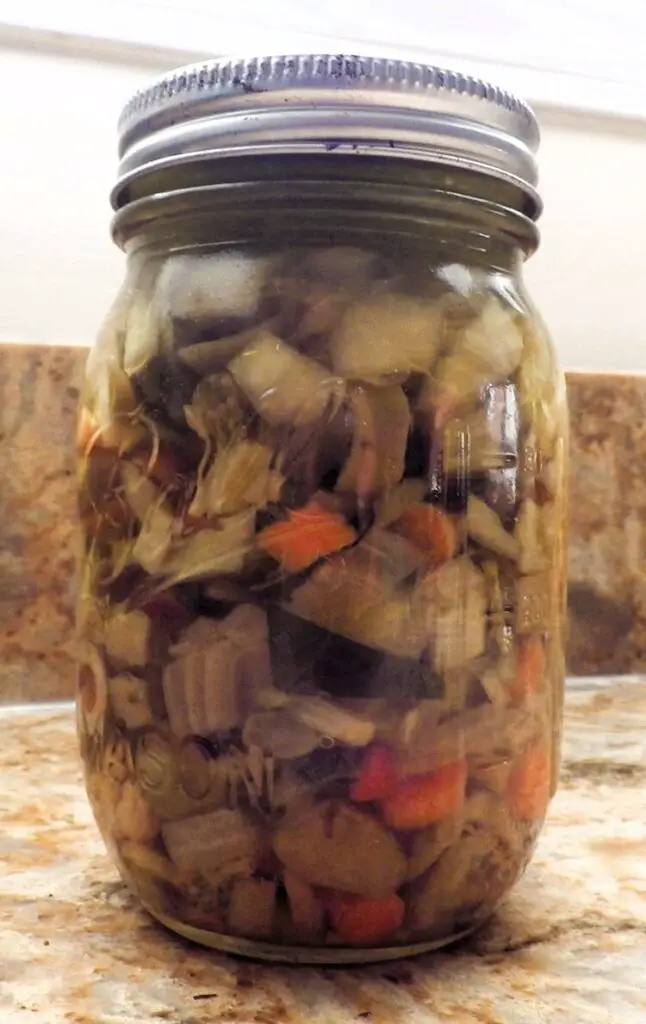
Think Giardiniera. Trim them, wash them, chop them and combine them in a pickling brine and maybe spice them up with some hot peppers or pepper flakes.
Castoff Garden Slaw
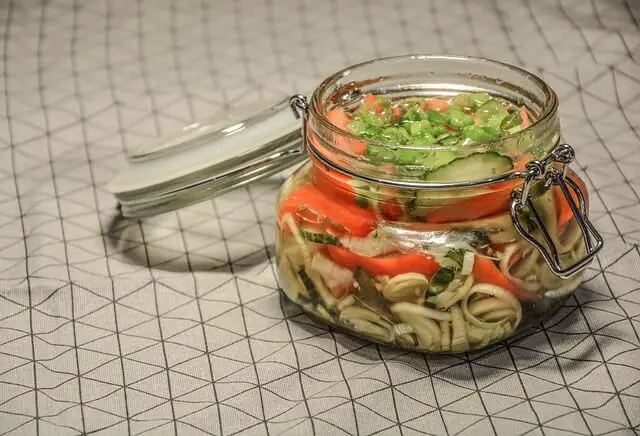
Ingredients vary in this recipe. It’s all of those small, immature root vegetables that you don’t know what to do with. Pull them, wash them, trim or scrape them where you must and chop them into pieces.
You can add this slaw to a tuna or chicken salad, simplY make it into it’s own sandwich, or top tacos, burritos or anything else you eat between a slice of anything. Use any of the pickling recipes we already covered to can your castoff slaw.
Mutant Root Vegetables
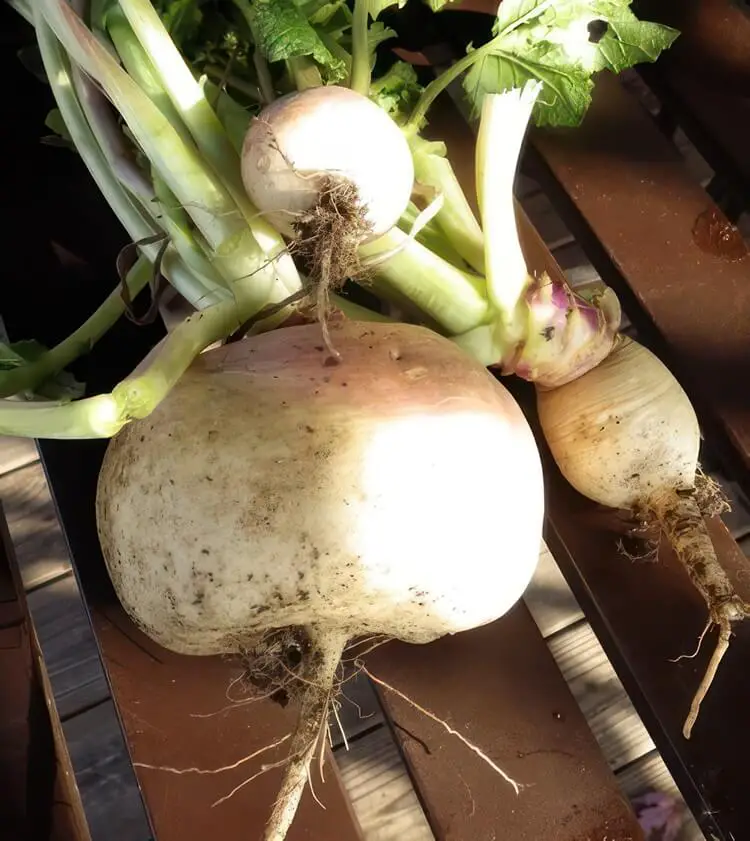
It never fails. Those huge zucchini leaves cover the ground. The squash vines spread far and wide. The tomato plants turn into a jungle. And underneath a monster sleeps. These are the root vegetables we somehow miss. It’s the turnip the size of a softball. The radish the size of a baseball. The beet the size of a tennis ball.
What we’ve learned the hard way is that many root vegetables that grow too long and too big become fibrous and tough. They’re not uncommon to find in any garden in late season and it always hurts to compost things we missed. But there’s a solution we’ve already explored; fermentation.
Fermentation can turn the toughest and most fibrous root into a gentle bite. If and when you come across those mutant roots that are bigger than you’d ever expect – ferment them into something wonderful using the basic fermentation recipes we covered earlier.
General Storage Tips

Shelf-life and storage conditions varies depending on the recipes and the processes. Pickled fruits and vegetables that have been processed in a hot-water bath will generally have a shelf-life of 1-year if stored properly in a pantry and should be refrigerated after opening.
Fermented fruits and vegetables are not processed after fermenting and must be kept refrigerated. Average shelf-life is 3 to 6 months after opening.
Pickled fruits and vegetables that have been pressure canned have a shelf-life up to 3 years if stored properly in a pantry and should be refrigerated after opening.
As always, check the appearance, smell and taste and if anything seems off – throw it out.
Like this post? Don't Forget to Pin It On Pinterest!
You May Also Like:

