Estimated reading time: 7 minutes
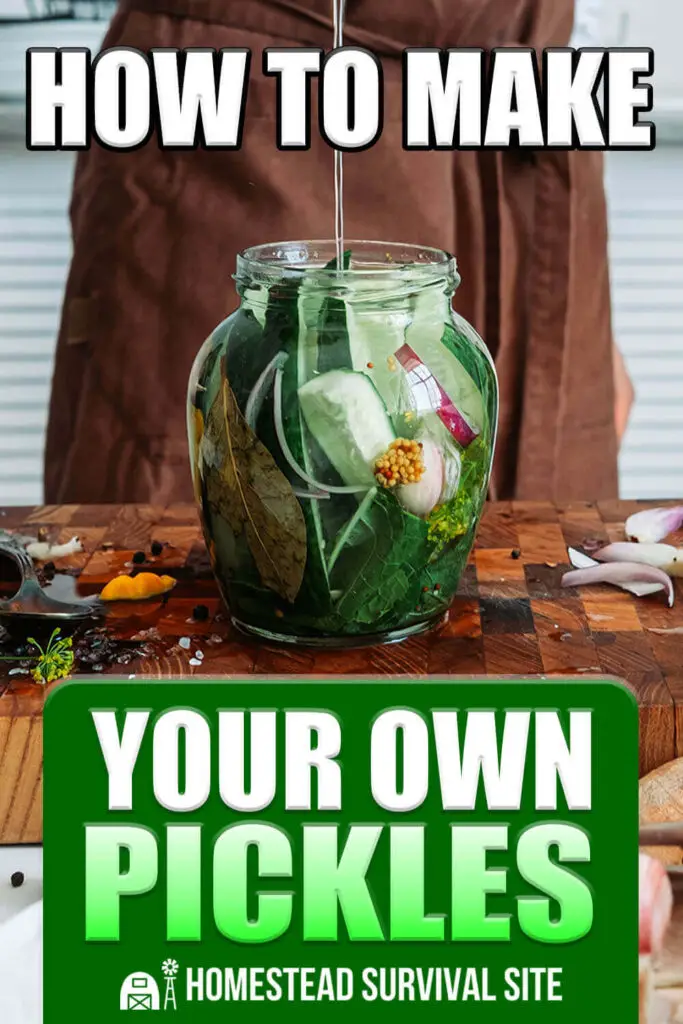
If you like pickles, making your own can be a fun and healthy way of preserving the abundance of your summer harvests.
Pickles are a useful preservation method for a multitude of different veggies. While canned pickles usually rely on vinegar, brine, and heat for preservation, there is also a way to naturally ferment most veggies, and even some fruits.
Canned pickles are good if you like the ease of simply brining and canning, though the flavor is usually more on the vinegar side. Naturally fermented pickles have a wider flavor palette and double as a valuable source of probiotics and vitamins.
It is possible to can a naturally fermented pickle or sauerkraut, but the canning process will destroy most of the active probiotics and many of the vitamins found in the un-canned version.
However, natural ferments can be stored up to 6 months in the fridge, and many people will store their crock of kraut in the basement or cold storage through the entire winter. Homemade pickles can be as simple, or as complex, as your garden surplus, time, and taste buds permit.
Want to save this post for later? Click Here to Pin It On Pinterest!
For all pickles and ferments, use vegetables that are fresh, firm, and as unblemished as possible. Any bruising, mold or soft/weepy damage contains bacteria which will negatively impact the storability of your preservation efforts.
You can trim off mold spots, bruises, or gashes, if the rest of the fruit or veggie is still firm, just be cautious about including the damaged areas in your food preservation efforts. The last thing you need is to open the last jar of your tasty, home-canned pickles, and find out the pickles have gone off because one of them had a spot that was unobserved during processing.
Basic Canned Dill Pickle Recipe
The size of recipe you will want to make will depend on how many pint or quart jars you can fit in your canner. If you have a family that loves pickles, you may want to can pickles as quarts.
If you only have a few people who like pickles, I’d recommend canning them as pints. The average pressure canner can fit 8-12 pints. Due to the acid content of pickles, they can be water-bath canned, but at high elevations or for more than one-year storage, it is recommended to pressure can.
Ingredients:
- 6 lbs. pickling cucumbers (this will give you three or four cucumbers per pint jar – you can use smaller pickling cucumbers for more individual pickles, or slice larger pickling cucumbers for a better fit)
- 3 cups white vinegar
- 3 cups water
- 4 tbsp. pickling salt (kosher salt, sea salt, or Himalayan salt will also work, you just want it to be non-iodized)
- 7 garlic cloves, peeled (this is roughly one garlic clove per jar, most people use two or three per jar depending on your preference for garlic)
- 7 tsp. dill seeds (or seven full dill flower heads with partially ripened seed, you can also add dill leaves if you chose)
- 3 1/2 tsp. whole black peppercorns
Method:
Scrub cucumbers thoroughly and remove the stem and blossom ends. If you are using cucumbers smaller than three inches long, you can leave them whole. If your pickling cucumbers are bigger, you can slice them into spears or coins, as desired.
Make sure your canning jars are sterilized, and if you are doing water-bath canning, have that already heating. Also, remember to sterilize your lids and rings as applicable. If you are doing pressure canning, just make sure your canner is in working order.
Combine the water, salt, and vinegar in a saucepan and bring it to a boil. You want to make sure the mixture is fully combined.
Put your spices in the bottom of each sterilized jar. That will be approximately one head of dill, or one tsp of dill seed, one to three garlic cloves, and a half tsp. of whole peppercorns. Then pack with cucumbers, to the shoulder of the jar. Make sure to leave headspace to compensate for expansion when canning, this will help keep your seal clean and effective. Pour the brine over the cucumbers, leaving a quarter inch of headspace and making sure all the cucumbers are covered.
Run a plastic utensil of some kind around the inner edge of the jar to release any trapped air pockets. Wipe down the top of the jar with a damp cloth, and place your canning lids on the jar (the canning lids should be new, sterilized in boiling water, and placed on the jar hot from the sterilization). Place rings, and either pressure or water bath can.
After canning, let hot jars cool on a towel on your counter until the jars are completely cool. Check seals, the canning lid should not “pop” or flex when you tap it. Any jar that is not sealed should be put in the fridge and consumed within two weeks. Sealed jars can be added to your food storage.
It is recommended that canned pickles be left for at least two weeks before eating so that the spices and brine have the best opportunity to have the flavors meld.
Basic Fermented Dill Pickle Recipe
This is a straightforward natural fermentation recipe. You will need very little specialized equipment, simply a one-gallon wide mouth jar, a fermentation airlock, a glass or plastic weight, and the standard ingredients.
If you do not want to try this on a full gallon, you can adapt the recipe for a mere quart or pint. For all natural fermentation recipes, the key to expanding or decreasing the recipe is the salt ratio, you have to have enough salt for it to work. For a pint, you need two teaspoons of salt, for a quart four teaspoons, and for a gallon six tablespoons.
Ingredients:
- Cucumbers – three to four pounds of small pickling cucumbers if for whole pickles, medium to large if you plan to slice them.
- Salt – six tablespoons of sea salt or pink Himalayan salt is preferred, just ensure it is non-iodized.
- Dill – 2-3 heads and/or equivalent in fronds
- Garlic – one head of cloves with each clove sliced in half, at a minimum.
- Water – enough to cover the pickling cucumbers in your jar.
Method:
Wash your cucumbers under running water to remove all traces of dust. Trim any damaged spots, or soft areas, and remove the blossom and stem ends.
Pack cucumbers, layered with spices and salt, into your gallon jar.
Top with water to cover to the shoulders of the jar. Place the glass weight, or equivalent, in the mouth of the jar to hold the pickles under the water. Secure the fermentation lock, and set aside in a warm and observable spot on your counter, preferably on a plate.
After 24 hours, you should start seeing a few large bubbles forming. After 36-48 hours the bubbles should become finer and by 60-72 hours the pickles should have changed from the bright green of cucumbers to the uniform dull green of a traditional pickle, and the bubbles should have nearly ceased. Depending on your temperature, and jar size, the fermentation can take less, or more, time. So, after 2-3 days make sure to check the jar consistently.
Check your ferment, it should smell like pickles, and if you taste the brine it should have a salty acidic tang, like normal pickle juice. Be careful not to over-ferment, as that will reduce the crunch value of the pickles. At this point, they should still be crunchy.
Now you can remove the fermentation lock and put on a regular lid. Store your fermented pickles in the fridge, to keep the health benefits of the probiotics, and prevent them from over-fermenting. Or, it is possible to can them, which will kill the majority of probiotics, but means it will not take up room in your fridge.
Like this post? Don't Forget to Pin It On Pinterest!
You May Also Like: