


Estimated reading time: 9 minutes
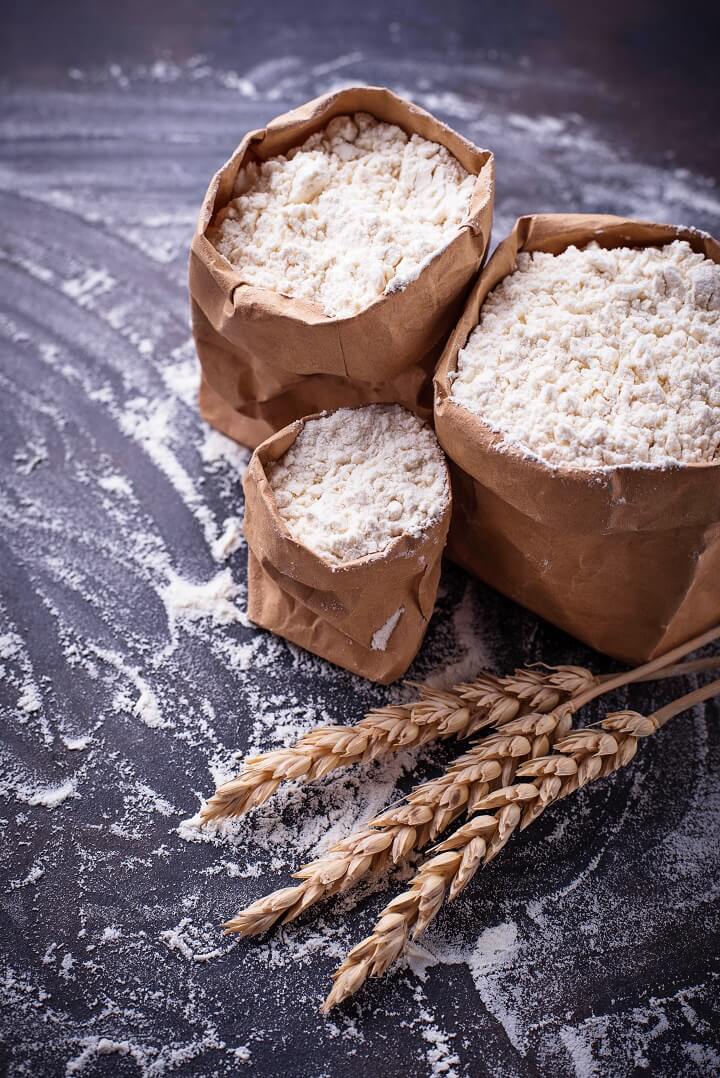
Flour is one of the basic foods that everyone should have in their stockpile. Not only can it be turned into amazing food, but it's also an essential food that can sustain someone for a long time.
As homesteaders, many of us have a lot of flour on hand. However, not all of us are storing it correctly for the long term. A good stockpile involves using the older items first and then adding newly purchased items to the back of the stock. While this is common practice, it is still possible to end up with a lot of either infested or inedible flour.
Flour tends to go bad when it is not stored properly. Placing bags of flour in a damp area can ruin the flour with mold growth and bad smells. Flour sold in stores will have the best-by date on the package. However, you can still consume flour that has gone past that date if it looks and smells okay.
Rancid flour is best detected by smelling the contents of the flour bin. Any flour that has gone rancid will smell sour and may even have a different color and texture than normal flour.
Some homesteaders have also encountered weevils, also known as flour bugs, that end up infesting flours, grains, and rice. Weevils appear in flour because they were already in the bag when you bought it.
Female weevils lay eggs in the grain before it is milled and processed. The eggs can survive the field-to-table process and may hatch in the sealed flour under the right conditions. Flours and grains that are less refined will have a higher chance of containing live weevils due to the limited amount of processing involved.
Fortunately, you can make your flour last up to a decade or longer using these tried-and-true techniques. You may already be doing some of them, while others could be newer ideas that you haven't thought of yet.
Want to save this post for later? Click Here to Pin It On Pinterest!
Which Types of Flour Last the Longest?
Not all flour is created equal when it comes to long-term storage, and understanding the difference can save you a lot of frustration down the road.
White all-purpose flour is the best candidate for decade-long storage. Because the bran and germ have been removed during milling, it contains very little fat and is much less prone to going rancid. Stored properly, white flour can realistically last 10 years or more.
Whole wheat flour is a different story. Because it retains the bran and germ, which are richest in natural oils, it goes rancid significantly faster than white flour. Even under ideal conditions, whole wheat flour typically only lasts 1 to 3 years.
If you want to store wheat long-term, your best option is to store whole wheat berries instead and grind them into flour as needed. Wheat berries stored in sealed containers with oxygen absorbers can last 25 years or longer.
Specialty flours like almond flour, coconut flour, and oat flour also have much shorter shelf lives due to their higher fat content. These are better suited for short-term pantry rotation rather than long-term stockpiling.
Airtight Containers
Most of us use airtight containers to store flour in large quantities since air is a top culprit in spoiling food. Some of these containers could include plastic Tupperware that fits a shelf to large 50-pound bins and food-grade plastic buckets.
No matter what container you use, it is important to ensure that there is no chance of air making its way into the container that could spoil the flour. Make sure that the lid is tight-fitting and that the container has no breaks, cracks, or integrity issues.
Store flour in airtight containers located in a cool and dry area for the best shelf life. Flour stored in this manner can easily last up to 2 years in the proper conditions.
Vacuum Sealed
Many homesteaders have access to a vacuum sealer, which can help elongate the shelf life of flour. While airtight containers work for flour storage, vacuum sealing goes one step further in removing any access air from the container itself.
You can easily store flour in vacuum-sealed bags or jars using a small vacuum sealer. Instead of placing flour directly into the vacuum seal bag, make sure to put it in another bag so that the flour isn’t sucked up into the vacuum sealer itself.
Plastic vacuum-sealed bags are easy to store but maybe a bit more prone to dampness. Storing flour in vacuum-sealed glass jars such as mason canning jars is a great way to protect the flour from both the elements and any excess air. Vacuum sealed flour usually lasts at least 2 years but up to 5 years in a shelf-stable environment that is dry and cool.
Freezer
Some homesteaders choose to freeze their flour in order to make it last longer. You can also temporarily freeze the flour for 48 hours after bringing it home to help kill off any weevil eggs lurking in the flour.
Freezers technically can prolong the shelf life of flour but would always need some kind of power source. Many homesteaders choosing to live off the grid may not want to spend precious freezer space on flour for years on end.
When choosing to freeze flour, it is best to let the flour come to room temperature before baking. Frozen flour should act much like frozen coffee grinds in that it is easy to scoop and handle straight from the freezer. However, it is best to bring the flour to room temp before baking, so you don't waste ingredients.
Frozen flour can last at least 2 years, while some believe it can last indefinitely in its frozen state. No matter how long you freeze flour, be sure to do so in small batches in airtight containers so that the continuous opening of the freezer won't impact the flour longevity.
Mylar Bags with Oxygen Absorbers
One of the best ways to store flour for an extended amount of time is to use mylar bags with added oxygen absorbers. Mylar bags are a special kind of bag that you've probably seen in stores. They are made from a metallic material and are often used to store MREs. Mylar bags stand up great to moisture and oxygen but may have a bit more trouble lasting if in a rodent-infested area.
Adding oxygen absorbers to a mylar bag helps boost the longevity of the food even further. These absorbers remove oxygen within the bag and can help flour last up to 10-15 years on the shelf. It is vital to use the right amount of oxygen absorbers for the kind of food you are using and use any open packages of absorbers quickly.
Oven Canning
Oven canning is an older method of flour preservation that some long-term preppers swear by. The process involves placing dry flour into clean, oven-safe mason jars, heating them in the oven to kill off any insect eggs, and then sealing the jars while still hot to create an airtight seal as they cool.
To oven can flour, fill your mason jars leaving about an inch of headspace, place the lids loosely on top (do not fully tighten), and bake at 200–250°F for about 60 minutes. Once removed from the oven, tighten the lids immediately and allow the jars to cool completely. As they cool, the lids should seal with the familiar popping sound you get from water bath canning.
It's worth noting that oven canning is not an officially endorsed method by food safety organizations like the USDA, which cautions that the dry heat may not be consistent enough to guarantee full sterilization for all foods. However, for dry goods like flour, the primary benefit is killing weevil eggs and creating a sealed, oxygen-reduced environment .
Diatomaceous Earth
Many of us who raise poultry know a thing or two about diatomaceous earth. This critical farm supplement is made up of tiny fossils that help prevent mites and insects and can be added to flour to help prolong its shelf life. You can purchase industrial and food-grade diatomaceous earth with the food-grade option being the obvious choice for flour.
The most important thing to remember when using diatomaceous earth is that a little goes a long way. In fact, you only need to use about half of a cup for 25 pounds of food. Many homesteaders choose to use this for their large flour storage in 5-gallon buckets or bins to minimize the chances of weevils hatching.
Bay Leaves
Bay leaves are a simple, all-natural trick that has been passed down through generations as a way to repel weevils and other grain insects. The strong aromatic compounds in bay leaves are unpleasant to insects, making them an effective deterrent when tucked into flour storage containers.
Simply place one or two dried bay leaves directly into your flour container or bucket before sealing it. You can also tape a bay leaf to the inside of a lid for good measure. The leaves won't affect the flavor of your flour and can be left in place until you work through the supply. This method works especially well when combined with airtight containers or mylar bags, adding one more layer of protection against infestation without any chemicals or special equipment.
It is important to take all of these tips on long term flour storage and use them at your own discretion. Always check your flour to ensure that it looks and smells right and is free from the presence of weevils. Inspect the flour thoroughly before using even years in the future.
Also, note that different kinds of flour may have different storage lifespans depending on the ingredients. Consider all of these tips when trying to make your flour last up to a decade or longer.
Like this post? Don't Forget to Pin It On Pinterest!
You May Also Like: