

Estimated reading time: 19 minutes
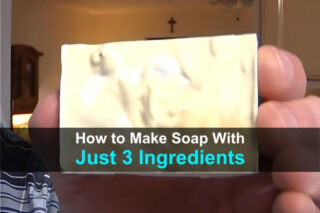
DIY Soap is Easier Than You Think, but it Takes Some Time and Requires Some Caution.
There’s very little in the history books on the invention of soap. Some stories on the Internet claim it occurred when someone picked up some wet ashes from a fire that had been mixed with drippings of animal fat and were surprised to see it had cleansing properties.
Why in the world anyone would do that is beyond comprehension, but that combination essentially defines a soap recipe.
Our early pioneer ancestors made soap on a regular basis for bathing, laundry, and general cleaning. Many of their recipes included the addition of herbs and other fragrant ingredients to impart a deodorizing quality to their soap.
Perhaps what made soap so easy for them to make was the common and few ingredients needed, and the simple process involved.
What the pioneers were doing was a process called Saponification. Saponification is a chemical process that makes soap as a result of an exothermic reaction (heat) between lye and fat.
Managing the proportions of fat to lye is the critical success factor for soap making. Too much fat and the soap bar will separate and disintegrate. Too much lye and the soap will potentially cause a burning sensation although it can still be used for laundering.
Keep in mind that most homemade soaps from wood ash tend to be softer than the hard bar of soap you buy at the store. You can harden the soap you make with the addition of salt, but soaps made from wood ash always tend to be softer.
Want to save this post for later? Click Here to Pin It on Pinterest!
- The Soap Making Process
- Lye Handling 101
- Equipment for Making Soap
- 9 Steps for Making Soap:
- 1. Collecting and Sifting Wood Ash
- 2. Leaching Lye from Wood Ash
- 3. Reducing Diluted Lye Water to a Lye Concentrate
- 4. Heating Your Fat
- 5. Blending and Stirring the Lye and Fat
- 6. Adding Fragrances and/or Exfoliants
- 7. Pouring the Soap into Molds
- 8. Drying and Curing the Soap
- 9. Packaging and Storing the Soap
- Continue to Experiment
The Soap Making Process
In a nutshell, soap is made with lye leached from wood ashes soaked in water and mixed with hot fat like lard until it cooks down and is poured into molds. When the mixture is dry, you have soap. But like anything, there are some steps, cautions, tips, and fail-points you should keep in mind.
FAIL POINT: Lye is Dangerous
The active ingredient that gives soap its cleaning properties is lye. There are two types:
1. Sodium Hydroxide (NaOH) – The lye that is purchased commercially from a store is known as sodium hydroxide. It is a potent chemical and can cause severe burns if it comes in contact with skin, and blindness if it splashes into the eyes and is not immediately treated.
2. Potassium Hydroxide (KOH) – The lye from wood ash is known chemically as potassium hydroxide. It’s less caustic than sodium hydroxide but can still cause injury to both the skin and eyes.
What Makes Lye Dangerous
Lye used for soap making has a very high pH of 13. Given that the pH scale ranges from 0 to 14 with 0 being the most acidic and 14 the most alkaline, lye’s pH rating of 13 makes it a highly alkaline substance. You would think a highly acidic substance would present a danger as well (and it does) but high alkalinity also presents dangerous conditions if not handled properly.
Lye Handling 101
- Whenever you are handling or in the vicinity of lye, make sure you are wearing protective eyewear and rubber gloves. The recommendation is that the gloves reach to the elbow.
- Lye interacts with natural oils in our skin and that’s what causes the danger.
- Have an open jug of vinegar on hand. If some lye splashes on you or your clothing, a quick splash of vinegar will neutralize the alkalinity preventing injury.
- Don’t leave a simmering pot of lye unattended for too long. The lye we’re going to use from wood ash has to be reduced over low heat and could take hours. Don’t forget about the pot. Stir it frequently and keep an eye on it as the lye continues to reduce.
- Reducing lye to a concentrate is best done outdoors. Many YouTube videos on the Internet show people doing this in their kitchen. That’s okay if you must, but lye gives off an odor and can cause damage to kitchen surfaces if it splatters or boils over. The best place to reduce lye is outdoors either over a small gas burner or over coals in a kettle grill. A small fire under a grate will work as well. If you’re reducing lye over a fire close to the ground, you might want to add a pair of rubber boots to your protective gear.
TIP: Quality Ingredients = Quality Soap
There are a few things to keep in mind as you pull together raw materials to make your soap.
Wood Ash
The best wood ash comes from hardwood trees like maple, hickory, ash, and oak. Avoid softwood trees like pines or woods that are highly resinous like cedar, birch, and spruce. Hardwoods produce something called a “white ash” that not only delivers the best lye but a lighter color.
Try to avoid incorporating chunks of charcoal or charred wood in your ash mix. The carbon in these pieces will darken your final soap product. It’s okay if you end up with a dark brown soap. It will still work. It just won’t look as good as the light golden of a soap made from white ashes.
You can even buy wood ash for soap making on the Internet, although a true off-gridder would probably chuckle at the thought. But there are other options for ash collection that are the by-product of a self-reliant lifestyle.
If you use a wood burning stove for heat or cooking, you know that disposing of ash is a regular chore. You could always put that ash aside for soap making.
The same is true for pellet stoves. Pellet bags clearly state “hardwood pellets” on every bag and the ash vacuumed from pellet stoves is premium stuff for soap making.
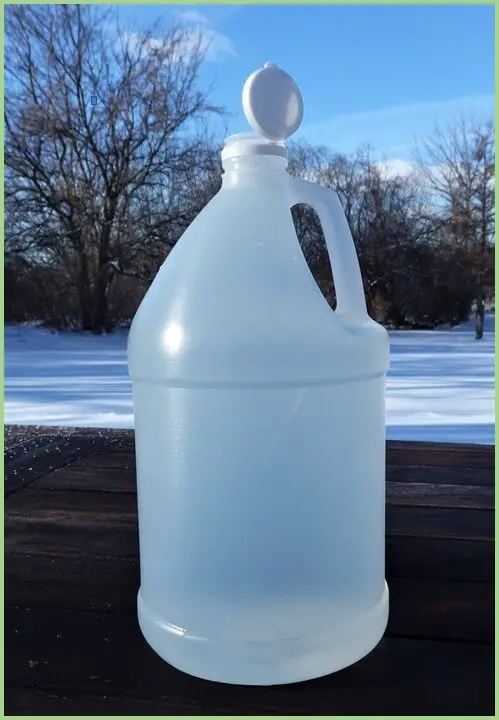
Water
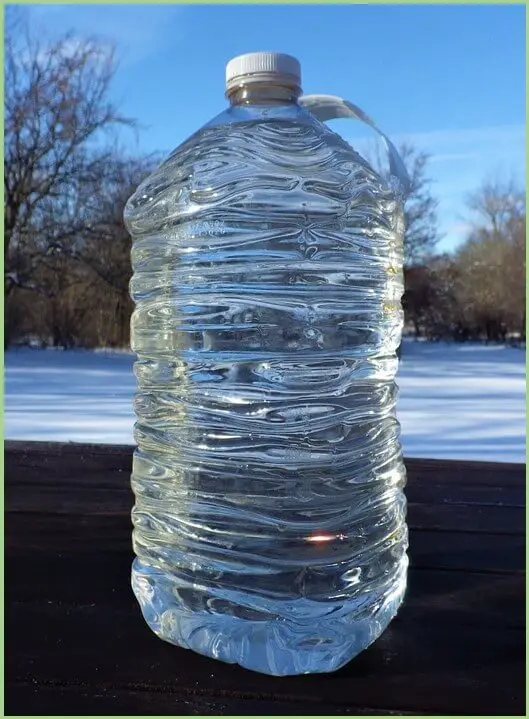
It seems silly to fuss over the quality of water when you’re about to dump it over a bunch of ashes, but it’s more important than you think. The best water for leaching lye from wood ash is very soft water like rainwater or distilled water.
Water from the kitchen faucet often has minerals and chlorine that can compromise the lye and ultimately the soap. Even water filtered from the tap can contain these trace elements. In winter, you can melt snow or ice and get good results.
Salt
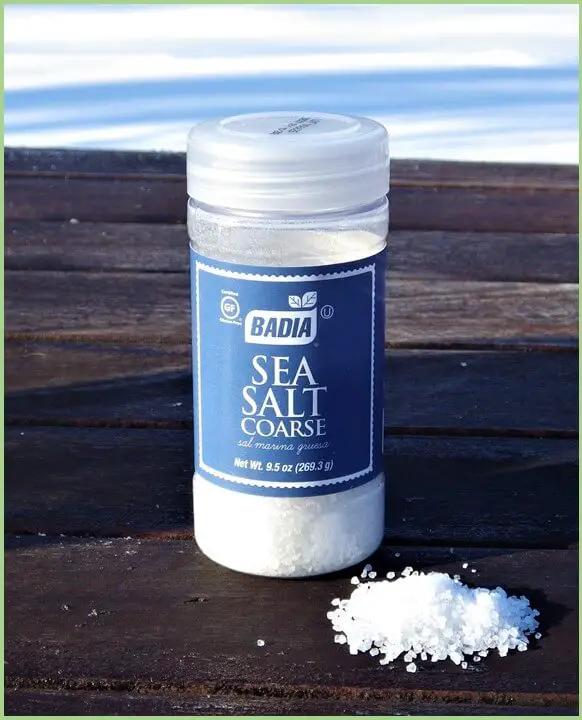
Salt is added to soap batter to result in a harder bar of soap after it has dried and cured. How much salt depends on the quantity of soap you’re making. We’ll cover a basic recipe that you can scale up to make larger batches. A hard bar of soap is often preferred for laundry, so keep the end use of your soap in mind.
Another use of salt is as an exfoliant in a bar of soap. Coarse, Kosher salt is best, and it’s added at the very end of the soap making process, so it retains the integrity of the salt crystals. Exfoliants remove dry, flaky skin and tough stains like paint and other things that stick to the skin.
Fragrances
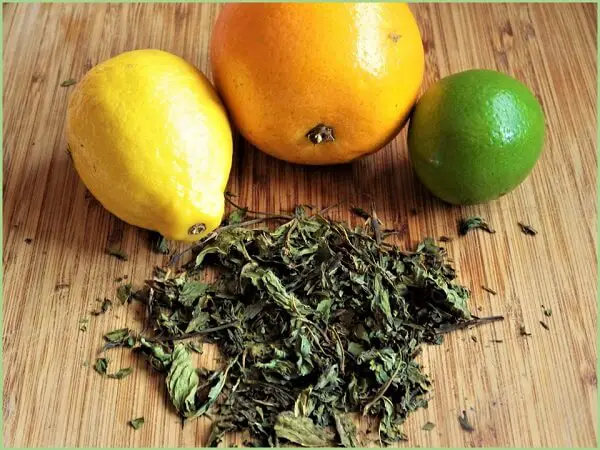
Soap used for bathing often has a scent and that’s easy to add to your homemade soap across a range of herbs and flavorings. Mint, chamomile, and lavender are a few options, but you can easily add any herb that has a fragrance that pleases you. Flavorings from vanilla to orange to lemon zest are other possibilities. These fragrances are also added towards the end of the soap making process.
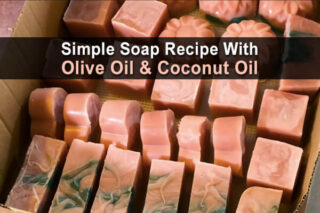
Fat
Fat is what gives soap a binding property to create and maintain a physical shape. Lard is the traditional fat used in pioneer soap making but beef tallow and vegetable oils can also be used. Here’s a sample list of oils you can use to make soap:
- Canola Oil
- Coconut Oil
- Corn Oil
- Flaxseed Oil
- Grapeseed Oil
- Olive Oil
- Peanut Oil
- Safflower Seed Oil
- Soybean Oil
- Sunflower Seed Oil
- Shortening
There are also animal fat alternatives you may encounter including:
- Chicken Fat
- Goose Fat
- Duck Fat
- Goat Fat
- Milk Fat
- Deer Tallow
- Sheep Tallow
You also don’t have to dedicate yourself to a lard or tallow rendering process if that’s your fat of choice.
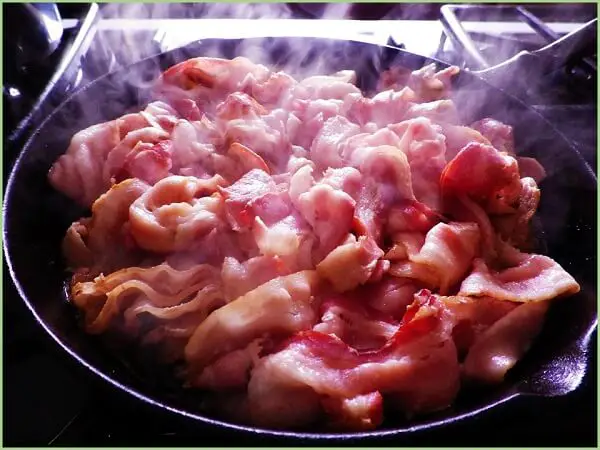
Just save your drippings any time you fry bacon or roast beef and reserve them for soap making day. And yes, you can combine lard and tallow along with other animal fats like goose fat or deer tallow.
Equipment for Making Soap
- Safety equipment including eye protection, gloves, and possibly boots.
- Ash sifting tools that could include chicken wire, a colander, large diameter and small diameter screens.
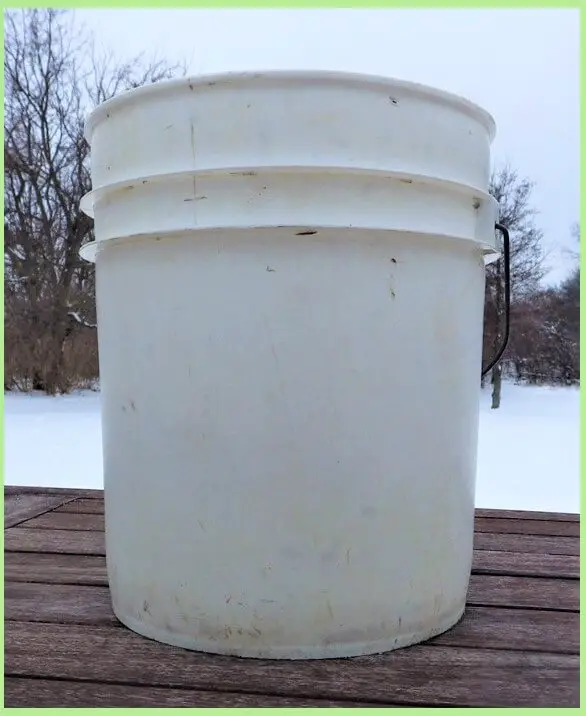
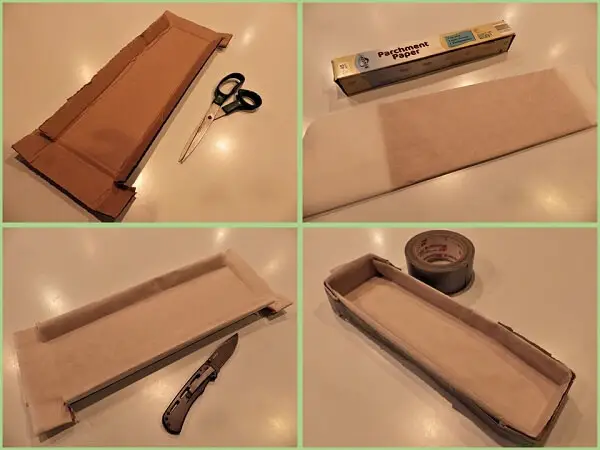
- A 5-gallon bucket with a hole cut in the center at the bottom about the diameter of your thumb. A large flower pot with a hole in the bottom will also work.
- 2-quarts of pea gravel plus a good quantity of straw, hay, or white pine needles.
- Various shovels of various sizes to collect ash.
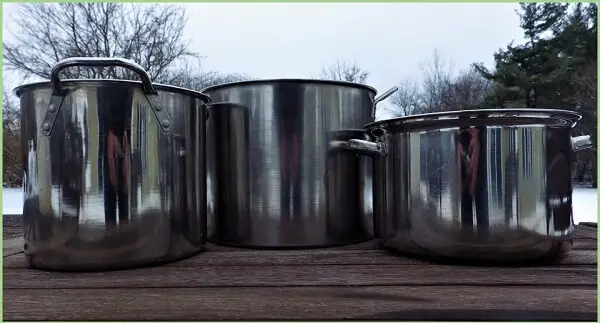
- 2 or 3 large stainless-steel pots that can hold up to 12 quarts or more for boiling water, collecting the lye water from the ash, reducing the lye water over heat, melting the fat and ultimately cooking the soap batter. Don’t use aluminum pots. The lye will literally cause them to disintegrate.
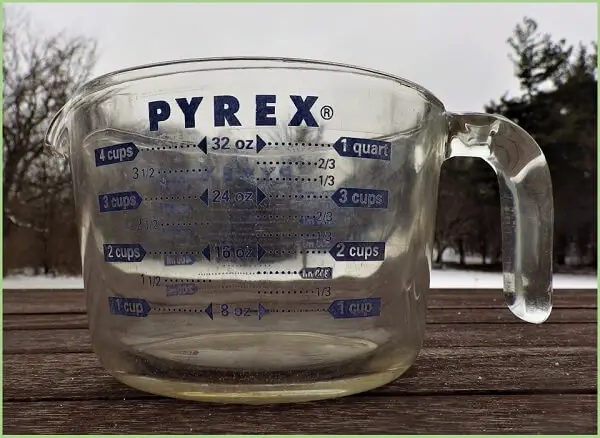
A Glass 4-Cup Measuring Cup
A Wooden Stirring Spoon
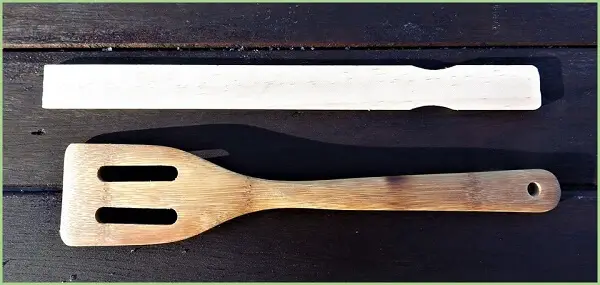
Or a paint stirring stick to stir both the lye and the soap batter.
pH Test Strips
These are available online or at most pharmacies, or an egg to determine a pH of 13 in the lye water. (When the egg floats in the lye water, you’re at pH 13.)
Vinegar
This is so you can neutralize lye spills.
A Heat Source
You can use an outside gas flame, an open fire, charcoal, o–if you must–the kitchen range.
A Mold Or Molds
This is for holding and shaping the soap while drying and curing plus wax paper or parchment paper to line the mold.
Packaging Materials
Like resealable plastic bags, parchment paper, plastic bowls with lids, and foil or plastic wrap.
9 Steps for Making Soap:
- Collecting and sifting wood ash.
- Leaching lye from wood ash.
- Reducing diluted lye water to a lye concentrate.
- Heating your fat.
- Blending and stirring the lye and fat.
- Adding fragrances and/or exfoliants
- Pouring the soap into molds.
- Drying and curing the soap
- Packaging and storing the soap.
1. Collecting and Sifting Wood Ash
Whether you’re collecting ash from an outdoor fire, burnt-out charcoal from a kettle grill, or another resource like a wood burning or pellet stove, try to make sure you haven’t incorporated any dirt, debris, or large charred chunks of wood.
Before sifting, assess the quality of the ash you’ve collected. Some fragments of charred wood are inevitable. The question is how big are the pieces? If you have some good-sized chunks, start sifting through chicken wire first. You can put the chicken wire over a 5-gallon bucket and simply shovel a small amount at a time to filter out the bigger pieces.
Your second sift should use a screening material with a finer mesh as a filter until you have a nice collection of powdered white ash.
As you collect and sift try, to assess the quantity of ash you’ve collected. For reference, 10 cups of white ash will yield 1 gallon of lye water which will be reduced until a pH of 13 is measured in the concentrated lye. That usually happens around 6 ounces from the original gallon of lye water.
The standard formula is that 6 ounces of lye will yield 2 standard-size bars of soap. If you backtrack the math, 10 cups of ash will yield enough lye to make 2 regular size bars of soap. If you want more soap, collect more ash but keep track of the end recipe and proportions.
A quick capsule of what all of that means is in this soap recipe equation:
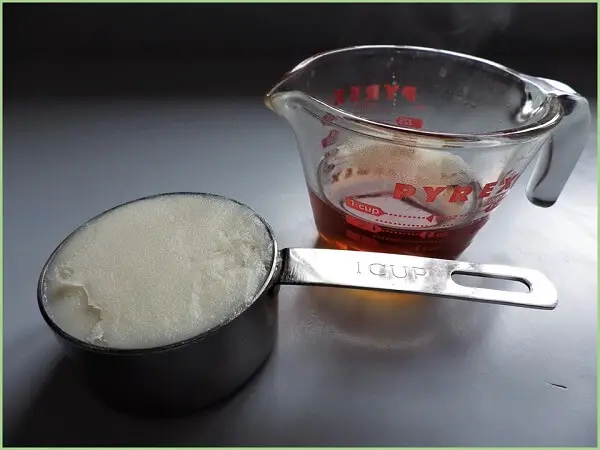
1 cup of fat (8 ounces)
+ 3/4 cup of lye (6 ounces)
———————————
= 2 regular-size bars of soap
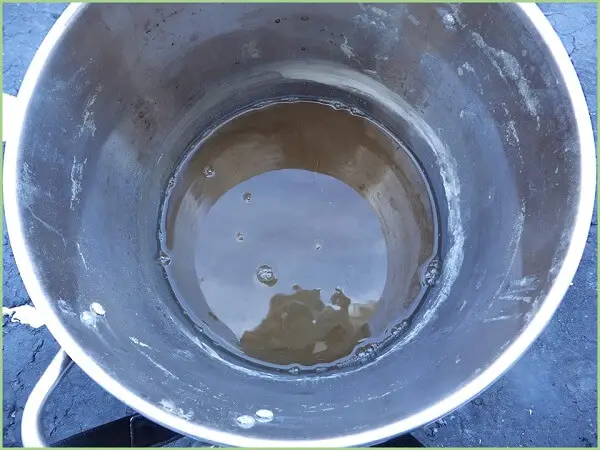
2. Leaching Lye from Wood Ash
There’s an easy way to do this and there’s a hard way. Curiously, the easy way is the best way, but it takes some extra time.
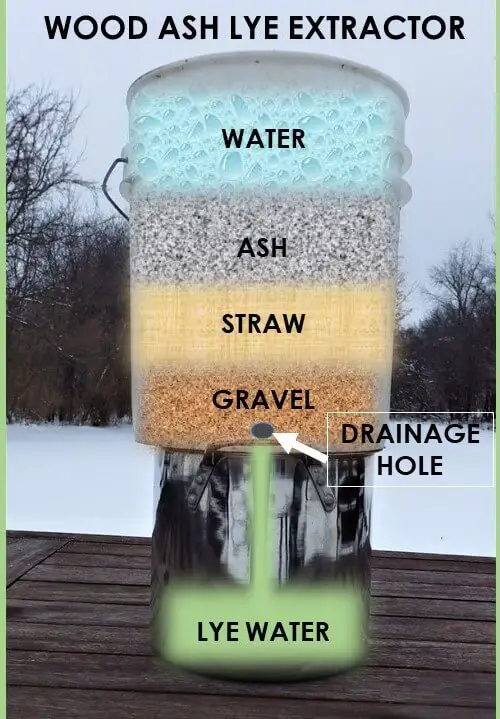
Here’s how to leach lye from wood ash the easy way:
- Drill a hole in the center of the bottom of your 5-gallon bucket about as wide as your thumb.
- Place the 5-gallon bucket over a stainless-steel pot. Ideally, the bottom of the bucket snugly fits into the top of the pot or rests evenly on the top. If need be, find a way to support it. The idea is for the water to trickle out of the bucket through the hole into the pot.
- Put a small patch of straw over the hole in the bottom of the bucket and pour the gravel on top.
- Layer the straw, hay, or white pine needles evenly over the gravel in the bucket and gently compress it until it’s about 2 to 3 inches thick.
- Pour 10 cups of ashes over the straw (or more if you want to make more than 2 bars of soap), but make sure you have at least 3 inches of heading below the rim to accommodate the slow addition of boiling water.
- Bring 1 1/2 gallons of water to a boil in a large pot.
- Pour the boiling water into the ash bucket just enough to bring the water level up to about 1 inch from the rim.
- Give the water 30 minutes to percolate through the ash and leach the lye into the bucket.
- Reheat the water to boiling and repeat the process until the water is gone and stops leaking from the bottom of the bucket.
- You should now have about a gallon of lye water. The remaining water is saturated into the ash and straw.
The hard way to do this would take another article to explain.
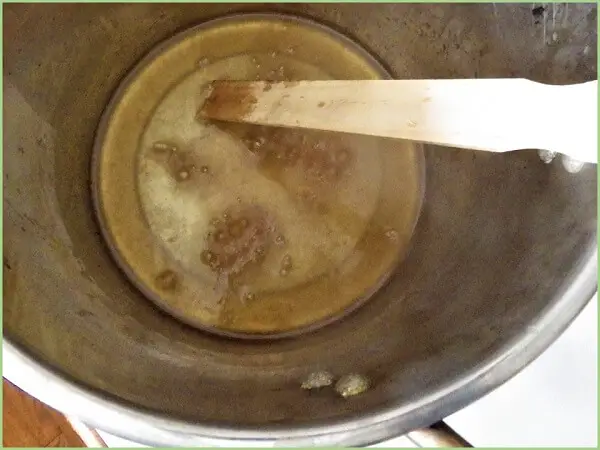
3. Reducing Diluted Lye Water to a Lye Concentrate

- Make sure you’re using a stainless-steel pot for this step, not aluminum. If you’re using the pot you used to capture the water from the 5-gallon bucket, you’re good to go. Otherwise, pour the lye water into the pot. It should be at least a 2-gallon (4-quart) pot.
- Place it over medium heat and bring it to a boil. Stir occasionally. You can do this indoors or outdoors. Outdoors is best.
- Reduce the heat to medium-low and continue to gently boil, allowing the water to evaporate and reduce the liquid.
- Now’s the time to use a pH strip to determine if you’re approaching a pH of 13. Continue to test until you have reached 13. Alternatively, when a raw egg floats in the liquid you are very close to a pH of 13.
- You should be close to 6-ounces of lye. If so, you’re good to go. If not, either measure out 6 ounces for the next step or make and reduce more lye water until you have at least 6 ounces of lye.
4. Heating Your Fat
Carefully heat your fat or oil over medium-low heat until hot.
5. Blending and Stirring the Lye and Fat
- For 2 bars of soap, measure out 1 cup of hot fat.
- Bring 3/4 cup of the concentrated lye to a medium boil in a small, stainless-steel saucepan and slowly add the fat stirring as you go. To make more soap, scale up the amounts of lard and fat proportionately and use a larger pot.
- DON’T ADD THE LYE TO THE FAT. It will splatter. Always add the fat to the lye.
- Add a ¼ teaspoon of salt if you want a harder soap.
- Continue to boil the mixture stirring constantly for 3 minutes until thick like porridge with no chunks.
- Reduce the heat to keep warm around 100 degrees Fahrenheit.
- Stir the mix for a minute and then let the mix sit for 10 minutes and stir again.
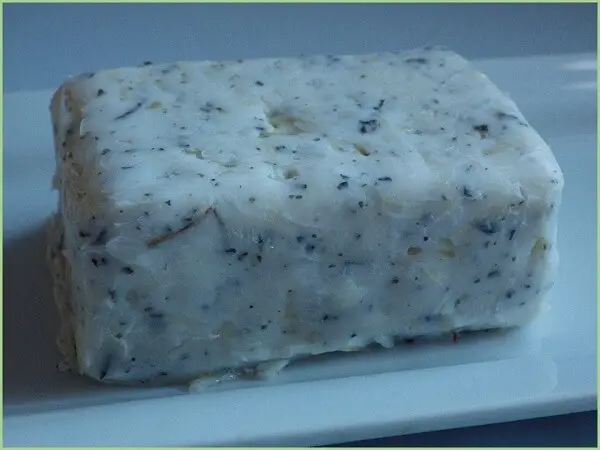
- Repeat this gradual heat and stir every 10 minutes until the soap batter turns a golden brown. The color can vary depending on the type of fat and the purity of the ash you used for the lye. This part of the process can take hours so be patient. It can also happen faster.
- To determine doneness, draw a line with a spoon across the mix and if you see a line, you’re done.
6. Adding Fragrances and/or Exfoliants
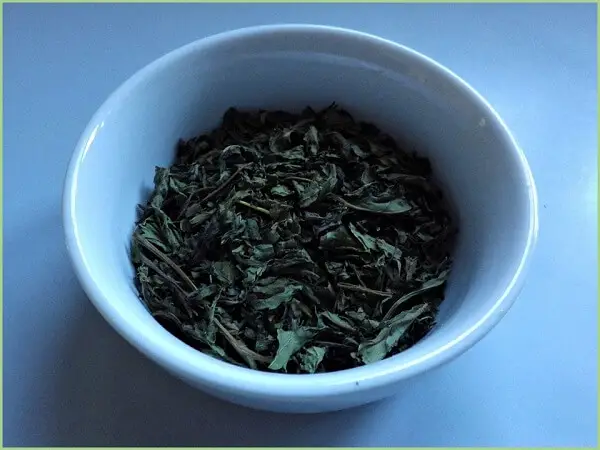
Now is the time to add herbs or fragrances. You could also wait until you pour into individual molds so you can try multiple fragrance options. Just mix the herb or flavoring into the soap batter in the mold with a small spoon. We’re using mint for this batch.
You can add exfoliants like coarse salt granules the same way. Just mix them into the soap batter in the molds.
7. Pouring the Soap into Molds
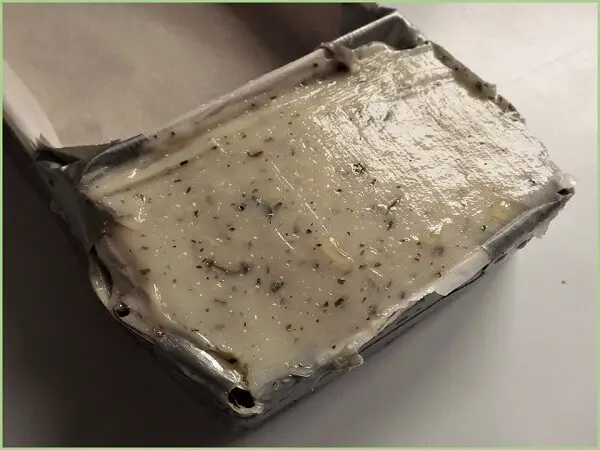
Line your molds with wax paper or parchment paper so the soap bars are easy to remove. You don’t have to make individual molds.
You can make a large mold and cut the bars after the soap has hardened for one day.
- Pour the soap until the mold is filled to just below the top lip of the mold. Smooth the top with a knife.
- Cover the mold with a towel to hold in some moisture as it dries, or the soap bar can crack or become brittle. Leave the towel in place for 24 hours. After 24 hours, cut the soap if you are working from a large mold. If in individual molds, leave the bars in place.
8. Drying and Curing the Soap
Let the soap set for 7 days in a dry place at room temperature.
9. Packaging and Storing the Soap
Wrap and store wherever you keep store-bought soap.
Continue to Experiment
If you’re encouraged by your first efforts with soap making, keep at it and experiment with various oils, fragrances, and exfoliants. It’s a great self-reliance skill to know. Even if you only make it once.
Like this post? Don't forget to Pin It on Pinterest!
You May Also Like:


You lost me here:
9. Reheat the water to boiling and repeat the process until the water is gone and stops leaking from the bottom of the bucket.
10. You should now have about a gallon of lye water. The remaining water is saturated into the ash and straw.
How do I go from no water to a gallon of water?
The ‘Wood Ash Lye Extractor’ diagram explains it. The other half gallon of water is absorbed in the wood ash and straw and doesn’t drip out at the bottom of the barrel.
It may help to think of it like making a mug of filter coffee:
– you put boiling water in the top;
– the hot water saturates the coffee grounds (wood ash);
– the bit we want coffee (lye) is water soluble and leeches out of the coffee grounds (wood ash);
– the coffee filter (straw and gravel) stops the coffee grounds (wood ash) ending up in the mug (bucket at the bottom);
– you don’t get all the water that you put in at the top out at the bottom because the coffee grounds (wood ash) absorbs it.
– Drink the coffee (make soap with the lye).
* Obvious Warning: Remember not to get the two mixed up. Lye is dangerous and needs to be handled with care. It would also ruin your coffee percolator. 😉
i am with kaf and the explanation just muddies the waters. if you continue until there is no water, how do you end up with a gallon of water? that doesn’t make sense.
I believe what the author of the post is implying is that when you heat your 1.5 gallons of water to boiling and pour it into the 5-gallon bucket “just enough to bring the water level up to about 1 inch from the rim,” you will not be using ALL of your 1.5 gallons of boiling water to achieve this water level in your bucket. When ever your first batch of boiling water steeps through, take what is left of your original 1.5 gallons of water, reheat it to boiling, and again pour in only enough hot water to reach 1″ below the rim of your bucket. Repeat this process until the 1.5 gallons of water you initially measured is all used.
At least that’s the way I understood it, although it did take me some figuring to get to that conclusion 😉
Thank you so much for this post. I have collected ash just to make my own lye but have not done it yet. So excited to try this.
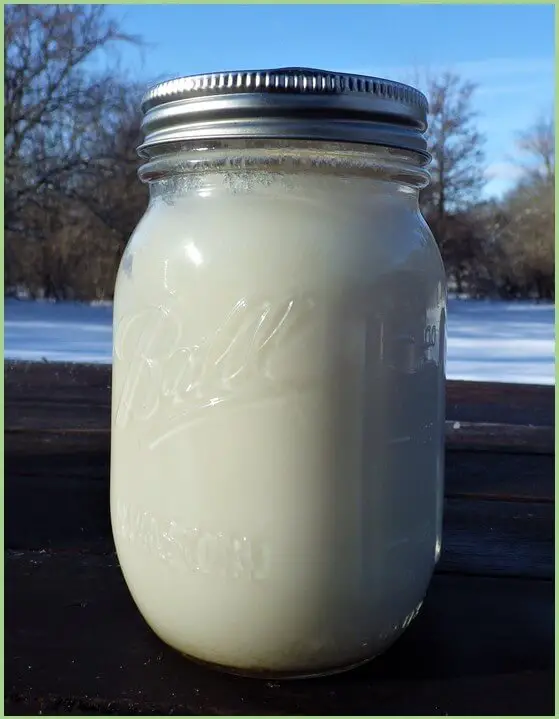
Researching the more modern process with store bought lye I found lots of recipes for milk soaps. I’m very interested in the goat milk soaps since goat milk is good for the skin. I’m curious if milk soap is possible with this old method.
Oh also, how do you deal with the percolator after use? Can you reuse with new ash? Or do you have to neutralize and dispose of everything and start with fresh gravel/hay? Also, how do you dispose of the gravel/hay, lol.
Step 7. Let sit for 10 minutes…at 100 degrees or is the heat turned off?
I assume the heat is turned off..
Using a stainless steel pot of at least 2 gallons in size would be an 8-quart pot, not 4 quarts.
The old adage is valuable,Nan “Do what ya otta, add your lie to your water.” Because if you do it the other way ’round, it will not be pretty!
I heard these soaps last 2 years before breaking down or going rancid. How can you make them last longer?
Wouldn’t make more sense buying several cans of lye at a hardware store” Then storing them safely.