

Estimated reading time: 5 minutes
Castile soap is a biodegradable soap made with olive oil, water, and lye. It was invented in Aleppo, Syria and brought by the crusaders to the Castile region of Spain where it became popular.
For centuries, people have been using this gentle cleanser for everything from bathing skin and hair to washing clothes and floors. After making bars of Castile soap, you can use them in their solid form or blend them with water to create liquid soap.
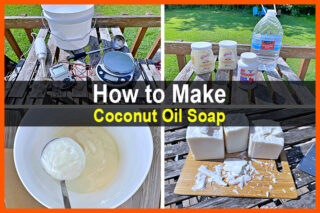
In a video by Elly's Everyday, Elly explains how to make it. Here's what you'll need.
Want to save this post for later? Click Here to Pin It On Pinterest!
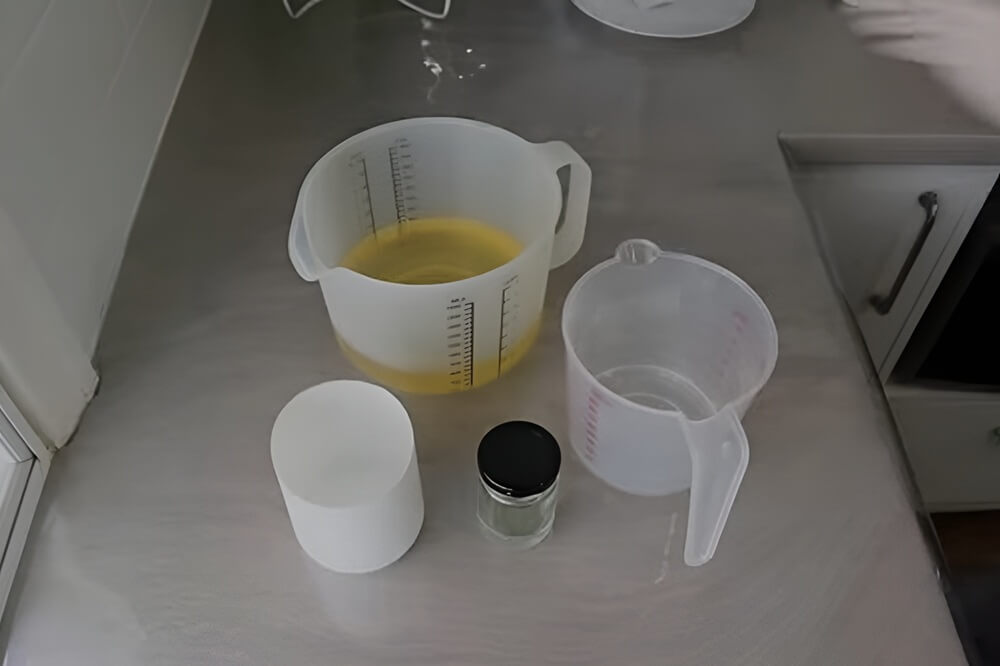
Equipment:
- 2 Large measuring cups
- Stainless steel pot
- Large bowl
- Spatula
- Handheld blender or mixer
- Meat thermometer
- Kitchen scale
- Rubber gloves and safety goggles (for handling lye)
Ingredients:
- 600 grams or 21.2 ounces of light olive oil
- 109 g or 3.8 ounces water
- 79 g or 2.8 ounces of sodium hydroxide (caustic soda)
- 18 g or 10 drops of essential oil (optional)
Essential oil possibilities:
- Peppermint
- Orange, lemon or grapefruit
- Lavender
- Rose
- Pine
- Sandalwood
Caution: One of the steps involves making lye which is a highly caustic chemical that can burn the eyes and skin and can harm the lungs if inhaled so work in a well-ventilated room or outdoors.
Wear rubber gloves and safety goggles and keep a spray bottle of vinegar handy. Vinegar neutralizes lye which is a highly alkaline substance. If you get a serious burn—especially in the eyes—or inhale lye too deeply, consider the emergency room.
Directions:
Step 1: Make The Lye Solution
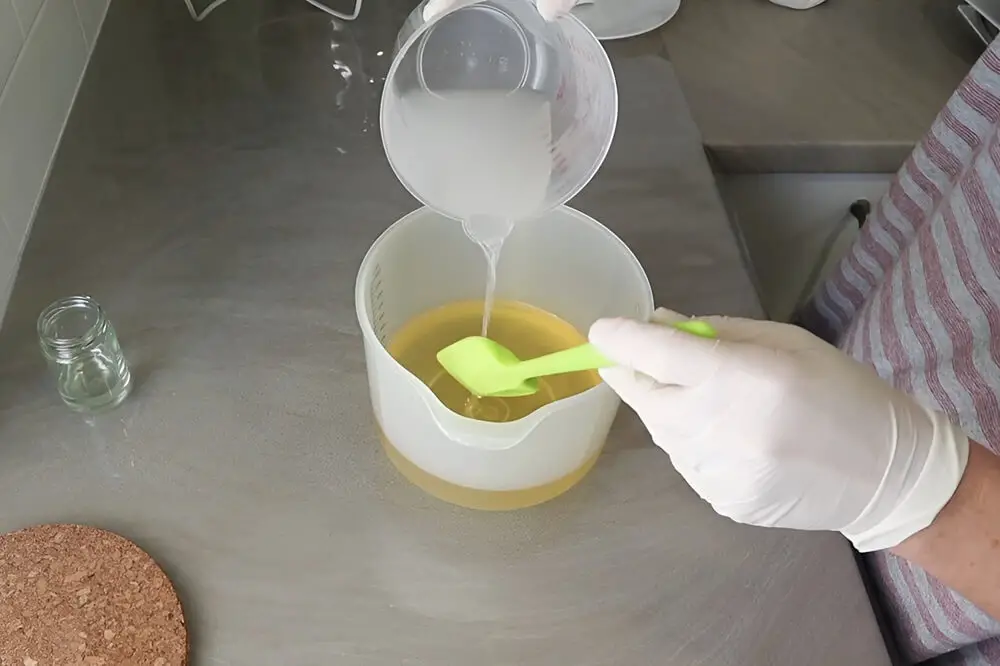
When you mix lye and water, it's important to use the exact measurements indicated in the ingredients list.
Caution: Never add water to lye – always add lye to water. Adding water to lye creates an explosive reaction.
Carefully add the lye to the water. The mixture will immediately begin to heat up and become cloudy, then clear a bit as it cools.
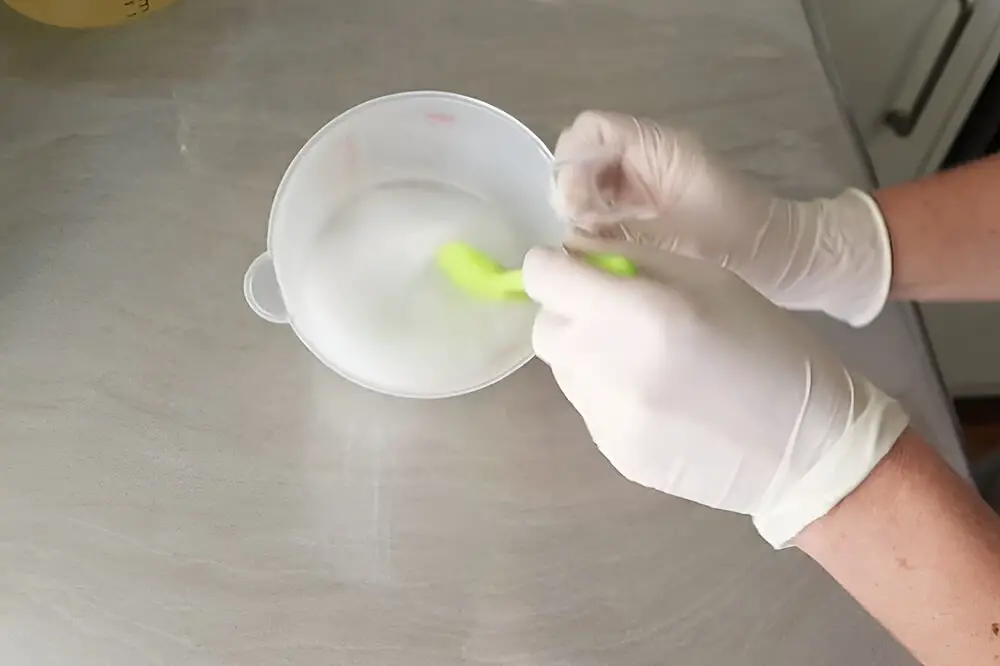
It will take several minutes for the mixture to cool. Use the meat thermometer to test the temperature. The lye is ready to use when it reaches 100 degrees Fahrenheit (37.8 degrees Celsius).
Step 2: Heat The Oil
While the lye is cooling, heat up the olive oil in a saucepan over medium-high heat. Continue heating until the oil reaches 100 degrees Fahrenheit (37.8 degrees Celsius).
Use the meat thermometer to determine when the oils are ready to mix with the lye. The oils and lye must be as close as possible to the same temperature to properly blend.
Caution: Neglecting to make sure both the oil and lye are close to the same temperature will result in soap that doesn't set up correctly. Be sure to use the meat thermometer to measure both mixtures and complete this crucial step.
Step 3: Mix The Lye And Oil
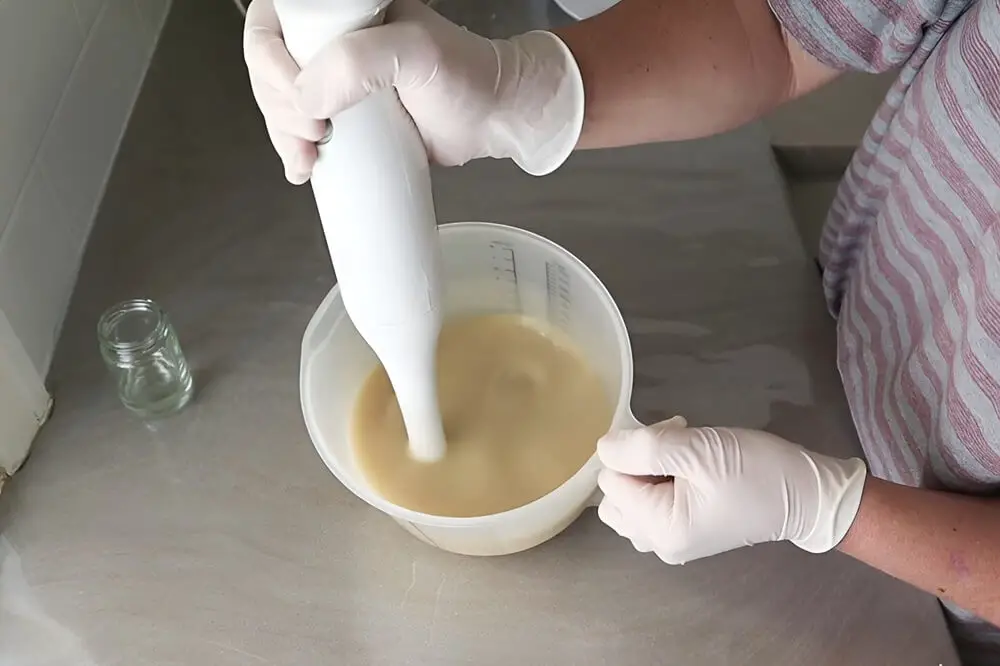
Carefully pour the lye mixture into the oil mixture. Use a handheld blender or mixer to begin blending everything together.
After a few minutes, the mixture will begin to thicken. Continue blending and stirring with the blender for up to 15 minutes. The soap will lighten as it emulsifies.
When you can see the trail left by the blender, the mixture has reached “trace.” It should have the consistency of honey.
Add essential oil if you're using it and stir with a spoon to incorporate.
Step 4: Pour Into Molds
Pour into silicone or Teflon cupcake molds. If using metal cupcake pans lightly oil with olive oil. The mixture should make 10 to 12 soap cupcakes depending on the size of the cupcake molds.
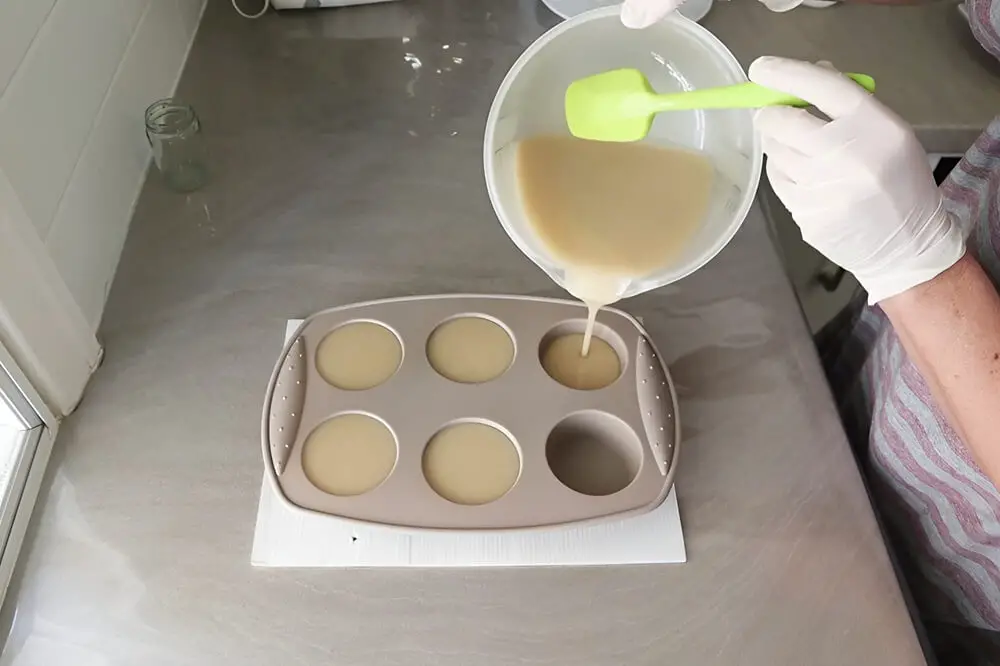
Let rest for a few minutes for the soap to thicken up. Cover the cupcake pans and let sit undisturbed for 48 hours. Either invert the pan to release the soap or bend the flexible silicone mold to release them.
Place them on a bread or cookie drying rack and let air dry for 6 weeks up to a few months. The longer you wait, the better the soap will produce fluffier suds and have a better texture.
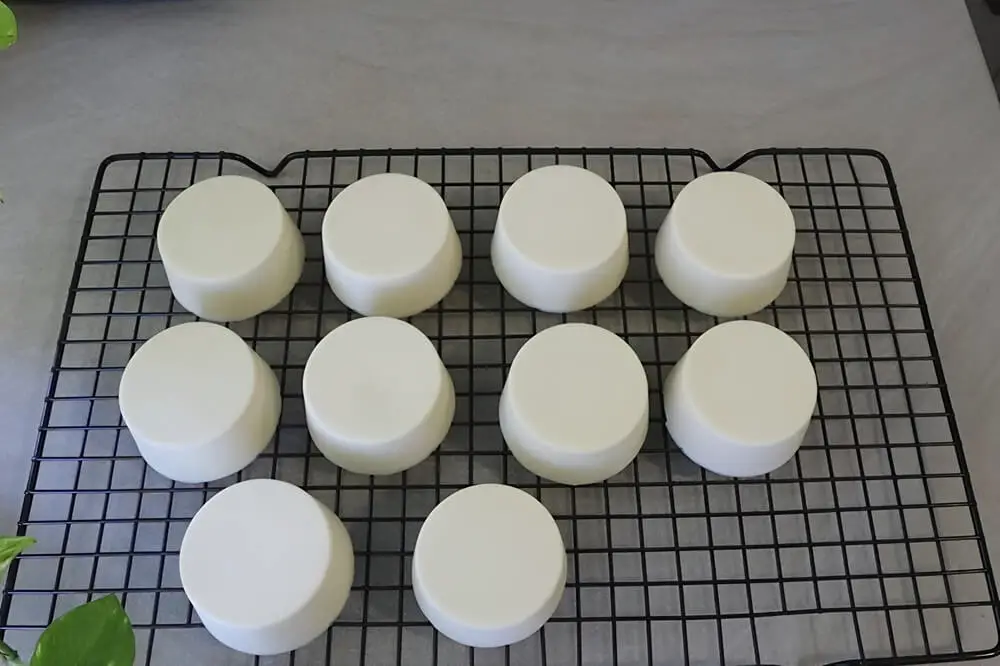
Wrap in wax paper to store.
Watch the video by Elly's Everyday below to see it made.
Like this post? Don't Forget to Pin It On Pinterest!
You May Also Like:


You mentioned blending with water for liquid soap. Will you share the method?
Grate some soap and mix w water, let sit to moisten and then blend w hand held mixer. That’s about it. Been awhile but that’s all I did.
Can you add the water before pouring into molds?
What happened to the video???
found it,,,
It would help if you told us how to make the lye…it just says … make lye.,. thanks!
You don’t “make lye”, you buy the caustic soda (lye) powder and add it to water before making soap.
update with crock pot method, soap cures faster.
It is common practice to only use one name for an ingredient or product unless you list both names together so your readers understand what you’re talking about.
For those confused- caustic soda, Sodium hydroxide, & lye are all the same things. Yes it’s rather odd to use one or two names in your ingredient list and then use a third, non listed name, in your recipe.
Castile soap takes at least 6 months to cure properly, 6-8 weeks is standard for most cold process soap, but Castile takes longer because of the olive oil.
I let mine cure a year. Much harder bar.
I cut a hole in a single use yogurt cup, cut out the bottom of a second yogurt cup and put the bottom inside the other cup. Then when the soap was firm enough to push out, I just pushed up on the bottom, through the hole to push the soap up, resting on that flat bottom I had used. No need to buy a mold. I have used other left over containers for molds.
In the video it says you don’t need to warm up the olive oil because it room temperature and pours lye in but in the instructions it says 100 degrees for both. Which one is to be used?
I think it works better if you heat it to 100 degrees, but it’s not absolutely necessary.
Can you please make a printable recipe for this soap?
There’s a green print button at the top left of the article just above the first image. It also allows you to delete the pictures first.
When storing in wax paper, is that after the 6-8 week cure time or should they be wrapped as they cure?
Could lard , or other oils be used as well as olive oil, or a mixture?
Yes, you can substitute lard or other oils, just know that the final product won’t be as gentle on the skin, but it should still make for good soap.