Estimated reading time: 6 minutes
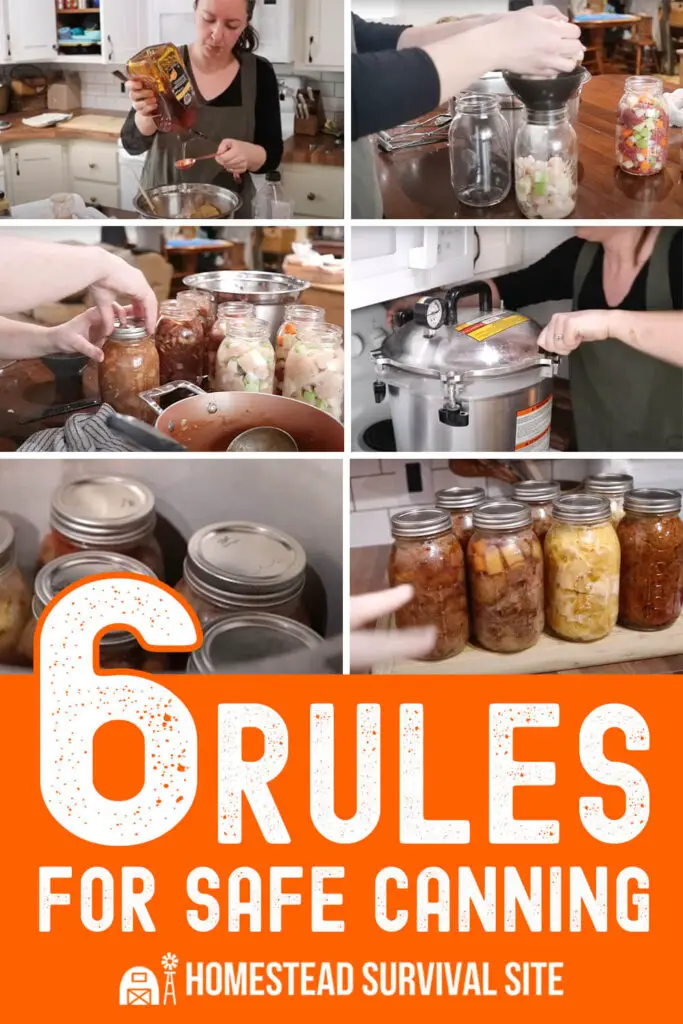
Many people who want to live an off-grid lifestyle realize that canning is a huge part of successful homesteading. When growing a garden, harvesting fruit, or taking advantage of a great sale, you will likely come across a time when you have too much food to eat at one time.
Canning is a time-honored tradition that has incredible value on the homestead. Not only is it a great way to preserve those bushels of peaches or ears of sweet corn, but it also allows you to prepare shelf-stable food that lasts a long time.
If you didn’t have the privilege of growing up watching a grandmother who canned every month, it could be a scary thing to learn. You have probably heard of the horror stories of botulism and unidentified spoiled jars of questionable contents in the back of the pantry.
While canning does have some important rules to follow, it is a simple process that is important to know and can be quite beneficial to an off-grid life. Check out these rules for safe canning to learn before you get started!
Want to save this post for later? Click Here to Pin It On Pinterest!
1. Understand Acidity
As you dive into the canning process, you’ll quickly come across the two groups of foods: high acid and low acid. This is an imperative thing to learn as it will dictate what kind of canning you do (water bath or pressure) and how long to process the food for safety.
Many fruits are a high-acid food that can be processed in a water bath. Most vegetables and meats require a pressure canner to cook the cans longer and kill any harmful bacteria or microorganisms that are undetectable to the naked eye. Understanding the acidity of the food is imperative to successful canning.
This is where a good canning book or guide can help you. Even if you are sure of the style and process times for a certain food, a canning guide is always a good reminder to have on hand.
For beginners, this will become your holy grail, and following the directions for each kind of food will bring success. You can also use the USDA canning guide online for instructions and more information.
2. Choose the Right Canning Process
There are two types of canning processes you can choose between when learning how to preserve food. The easier choice is to water bath the jars in a large pot of boiling water. However, this option is only suitable for high-acid foods.
A water bath canner is essentially a large metal pot with a rack at the bottom where the canning jars will sit during the boiling process. Many beginners choose to use the water bath canning process to start with, but it will limit the kind of foods you can process.
Pressure canners are those larger systems that include a large metal pot with a lockable lid and pressure gauge on top. This system requires more heat and time, and a pressure canner can be a bit daunting. If you are new to this process, study how a pressure canner works and do a few practice runs before canning anything.
3. Use Canning Jars Only
Glass jars are not all the same when it comes to the canning process. While many homesteaders like to reuse glass condiment or pasta jars, you shouldn’t use them again for home canning.
The best jars to use include those specifically designed for canning and sold in flats, usually containing a dozen jars with brand new lids and bands attached. When buying jars from a yard sale, look for jars from reputable manufacturers like Ball, Mason, or Kerr.
You should also never use a jar that is chipped, cracked, or damaged since it has to be processed at a high level of heat and may break. When canning a specific food, consult your canning guide for the size of the jar you are using as well, since different sizes have different processing times.
4. Never Reuse Lids
While you can reuse glass canning jars in good condition, you should never reuse the metal lid that covers the top of the jar. These lids are not made for more than one pressurization use, and reusing a lid could result in wasted food or even harmful bacteria growth.
Consider writing on the top of the lid with a permanent marker so that you never question if the lid was used before or not. Mark the date and contents of the food inside the jar, then toss the lid once you open the jar. You’ll never question if the lid has been processed before when using a permanent marker on it.
5. Leave Enough Headspace
A successful canning process relies on the sealing quality of the jar itself. Using a brand new lid with a rubber ring helps the jar seal out any air that could cause spoilage.
A huge part of getting a successful seal is leaving enough room at the top of the jar for air. The area between the top of the food contents and the top rim of the jar is called headspace.
Most canning guides recommend about an inch of headspace, which will result in a tight seal once the hot air inside the jar cools down after processing. It is very easy to overfill the jars and leave too little headspace where the jar can’t seal, and you’ll have to start over.
Always consult your canning guide for recommended headspace amounts given the type of food used.
6. Beware of Contamination
One of the most important rules for safe canning is to understand contamination. Something as simple as a utensil that is not sterilized before use can ruin an entire batch of food and introduce bacteria.
Boiling hot water is a staple during the canning process to kill off germs and ensure that everything used is sterilized. Understanding contamination and how germs spread is a vital part of a successful canning process.
It is vital to research and learn about canning before you get started. Consult a quality canning book or guide and make sure you have all of the necessary tools and equipment beforehand. Remember all of these rules for safe canning to learn before you get started with this great way to preserve food.
Like this post? Don't Forget to Pin It On Pinterest!







I use a little bleach in the wash water for all my canning jars, Do the jars have to be sterile? The process is to kill the bugs, germs, and nasties as we process.
Wezlock.
Yes, the jars definitely need to be sterile, but I wouldn’t use bleach for canning jars. Even if you rinse them well, you could leave residue behind. Hot soapy water should be enough.