Estimated reading time: 9 minutes
For anyone trying to increase their self-reliance, learning to bake bread is often one of the first goals. Bread making isn’t difficult and it’s a great way to save money. It’s also a great survival skill.
It doesn’t have to stop there, though. If you want to take this skill a step further, you should learn how to bake bread without a traditional kitchen oven. Whether your power is out, your oven is broken, you’re moving off the grid, you're going camping, or you're in a survival situation, being able to bake bread without relying on your oven is a great ability to have.
In this article, we'll briefly explain 10 ways to bake bread without a gas or electric oven, and include video tutorials for each method.
Want to save this post for later? Click Here to Pin It On Pinterest!
1. Grill
It may sound a little odd, but baking on a grill is actually pretty easy. While you may not have a grill in a survival situation, this method is perfect for camping, off-grid living, or if you’d like to avoid using your oven during the heat of summer. Baking on your grill may take a bit of practice, but once you get the hang of it, it’s actually pretty easy.
Once you’ve got your bread dough ready, you’ll want to get your grill heated up. With certain grills and a good thermometer, you’ll be able to bake at exactly the temperature the bread recipe recommends.
If not, just get your grill nice and hot. If you’re not sure of the exact temperature, figuring out how long to bake your bread will take a bit of guesswork. But as long as you check on it regularly, it will come out fine.
You can bake in a dutch oven, on a cookie sheet, or in a bread pan, but whatever you use, it’s important to consider that the grill heats just from the bottom. To keep the bottom from burning, you’ll want the flames to be as low as possible while still keeping the grill hot to avoid scorching the bottom. You can also keep your dough farther from the heat by using a trivet or double up your bread pan or cookie sheet.
Depending on your recipe, the bread will probably need to bake for about 30 minutes or until the center temperature reaches 200°F. Here’s a great tutorial:
2. Skillet
If you still have access to a stovetop or even the top of a wood stove, you can bake your bread in a skillet. To get started, grease your skillet (cast iron works best), and let your bread dough rise in it. Then take a clean cloth or kitchen towel and tie it around a lid that fits your skillet. This keeps moisture from dripping onto your bread.
Place your skillet with the lid in place on low heat and bake for about 10 minutes or until the bottom side of your bread is golden brown. Then the bread can be flipped and should be baked for an additional 5 minutes with the lid on. Check out the video below for more information.
3. Sun Oven
Sun ovens are an excellent option because they don’t require any fuel at all. You don’t need to be able to gather firewood, have electricity, or purchase propane. All you need is a sunny day.
It’s also easy to adapt normal bread recipes to your sun oven, and you can use whatever pan you’d like. Sun ovens can be purchased online or you can find a tutorial to build your own like the one below.
You should set up your sun oven before you’re ready to put your dough in so it has time to preheat. It’s best to equip your sun oven with a thermometer if it doesn’t already come with one. Ideally, you want your sun oven to be at about the temperature that your recipe calls for in a normal oven. However, if this isn’t possible because of the weather conditions, you’ll need to monitor your bread and adapt your baking time.
To tell if your bread is done, you can check the inside temperature with a meat thermometer. Your bread should be fully cooked at around 200°F. Here’s a great video about baking bread in a sun oven.
4. Earth Oven
If you’re looking for a fun DIY project to really up your baking and self-reliance game, building an earth oven is an excellent option. Earth ovens can be made from all natural and even free materials. They’ve been used for hundreds of years to bake all kinds of food. They use little fuel and make delicious bread.
Here’s an awesome tutorial on how to create your own earth oven:
Once you’ve created an earth oven, they’re fairly easy to bake in. The first step is to get a fire started in your oven. You want to use fairly small pieces of wood because you’re going to let the fire burn down and sweep it out before you actually bake in it. It sounds odd, but the earth oven will absorb the heat from the fire and bake your bread.
After your fire has burned down, sweep out any leftover coals and ashes with a broom made from natural materials. A plastic broom could melt to the floor of your oven. Then you’ll actually want to let the oven cool for a few minutes so it doesn’t burn the bottom of your bread when you place it in the oven.
To check if the oven is cool enough, you can toss some cornmeal in the oven. If it smokes your oven is still too hot. When an oven is cool enough, the cornmeal will brown but not smoke. When your oven is ready, you can place your bread inside and close the door. The bread should be checked after about 15 minutes.
Check out this video for a more in-depth tutorial.
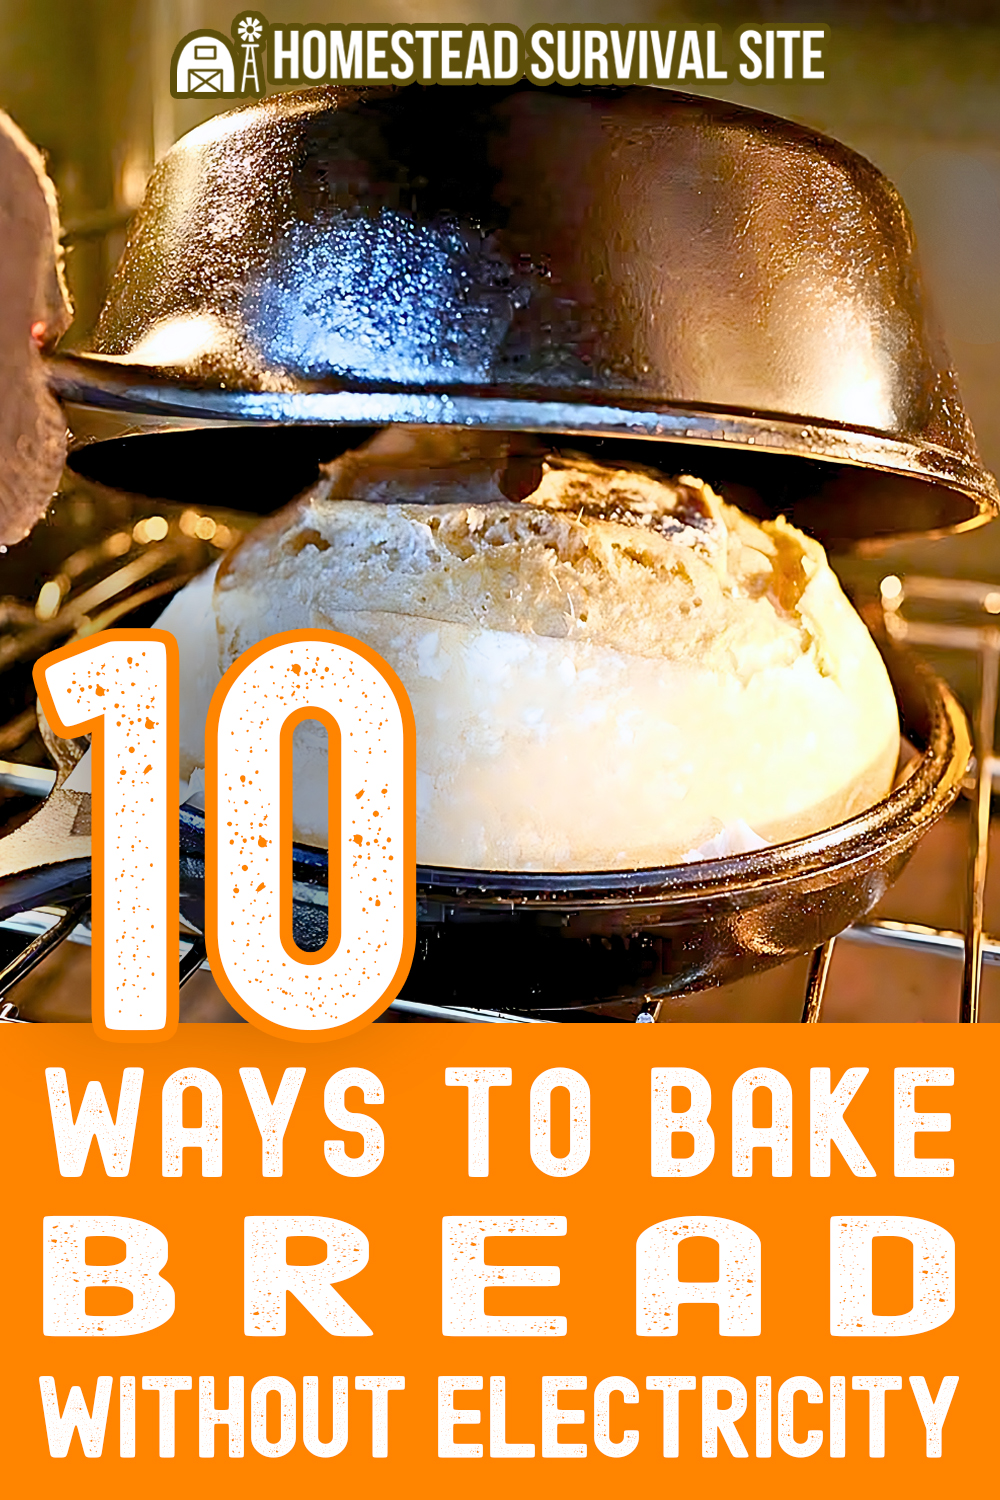
5. Dutch Oven
If all you have to cook on is an open fire, a Dutch oven is probably your best option if you want large loaves of bread. Although any Dutch oven will do, if you’re considering purchasing one, camp Dutch ovens are easier to use over an open fire.
They have legs to keep them off the coals which keeps the air circulating, keeping the coals burning and preventing the bottom of your bread from scorching. They also have flat, lipped lids which allow you to pile hot coals on top of them to evenly bake bread and other dishes.
Related: Dutch Oven Cooking – The Complete Guide for Beginners
To bake in a Dutch oven, you’ll want to let your fire burn for a while and get a good bed of coals. As previously mentioned, you're going to want your Dutch oven to sit over coals and you’ll want to pile some on top. With a regular Dutch oven, you can set it directly on the coals or onto some rocks or other fire-proof material you have with coals piled under it.
If your Dutch oven has a handle, it’s also possible to hang it over your fire using a tripod. Depending on your recipe and fire, your bread will take anywhere from 15-30 minutes to bake and should be watched carefully until you get the hang of baking this way.
Check out the following video to see how it’s done.
6. Stick Bread
If you’re cooking over an open fire and don’t have access to a lot of equipment, making stick bread can be a quick and easy option. It’s also a fun option for camping trips and a good activity for kids.
All you need to do is make your dough and twist it in a spiral around a clean stick. Then you can hold it over your fire like you’re toasting a marshmallow. Obviously, you won’t be making sandwiches with this bread, but it can be used as a snack or paired with a meal like soup or stew.
To learn more watch this video.
7. Ash Cakes
Ash cakes are a traditional way for travelers to cook bread with no equipment in the open fire. They were typically made in one of three ways.
For the first method, all you need to do is take some of your dough and form it into thin, pancake-type pieces and place them gently onto the coals of your fire and watch them closely. Obviously, you’ll want to let your fire burn down first.
If you’d like your ash cakes to have less ash on them, you can wrap them in large, green leaves. If you choose this method, make sure you can correctly identify any leaves you choose to use.
The last method is to place a board or piece of firewood next to your fire and stick the dough to it, allowing it to slowly cook.
Here’s an excellent tutorial for making ash cakes:
8. Reflective Oven
A reflective oven is a fantastic and efficient method to bake bread outdoors, especially if you have a campfire. You can buy a reflector oven online, or you can make a DIY reflector oven.
Set it up to face the heat source (a campfire or charcoal briquettes), allowing the reflective surfaces to concentrate the heat onto your baking pan. This method simulates the even cooking environment of a traditional oven.
Monitor your bread and rotate the pan occasionally to ensure even baking. Here's a video showing how to make bannock with a reflective oven.
9. Steam Baking
Steam baking is an ingenious method often used on boats or in places where dry heat is hard to maintain. You'll need a large pot with a tight-fitting lid and a small rack or trivet to keep the bread pan elevated above water level.
Fill the pot with several inches of water, place the bread dough in a pan on the rack, and cover. Bring the water to a simmer and steam the bread. This method is great for producing a soft crust and moist interior, typical of steamed Asian buns, but it can also work for more traditional bread recipes.
This video includes instructions on how to steam bread over a campfire.
10. Rocket Stove Baking
A rocket stove uses small pieces of wood and channels the heat up through a metal chimney with minimal smoke. It's ideal for baking bread when you don't have access to a traditional oven.
To bake bread using a rocket stove, set up your stove and start a small fire with twigs or small pieces of wood. Place a metal or cast iron baking pan with your dough inside on top of the stove, ideally covered with another metal container or a makeshift lid to create an oven-like environment.
This method retains heat and allows for even baking with just a small amount of fuel. The key is to manage the fire to maintain a steady temperature, adjusting the amount of wood and airflow as needed.
Here is someone who made flatbread with a DIY rocket stove:
As you can see, there are plenty of ways to bake bread without electricity. Which method is your favorite?
Like this post? Don't Forget to Pin It On Pinterest!
You May Also Like:






You forgot a wood cook stove. I have 2 one is a regular wood cook stove and a really small one for use outside. You mentioned a earth stove. In New Mexico we have what is called a Hora not sure my spelling is right but it it totally made of Adobe and you can cook pizza’s in them, They are huge.
I see that you have a small hora. Usually they are much larger that what you have. They sit on the ground and the oven is above it. There is a place where you burn the wood and if course they have a floor above the wood where you can cook food. The Native Americans here in New Mexico use them all the time. The bread made in them and any food made in them is Great. They even make a fantastic Pizza oven.