

Estimated reading time: 12 minutes
You’ll Succeed Every Time You Bake a Loaf of Bread if You Follow These Simple Rules.
The fundamental thing to keep in mind is that bread baking goes beyond the chemistry and physics of cooking. It enters into an area best described as alchemy. You’re engaged in bringing a living organism to life in the dough to allow it to rise up and grow.
That’s what yeast is all about. Temperature management is also critical and precision measurements always add up to success.
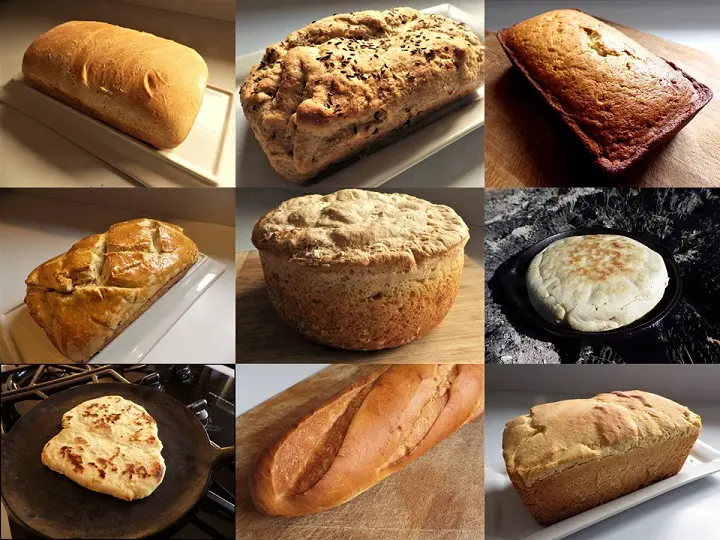
The Two Types of Bread
Breads fall into one of two categories: yeast breads and batter breads. A key ingredient defines them both and causes them to rise. Yeast breads have a form of yeast as an ingredient and batter breads have baking powder and/or baking soda as the rising ingredient.
Want to save this post for later? Click Here to Pin It On Pinterest!
Yeast Breads
Yeast breads use yeast as their rising ingredient. Yeast is actually a form of fungus. It’s a benign mold that is sold in a dormant state in packets, jars of soft cubes.
When the yeast comes in contact with warm water, sugar and the gluten in flour it springs to life and begins to grow and multiply. As it grows, it gives off a waste product in the form of carbon dioxide gas. This release of carbon dioxide is what causes the bread to literally inflate and rise.
Yeast breads have a classic, dough-like consistency after kneading and require time to rise. This allows the yeast to continue to grow and the dough to rise.
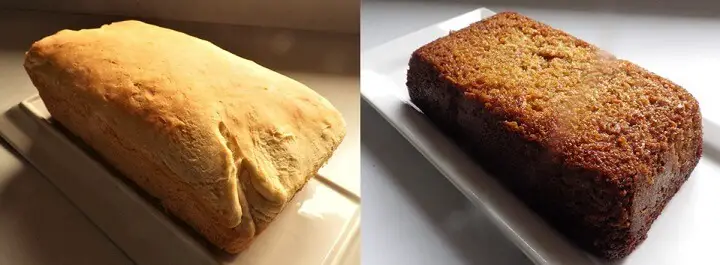
Batter Breads
Batter breads use baking powder and/or baking soda as the rising ingredient. There is no rising time required for a batter bread because the rising occurs while the batter is baking. It’s a chemical process rather than an organic one like yeast.
Batter breads have a batter-like consistency when poured into the bread pan and they usually show a crack along the center/top of the loaf after baking.
Equipment Basics
Bread baking doesn’t require an extensive amount of equipment. Here’s the list:
- Measuring spoons
- Measuring cups for both liquid and dry measures
- A mixing bowl
- Bread pans both metal and Pyrex-glass
Metal bread pans are best used for yeast breads. Oven-safe Pyrex-glass bread pans are best used for batter breads. Pans for yeast breads are usually lightly oiled before the dough is dropped into the pan. Glass batter-bread pans are rarely oiled because most batter breads have oil as a primary ingredient.
- Baking sheets for buns, rolls, and biscuits
- Cast iron pans and skillets for the oven or over open coals.
- Heat sources
Heat sources for baking include electric and wood-fired ovens or open coals for cast iron baking. If you don’t have a built-in thermometer on a wood-fired stove, there are oven thermometers that you can place inside to help you manage the heat.
Baking over open coals is trial and error, but if you bake that way on a regular basis, you’ll get a feeling for how to best manage temperature and time.
The 6 Rules of Bread Baking:
1. Measurements Need To Be Precise
Baking is a highly dynamic cooking process with both organic (yeast) and chemical components. One of the simplest mistakes many people make is capriciously measuring ingredients. Here are some things to keep in mind.
- Always level off dry ingredients when measuring.
- Hold any wet ingredient measuring cup at eye level to make sure your liquids are at the proper line.
- An alternative dry measure method is by weight. There are scales that measure dry ingredients in grams. Professional bakers use this method.
Worth Remembering:
- 2 cups of flour = 1-pound loaf
- 3 cups of flour = 1.5-pound loaf
- 4 cups of flour = 2-pound loaf
2. Understand Your Yeast
There are three basic yeast forms used for baking. They usually come in packets or jars. They have varying characteristics for different types of baking.
- Active dry yeast is the standard yeast for most baking. Packets typically hold 2 ½ teaspoons of yeast.
- Fast rise yeast has yeast granules that are smaller and added ascorbic acid to accelerate the rising process.
- Cake yeast is a soft form of yeast usually sold in foil-wrapped cubes. It’s used for breads requiring a long cool rise and leaves the bread with a sponge-like consistency. It has a short shelf-life of two weeks and must be refrigerated.
Worth Remembering:
- Yeast should be refrigerated at all times before use.
3. Know Your Flours
- Bread flour is a bleached flour made from wheat that has the highest amount of gluten of any flour. Yeast thrives on gluten and bread flour delivers a better rise as a result.
- All-Purpose flour is a bleached flour made from wheat used for a variety of recipes. It also has gluten but not as much as bread flour.
- Wheat flour is an unbleached flour resulting in an amber color. It has less gluten than all-purpose flour.
- Rye flour was a common flour in pioneer recipes due to the fact that ryegrass grew so easily and profusely in the wild.
It has very low gluten levels but is not gluten-free.
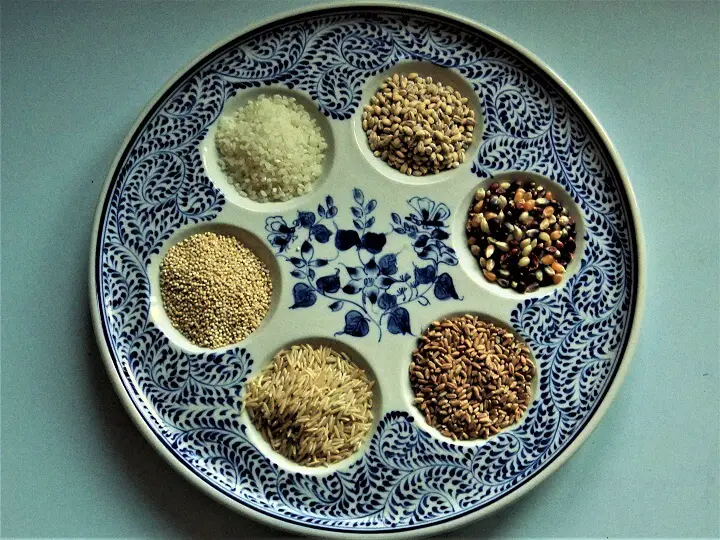
- Gluten-free flours are not made from grass seeds like wheat or rye. They include rice flour, cornflour, almond flour, pine bark flour, sorghum flour, and chickpea flour.
- Ancient grains have been used for thousands of years for breads including amaranth, quinoa, and buckwheat flours. They are also gluten-free.
4. Learn To Mix and Knead
It’s a mistake to simply dump bread ingredients into a bowl and mix them arbitrarily. This is particularly true for yeast breads. Batter breads are more forgiving and batter bread ingredients can be combined in any way, but yeast bread ingredients should be added in a certain order.
Here’s the best approach.
- Start with the liquid, usually water, and sometimes milk. The liquid should ideally be 110 degrees Fahrenheit. The easiest way to do that is to microwave the liquid on high for 45 seconds in a microwave-safe measuring cup. The liquid should be warm to the touch but not hot. Pour it into the mixing bowl.
- Add the sugar or other sweetener to the mixing bowl and stir to dissolve it.
- Add the yeast and stir.
- Add the flour and give it a quick mix.
- Add salt or oil if the recipe calls for it and mix again. You want to keep the salt from coming in direct contact with the yeast at the beginning. The salt actually moderates the yeast growth to create a more balanced rise.
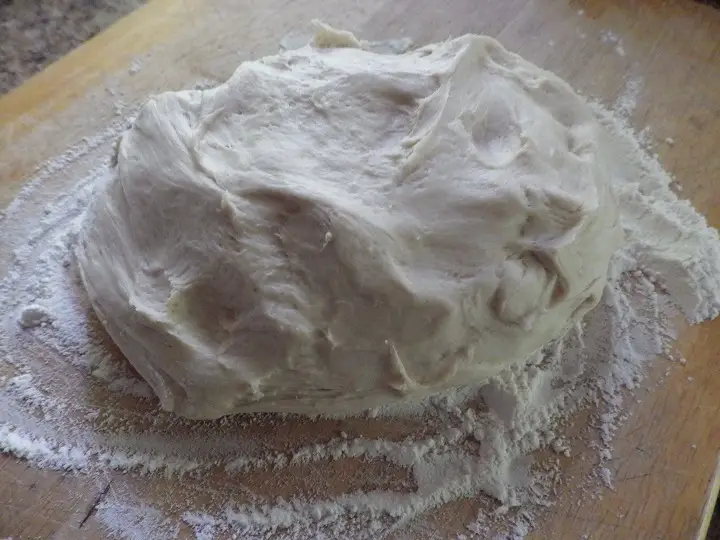
- When the dough begins to take shape in the bowl and the ingredients are mixed, dump onto a floured surface and begin to knead.
- A table is best for kneading rather than a countertop because a table is lower and allows you to use your back to work your hands and arms up and down as you turn, press, fold, and knead the dough.
- Knead for at least 5 minutes to thoroughly combine the ingredients and blend the yeast into the dough.
- If you are adding fruits or nuts, drop them onto the surface and turn and fold them into the dough at this time.
- You could also use a countertop mixer with a dough hook for all of the mixing and kneading.
Worth Remembering:
- You do not need to heat any liquid for a batter bread recipe, only for yeast breads.
5. Know The Success and Failure Factors
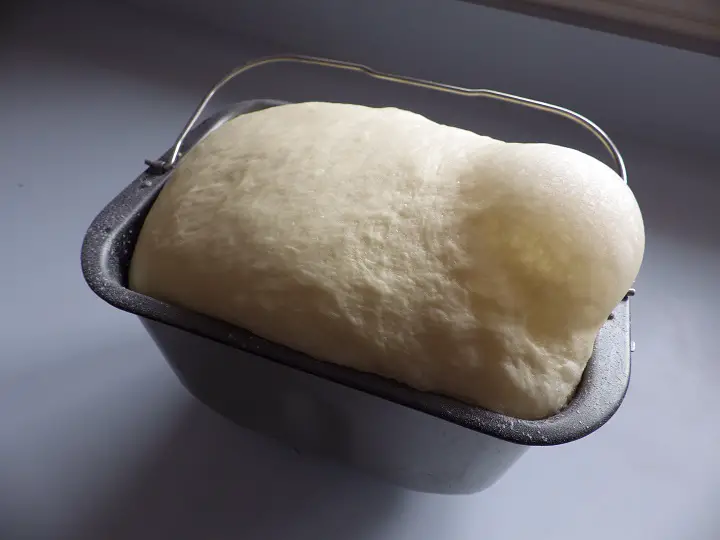
Yeast breads require a rising cycle that can take anywhere from a half-hour to hours depending on the recipe and type of bread. As a general rule, yeast bread dough should be allowed to rise in the pan for at least an hour.
A warm, wet washcloth placed over the pan can help to keep the surface moist, or you can lightly oil the surface. This keeps the dough surface elastic as the dough rises.
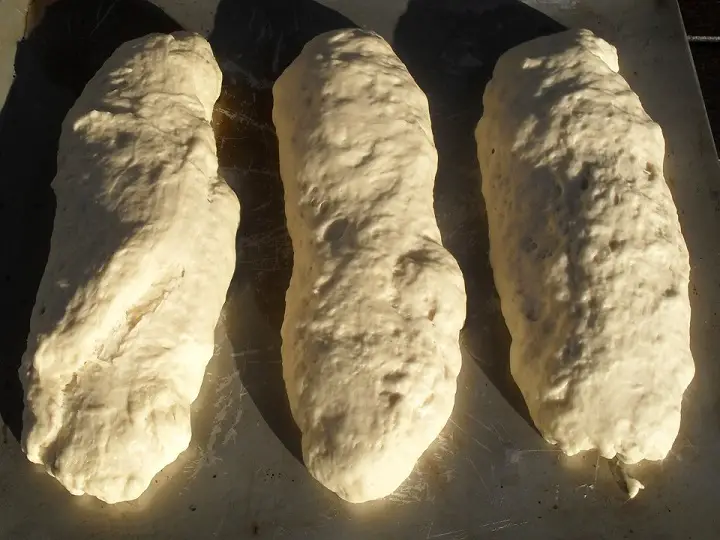
Keep an eye on any rising dough. If it rises too long, it can over inflate and fall over the side of the bread pan. It could also deflate and collapse.
6. Understand the Baking Basics
The ideal environment for baking bread is an oven that can hold a consistent temperature. Electric or gas ovens make this easy because they have a thermostat. A wood-fired oven will require you to monitor the temperature and maintain it.
Baking in cast iron over open coals is also a good possibility but you need to monitor the bread and check it for doneness. Here are the doneness tests for yeast breads and batter breads.
Yeast Bread Doneness Test
Tap the top and or the bottom of the loaf. If it sounds hollow, it’s done.
Batter Bread Doneness Test
Insert a toothpick into the center. If the toothpick emerges wet, bake for another ten minutes until the toothpick emerges dry.
Worth Remembering:
- The standard time and temperature for baking most yeast bread loaves is 350 degrees Fahrenheit for 30 35 minutes.
- The standard time and temperature for baking most batter breads is 400 degrees for 45 minutes to an hour.
Foundation Bread Recipes
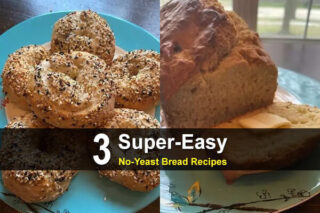
To apply these bread-baking principles, here are 3 bread recipes developed by our pioneer ancestors that demonstrate basic bread mastery. Remember to follow the advice about mixing, kneading, and tests for doneness.
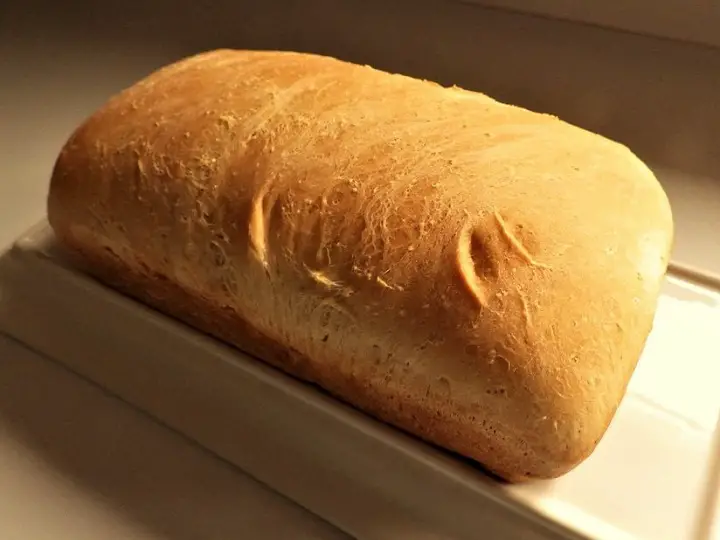
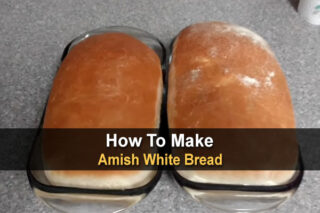
Yeast Bread
Basic White Bread
Ingredients:
- 2 cups of water
- 2 teaspoons of sugar
- 2 teaspoons of active dry yeast
- 4 cups of bread flour or all-purpose flour
- 1/4 teaspoon of salt
- 2 tablespoons of butter at room temperature
Directions:
- Mix the ingredients in the bowl.
- Knead the dough for 5 to 10 minutes on a floured surface.
- Dump into a lightly oiled, metal bread pan.
- Let rise for 1 hour.
- Preheat oven to 325 degrees F.
- Bake 30 to 35 minutes.
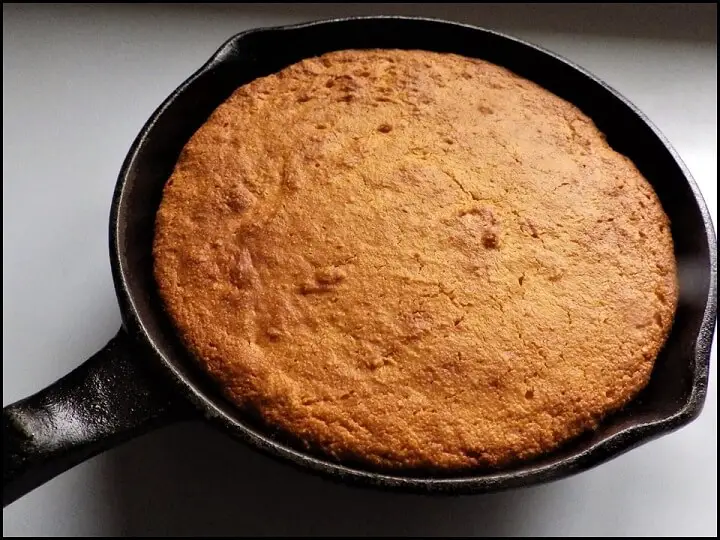
Batter Breads
Southern Cornbread Recipe
Ingredients:
- 1 cup cornmeal
- 1 ¼ cup flour
- 4 teaspoons baking powder
- 1/4 cup sugar
- 1 teaspoon salt
- 1 teaspoon vanilla
- 2 eggs – lightly beaten
- 1 cup milk
- 1/4 cup melted butter
Directions:
- Mix all ingredients in a mixing bowl until batter is smooth.
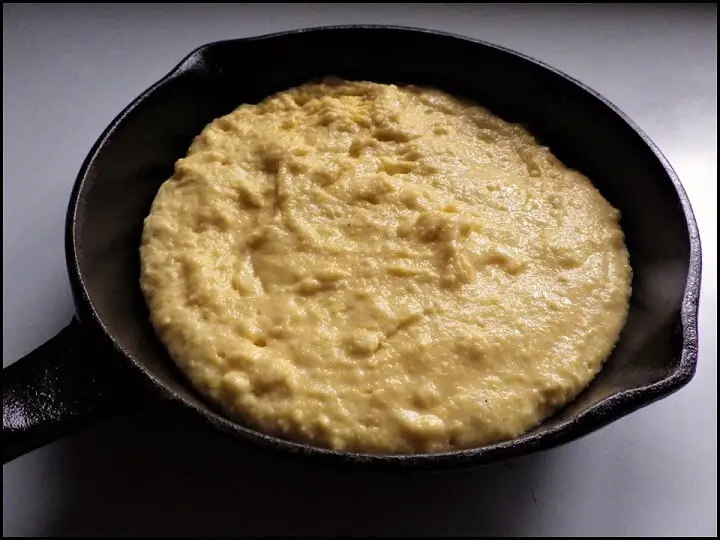
- Pour batter into a buttered cast iron frying pan
- Preheat oven to 400 degrees F.
- Bake for 45 minutes and check for doneness with a toothpick in the center.
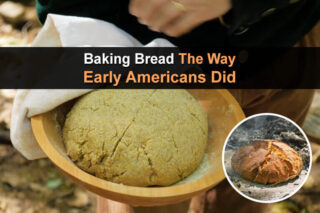
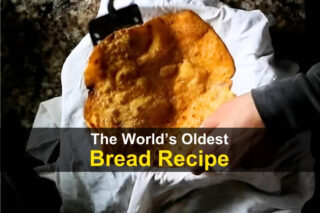
Bannock (Frying Pan Bread)
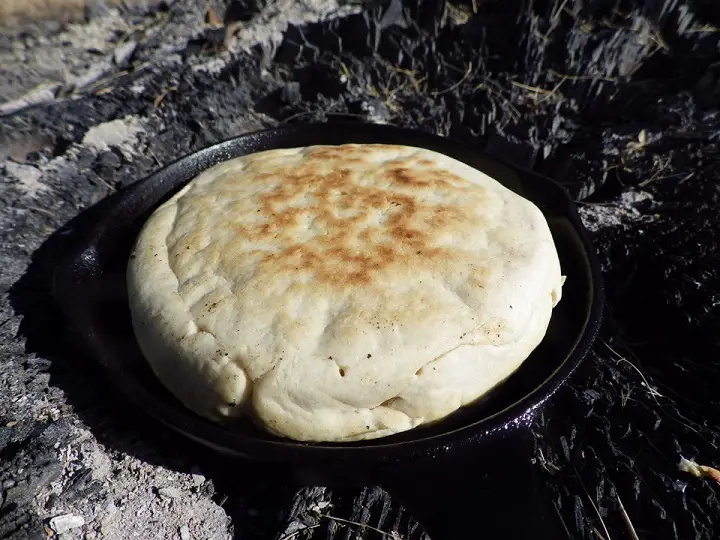
Bannock bread was a mainstay of Alaskan Sourdoughs. It’s also called “Frying Pan Bread” and a cast iron frying pan was always used.
It’s made over open coals in a large cast-iron frying pan and was turned once midway through the cooking process.
Ingredients:
- 2 cups of flour
- ¾ cup of water (add more if the dough is too dry)
- 2 teaspoons of baking powder
- ½ teaspoon of salt
- 2 tablespoons of cold butter
Directions:
- Pour the flour, salt, baking powder, and milk powder into a large bowl.
- Before you add the water, you need to cut in the butter with the flour using a couple of knives, a fork or a pastry cutter.
- After the texture appears crumbly, slowly add water until you get a putty-like consistency.
- Oil a cast-iron frying pan.
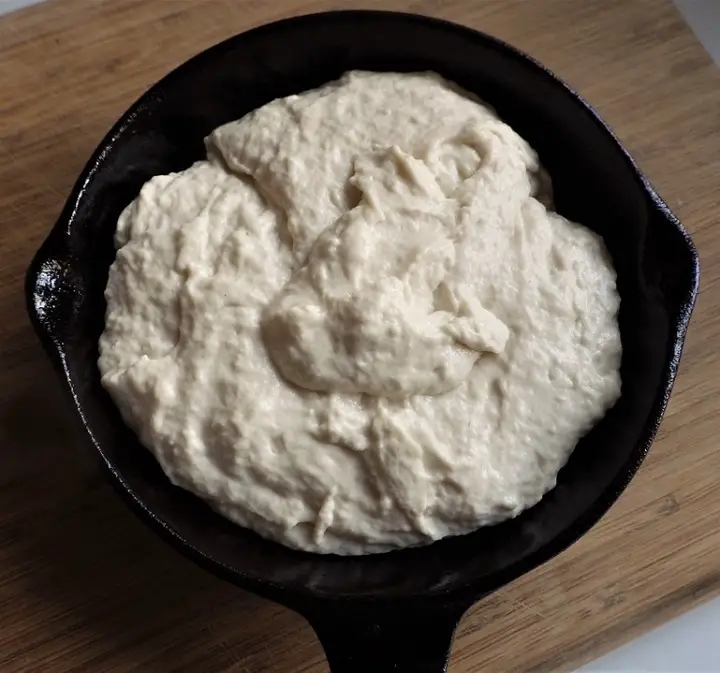
- Pour the mixture into the pan.
- Place the pan over open coals or on the stovetop and brown for about 3 to 5 minutes.
- Flip the bread over in the pan and finish the other side.
- Poke with a stick to test the center for doneness. If the stick emerges wet, flip, and continue to cook over coals and test until done.
Like this post? Don't Forget to Pin It On Pinterest!
You May Also Like:


Pretty Close. The Flour needs to be kneaded in according to stiffness & texture.
What is the amount of dry milk powder for batter bread? It is not listed.
mix 1/3 cup of powdered milk with 8 ounces of water to make the required 1 cup of milk the recipe calls for..