

Estimated reading time: 3 minutes
When I was a kid, my mom always bought us the super healthy and nutritious whole grain wheat bread… and I hated it. I was one of those kids who always wanted plain white bread.
And thirty years later, I still feel the same. Although I've developed a taste for wheat bread, I always go with white bread if I have a choice.
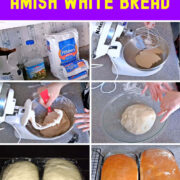
Over the years, I've experimented with several recipes, and my current favorite is this Amish white bread recipe which I found on the Youtube channel, Pratt Family Homestead. There are only a few simple ingredients.
Want to save this post for later? Click Here to Pin It on Pinterest!
Here are the ingredients:
- ⅔ cup of sugar
- 2 cups of warm water
- 1 ½ tablespoons of yeast
- ¼ cup of oil
- 2 teaspoons of salt
- 5 to 6 cups of all-purpose flour
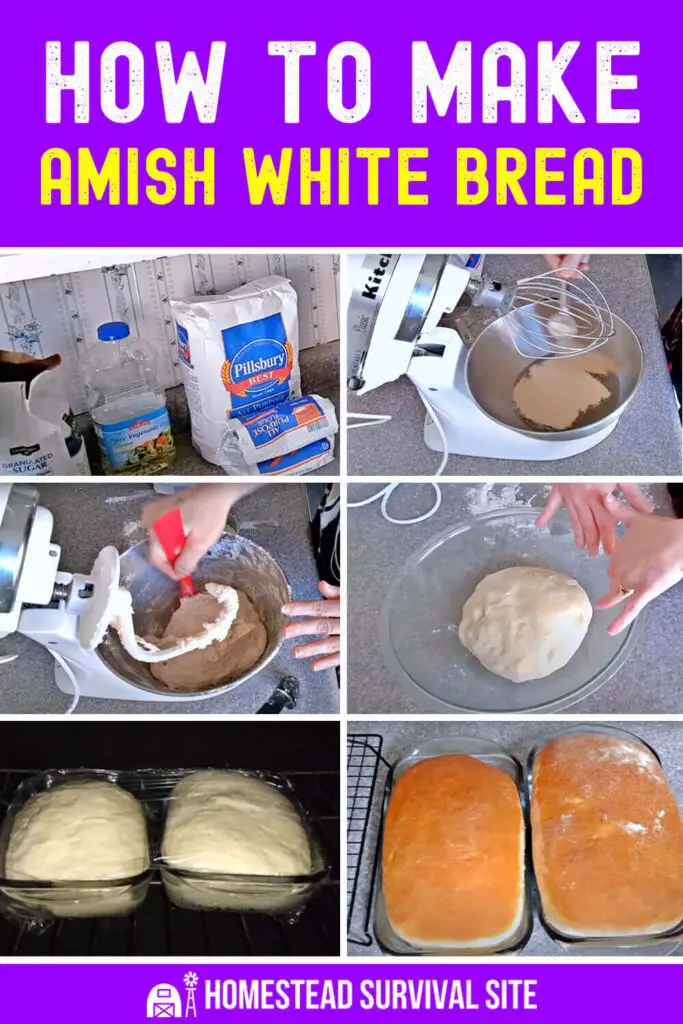
Now if you're already a pro at making bread from scratch, this list of ingredients is probably all you need to get started. But if you're new to this, here are some step by step instructions:
- Thoroughly mix the sugar and water in a large bowl.
- Now sprinkle the yeast onto it and wait 10 minutes to let the yeast proof.
- Preheat your oven to 145°F. Later, you will let your bread rise here.
- Thoroughly mix the yeast and water together.
- Add the oil and salt and mix it some more.
- Now add in the flour one cup at a time and mix as you go.
- Continue to do this until it's no longer sticky and able to form into a ball.
- Get another large bowl, coat it with oil, and drop the ball of dough into it. Move the dough around until every side is coated with oil.
- Cover the bowl with Saran wrap and place it in the preheated oven. Turn off the oven, and leave the bowl of dough in there for about 40 minutes. (You can let it rise longer for a fluffier bread.)
- Punch the dough to get all the air out.
- Now put it on a counter with some flour and knead it really well.
- Split the dough into two halves, shape them into loaves, and put them into two well-oiled loaf pans.
- Cover them with Saran wrap and put them back in the oven to rise for another 30 minutes.
- Bake for 25-30 minutes at 350°F
- Dump the loaves out of the pan and onto a cooling wrack.
Watch the video below to see it done.
Like this post? Don't Forget to Pin It On Pinterest!
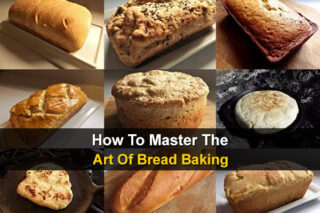
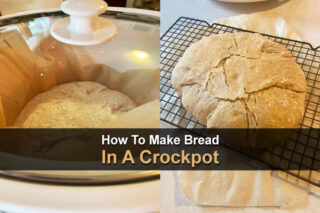
You May Also Like:


I Made this in my bread machine. Split the recipe in half. It was DELICIOUS!!! Thanks so much for posting this. Have a great day.
Barb
Can this recipe be doubled?
Temperature is to hot anything over 110 will kill the yeast.The best condition.is 90 degrees and 90 degrees humidity. I have been a baker for over 30 years. Trust me!
Tim, do you mean the temperature of the oven for when the dough is rising? Please clarify what and when the 90 degrees applies to? the water when you mix the yeast? or the temperature for preheating the oven before letting the dough rise?
The warmer temperature is too hot it should just be warm enough that you barely feel it. Think baby bottle warm. He is correct 90 to 95 is good. Otherwise your yeast will die.
I meant to specify the water temperature .
Make 18 loaves a week…….2 loaf batch (THIS) will also make a sheet pizza with thick crust. Thanks for the confirmation, haven’t seen it on paper in well over 12 years. 18 kids in an orphanage in Haiti. Keep the recipes and great advice coming!!!
Are you the Baker for this group?
The size loaf pan was not specified. I found that the 9 x 5 pan does not give me the height I like. I have smaller pans which may work better for me when I make this bread again.
Saran wrap is not recommended for over use according to saran wrap themselves. I highly doubt Amish traditionally used saran wrap for baking bread.
Made this recipe for the first time and as great. Used baby bottle temp water and the yeast did find also used Sarah wrap in a 170 degree oven and it did great. My oven will not go any lower.
Good recipe.
Glad you enjoyed it!