

Estimated reading time: 5 minutes
There was once a time, as little as 150 years ago, where everything made from metal was made by a blacksmith. A box of nails that we can carelessly pick up at the hardware store was once a treasured commodity, each nail made by hand. It’s no wonder that during that time, as much as 20% of the adult male population would have been employed working metal.
While more and more things are made from synthetic material these days, take a quick inventory around yourself. Just about everything would have been made out of wood or metal. Imagine creating your own unique works of art to bring a little life and character to your homestead.
Taking up blacksmithing doesn’t just mean making kitchen pot hooks and decorative bottle openers. There are many things a blacksmith can make for use around the homestead that you simply can't buy these days. For example, your own wrought iron hanging grill for cooking over an open fire.
Want to save this post for later? Click Here to Pin It on Pinterest!
How it Works
In a nutshell, when heat is applied to metal it becomes soft and can be worked in much the same way a potter works clay. The trick is choosing where to apply heat, and how to shape your piece.
To make a long thin piece of metal out of a short and fat one, you can't just grab the end and stretch it. By repeated hitting around all sides, turning as you go, the metal can be worked out into a long thin piece by slowly narrowing it. The metal has to go somewhere, and you can convert width into length, or vice versa, just by knowing where to hit.
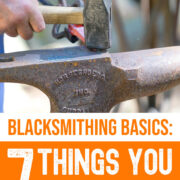
1. It’s Hot Work
The basics of blacksmithing involve heating metal to high temperatures, around 1400 degrees, and then pounding it accurately into shape. Historically, blacksmiths often used coal-fired forges to generate high heat, but coal can be messy and potentially dangerous for the backyard blacksmith.
In a nutshell, a forge is a heat-resistant box lined with firebrick that is fueled by some sort of high heat output source. These days, propane fired forges are the standard for both safety and efficiency. A small hobby forge can be built at home or purchased online.
2. Accuracy is Important
While it may look like a fun way to beat out your frustrations, accurate strikes are much more important than hard hits. Blacksmithing is an art after all. Learning to accurately strike the metal and heat it in the appropriate locations takes time. An acetylene torch may not be historically accurate, but it’s a great way to heat metal very precisely without having to employ a team of assistants or apprentices old school smiths would have.
3. You Spend a Lot of Time Holding Things
The three H’s of blacksmithing are heating, holding, and hitting. You’ll need to be able to hold a 1400 degree piece of metal for an extended period, so many of your tools will be various tongs and clamps. Sizing your tongs to your piece is important so you don’t drop it, potentially destroying your piece or injuring yourself. There are a number of different styles, wolfs jaw and V-Bit to name a couple.
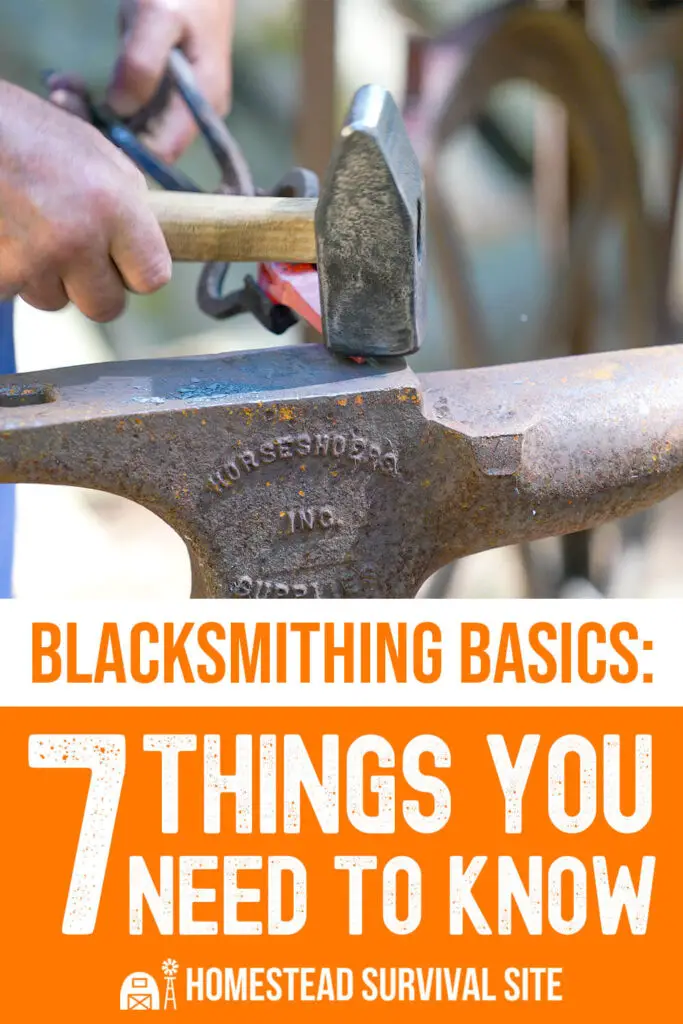
4. You Get to Hit Things
While taking out your frustrations is not a great idea, since accuracy is so important, you do get to hit things. A lot. A good anti-vibration blacksmiths hammer will save your shoulder after a few hours work. While you’re hitting your piece to shape it, you’ll need a platform, usually an anvil. The shape of an anvil is specifically designed to allow you to shape your piece around its various parts, whether curved, bent or straight.
5. Safety is Important
Working with so much heat, it’s important to minimize fire and burn risk wherever possible. Many modern blacksmiths set up shop in a metal structure or converted shipping container, ideally with a concrete or gravel floor. The risk of a blacksmith’s shop burning down is very real, and should not be underestimated. Keep your shop away from your house if possible, and away from anything flammable like woods or dry grass fields.
For your own safety, a leather blacksmith’s apron is essential for covering the front of your body, as well as long armed gloves for your hands. Look for tools labeled for use while welding, as they’ll be designed for high heat protection. For your eyes, safety glasses are mandatory. Going blind will end your blacksmithing career very quickly. With the constant clank of a hammer or noise of a grinder, ear protection is a great idea.
6. Works are Recyclable
When you’re working with wood, if you cut it too short, most times you have to start fresh with new material. Metal is moldable, and most mistakes can be repaired. This is great for the beginning metal worker. Start with some cheap metal and practice. With each strike, watch how your work changes. Every hit is an opportunity to learn something new.
7. It Takes Time
Learning the art of shaping takes time, and a lot of reading. Before you try to find a mentor or get a backyard forge setup, I’d suggest hitting the books. Reading everything you can ahead of time will show a potential mentor that you’re willing to put time into your craft, and help you speak intelligently so they’re not wasting time explaining the basics. If you don’t have a mentor, then books are even more important, because they’re all you’ve got. Try any of these to get you started:
- The Backyard Blacksmith by Lorelei Sims
- The Complete Modern Blacksmith by Alexander Weygers
- The Home Blacksmith: Tools, Techniques and 40 Practical Projects by Ryan Ridgway
Like this post? Don't forget to Pin It on Pinterest!
You May Also Like:


I think this article should be renamed to “some basic aspects of blacksmithing. Frankly there were no real tips that help anyone achieve a skill. Sure it touches on the basic aspects of blacksmithing, I found nothing overly useful in this article.
i have been a blacksmith for 6 years i started at age twelve most of these things you learn right off the bat but i have a few disagreements the first being of coal vs gas forges when done properly a coal fire forge is actually better than a gas fire forge in aspects of heat you can heat a smaller portion than a gas forge but on the other hand in a gas forge can be kept at a constant temp without worrying about leaving it alone while forging a piece and having the fire die down
the second is about gloves i only wear gloves when i am arc welding or drifting ad punching holes in heavy plate due to radient heat not for any forging process as they cause you not to be able to comfortably or safely grip a tool and can cause the damage thy are trying to prevent
Beware of, ‘black heat’, metal that has been heated and cooled to where it no longer ‘glows’. Never pick up anything around the forge without wearing gloves. Most people who learn to forge ‘will’ do this, but only once…so always wear gloves.
1400 F or 1400C? 1400 F is too cold for most steels and 1400C (2540F) is far too hot. Leather gloves can get hot enough to give you a serious burn before you can get the glove off. There is very little information of value in this article.
I just checked census data from the 1800s, since the notion of 1/5 of the population being metal workers seemed ludicrous. Census data says the author is off by a decimal point or two.
I am a new intusaist in metal forging, and fabrication. Looking for guide lines and updates on forging.