Estimated reading time: 4 minutes
Long before refrigerators and freezers, there were root cellars. People have been using root cellars for thousands of years. They're such a simple and efficient way to store the harvest, yet few people use them anymore.
Part of the reason so few people use them is they assume that building a root cellar is a huge undertaking. They don't have the time, energy, or finances to start such a major project, which is understandable…if you build a large walk-in root cellar. But there are other options.
There's no reason why they have to be the size of small rooms like the ones you see in shows or movies about pioneers. In fact, a root cellar can be as small as a chest freezer. The basic principles that keep the food fresh are the same.
Want to save this post for later? Click Here to Pin It on Pinterest!
The following video, from the Youtube channel, Back To Reality, explains how to take an old chest freezer and turn it into a mini root cellar.
To understand how it works, you'll need to know some root cellar basics. Root cellars need four things:
- Darkness.
- Humidity.
- Cool temperatures.
- Ventilation.
Now you can understand why building them underground is ideal. They can easily be kept dark, they have dirt or gravel floors which provides humidity and absorbs excess moisture, and they can be kept insulated from outside temperatures (staying just above freezing).
The fourth thing is ventilation. It needs to be able to draw in cool air and exhaust warm air. The trick is to put the exhaust pipe near the ceiling and the intake pipe near the ground. This way, the warm air rises and escapes through the exhaust pipe, creating a vacuum that draws in cool air through the intake pipe.
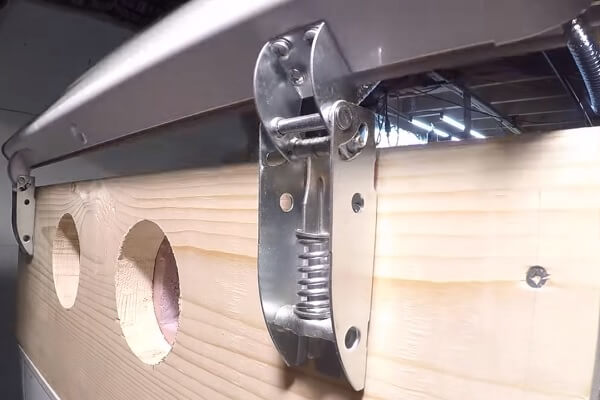
So if you're going to use a freezer, you're going to need to drill intake and exhaust holes into it, and that is easier said than done. A better method is to remove the lid (just unscrew the hinges), attach a wooden section called a collar, and reattach the lid. Now you can drill your holes through the wood part.
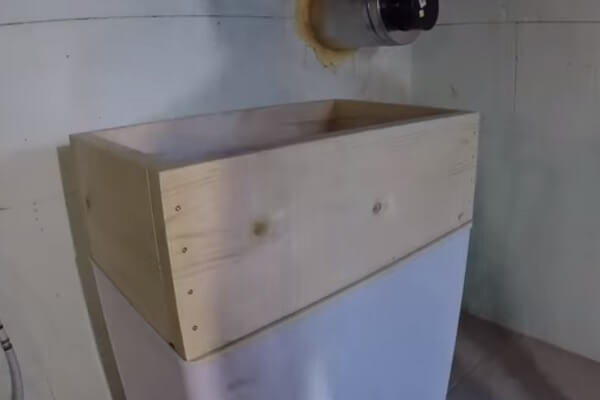
As you can see in the image below, he placed a collar on top of the freezer. It's made of non-pressure treated 2×12 pine.
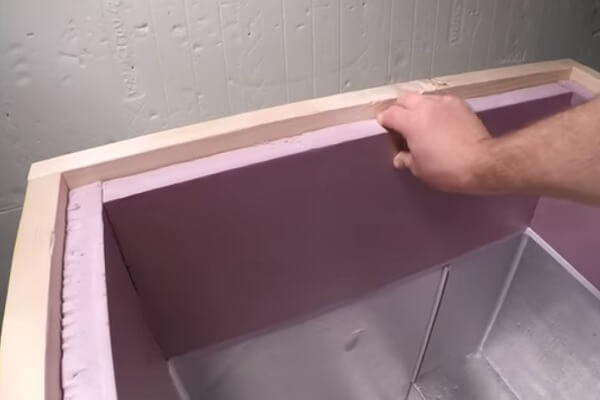
Next, he cut and added some 1.5″ foam insulation.
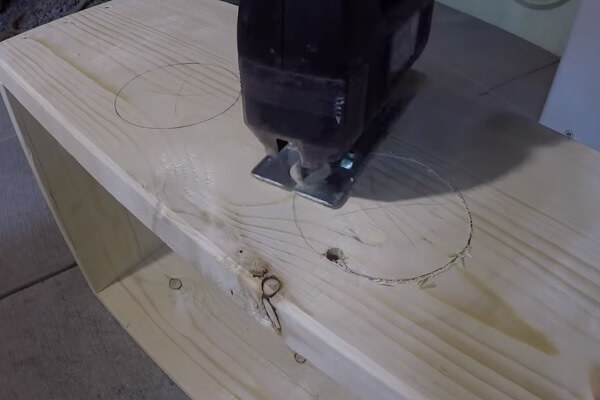
Then he used a jigsaw to cut the ventilation holes.
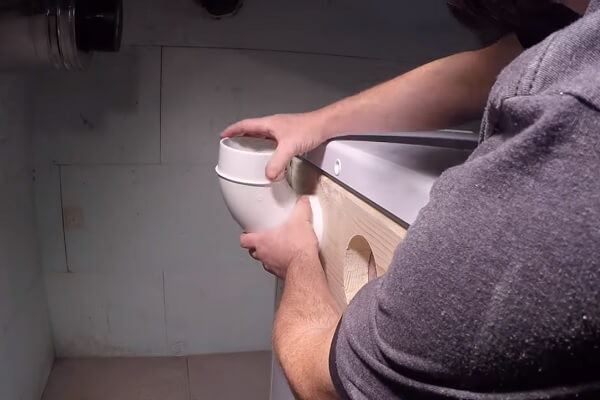
That allowed him to insert two 4″ PVC elbows (one for intake and one for exhaust).
Next, he glued the collar to the freezer with some mildew resistant silicone adhesive. Then he placed the lid and weight on top and let it dry for a few hours.
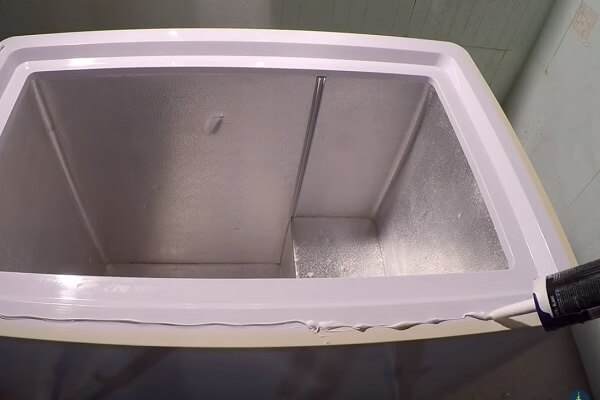
Finally, he reattached the lid, this time to the collar.
There are a few more steps that deal with the ventilation system, but it's a little difficult to explain. Watch the video below to see it what I mean. The next part begins at the seven-minute mark.






THE CHEST FREZER IN YOUR BASEMENT IS A GREAT IDEA HOWEVER, I LIVE IN AN APARTMENT DON’T HAVE A BASEMENT & UNABLE TO VENT TO OUTSIDE I COULD HOWEVER BURY ONE IN THE YARD I LIVE IN OKLAHOMA SO PUTING IN THE YARD MAY JUST WORK. THANKS FOR YOUR VIDEO. IF YOU SHOULD HAVE MORE IDEAS ON STOREING FOODS LONG TERM IN AN APARTMENT PLEASE LET ME KNOW. MY NAME IS KAT
There are more videos on their youtube channel, https://www.youtube.com/c/BackToReality But I don’t think there are any specifically about apartment prepping. He have one that might be helpful: https://www.youtube.com/c/BackToReality