

Estimated reading time: 22 minutes
Many of us fastidiously harvest the fruits and vegetables from our gardens and then proceed to can, dehydrate, refrigerate and freeze the bounty. But one thing we sometimes miss is the opportunity to harvest the seeds.
We might save a few beans that got too dry on the vine, and wonder what we’re going to do with all of those dill seeds from the corner of the garden. But for some reason, harvesting seeds doesn’t make the priority list.
Besides, we can always buy more seeds in early spring and start over. But… what if we couldn’t? You may have noticed that the price of seeds seemed higher this year, although the dollar store and Menard’s still seemed to offer some great prices at around 25 cents a package. (While they last).
But there may come a time or a situation where seed prices truly do climb to very high prices. It’s also possible that some varieties may simply not show up on the shelves.
In the event of a major disaster affecting the supply chain again; the continuing destruction of insect populations around the world, or in the event of a catastrophic economic or societal collapse –seeds may simply be unavailable to most of us.
Want to save this post for later? Click Here to Pin It On Pinterest!
Why Should We Take This Seriously?
One good reason is because some very smart people have been very quietly stockpiling seeds in a seed bank. And it’s not your neighbor, not someone down the street, and not a group of preppers. The people stockpiling seeds are storing millions of seeds representing almost every variety of plant and they have been doing it for years.
Welcome to Svalbard

Svalbard is the name of a seed bank located in the Arctic on the island of Spitsbergen in Norway. It is a massive structure built into the mountains in 1984 and has continually added seeds from gene banks around the world.
The location was chosen because of a lack of tectonic (earthquake) activity and the permafrost that surrounds the facility. The cold temperatures will help preserve the seeds well into the next century.
The motivation for the Svalbard seed bank was to ensure that the world would have access to seeds in the event of a catastrophic event caused by any number of reasons. It makes you wonder. If governments and organizations are saving seeds, should we do the same thing? Many people think so and here’s how to approach creating a personal seed bank in case we never see any of those seeds from the Arctic.
Seed bank 101
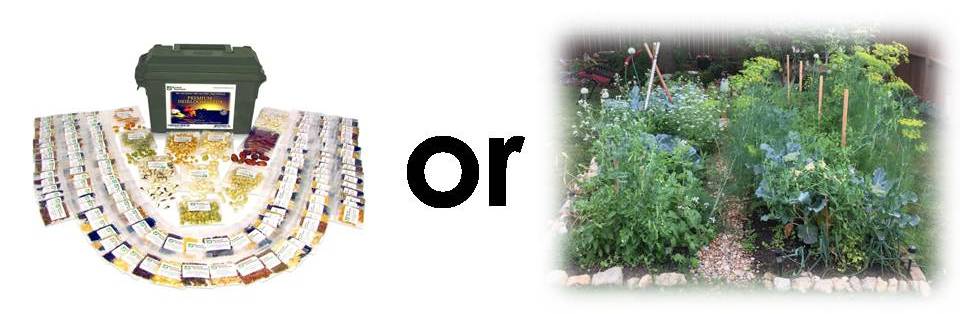
There are two ways to do this. Buy a bunch of seeds or grow your own. The grow-your-own approach is the wisest. It gives you a sustainable and continuous supply as you replant and harvest seeds year after year.
There are some process steps involved with seed preparation and drying that can vary from one plant to another. We’ll cover some of those basic steps.
Seed storage may be the most critical consideration. They need to be kept dry, properly stored, labeled and dated, and if we take a tip from Svalbard –kept cool if possible.
It also comes as a surprise to some that some seeds take 2 years to show up.
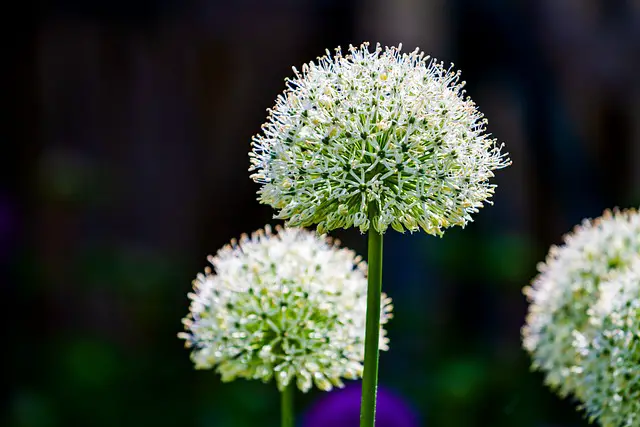
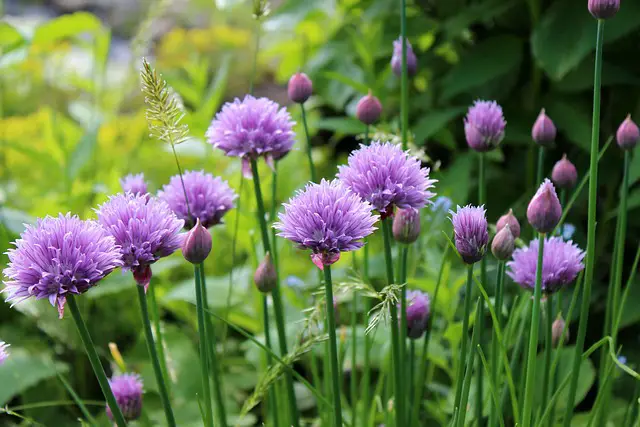
Some varieties of onion don’t produce seeds until the second season. Other onion varieties like chives are quick to flower and produce seeds, but that varies.
Other vegetables are often harvested long before the seeds show up like radishes and beets. There are ways to encourage a vegetable to flower or “bolt” to create seeds and we’ll review those as well.
Finally, it’s not just about fruits and vegetables.
Herbs are an important part of food preparation, and many flowers and herbs have medicinal properties that are definitely worth having in and around your garden and planters.
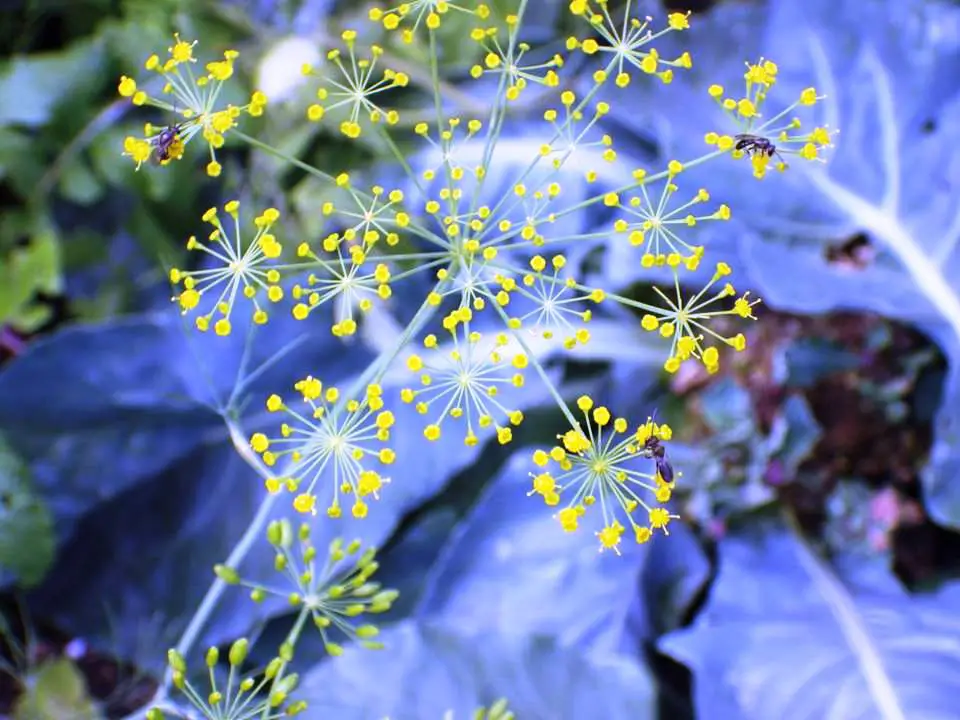
Finding the Seeds
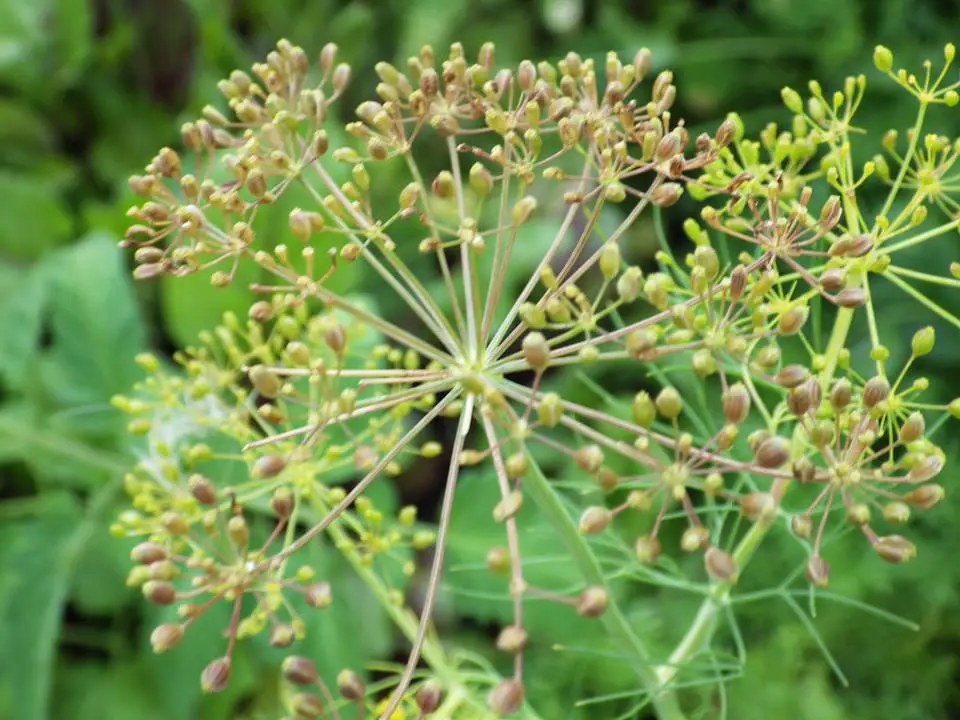
This is pretty straightforward with most plants. After a plant flowers it’s pollinated and produces seeds. Sometimes they’re easy to see like the seeds of a dill plant.
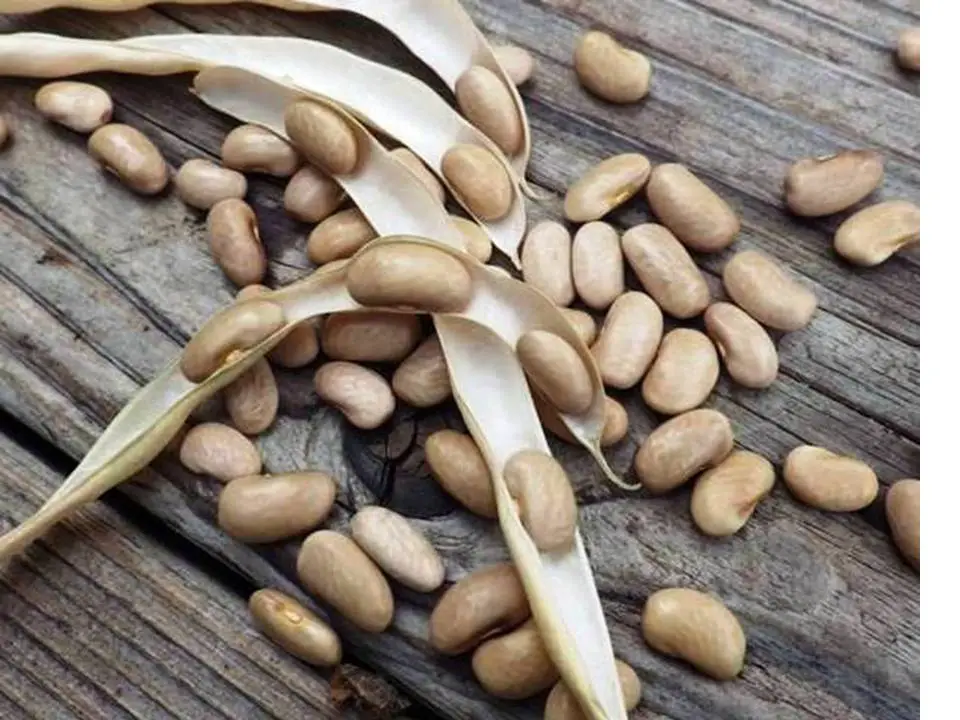
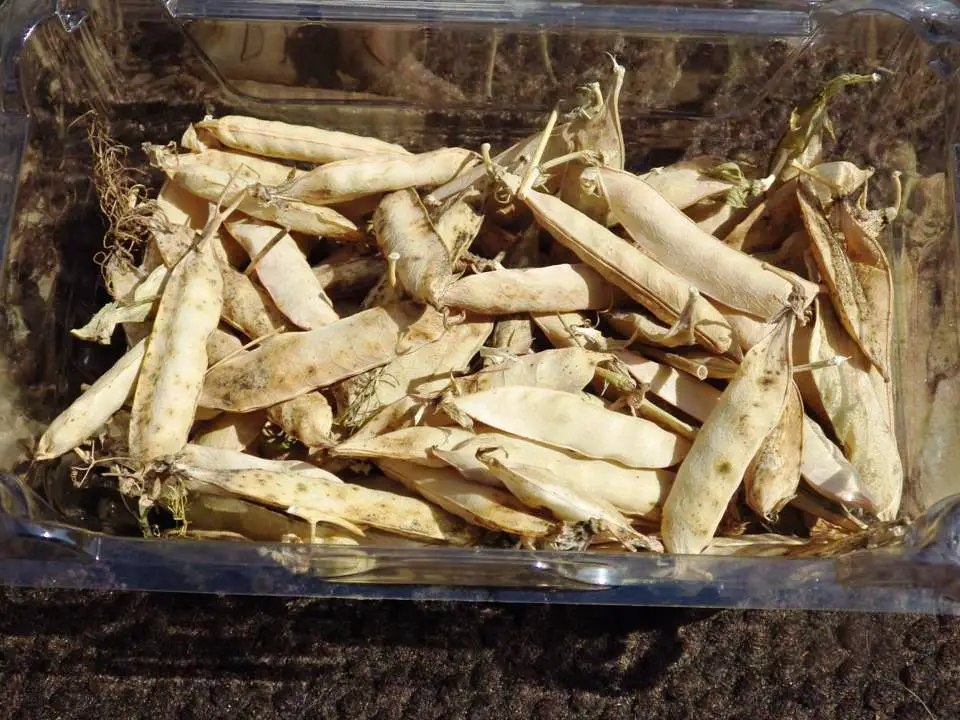
At other times, the seeds are contained in pods. Peas, beans and all other legumes make seed harvesting easy because they all come in little seed-pod packages.
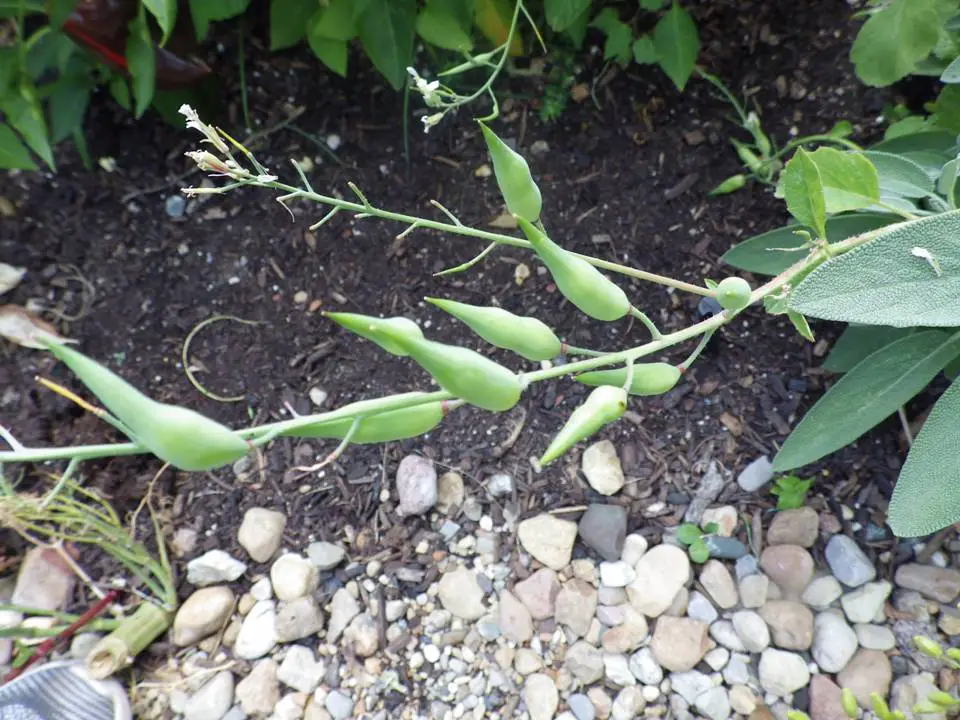
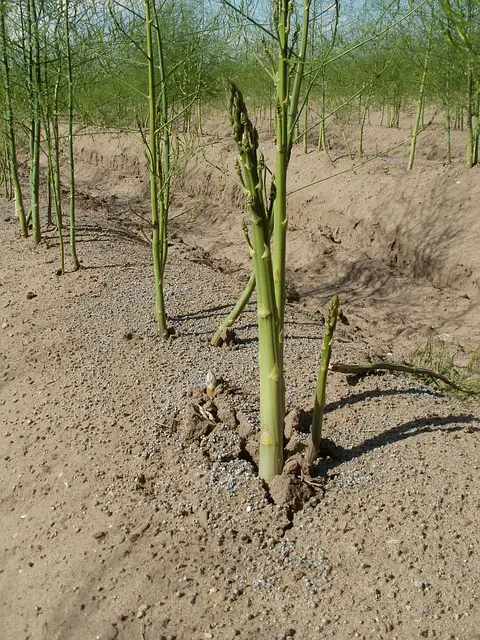
Other vegetables present pods as well and they may come as a surprise to some of us. Radishes are a good example as long stems filled with pods emerge along its shoots.
Squash and melons present seeds either in a pocket like you would see in a cantaloupe or distributed throughout the pulp of a watermelon or cucumber.
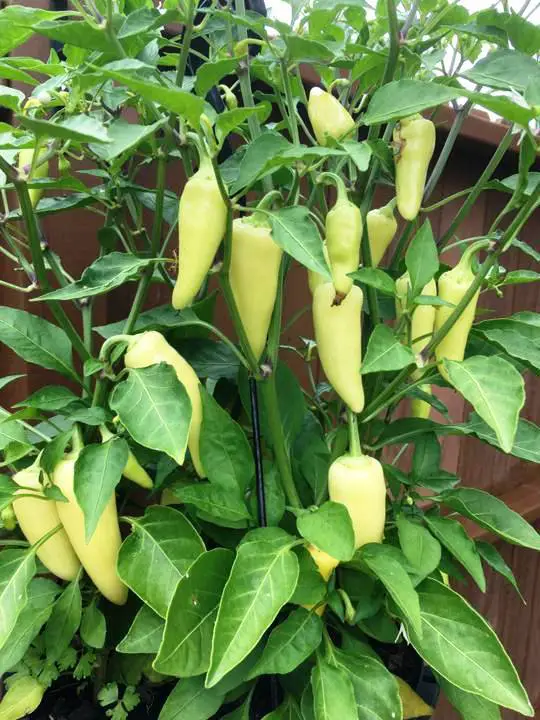
Pepper plants concentrate their seeds inside the fruit and they’re easy to harvest.
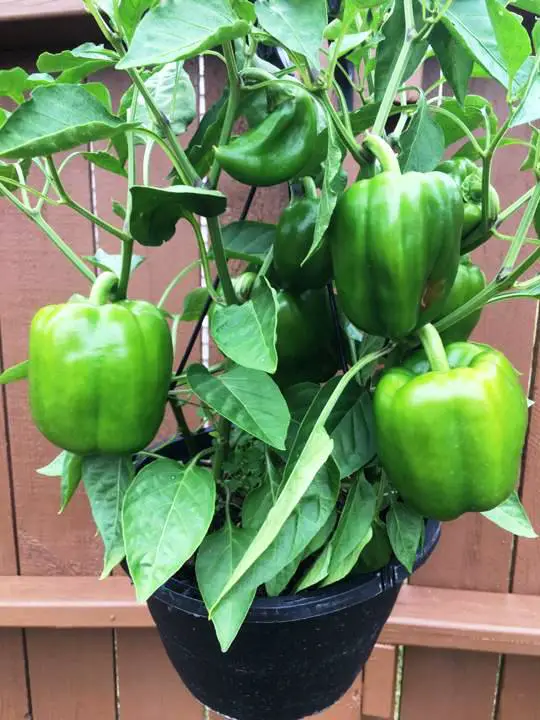
Just make sure you don’t confuse your pepper varieties if you are growing more than one type of pepper.
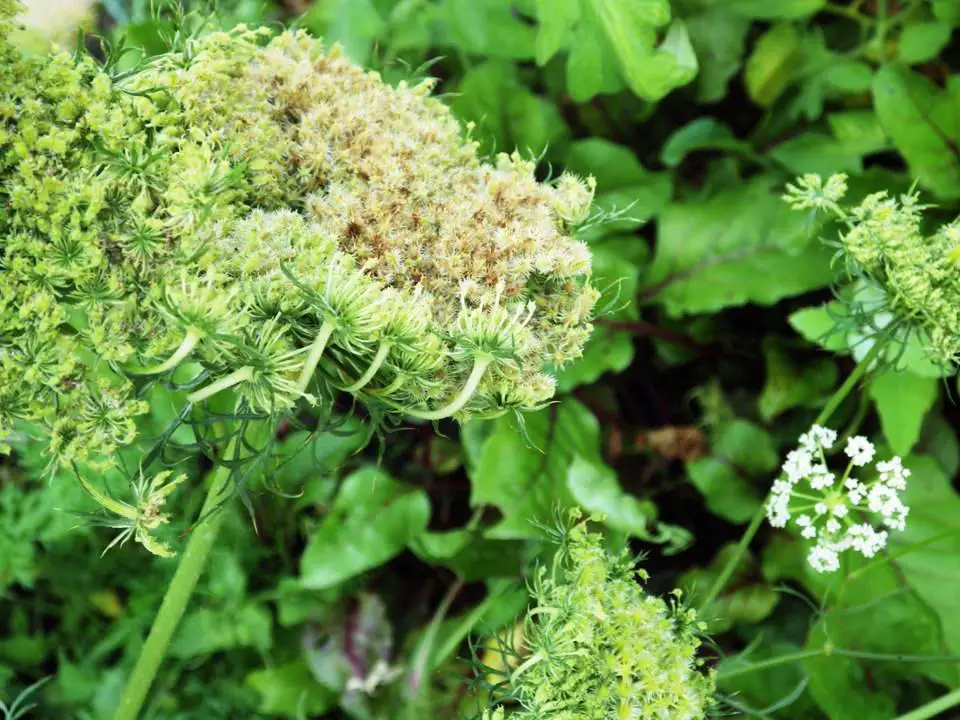
Carrots actually produce a flower similar to many flowers you might see growing across a field.
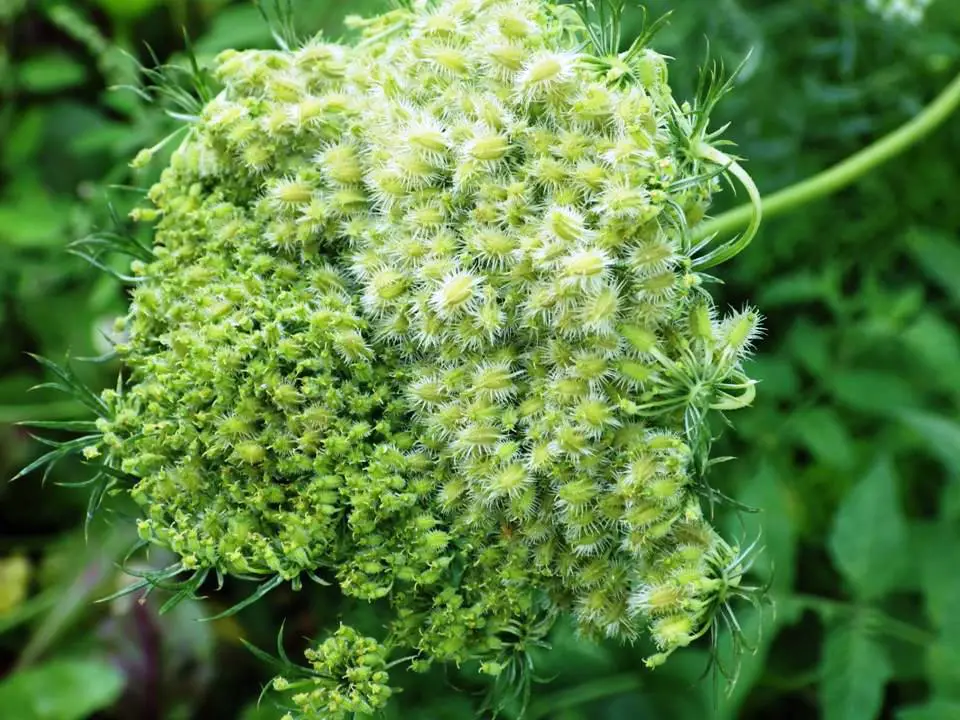
The seeds eventually emerge in the flower heads.
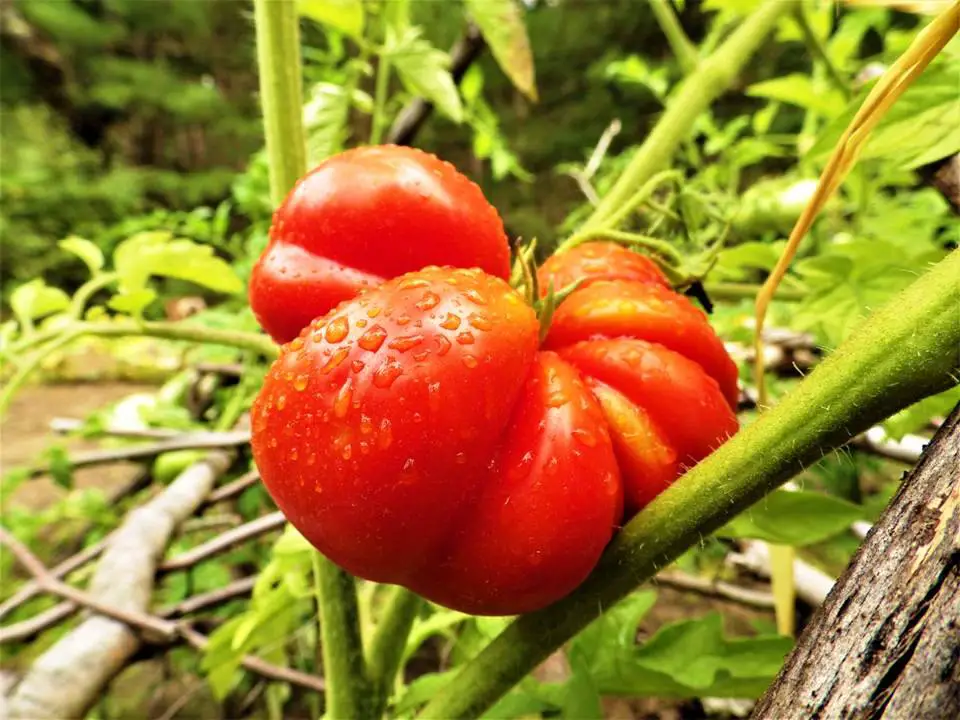
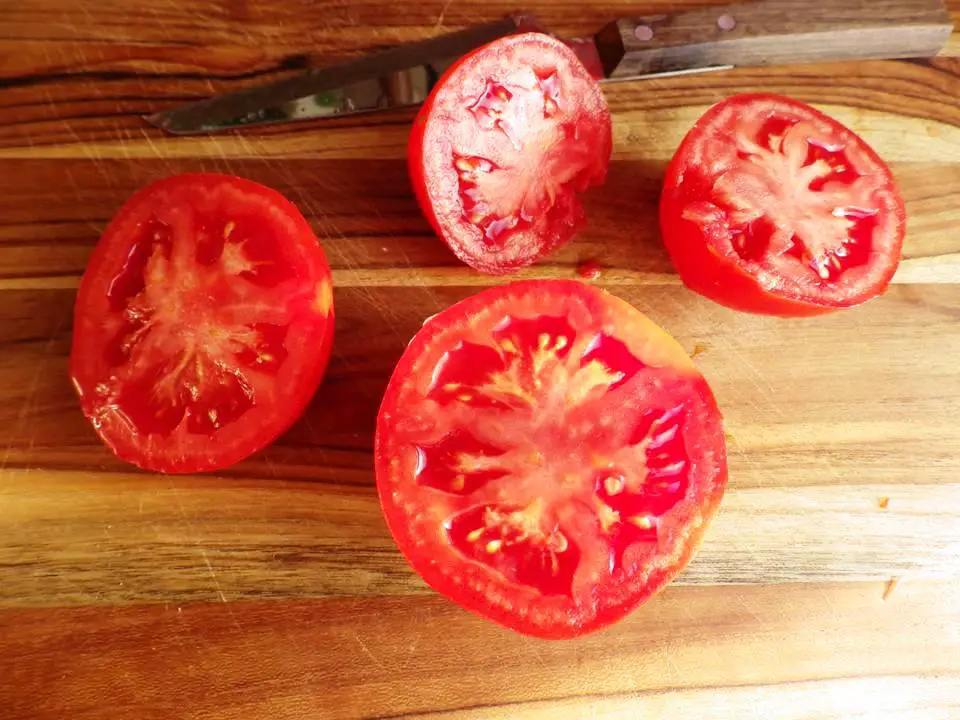
Tomatoes present some unique challenges. The seeds are easy enough to see but we’ll go through a process to remove the gelatinous membrane surrounding the seeds.
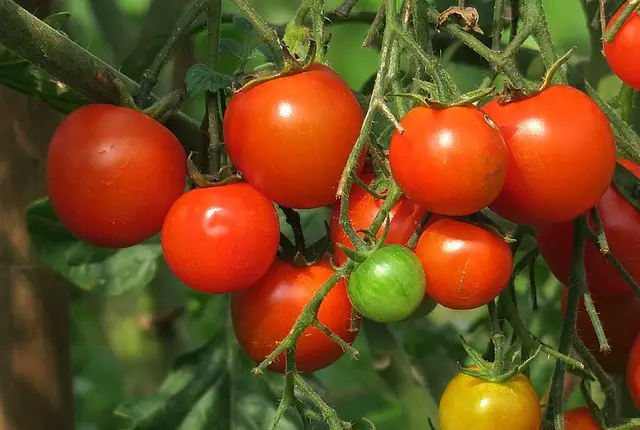
That membrane is to prevent the seeds from germinating while still in the tomato and if it’s not properly removed the seeds can fail to germinate.
Harvesting Techniques
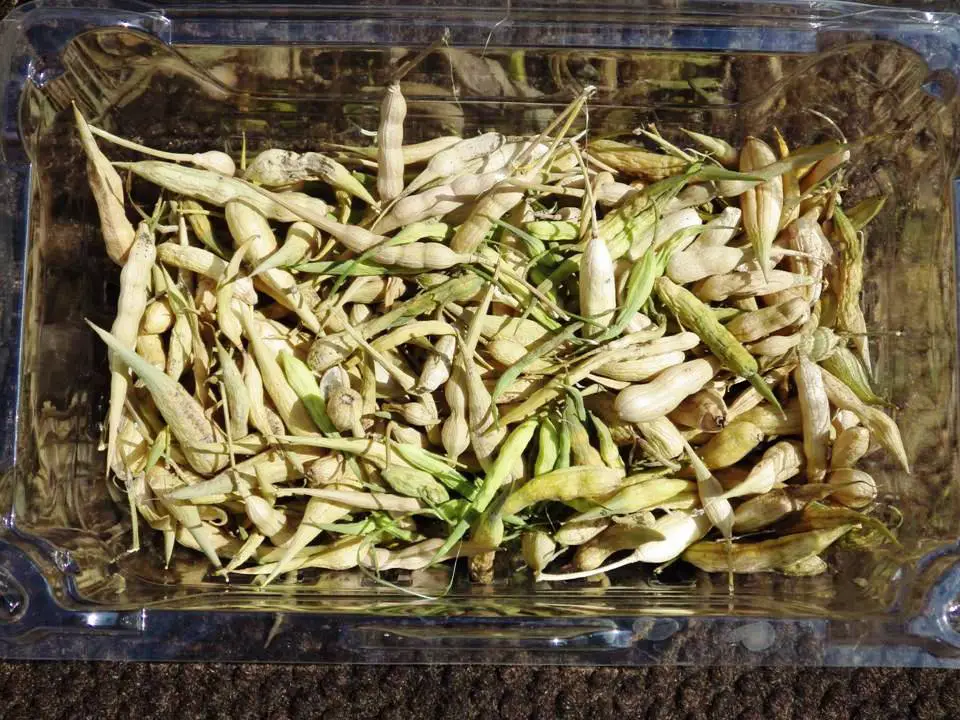
The simplest way to harvest seeds is to gather the flower heads, seed pods, or any other part of the plant that contains seeds.
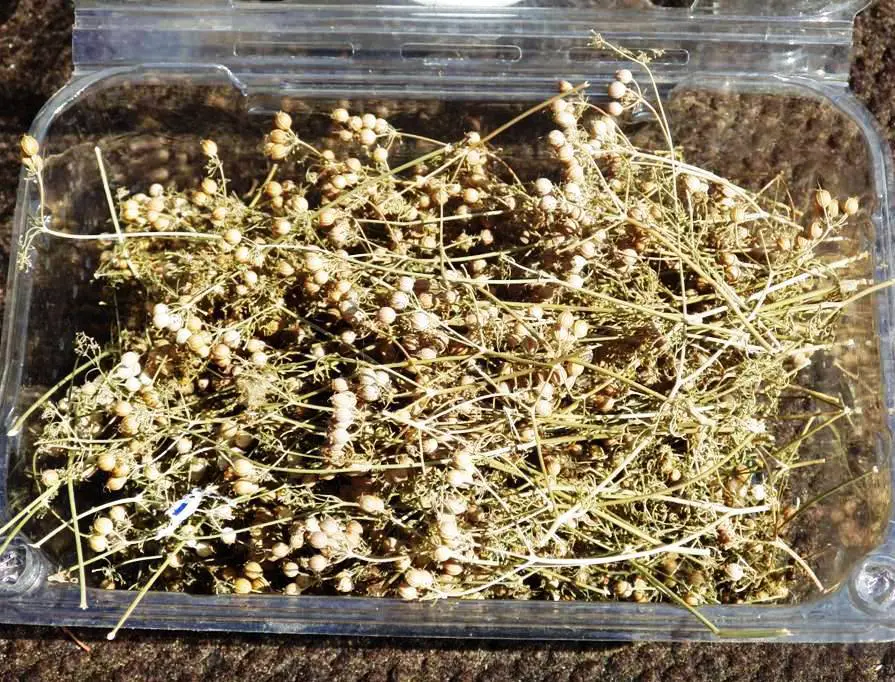
Store them for the short-term in some of those little plastic boxes you get from the grocery store when you buy strawberries or blueberries.
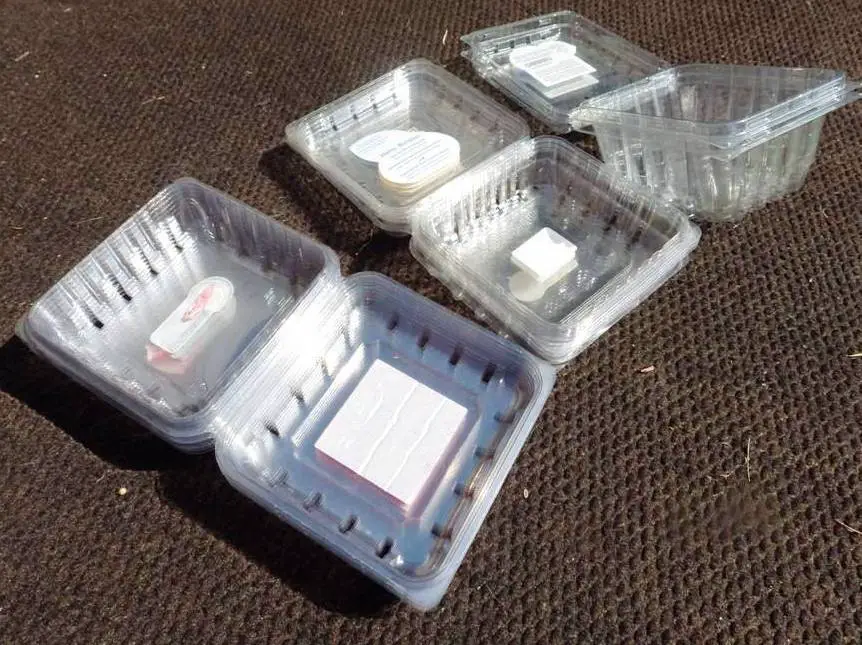
This is temporary storage while the seed pods and seeds go through a drying process for a few days.
You could also store them in foil trays when collecting for the first time.
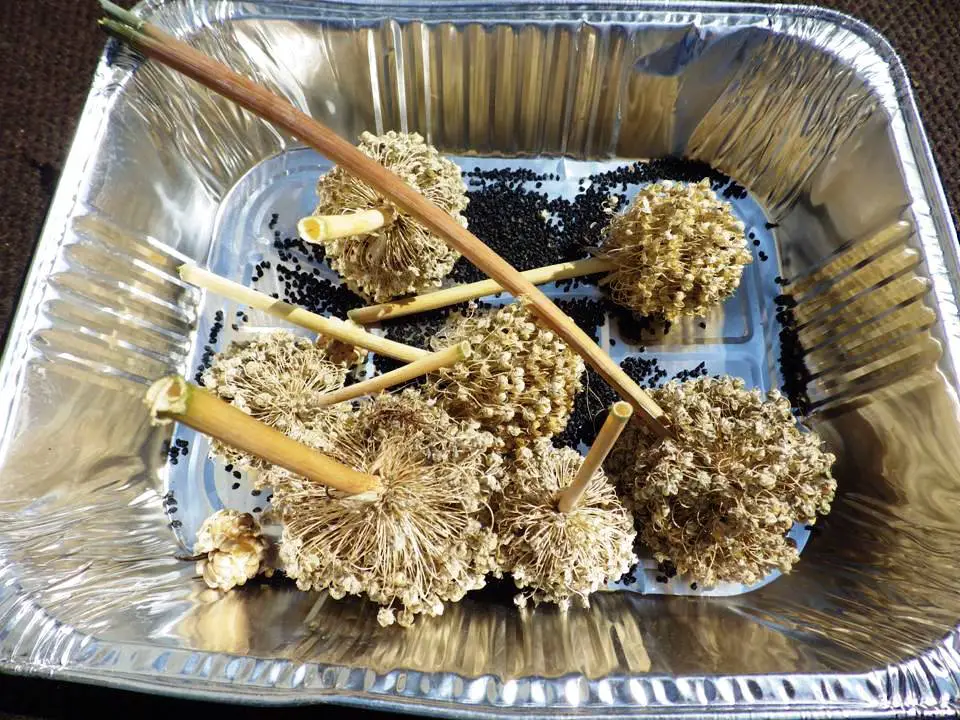
You’re going to store them for a while in a hot and dry place to dry out the seeds and encourage some of the younger seeds to mature.
Check them from time to time to follow their progress, and crush a pod or flower head to see if the seeds have matured and emerged.
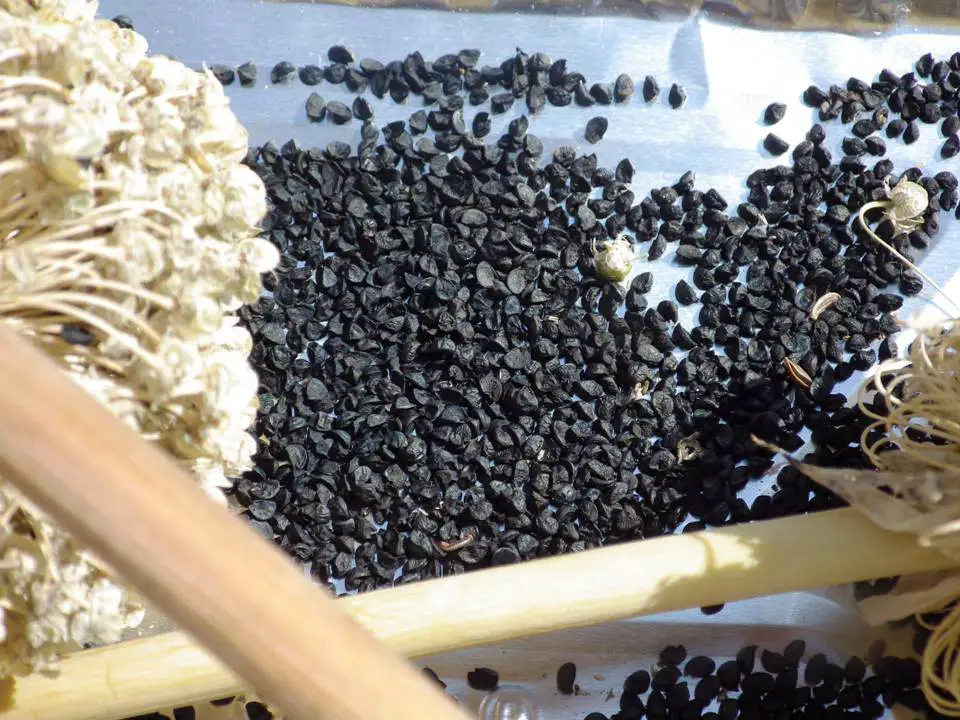
Once you’re reasonably sure the seeds are dry, start gently crushing pods and flower heads into a foil pan. Take a little time to pick out any pieces of the plant so you have nothing but seeds.
Seed Drying Techniques
You want to make sure your seeds are completely dry before storing them. If not, a fungus could form or the seeds could even germinate in storage. You want to get the seeds dry and keep them that way for storage.
Most seeds can simply be dried in the sun. Try to put them in a location away from rodents and birds. Seeds are a regular part of their diet.
You could also place some cheesecloth or a piece of screen over a foil pan or box to keep most predators at bay.
There are also specialized dryers that have a mesh screen and levels for drying everything from herbs to seeds.

The idea is to hang it in the sun and exposed to the wind. You could place a small tray of seeds in your drier to contain the seeds, or for larger seeds in quantity –just scatter them across one level.
Some people use a food dehydrator on a very low setting but you could potentially cook the seeds. That’s a bad idea. Sun drying in the wind is the natural way that most seeds are adapted to.
Don’t guess with seed drying. The seeds from that bell pepper may look dry, but give them a few days just to be sure. Seeds have evolved to remain dormant in a dry state and you want to keep them dormant.
About Those Pesky Tomatoes
Tomatoes are a regular crop in most gardens and you’ll definitely want to harvest the seeds. In fact, many canning recipes call for the seeds and inner membranes to be removed before canning. Save those seeds, but there’s an extra step.
We’ll get into the process for harvesting seeds in pulp like tomatoes later. There are other vegetables that are embedded in fleshy pulp like cucumbers that should also follow that process.
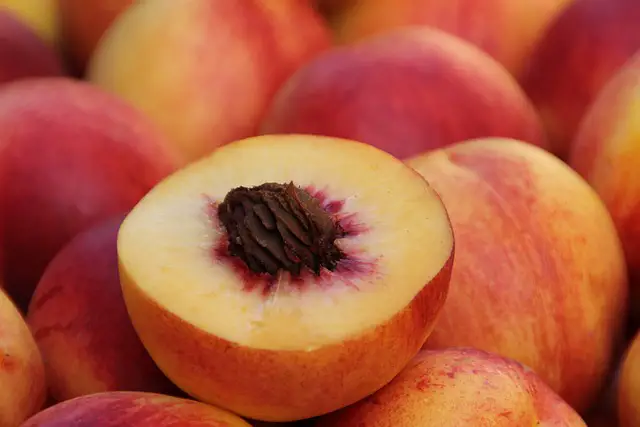
Pit Fruit Pitfalls
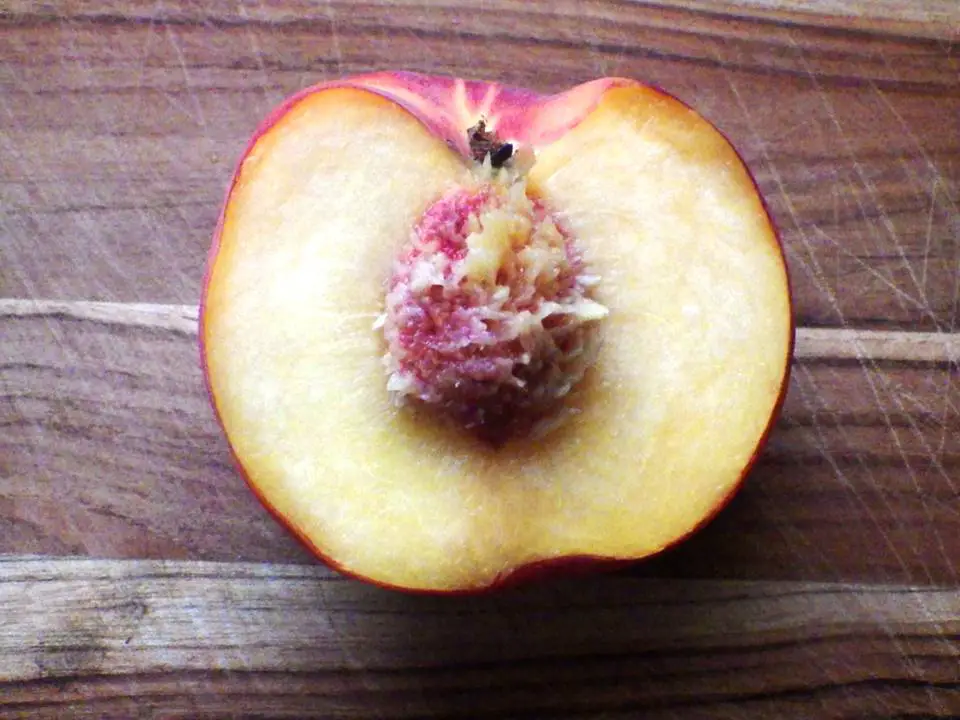
Some fruits have pits. They’re sometimes referred to as “Stone fruit.” This includes peaches, plums, apricots, cherries, avocados and a few more. Rather than producing a lot of seeds, pit fruits produce one, large seed.
The pits are usually encased in a hard shell. This is their armor to protect them from the occasional rodent. It would seem you could plant the pit, shell and all but germination rates increase if you break off the outer shell (carefully).
You could use a nut cracker or a vise to slowly squeeze the pit and crack the outer shell. Use a hammer if that’s all you have but you may damage the seed inside.
Once the inner seed is out of the shell, dry them like any other seed and store them after you’re satisfied they’re sufficiently dry. 3 to 5 days should suffice. Don’t dry them to the point that they’re shriveled. That will essentially kill the seed.
Herbs and Flowers
Here’s the short list of culinary and medicinal herbs and flowers you might want to keep growing in your garden. Most flower into blossoms and present their seeds in the dried flower buds. These are all annuals in most parts of the country and would require a seed harvest for another crop.
Culinary Herbs:
- Dill
- Cilantro (coriander seeds)
- Sage (flower and seed usually late-season or in the second year)
- Thyme
- Sage
- Parsley
- Rosemary
- Lovage
Medicinal and Culinary Flowers:
- Calendula
- Purple Cone Flower (Echinacea)
- Lavender
- Chamomile
- Jewelweed
- St. John’s Wort
- Red Clover
- Feverfew
- Witch Hazel
There are more and if you are growing flowers in your garden for medicinal reasons make sure you save the seeds. They’re always contained in the dried and shriveled flower heads.
Other Seeds to Save
Here’s a short list of seeds worth saving. We’ve categorized them by seed type defined by:
- Seeds in pods
- Seeds from flower buds
- Seeds as pits
- Seeds in pulp (squash, watermelon, tomatoes, cucumbers, pears and apples and other fruits)
- And seeds inside without pulp (peppers).
Seeds in Pods
Seeds in pods are one of the easiest to harvest. You can let them dry on the vine or plant, or pick them when mature and dry them in the sun or a warm, dry place.
- Green beans
- Lima beans
- Soy beans
- Wax beans
- Peas
- Radishes
Seeds from Flower Buds
Many vegetables flower if you give them a chance. We often are quick to harvest before flowers emerge and that makes sense. What you’ll often find with any root vegetable that bolts and flowers is that the root becomes tough and fibrous. They also shrink in size to dedicate nutrients and growth to the flower and seeds.
If you want to force a root vegetable to flower, try watering them less. When a plant senses that a drought or lack of water is possible they “bolt.” This causes the plant to quickly send up a stalk that will eventually flower.
You don’t have to deny your garden water if you simply take your time and let the vegetables develop flower stalks naturally, but if you have no flowering volunteers, skip watering them now and then.
Other plants like some onion varieties will flower in their second year. If you want to get a lot of flowering root vegetables, leave some carrots and beets in the ground over winter. Most will survive and when they emerge again in the spring they’ll be quick to flower and create seeds.
- Onions
- Chives
- Carrots
- Potatoes
- Beets
- Turnips
- Parsnips
- Broccoli
- Cauliflower
- Brussels Sprouts
- Kale
- Cabbage
- Lettuce (all varieties)
- Dill
- Coriander
Stone Fruits (with large pits)
The large pits found in stone fruits store extremely well. You can either leave them in their tough, outer casing for storage or gently crack them open before storing. Either way, the tough outer shell should be carefully cracked and removed before planting. Most stone fruits are from fruit trees and include:
- Peaches
- Apricots
- Plums
- Cherries
- Avocado
- Mangoes
- Nectarines
- Leechee
Small Stone Fruits
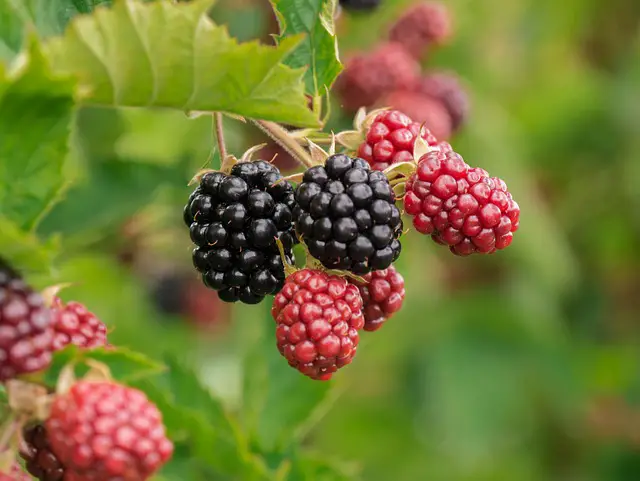
Blackberries
These are berries with prominent seeds. They actually are defined as stone fruits. Blackberries are a good example. If you’ve ever crunched through the seeds in a blackberry, you know.
They include:
- Blackberries
- Raspberries
- Mulberries
The best way to separate them is to juice them and scrape the juice strainer to collect the seeds. You then soak the remaining pulp and seeds in a bowl of luke-warm water. You can then strain them again through a strainer that allows the seeds to pass through the screen and you should be able to remove most of the pulp.
You could also follow the process outlined in the next section on seeds in pulp.
Seeds in Pulp
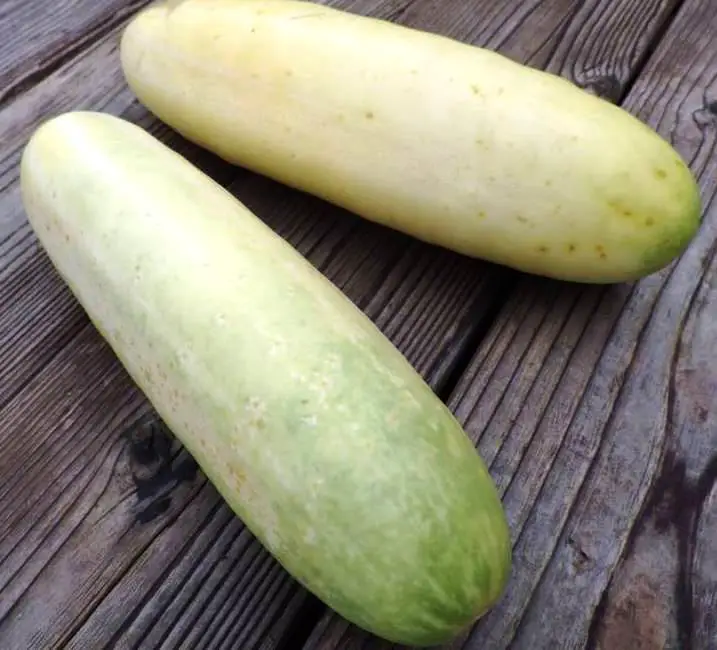
A range of vegetables and fruits hold their seeds in a fleshy, pulp interior. They include:
- Tomatoes
- Cucumbers
- All melon varieties
- All squash varieties
- Most berry varieties
The best way to harvest and process seeds in pulp is the wet method.
Remove the seeds and any attached pulp and allow them to ferment in a bucket or canning jar of warm water for 3 to 5 days.
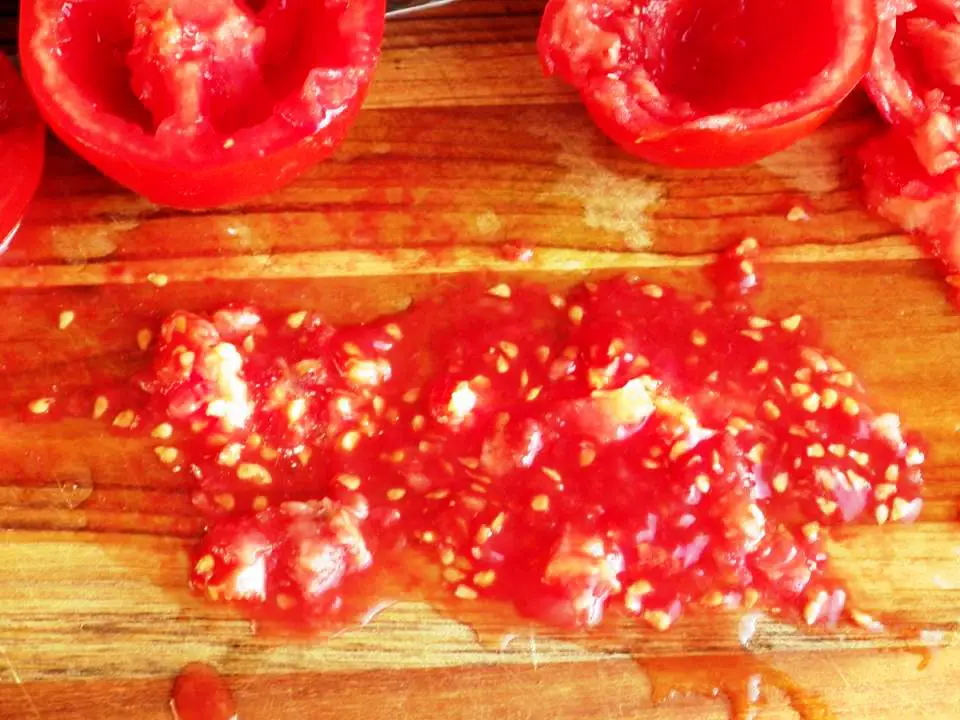
Only add enough water to cover the seeds and pulp.
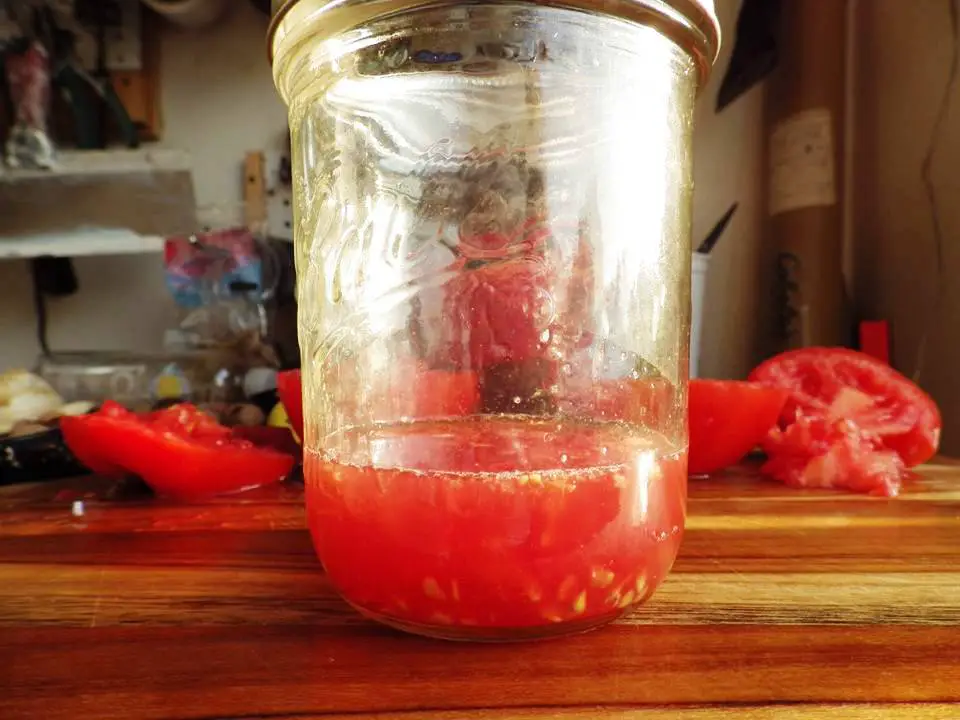
Stir the mix daily to help loosen the gelatinous coating surrounding the seeds. Fermenting also kills any viruses resident in the seeds.
After fermentation the seeds should be separate from any pulp. Scoop out any seeds that are floating. These are the bad seeds. Pour off the water through a strainer and reserve the seeds that have sunk to the bottom.
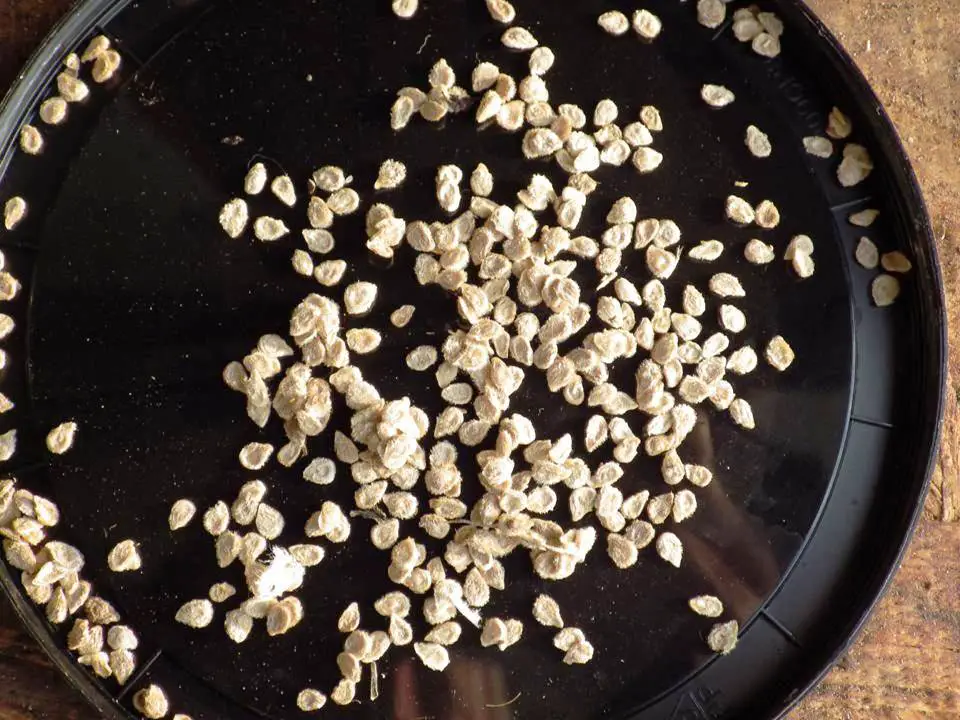
Spread the good seeds on a paper towel or screen to dry in the sun for 3 to 5 days.
Seeds Inside (without pulp)
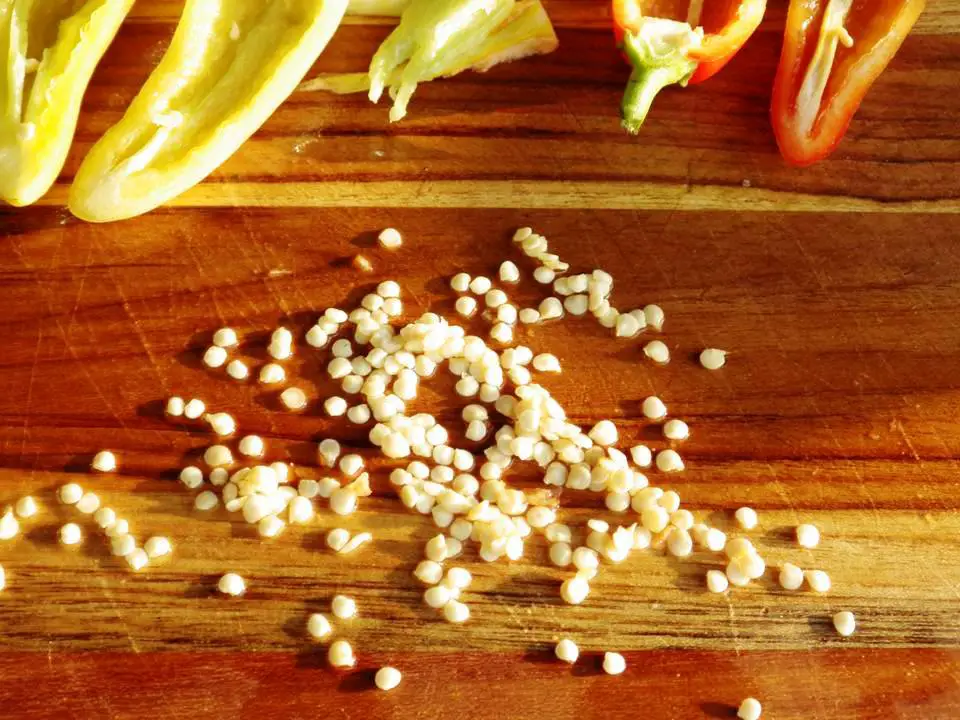
Pepper seeds are easy to harvest. Any time you cut up a pepper on a cutting board you’ve no doubt noticed the seeds covering the board.
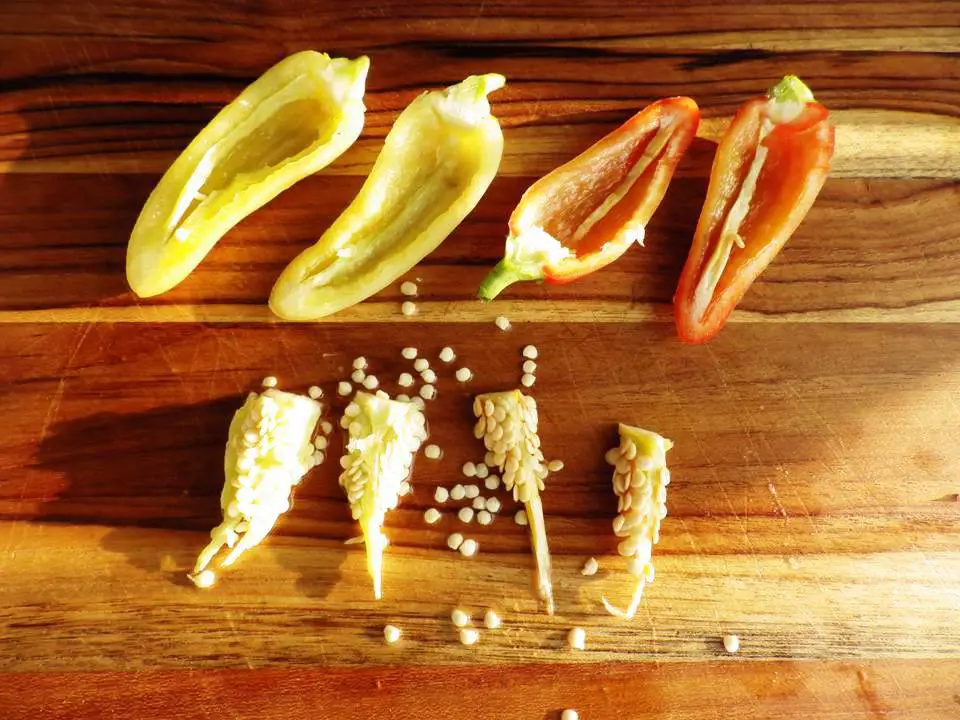
Carefully set aside the inner “heart” of the pepper holding the seeds, and then separate the seeds onto a paper plate or shallow pie pan.
Remove any bits of pith from the pan or plate and then set the pepper seeds in the sun to dry.
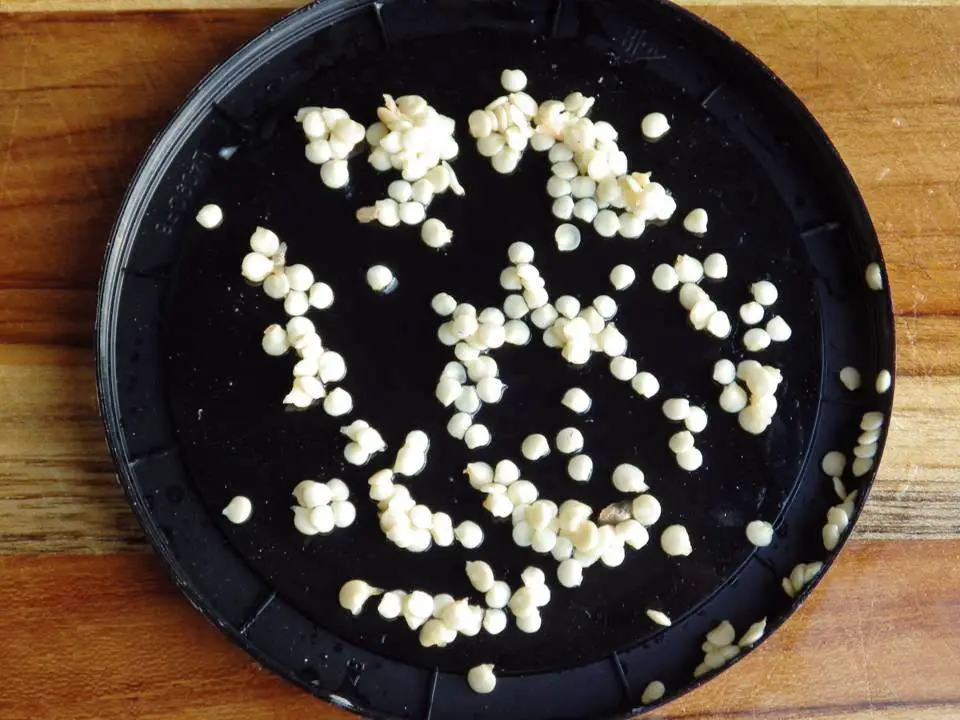
Here again, this should only take about 3 to 5 days.
What About Perennials?
It’s easy to assume that you don’t need to harvest seeds from perennials, but there are a few reasons you should. For one, an extremely harsh winter could cause some perennials to die in the ground.
Another factor is the possibility that you might move to another location for any number of reasons. Finally, having perennial seeds allow you to share the harvest or plant more in another part of your yard or indoors.
If you have perennial fruits or vegetables, or perennial herbs and flowers you should keep an eye out for their seeds and harvest when you can.
Packaging and Storing Your Seeds
After going through all the work of harvesting, processing and drying your seeds it makes sense to get the packaging and storage right. If packaged and stored properly you’re seeds can be good for years if not decades.
It’s always possible that some seeds will not germinate after years in storage, but if you have saved enough of them you should be able to beat the odds even at a 50% germination rate.
Seed Packaging Basics
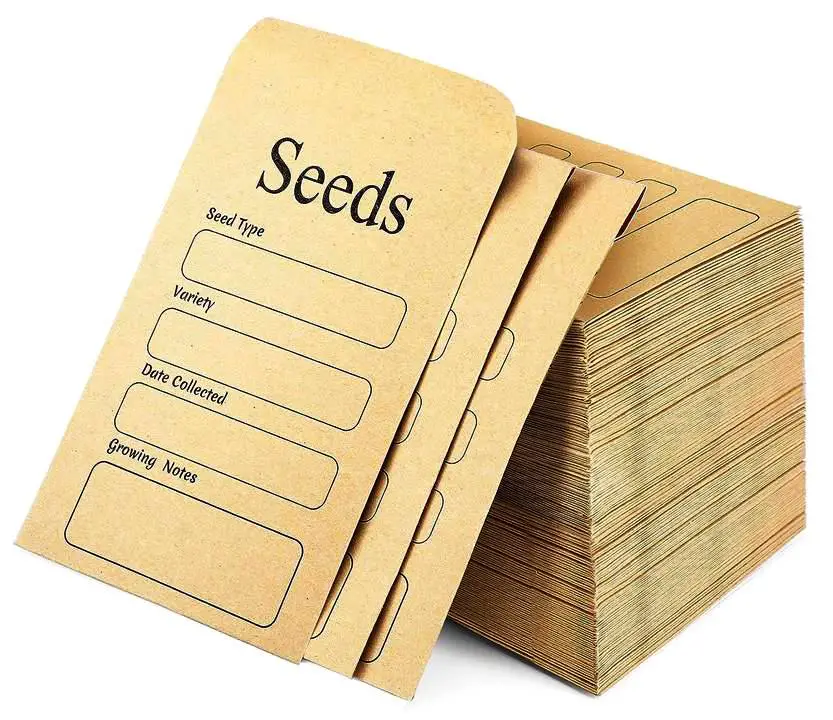
What is often touted as the best package for seeds is a paper envelope. That’s why most of the seeds you buy are packaged that way. The paper is semi-permeable and allows any residual moisture in the seeds to escape.
Contrary to what many would believe, canning jars aren’t the best for seed storage. They are hermetically sealed and any moisture still in the seeds will cause the seeds to potentially rot, grow fungus, germinate or deteriorate.
Seed packaging and storage is a balancing act and paper envelopes help to maintain that balance. You can use just about any paper envelope from standard mailing envelopes to specialized seed envelopes.
Label Your Envelopes
Every seed envelope should have the type of plant, its common name, variety, basic planting instructions and the date the seeds were harvested and stored. You should also try to estimate approximately how many seeds are in the envelope but you don’t have to count them out individually.
Seed Storage
Few of us can store our seeds in a mountain surrounded by glaciers like they do in Svalbard, but a cool, dark and dry place comes close.
A basement could be ideal because they tend to stay cool but if you have any issues with moisture in your basement that won’t work. Another possibility is a closet or pantry if you have the room.
An outbuilding like a shed, garage or barn are also possibilities but here again, temperature and humidity are a big question.
Storage Containers to the Rescue
One way to solve some of the problems with moisture and humidity in any environment is to store your seed envelopes in a sealed box or container.
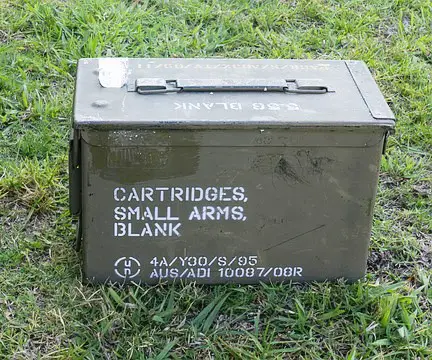
Ammunition boxes are one possibility and can be found at army surplus stores or online.
A specialized seed storage box is another possibility.

It should have a way to close and lock tightly.
One other smart move is to put a moisture desiccant packet in your container or box. Any moisture released through the envelopes will be absorbed by the desiccant.
Rotate Your Seeds
In other words, plant what you store and store what you plant. In the same way that we often rotate food storage –do the same with stored seeds. This can help to extend the shelf-life of your seed bank and increase overall germination rates when planted.
This is not hard
If you’re new to storing seeds you should give it a try. Once you get into the habit of harvesting seeds with your crops you’ll see it as an added benefit to all of your gardening efforts. It may also come in very handy if that day ever comes when seeds are ridiculously expensive or simply impossible to find.
Like this post? Don't Forget to Pin It On Pinterest!
You May Also Like:


I just finished your publication on saving seeds and found it quite intriguing. I found it interesting enough to ask permission to republish it in a newsletter for Master Gardeners. Would that be something you would agree on? No finances are involved, and no one would profit from it anyway. This is a group of volunteers that work (unpaid) for a city under the supervision of the University of Florida.
Thank you for your attention in this matter.
Stephen P. Evans
Master Gardener
sevans3@tampabay.rr.com
Hi Stephen, glad you enjoyed the article! Thanks for asking before sharing. Yes, you can republish it as long as you include the source.