

Estimated reading time: 11 minutes
If you’ve been on the homestead long, you probably already have plenty of experience canning food from your garden or orchard. I had heard of dry canning but naively thought it was the same as vacuum sealing the mason jar using the valve attachment.
While vacuum sealing does remove the air from within the jar, it doesn’t necessarily kill all of the eggs or bugs that could be lurking in your dry goods.
As homesteaders, we can all use new techniques to extend our food stock, and dry canning is just one option to use. Dry canning is not a new idea, but there are some critics out there that only believe that traditional canning is the way to go.
While all canning methods have specific rules to follow, you can preserve low moisture foods with the dry canning method. Learn more about how to dry can food with these tips.
Want to save this post for later? Click Here to Pin It On Pinterest!
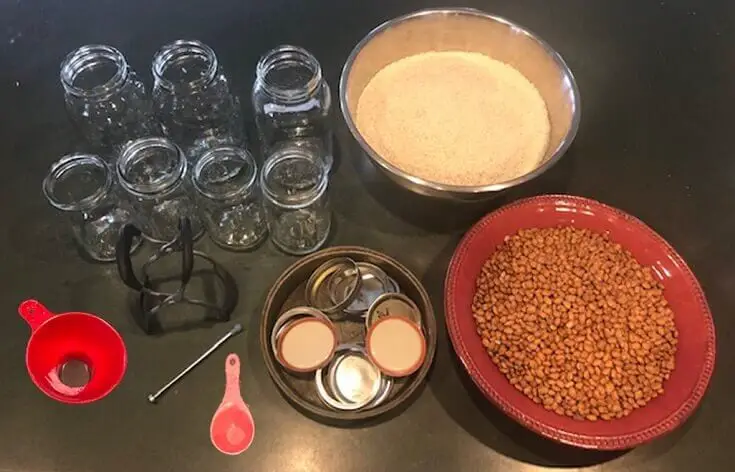
Step #1: Gather Supplies
It is important to choose low moisture food when dry canning. The rule of thumb is to only dry can items with less than 10% moisture content without any added oils.
Most homesteaders dry can flour, rice, beans, and powders. I chose to dry can some white rice and pinto beans that we harvested from the garden last year. Many homesteaders buy dry goods in bulk amounts and then dry can the food in smaller batches for maximum storage.
Again, to reduce the risk of botulism, you only can dry can those foods that are already pretty dry to begin with. You should not try to dry can vegetables, meats, fruits, or any other food that could contain botulism. Even things like nuts and popcorn shouldn’t be dry canned due to their oil content that includes some kind of moisture.
You’ll need the following items for dry canning:
- Dry food that you want to preserve
- Glass canning jars large enough to hold your dry food
- One new lid and canning ring for each jar
- One shallow dish to hold rings and lids in the oven
- One canning jar lifter
- One magnetic lift wand (optional)
- One canning funnel
- One measuring cup or scoop
- Potholders (not shown)
- Paper towel (not shown)
- Sharpie marker (not shown)
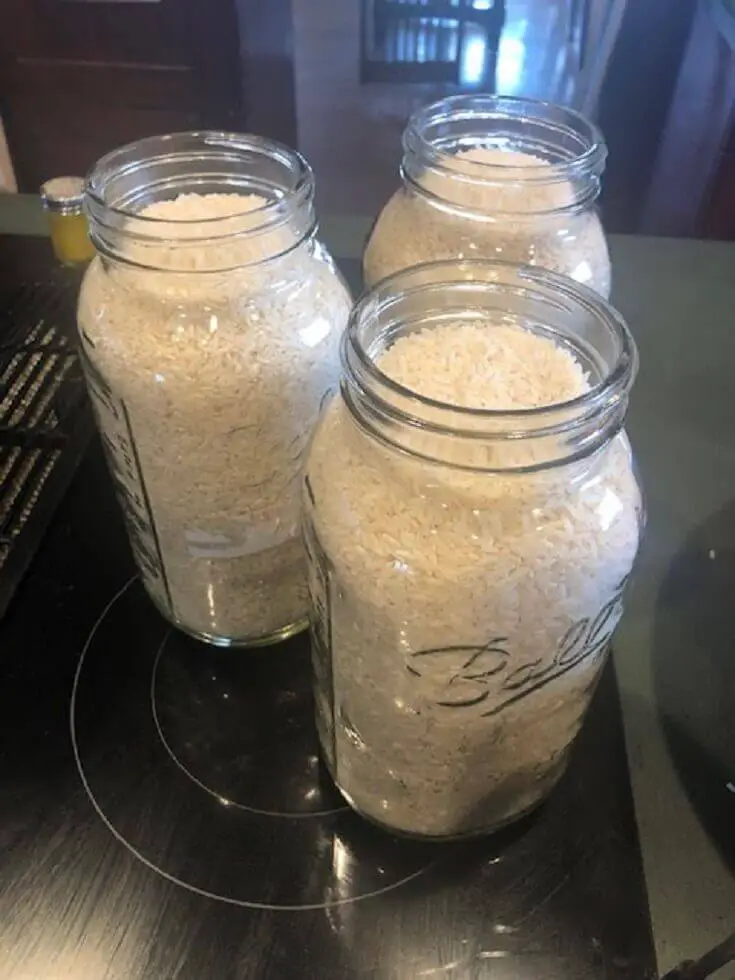
When gathering your canning jars, it is important to have enough jars to use for the amount of food that you have to can. I had 3 half-gallon jars for the white rice and 4-quart jars for the pinto beans.
It is vital that you select jars to use that aren’t cracked, chipped, or in any way compromised. I saw that one of my quart jars had a chip on the neck area that disqualified it from being used.
Step #2: Clean Out Jars
While you can pop your jars into the dishwasher, I chose to hand wash my jars with a lot of soapy hot water. Even if the jars look clean, it is important to run them through a wash cycle to make sure that they don’t have any bacteria in them before sitting on the shelf.
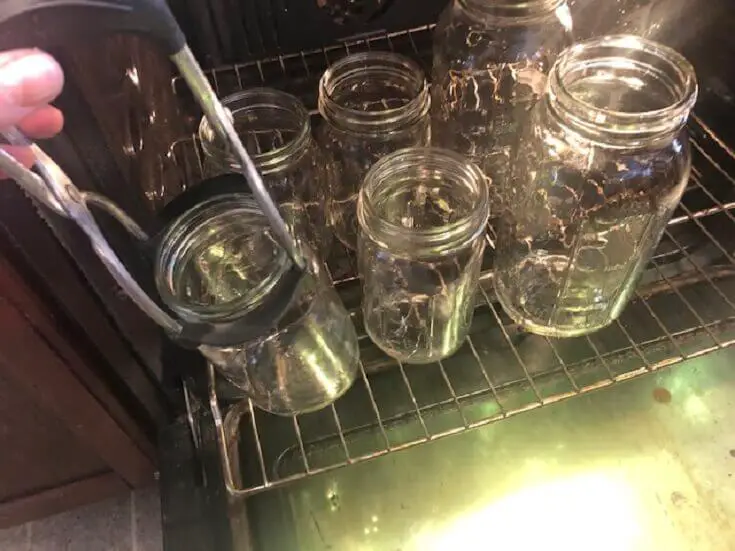
Step #3: Dry & Sterilize Jars
Set your oven temperature to 250°F while you finish washing out the jars. Some homesteaders prefer the jars to be totally dry before this step, but the hot oven will dry out the jars as well.
Place the jars into the oven for at least 15 minutes. You may want to increase the time in the oven if the jars are really damp. It is crucial to make sure that there is no moisture either inside or outside of the jars!
When the jars are fully dry, use the jar lifter to grab the jars out of the oven. Remember that the glass jars will be hot to the touch. Place the jars on a clean surface like the top of the stove or a clean counter.
Remember that at this point, the jars are sterilized and shouldn’t be handled any more than necessary.
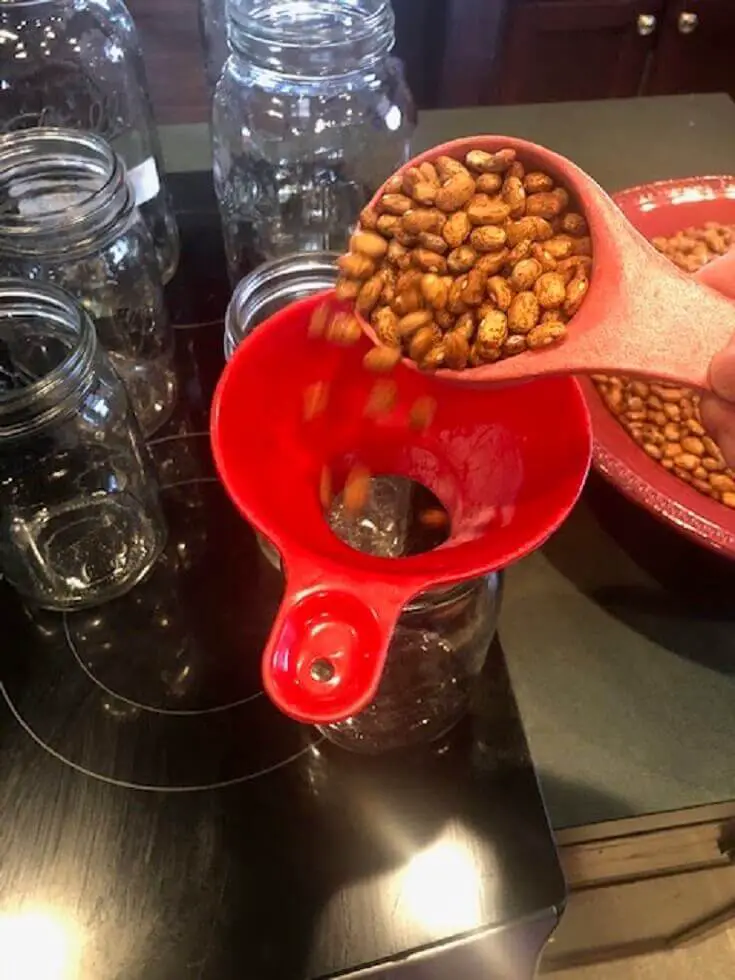
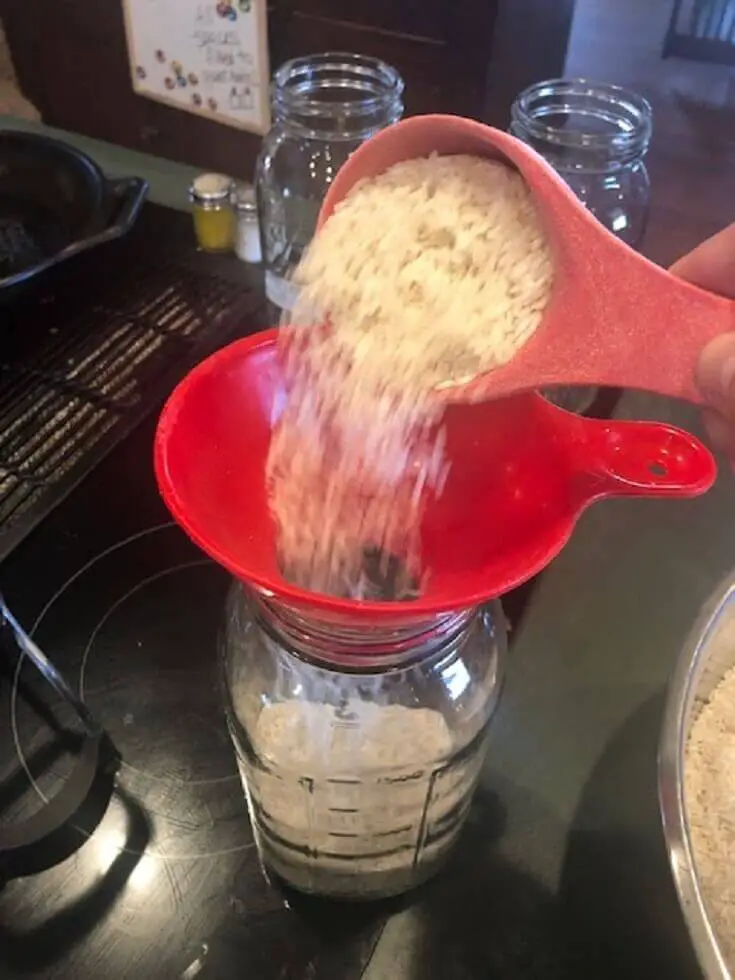
Step #4: Fill the Jars
Use your canning funnel and scoop to fill the jars with the dry goods. You’ll want to make sure that the food is completely dry and doesn’t contain any additional moisture.
Fill the jars until there is about ¾ inch to 1 inch of headspace at the top. A good rule of thumb is to stop filling when the food reaches the neck's first ring.
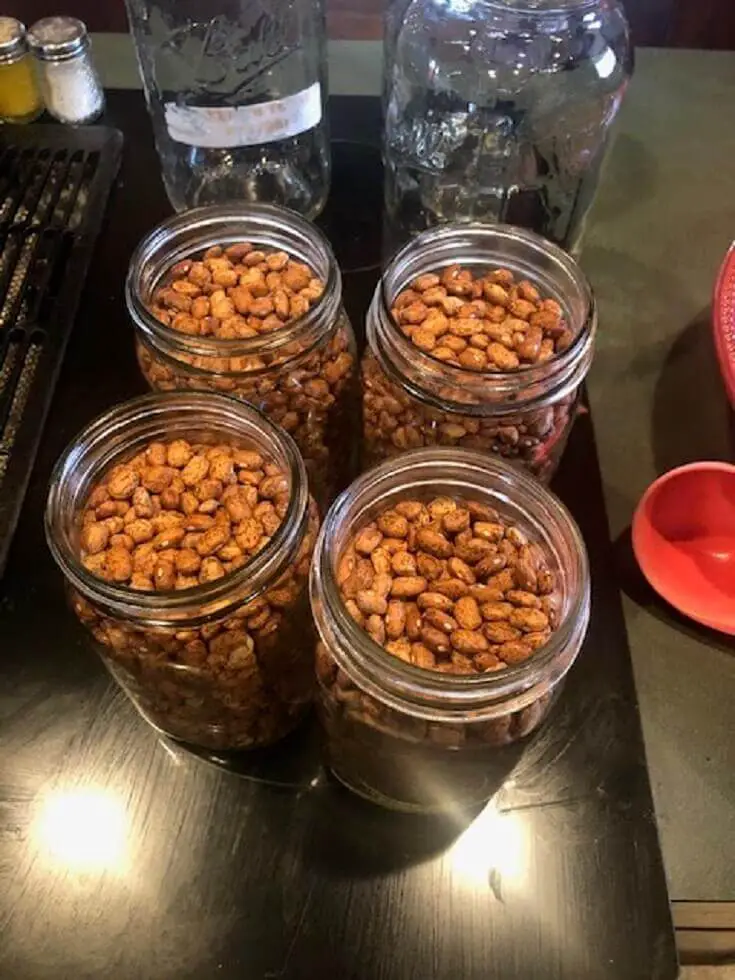
Some homesteaders like to pull out the cans and fill them one at a time, but if you work quickly, you shouldn’t have any issues with the jars cooling down that much. I did pop my pinto bean jars back into the oven while I filled the larger half-gallon jars with the rice.
Continue filling jars until all of the dry goods are in the mason jars. I had a little bit of beans and rice leftover, so I just added them to my pantry storage to use soon. It is essential to ensure that every canning jar is full to the top with the needed headspace for proper canning. Do not try to can jars that are only partially filled as they won’t seal properly.
Step #5: Sterilize the Food
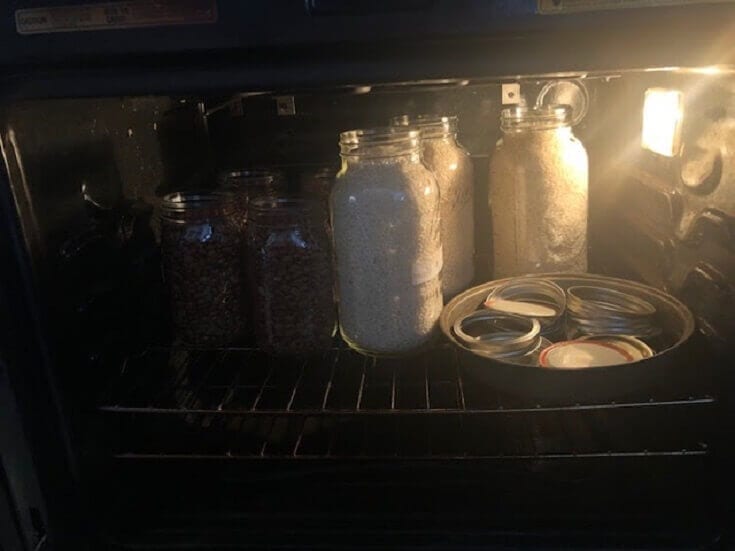
Place all of the filled jars back into the hot oven without their lids or rings. Make sure to leave a space for the canning lids and rings to go into the oven later on. Set a timer for 45 minutes to heat up the food within the jar.
Once the 45 minutes is completed, add in the pan of lids and rings to the oven for an additional 15 minutes. You must allow the rings and lids to have enough time in the oven to sterilize them. Again, they shouldn’t be sterilized in a water bath as that would introduce moisture into the canning process. Dry heat is critical.
Step #6: Place Lids and Rings on Jars
At this point in the process, I did pull out the jars one at a time to keep the rest of the food as hot as possible before sealing. Make sure to grab the jars from the oven using potholders, and be careful not to spill them. Then, wipe down the jar with a clean and dry paper towel to make sure that there is no dust or particles on the rim of the jar.
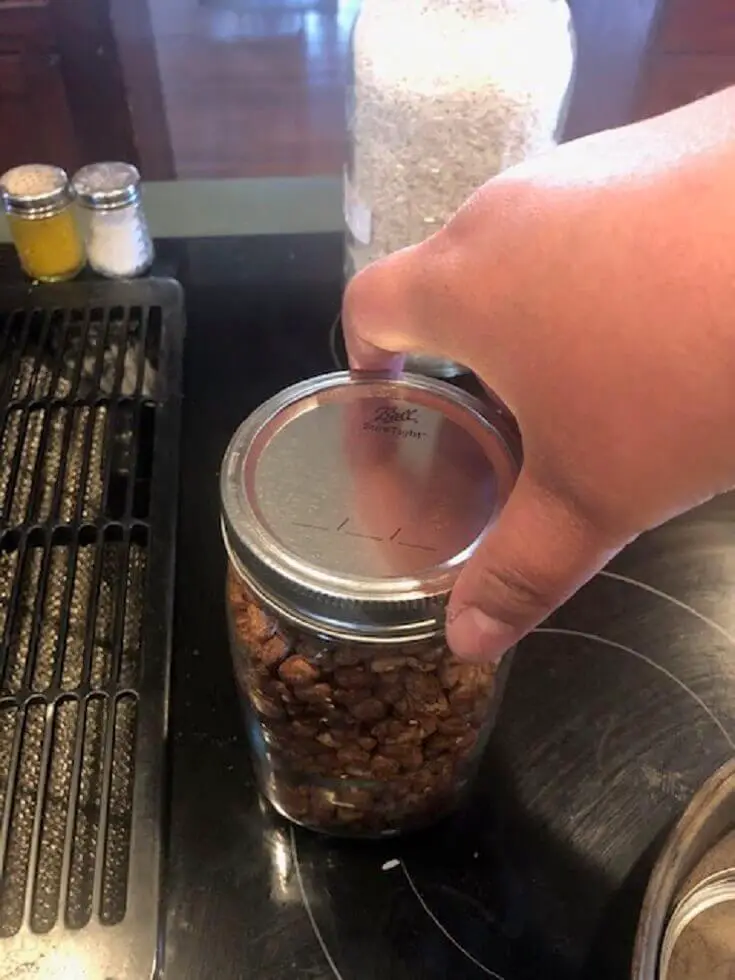
You’ll need to have quick hands, a potholder, and all of the help you can get with the magnetic lid wand to place the hot lids on the jars. Be careful not to contaminate the lids or rings at this point.
Once the lid is placed, quickly put on the ring and tighten it down. The rings weren’t as hot as the rest of the jar. It is essential to tighten the ring as tight as you can without over-tightening it.
I had one that I tightened too much, and it disfigured the shape of the ring. Make sure that the rings are as tight as possible without damaging their shape. Continue removing one jar at a time from the oven and placing the lid and ring on top.
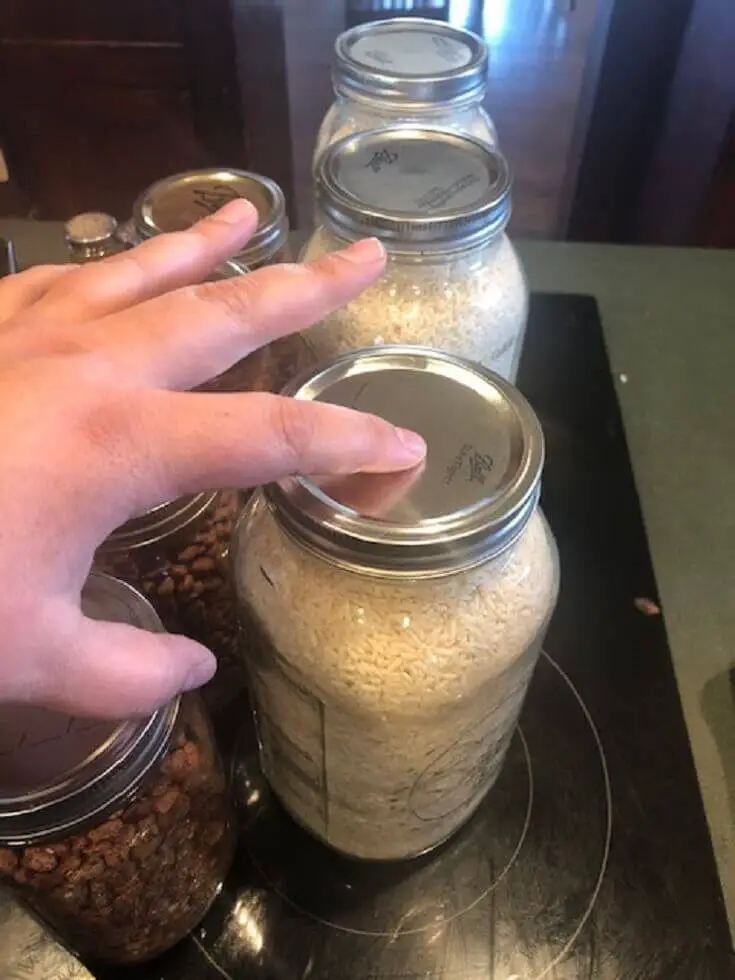
Place the completed jars on a safe surface, and then listen for the jars to seal as they cool down. Sometimes you will hear a popping sound, but I didn’t hear it for all of mine.
It is important to check the lids of each jar to ensure that the middle is sucked down to ensure the seal.
If a lid isn’t sucked down, then the can is not sealed and won’t last as long on the shelf. You can always take the lid back off the jar, check the headspace, and heat it up again in the oven. Then repeat this step.
If you are still concerned about the amount of air within the jar, I would consider adding in the vacuum sealing step here to remove all of the air. Dry canning and vacuum sealing the jars would be a great way to make them last longer in your food stock.
Note that you can’t use the vacuum sealing attachment when dry canning powdery items like flour, cornstarch, etc.
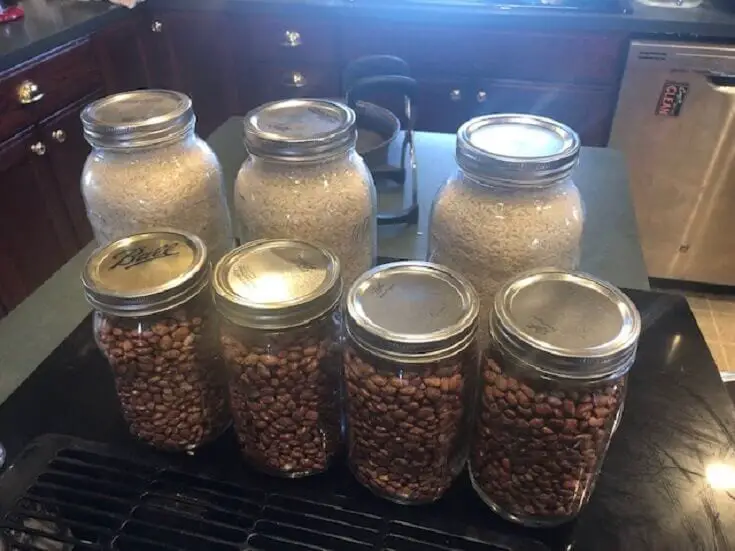
Step #7: Label & Store
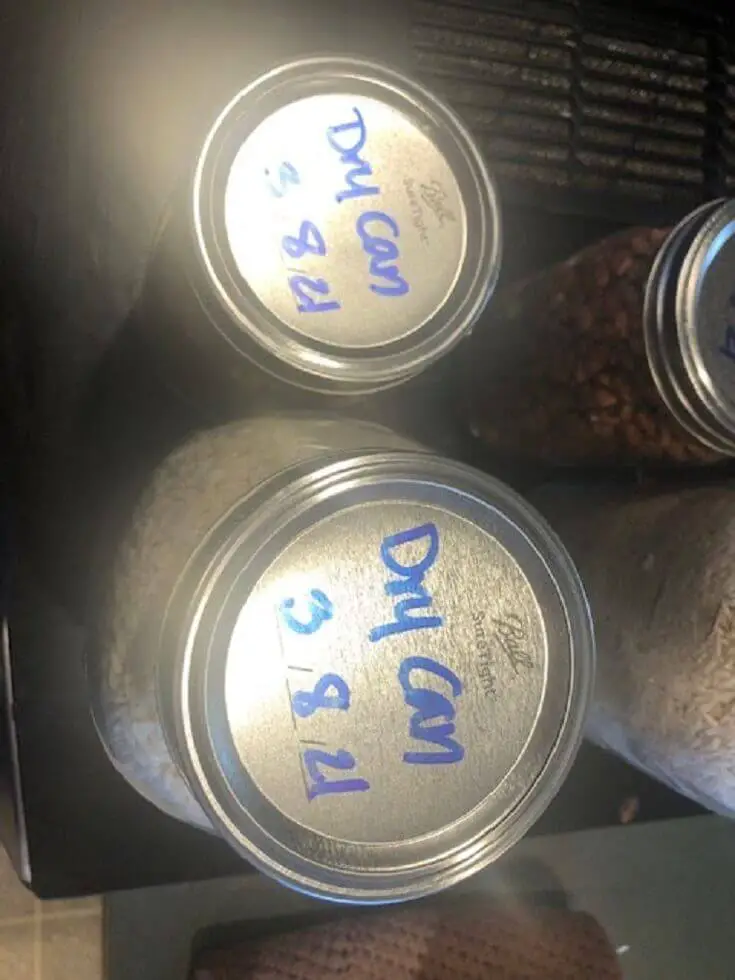
It is so important to label every jar that you use for this process. Usually, I write the contents of the jar, but with dry canning, you can see the food very well.
I did label each lid, stating that I dry canned them and the date. This is important so that whoever pulls this jar from the shelf years down the road knows that it was preserved using the dry canning method.
You should label every lid so that it can’t be used again for canning. You can reuse rings, but you shouldn’t reuse lids. If you mark the top now, then you know that it can’t be used later on.
Store your dry canned goods on a shelf that is in a dry and cool area. Always check the jar and lid for any issues before consuming the food inside.
Dry canning can preserve food for up to 15-30 years when canned and stored correctly. If you ever question the look or smell of the food once opened, it is better to toss it.
The dry canning process is a lot like the traditional canning process but without the use of water or a pressure canner. It is a great way to store and preserve dry goods in your stock that could harbor eggs or bugs that are hard to see with the naked eye. Dry canning your food kills those possible bugs and helps prolong their shelf life.
Like this post? Don't Forget to Pin It On Pinterest!
You May Also Like:


Could you heat for example white flour in a glass baking dish, remove from oven and funnel into hot jars lids and rings?
As long as the flour and canning supplies stay hot? Reason why I ask due to some medical conditions
I just did a set and while the jars were sealing they sweat and there is moisture inside the jar. In everything I read there shouldn’t be. What did I do wrong or is that okay I need details!
All I can think is that the food wasn’t completely dry or the jars didn’t seal properly. You may need to air dry the food and start over.
What temperature is the oven when you are heating the jars?
I’ve always set it to 200F. Some people set it a little higher.
IS THERE A VIDEO ARE BOOK
THAT WILL WALK YOU THROUGH THIS DRY CEILING PROCESS
PREFER A VIDEO FOR THE BOOK WOULD DO IF NOTHING ELSE WITH LARGE PICTURES