


Estimated reading time: 20 minutes
If you're like most gardeners, you probably purchase seeds at the store or online. If so, I'm sure you've noticed that inflation is getting worse. In many instances, a small packet of 20 seeds can cost up to $3. By the time you buy all these seeds for your garden, you'll have spent $50 or more.
That may not seem like much to some, but anyone on a tight budget knows that any expense means something else is unaffordable. Especially if the reason you're growing a garden is to save money on your grocery bill. Speaking of groceries…
Want to save this post for later? Click Here to Pin It On Pinterest!
A Surprising Solution
If you’ve never harvested seeds from your garden, here's an article on how to do that. But for those of us who either never got around to harvesting seeds, there’s another solution.
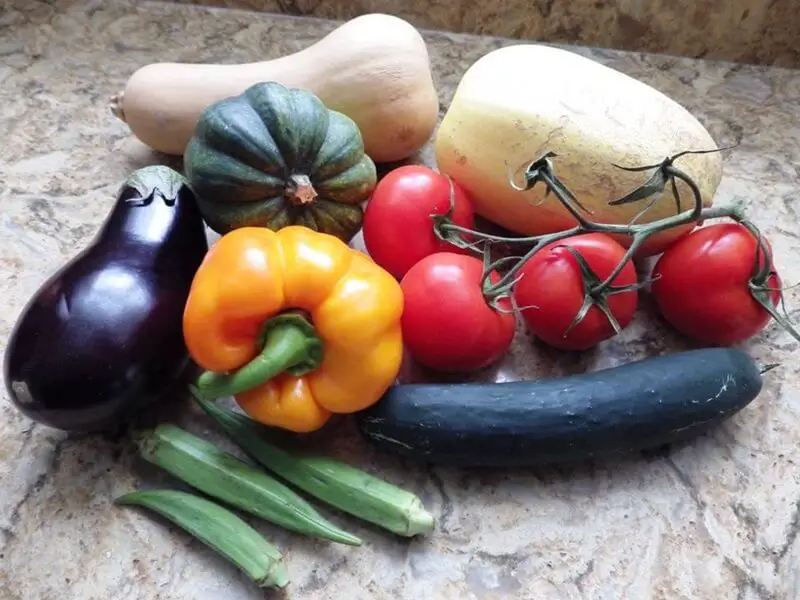
Many of the vegetables you buy at the grocery store have seeds inside them. Some don’t—like most root vegetables—but squashes, peppers, and other vining plants like tomatoes deliver not only the fruit but the seeds in the same package.
Best Vegetable Varieties for Seed Harvesting
It’s not always true that every vegetable you buy at the grocery store is going to give you the best seeds for harvesting and replanting. Many grocery store vegetables are hybrids that have been cross-pollinated or even genetically modified.
The potential problem with some hybrid or GMO vegetables is that the seeds can be unreliable. Some hybrids will germinate and produce a plant that is one of the hybrid parents plants.
This could result in a variety very different from the one you bought in terms of size, appearance, and taste. It could even produce a dwarf variety of a variety that never blossoms or produces fruit.
GMO vegetables may never germinate at all or only germinate intermittently. It’s frustrating to plant a lot of seeds in a carefully laid out garden and only see 25% of them germinate.
Heirloom Varieties are Best
Many grocery stores have an organic section in the produce area, and that’s where you'll typically find the heirloom varieties. Heirloom vegetables have unaltered DNA and are the original species and variety of vegetables that have been around for thousands of years.
And while it’s true that cross-pollination happens in nature all the time, many heirloom varieties have stayed true to their original DNA blueprint and will consistently geminate and produce the fruit you expect.
Harvesting Seeds is Sometimes Easy and Sometimes a Bit of Work
It’s unlikely that you can pull seeds from a fruit or vegetable and plant it immediately. On average, it takes a few days to a week to properly prepare and dry the seeds you harvest from any fruit or vegetable.
Sometimes it’s as simple as knocking off the seeds from the pith of a pepper plant and letting them dry on a paper plate for a few days. At other times, you have to remove the gelatinous coating around seeds like tomato seeds and dry them before planting.
And as for eggplant, the tiny seeds are embedded in the pith and you have to dig them out with a paring knife. We’ll explain more about that later.
When You Can’t Find Heirloom Varieties

It’s fairly easy to find heirloom tomatoes at many grocery stores, but heirloom cucumbers don’t show up as much. In that case, you can always roll the dice and harvest the seeds from the cucumbers or other vegetables they sell. At least try to buy them from the organic section where the vegetable varieties may be closer to an heirloom plant.
Another thing you may want to do is read the small labels on the vegetables. They will often indicate the country where they’re grown. That’s important for a few reasons.
For one, produce grown in the USA is often grown under stricter conditions and laws related to the use of pesticides and other chemicals. Those chemicals can not only be harmful when eaten but can affect the health and development of seeds.
Another factor is varying weather conditions for vegetables and fruits grown in Central and South America. If you harvest seeds from a fruit or vegetable variety that prefers very warm or tropical conditions, it may not do well if planted in northern latitudes.
Grown in the USA is no guarantee, but the odds are better that you won’t be trying to grow a tropical fruit or vegetable in the Midwest.
The Cost Saving Can Be Significant
Heirloom vegetables do seem expensive at times, but if you think about it, the number of seeds you get from one heirloom vegetable is often measured in the hundreds. Paying a dollar for an heirloom tomato may seem a little high, but you only need one and you end up with hundreds of seeds.
The same is true with other vegetables that we’ll cover in more detail for grocery store seed harvesting:
Some obvious garden vegetables are missing including all root vegetables and leafy greens. Those plants need to grow to full maturity and both blossom and go to seed, and they are rarely sold in grocery stores at that stage of maturity.
In that case, the solution is to remember to harvest those seeds at the end of this season or bite the bullet and buy them at the store.
Harvesting Grocery Store Seeds
We’re going to start with the easiest seed harvests and then go into some of the more complicated steps for things like tomatoes and cucumbers.
Equipment:
- Colander
- Cutting board
- Large Carving Knife
- Paper or envelopes
- Paper plates
- Paper towels
- Paring knife
- Permanent marker
- Strainer
1. Peppers
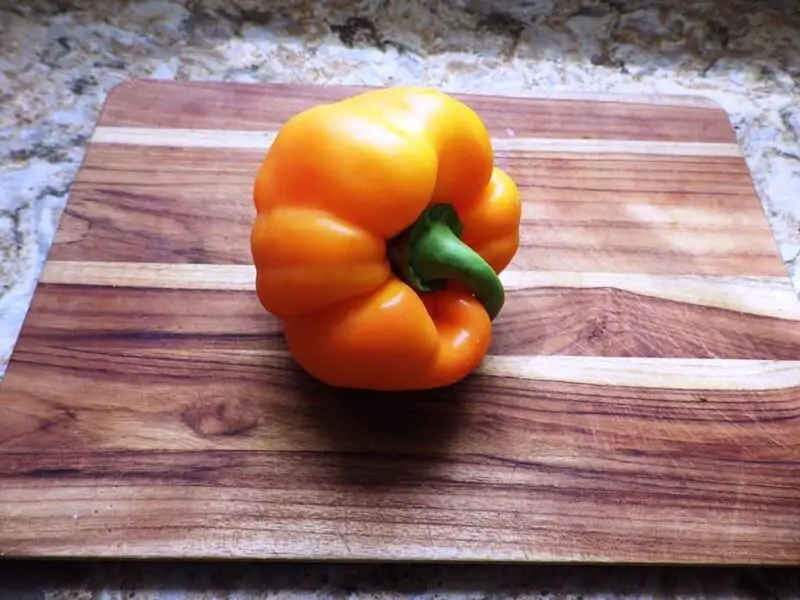
Pick your pepper. They all have the same seed characteristics. They appear as a rows of small, flat seeds attached to a ridge of pith in the middle of the pepper. They are easily rubbed off with your fingernail.
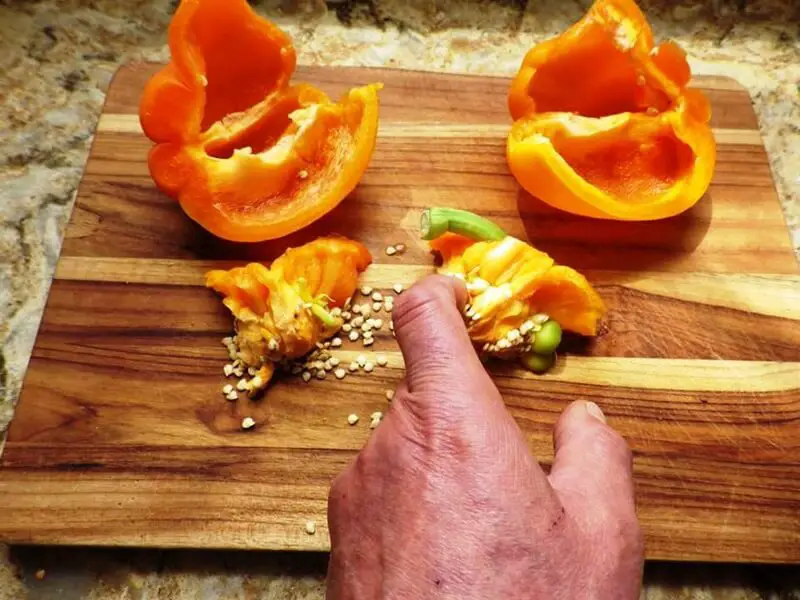
The best way to collect and dry them is to cut off the outer parts of the pepper and use or save the pieces for a later recipe.
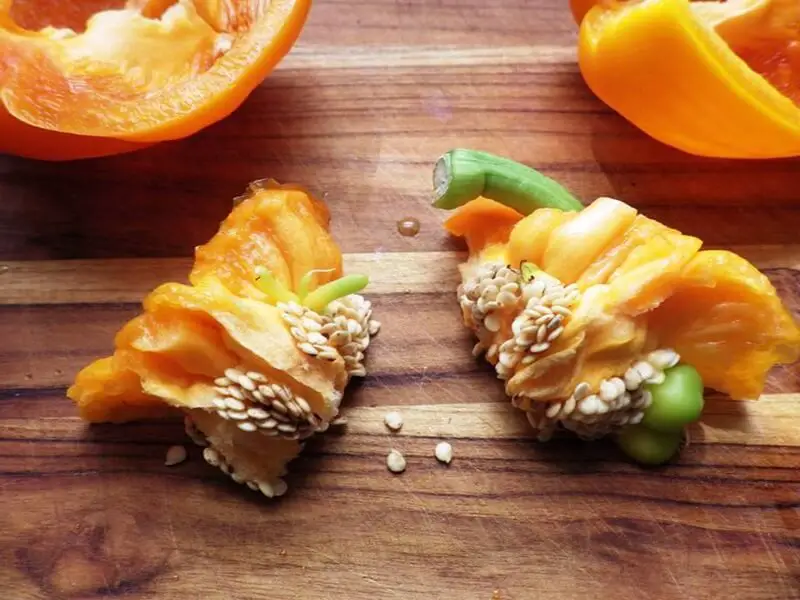
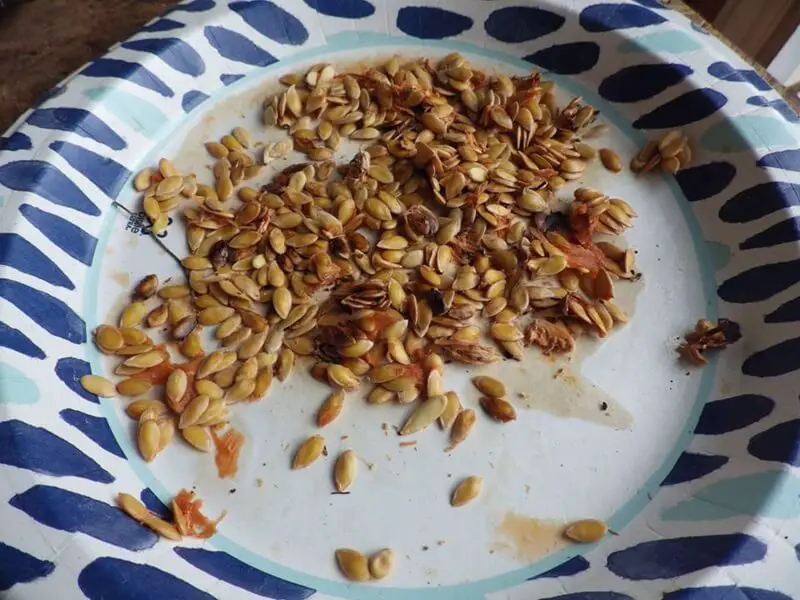
The seeds on the pitch can then be rubbed off on a paper towel on a paper plate.
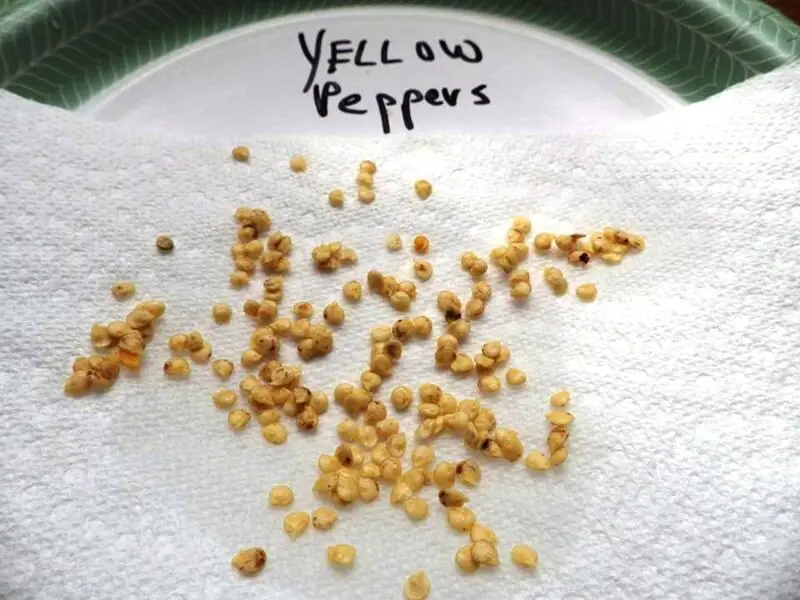
Write the type of vegetable and variety on the plate and after capturing all of the seeds, spread them around on the plate. Put them in the sun to dry, but watch the wind. They can blow away. A countertop in the sun works too.
After a few days, the seeds should be dry and ready for planting. You might want to store them briefly if you have other seeds that take a few more days to catch up, or just get them into the ground.
If storing the seeds, put them in a paper envelope for storage rather than a plastic storage bag. That will allow any remaining moisture to be absorbed by the paper rather than condensing in a plastic bag. You could also just fold up the seeds in a piece of paper and tape it with a note on which seeds are inside if you’re planning on planting all of them.
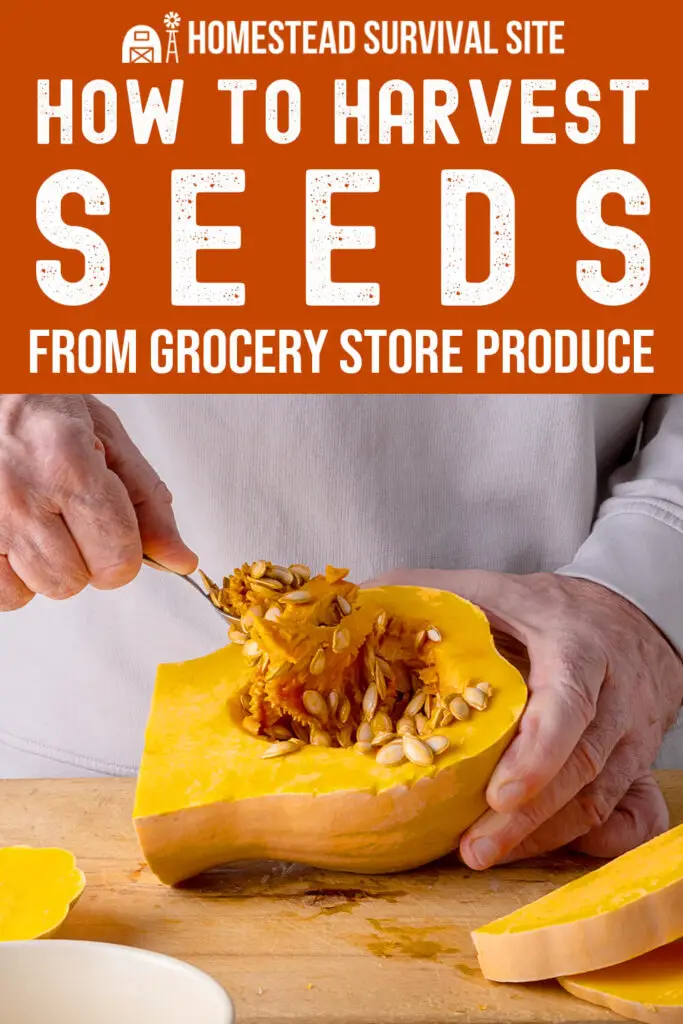
2. Butternut Squash
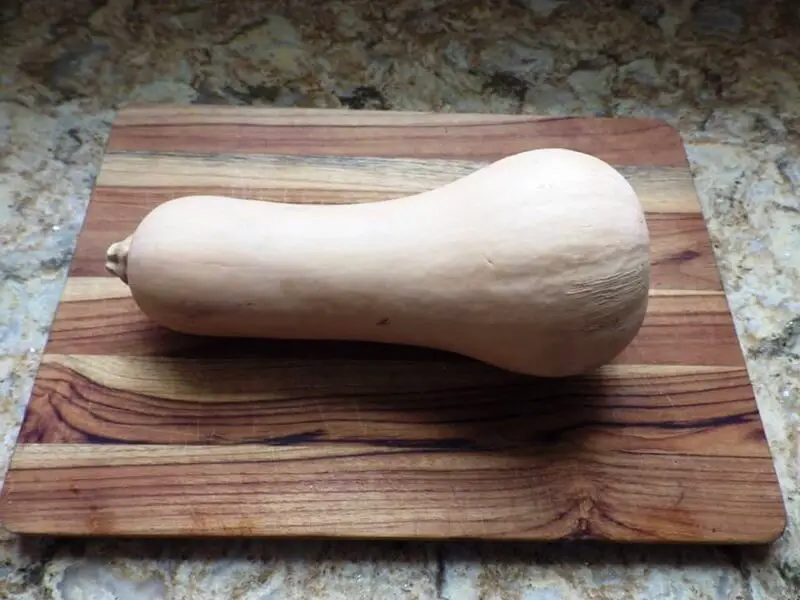
Cut the squash in half lengthwise and scoop out the stingy pulp and seeds into a colander.
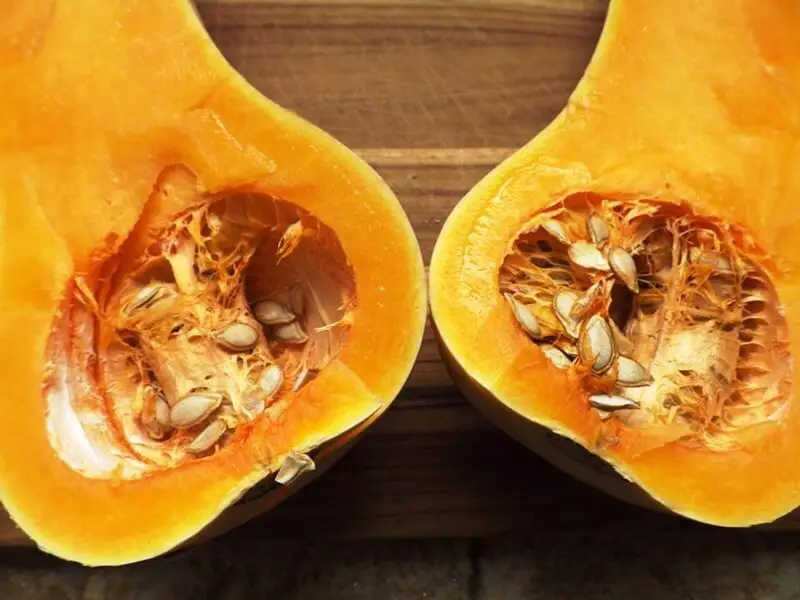
Rinse the seeds under running water and either pull out the pulp or pull out the seeds.

Toss the seeds onto a paper towel and let dry for a couple of days.

You’ll need to peel off some of the seeds from the paper towel. Plant some and save the rest in a marked envelope.
3. Acorn Squash
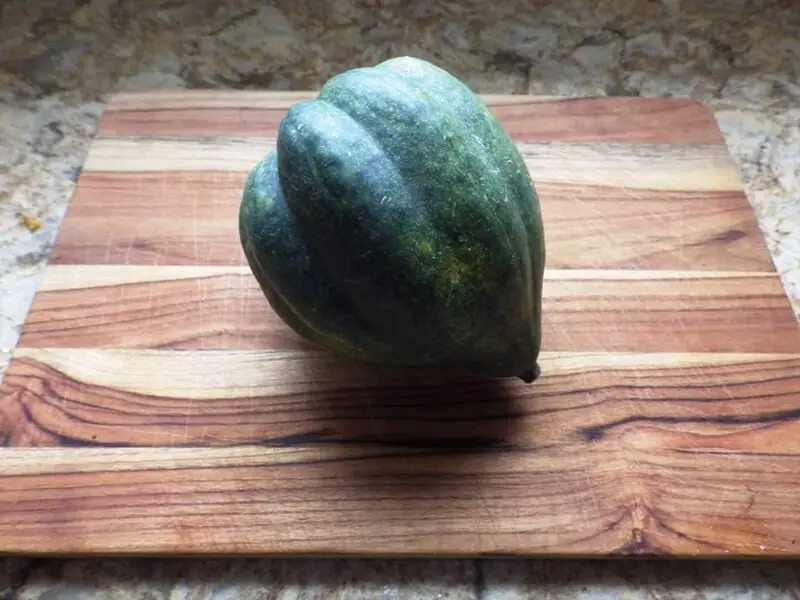
This is the same drill as butternut squash and the seeds are treated the same way with a rinse under the colander followed by drying on a paper towel.
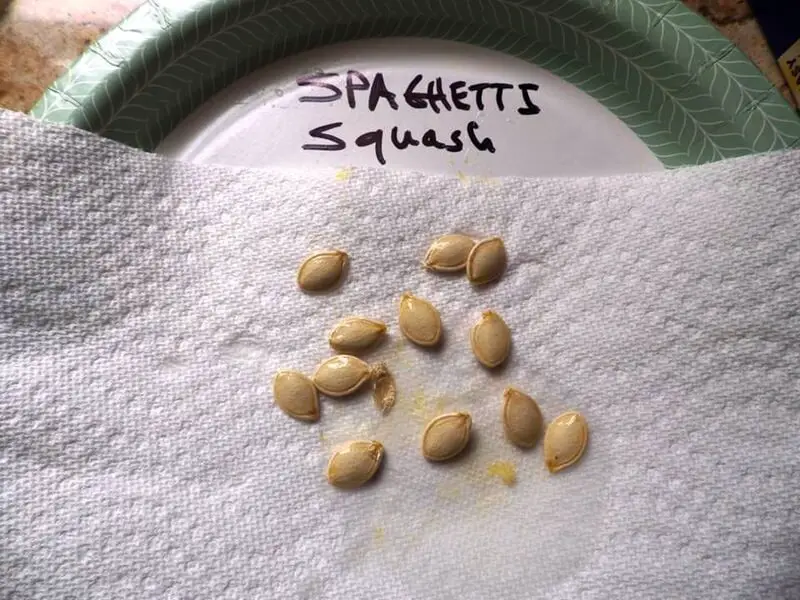
4. Spaghetti Squash
Cut in half and remove the seeds and do the drainer drill under running water.
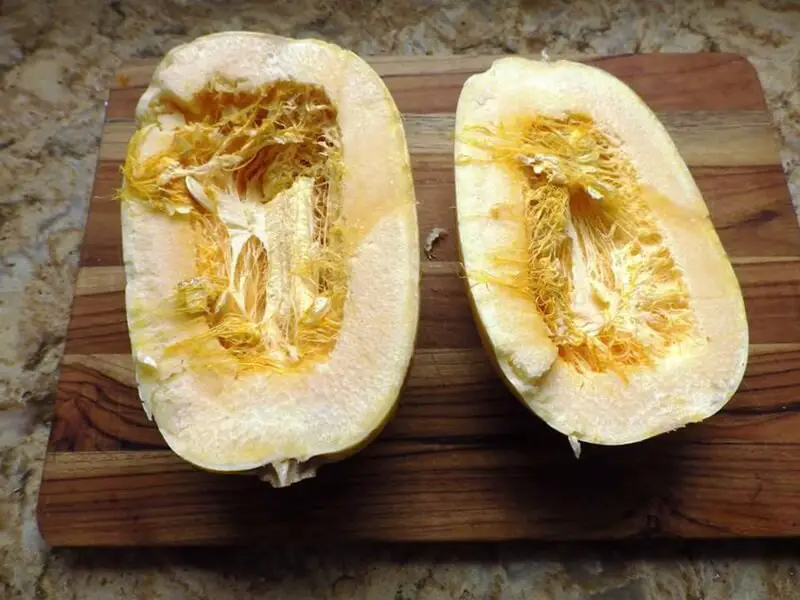
Dry the seeds on a paper towel and either store in an envelope or plant immediately.
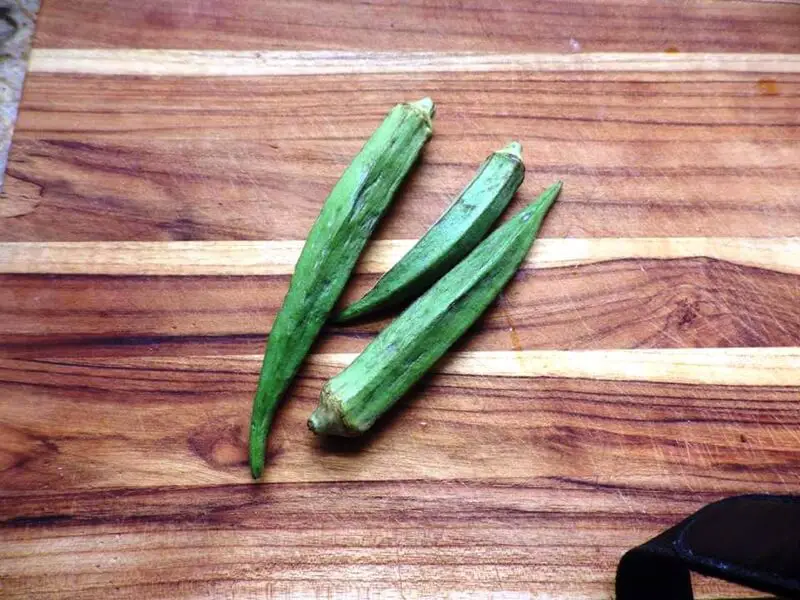
5. Okra
Okra starts to get a little more complicated. The okra we buy in the store is fresh and green. The best okra for planting is a dried seed pod with dried seeds inside. There are a couple of things you could do.
Dry the whole pods in a food dehydrator on a very low setting (100 to 110 degrees F.) for a few days.
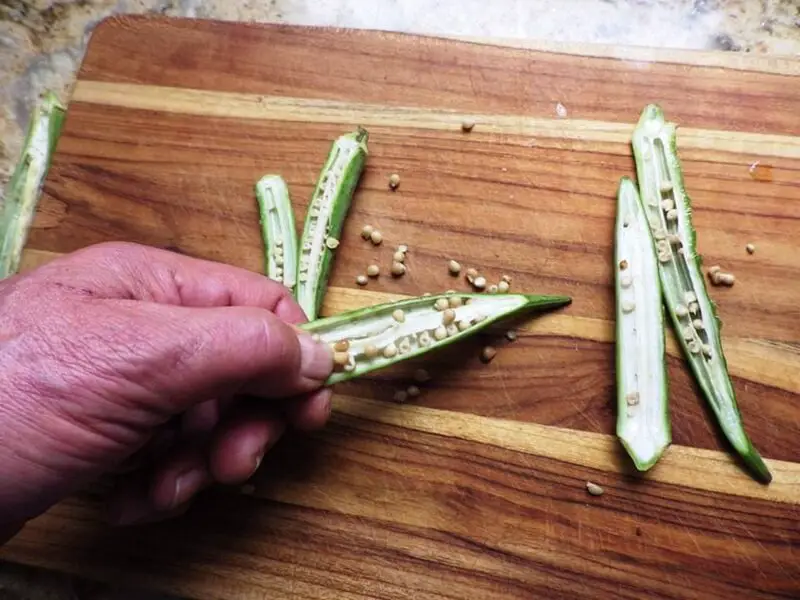
Remove the raw seeds with your thumb and place on a paper plate and let dry in the sun for about a week.
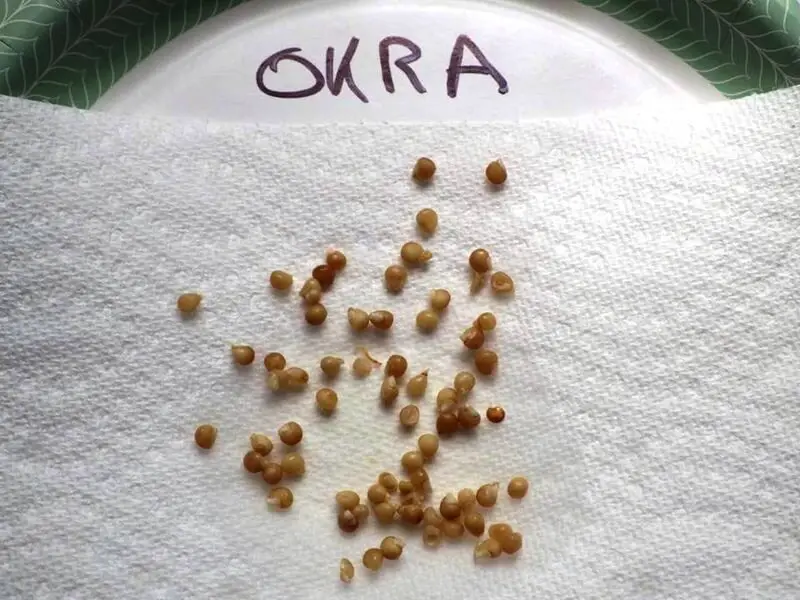
You want hard, dry seeds for planting, so you need a few days to get those green seed pods and seeds to a dry state. You could even put the seeds on a piece of paper towel and dehydrate in the food dehydrator, but keep it to a low temperature around 110 degrees.
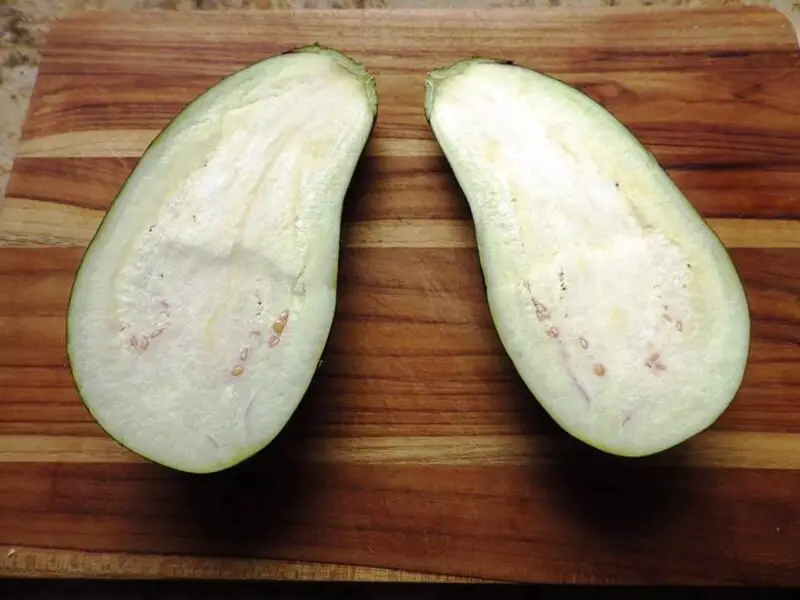
6. Eggplant
Eggplant seeds are a bit tedious to harvest because they’re so small. Like many other vegetables, eggplant seeds are best harvested when the eggplant is beyond ripe and starting to shrivel.
It’s rare that you’ll find that in a grocery store produce section, but there are sometimes displays for produce past its prime. They’re often discounted significantly and they’re worth a look for one of those shriveled eggplants.
If you’re really ambitious, you can check out the dumpsters behind the grocery store. Old produce is often discarded, and you might find gold in those crates behind the store – or at least some very ripe fruits and vegetables with very mature seeds.
In the case of eggplant, do the opposite of what you usually do and look for the worst of the bunch. If all you can find is really fresh eggplant, you still have a fighting chance.
Cut the eggplant in half lengthwise and cut out the long rows of seeds that run down the length of the eggplant.
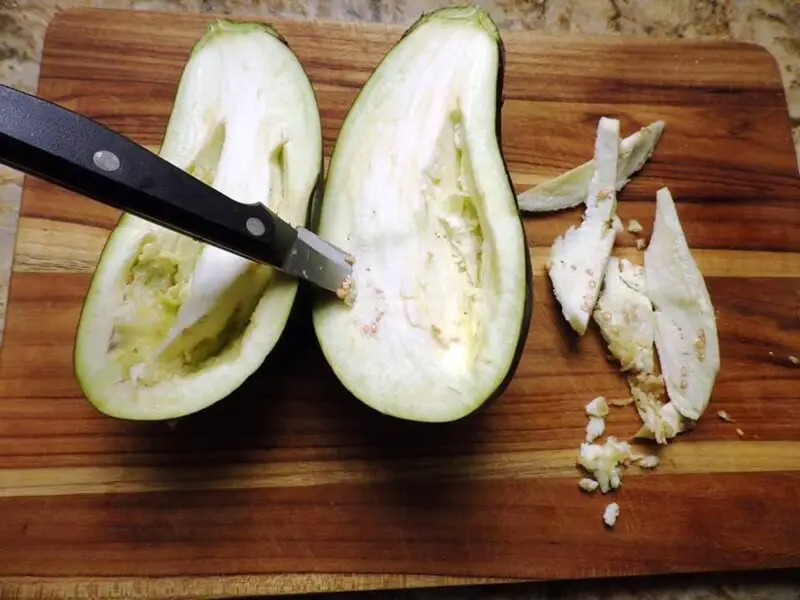
Use a paring knife.
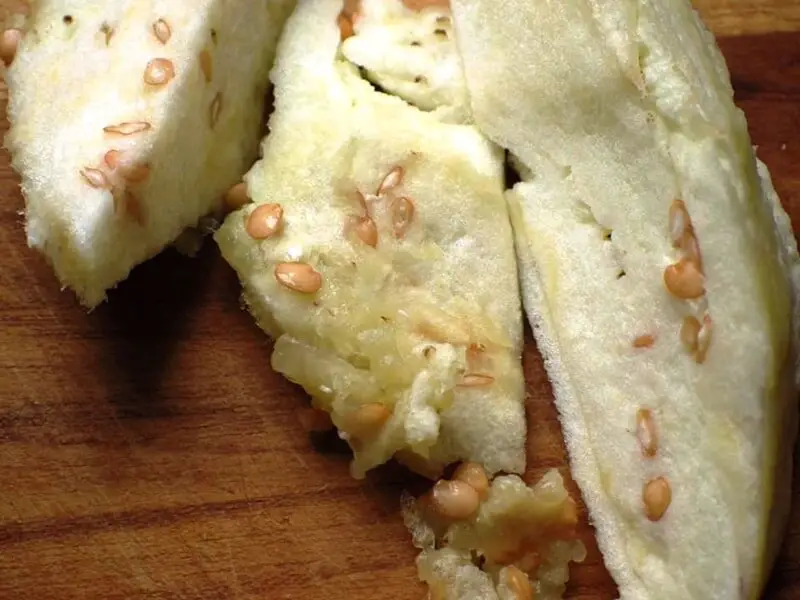
Flick the seeds into a strainer (not a colander, the drain holes may be too large). Use the tip of the paring knife to flick the seeds into the strainer and rub around under running water.
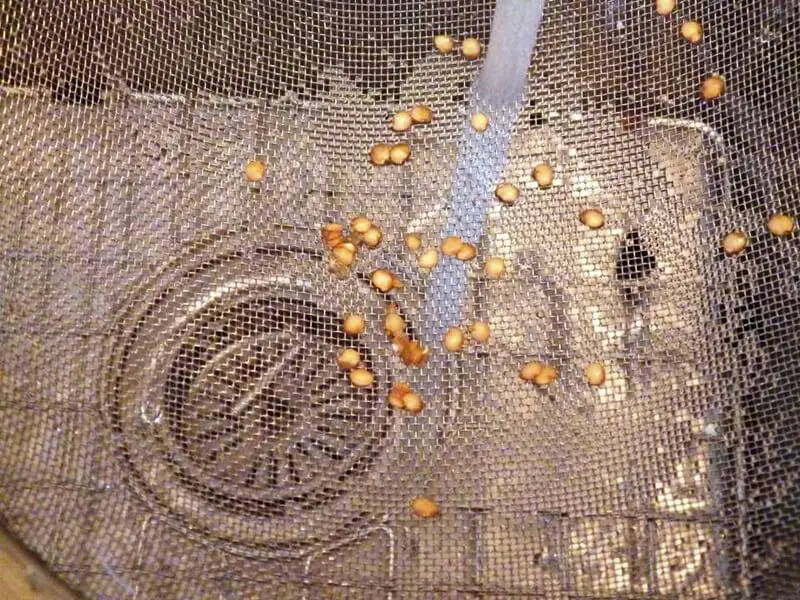
Remove as many seeds as you can and place on a paper towel to dry.
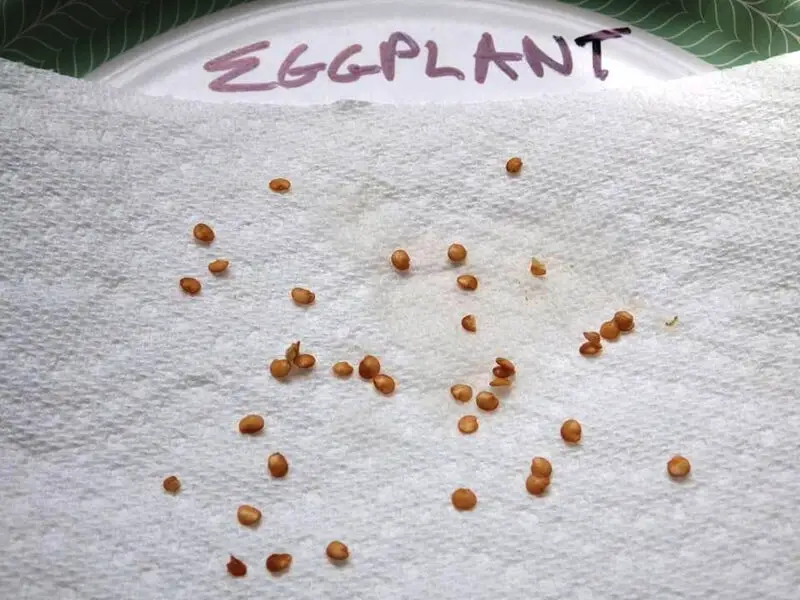
When dry, put on a paper plate and let dry a couple more days in the sun if you can.
Package in envelopes or plant and keep an eye on them to make sure they germinate.
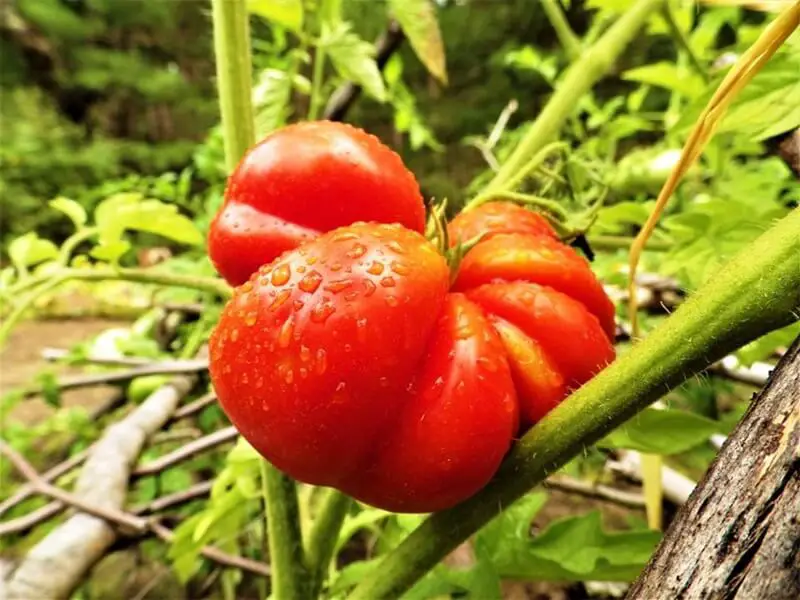
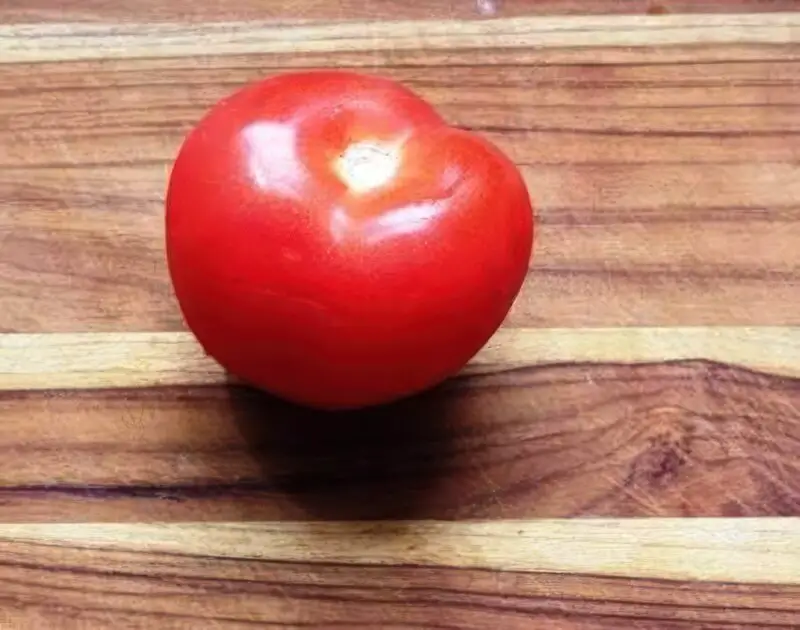
7. Tomatoes
Okay, it’s time to roll up your sleeves a bit, but it’s worth it. The challenge with tomato seeds is that they’re surrounded by a gelatinous membrane that prevents the seeds from geminating while still inside the tomato.
That’s a good thing, but if you just pull the seeds from the tomato and let them dry, the coating can still inhibit germination in the ground. That requires an extra step and there’s a few ways to do it. Here’s the process steps and some ideas.
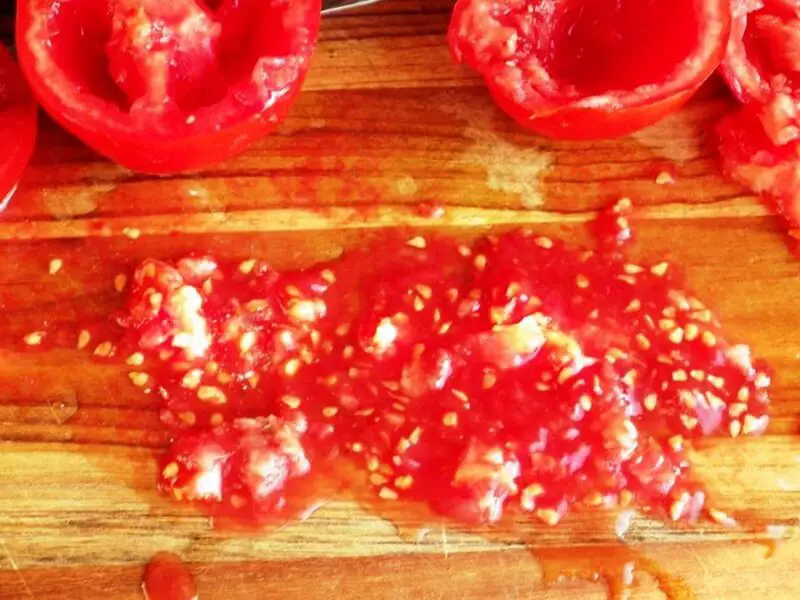
Cut the tomato in half and spoon out the gelatinous pulp and the seeds and toss into a bowl.
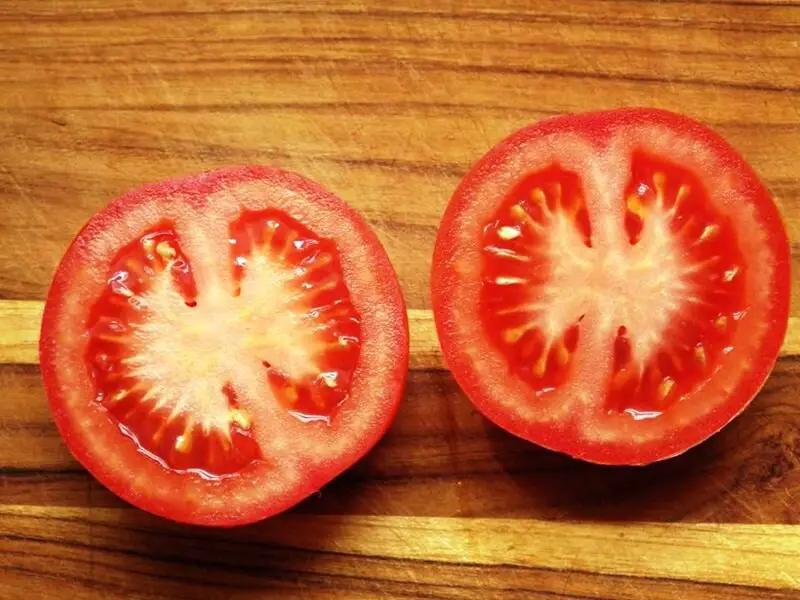
Run water into the bowl and gently squeeze and rub the pulp and the seeds.
Here’s where you have options:
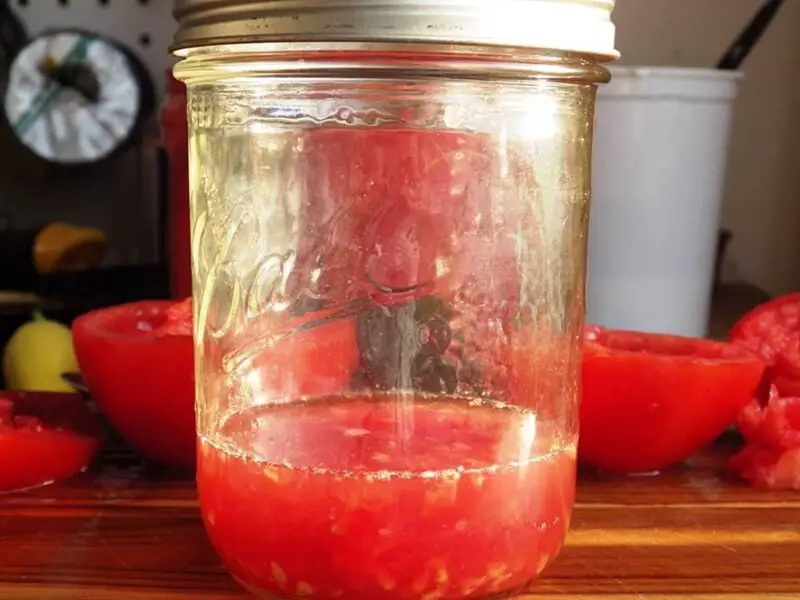
Put the pulp and the seeds into a canning jar with about a ¼ cup of water and let sit for a couple of days. They’ll actually ferment a bit, and that should break down the gelatin and any compounds that inhibit germination.
- Another way to do this is to toss the seeds and pulp on a paper plate and gently drag a flat knife blade over them to pull the seeds from pulp and let the seeds dry on the plate. Pick them off after a couple of days.
- Another possibility is to place the seeds and pulp into a strainer (here again, a colander may have holes that are too large) and rub the seeds and pulp in the strainer under running water, then place seeds on a paper towel to dry.
You want tomato seeds that are free from any gelatin or pulp, and dry before planting. Place in an envelope and label for storage or plant.
8. Cucumbers
Cucumber seeds are also embedded in a gelatinous pulp, but it’s not as persistent as tomato pulp.
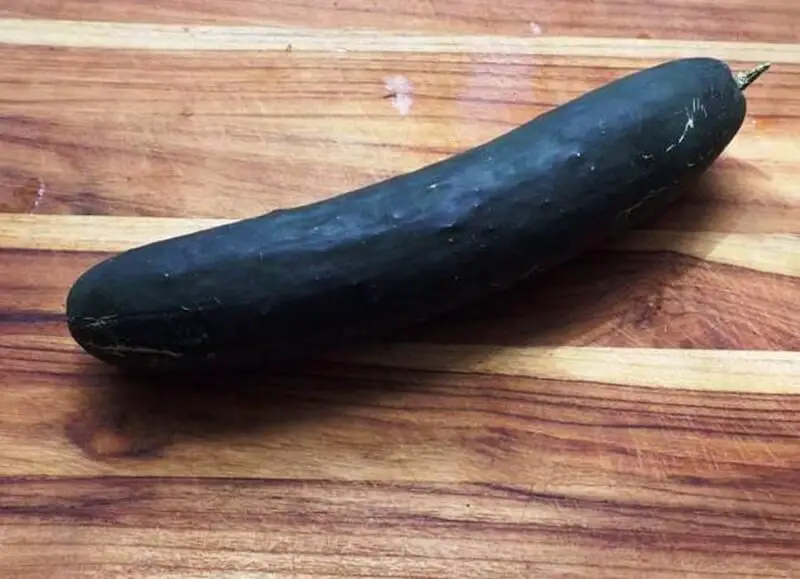
Cut the cucumber in half length-wise and spoon out the seeds.

Drop the seeds and pulp into a strainer or colander and rub around under running water.
Place the seeds on paper towels and let dry for a couple of days.
Transfer the seeds from the paper towel to a paper plate and give them a couple more days to full dry.
Peel the seeds off the plate and either plant or store in an envelope.
9. Cantaloupe
Cantaloupe is another fruit with seeds that are usually discarded. It’s time to save them.
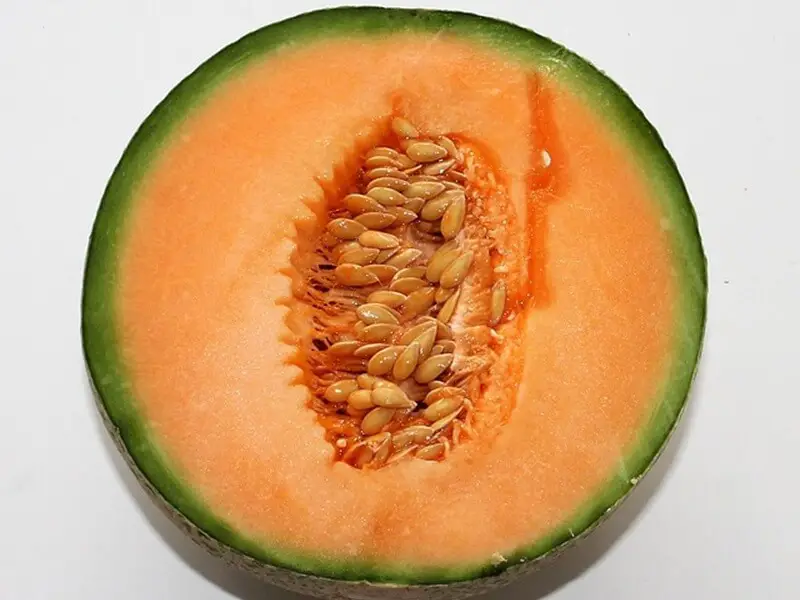
Cut the cantaloupe in half and spoon the seeds into a bowl of water.
Reach into the water and gently squeeze the seeds and pulp to break the seeds from the pulp.
Pull as much of the pulp out as you can and toss what remains into a colander and rinse under running water while stirring the seeds and pulp around with your hand.
Remove the seeds to a paper plate and let dry for a few days.
Peel off the seeds from the plate and plant or store in a labeled envelope.
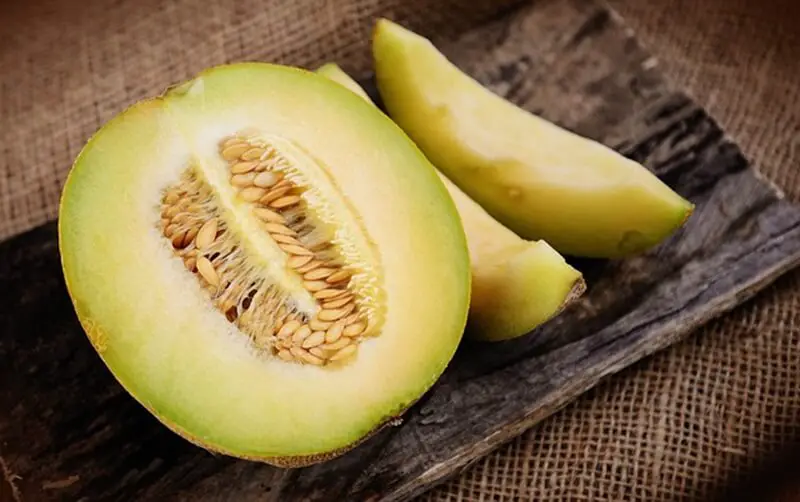
10. Honey Dew Melon
Do the same drill as you do for a cantaloupe.
11. Watermelon
Here’s another easy one.
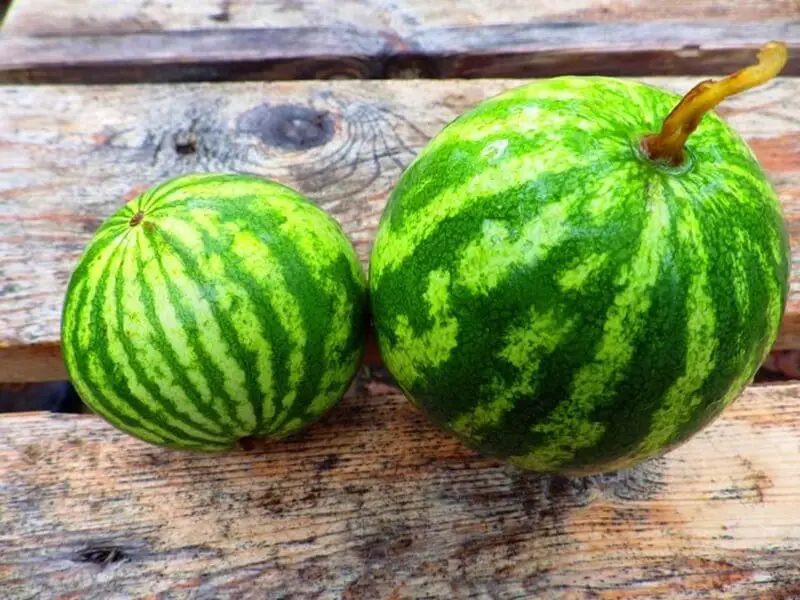
Pick out or flick out the seeds into a colander and rinse well will tossing around with your hand.
Put the seeds on a plate to dry for a couple of days.
Pick the seeds off the plate and plant or store.
The List Goes On…
There are other possibilities. It all depends on what’s available at the grocery store. If it’s a fruit or vegetable with seeds inside, you have a chance to see if they’ll sprout in your garden. Maybe dedicate a corner of your garden to your grocery store seed experiments.
By the Way…
There’s another way to beat the system using seeds from a grocery store. Buy an herb or spice seed in a jar, especially when it’s on sale. Possible candidates that could actually germinate from seeds sold in jars include:
- Celery seeds
- Chia seeds
- Coriander
- Cumin seeds
- Dill seed
- Flax seeds
- Mustard seeds
- Sesame seeds
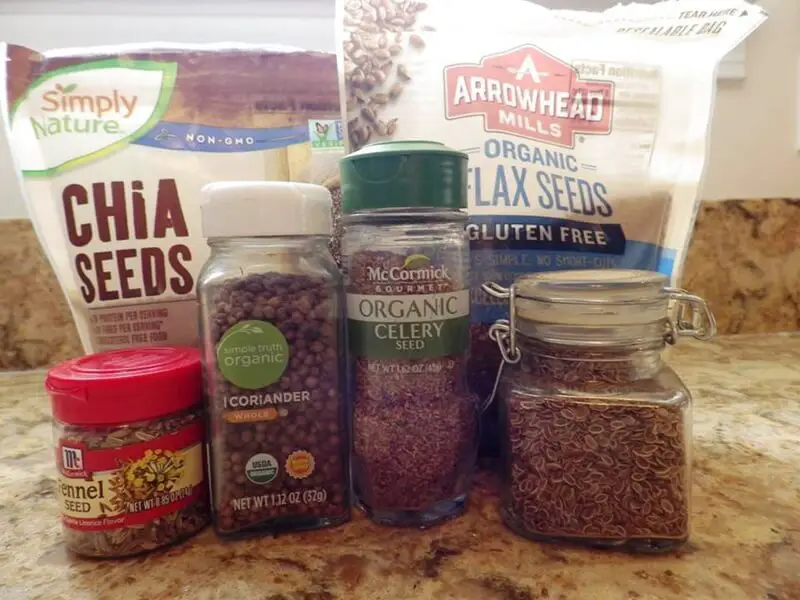
No guarantees, but toss some seeds from an herb or spice jar in a planter or flower pot and see what happens. You may be pleasantly surprised. And once again, the number and amount of seeds you’ll get from a jar beats the pants off the price you’d pay for those same seeds in a little package from a garden center or nursery.
One tip for growing spice seeds is to germinate them between two consistently wet paper towels for about a week before transplanting into the garden or a pot. This is especially true for sesame seeds, cumin seeds, and celery seeds.
And While You’re At It…
You can grow beans from those small bags of dried beans you find on the shelf. You know, the pinto beans, black beans, and even the dried peas and green beans. The germination rates run at about 50%, but you’re getting thousands of beans for a couple of bucks.
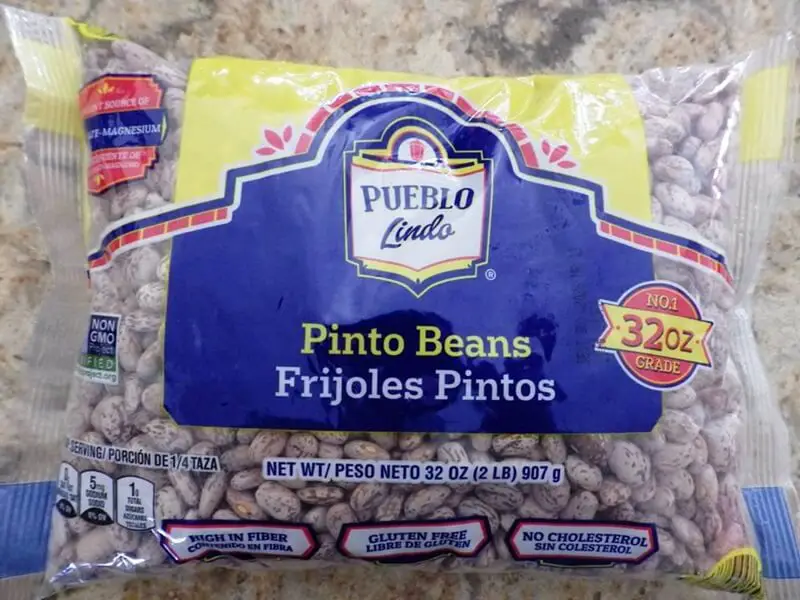
There’s no special prep necessary. Just plant them dry about an inch deep and give them plenty of water until they sprout. It’s another experiment worth trying.
Make it a Regular Habit
How often do we bring a fruit or vegetable home and just toss the seeds we find inside? Maybe it’s worth remembering to make a little extra effort to save those seeds. Some of us do it with our gardens in the fall, but now you can think about harvesting seeds year-round.
And don’t forget those tricks with seeds from the spice rack and dried beans in the bags. It won’t always work, but if it saves money and lets you create an emergency seed bank, why not?
Like this post? Don't Forget to Pin It On Pinterest!
You May Also Like:


you can replant those root vegetables and harvest leaves from them and let them go to seed and collect the seeds that way.