Estimated reading time: 8 minutes
Have you ever heard of bannock bread? It's a simple term, stemming from Latin roots meaning “baked bread”- but bannock is often cooked over a fire rather than in an oven. And it's a valuable recipe to keep in your back pocket, especially if you're a homesteader.
This bread is also very universal and easy to customize, perfect for jams, as a side, or as part of a whole meal. Whether you choose to make a more traditional Scottish bannock bread or a Canadian version, bannock deserves a place at your table.
Want to save this post for later? Click Here to Pin It On Pinterest!
Variations of Bannock
Bannock has countless variations given its significance in many locations and cultures throughout the ages. This is an ancient and easy-to-make bread, meaning it has a different interpretation depending on who you talk to.
The Scottish version of bannock usually contains oats, whole wheat flour, and some sort of dairy with buttermilk being the preference. This style of bannock usually comes out scone-like or more similar to biscuits, and is often baked as a whole loaf rather than smaller pieces.
The Canadian version of bannock, given to the Indigenous population by the Scottish, has a few key differences. It involves no dairy or oats, and is traditionally fried over a fire instead of baked. It is a crispier bread with a more versatile texture.
There are countless variations of bannock, and even individual families have their preferred recipes. Either way, bannock is a useful and yeast-free bread, capable of rising without much effort. Plus, it is delicious when add other ingredients to your dough such as:
- Honey
- Cinnamon
- Fresh herbs
- Dried fruit
- Cheese
- Meats
- Fish
- Vegetables
You can stuff bannock as well and create something entirely your own. It is a recipe that is made to be altered while still paying homage to its usefulness in the past!
Reasons You Should Make Bannock
You may choose to make bannock for many reasons. It is ideal (and traditionally made) to be cooked over an open flame or campfire – if you are a homesteader with fire being your only source of heat or cooking, it is a very forgiving bread for this.
Bannock also requires very few ingredients. The Scottish version usually calls for a few more items than the Canadian version, which is why this article focuses on the making of the Canadian version – simple is always better when it comes to homesteading.
Given that bannock doesn’t need many ingredients, you can easily transport what you need to make bannock anywhere you go. You can camp with bannock ingredients, backpack with them, and more. All ingredients in Canadian bannock are shelf-stable and portable!
Finally, bannock doesn’t require much skill to make. It is highly forgiving, and easy to achieve a delicious and wholesome bread without very much effort. If you are looking for an easy side dish or a base for a grander meal, bannock may be the best of both worlds.
Given its flexibility and ability to be made over an open fire, bannock is traditionally made in a cast iron skillet. However, if you are backpacking or hiking, bannock can also be made to wind around sticks or other cooking utensils, then placed over a fire. The simpler the better, and that’s what makes bannock a great option.
Bannock Bread Recipe
Makes roughly 8 bannock bread rounds or one 12 inch cast iron loaf; serves 4.
Ingredients:
- 1 ½ cups flour (your choice)
- 1 teaspoon salt
- 1 tablespoon baking powder
- ⅛ cup fat of your choice (vegetable oil, butter, shortening, lard, coconut oil, etc.)
- 1 ¼ cups water or milk
- Oil for frying; less oil if choosing to bake instead
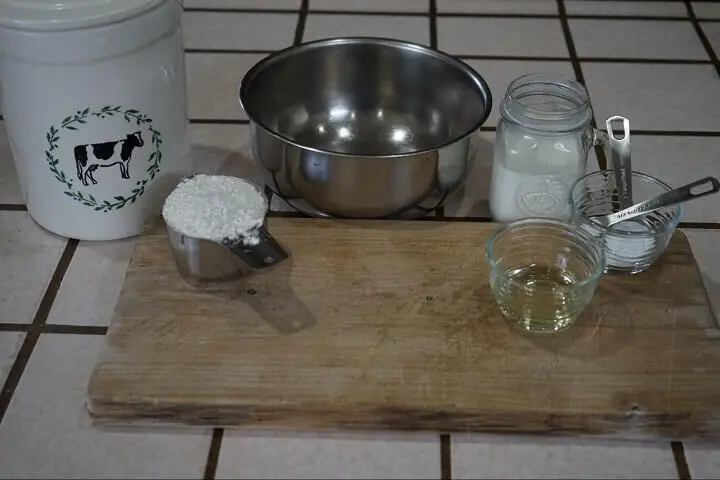
You can choose to fry this version of bannock or bake it. The baked loaf version will usually keep longer if that is something you are interested in. I have chosen to fry this version today in my seasoned cast iron skillet for extra flavor!
Directions:
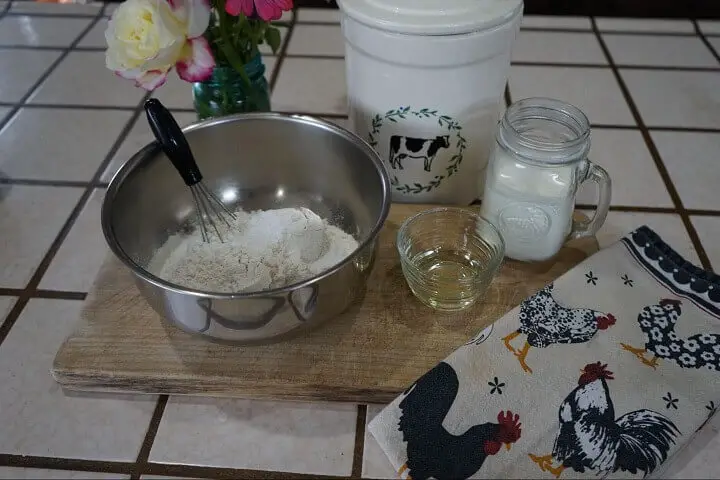
1. Sift all of your desired dry ingredients together using a metal sifter, bowl, or even a plastic bag. Make sure all dry ingredients are evenly incorporated and form a well in the center.
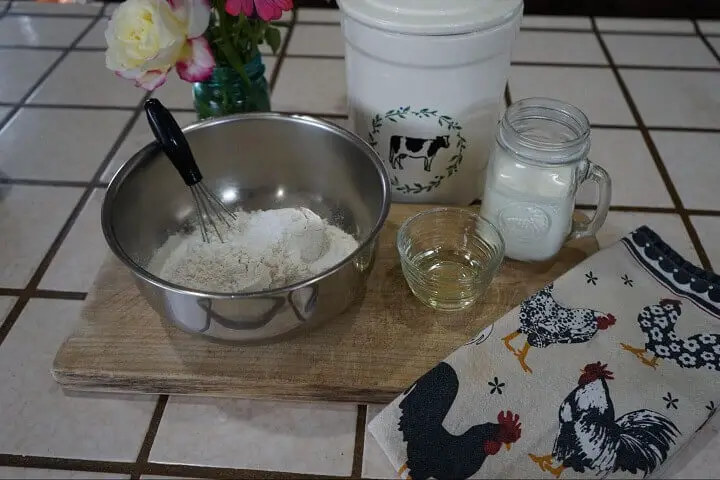
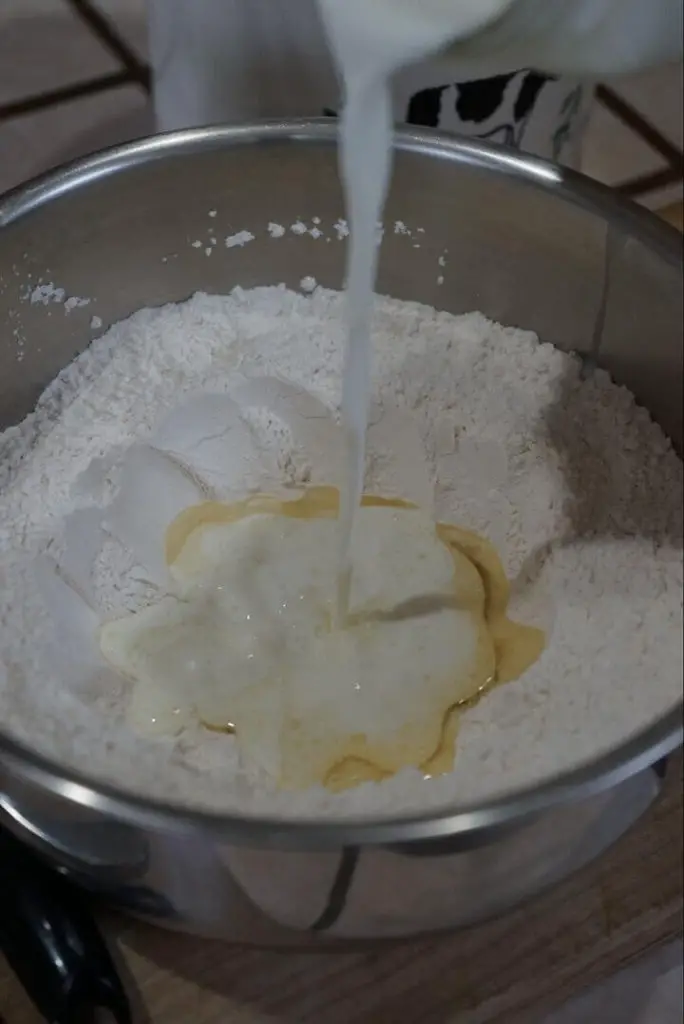
2. Add in your liquid (either water or milk) and your chosen fat. Add in the liquid slowly, until the dough is just beginning to combine; you may not need the full amount of water or milk.
3. Stir it up as well as you can.
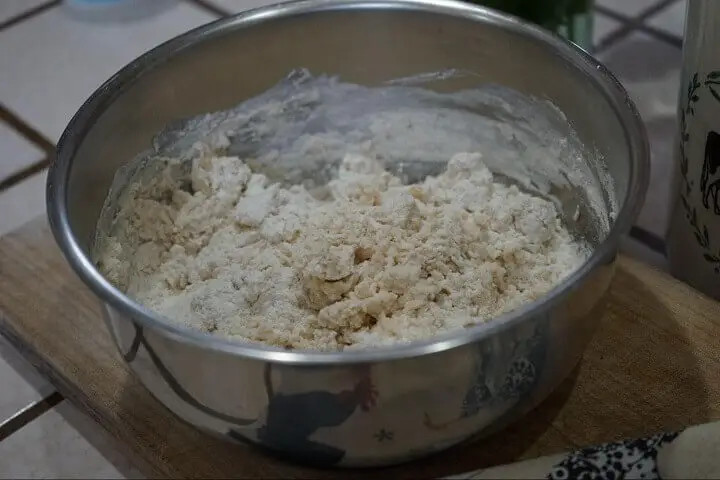
4. Knead the dough. You do not need to do this for very long, just until the dough comes together. It will be sticky, so ensure that you are working on a floured surface.
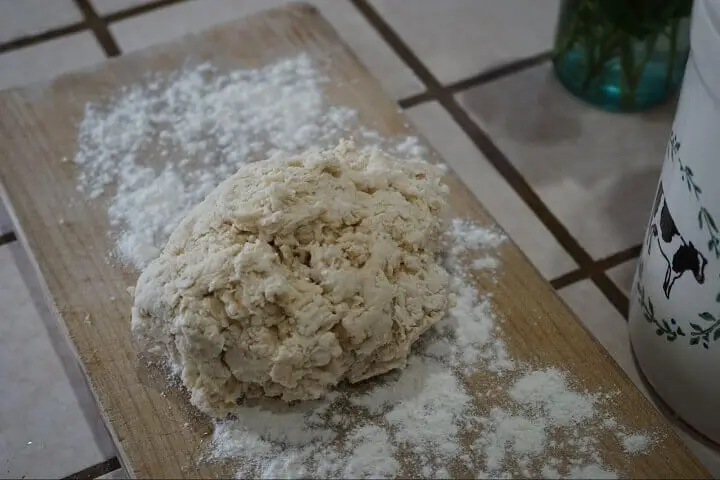
5. Start shaping the dough into a ball.
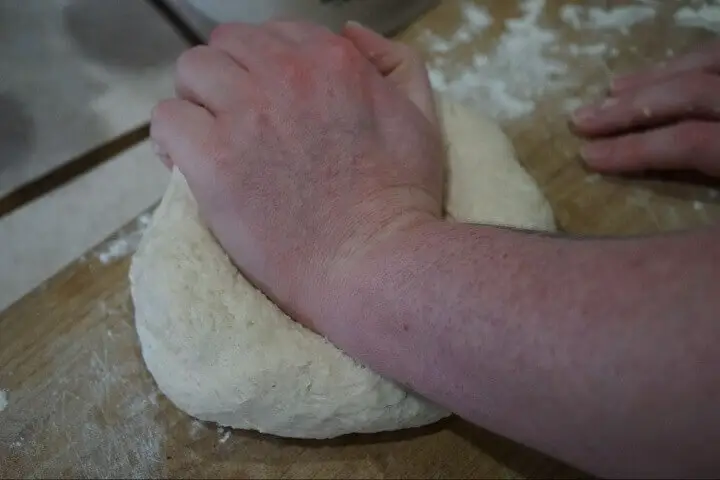
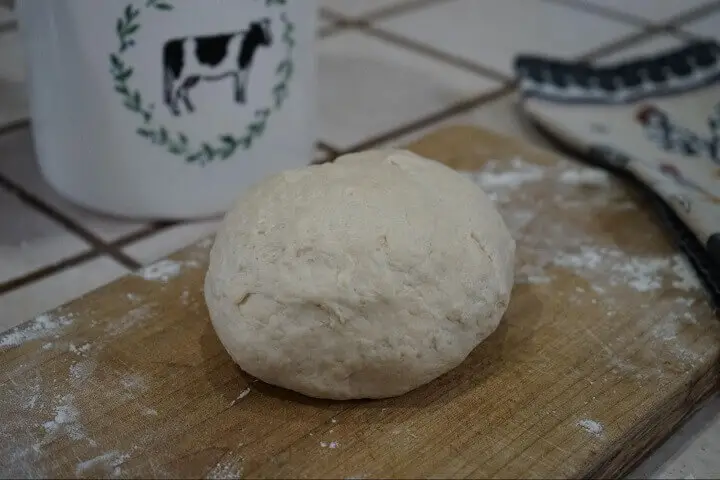
6. Shape the dough. While you can shape your dough into a wide variety of configurations, hand-shaping it into disks about 3-5 inches in diameter works well. You will want to get them to a thickness of about half an inch as they will puff up some when cooked. However, bannock is a very flexible dough and works well in a variety of shapes – have some fun with it, especially if you choose to bake it instead of fry.
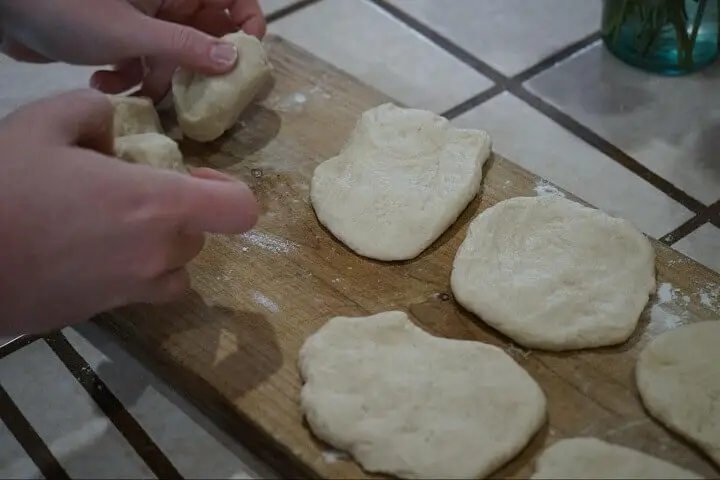
7. Once your oil is hot, add in your breads one disk at a time.
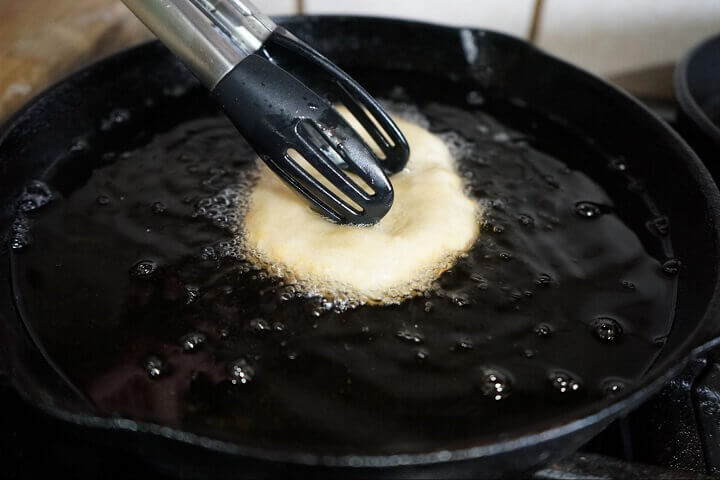
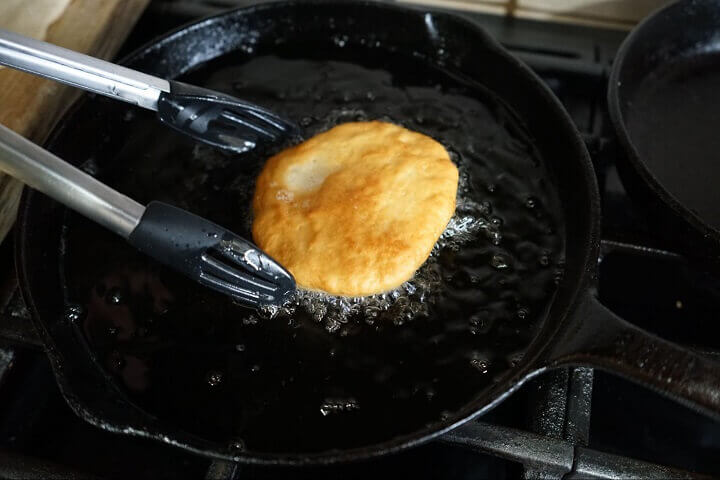
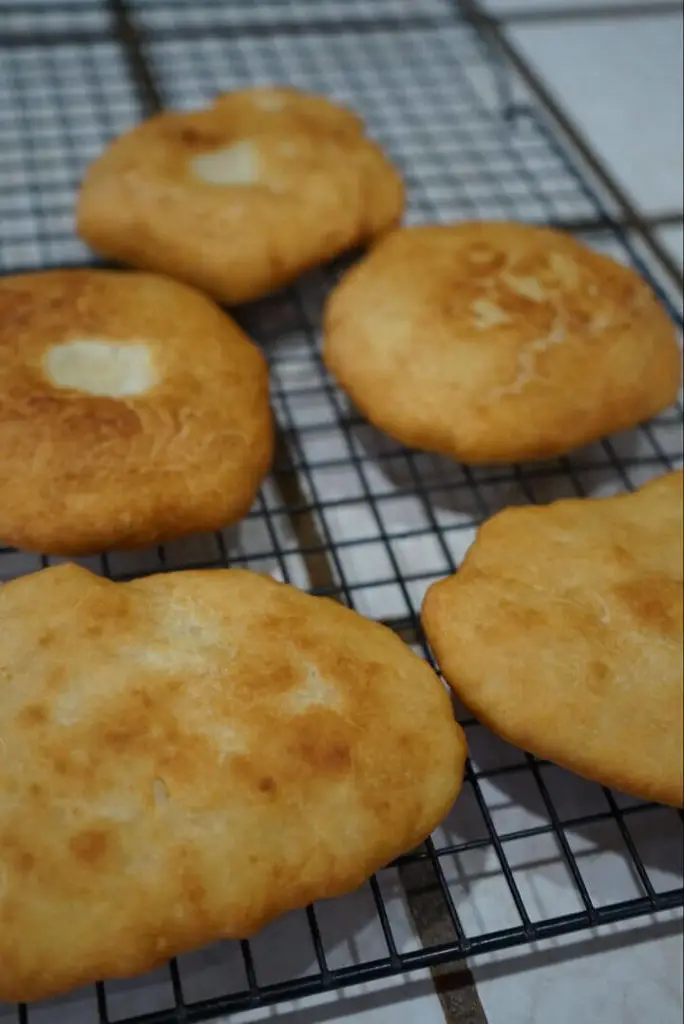
8. Fry for 1-3 minutes on one side, then flip. Remove from the oil once golden and set on paper towels or a wire rack to drain.
Baking Instead of Frying
If you choose to bake your bannock, set your oven at 350 degrees and make a dough patty the same size as your greased cast iron skillet. Bake for ten minutes, flip your bannock, and bake for another 7 minutes or so, keeping an eye on its golden color.
Enjoy!
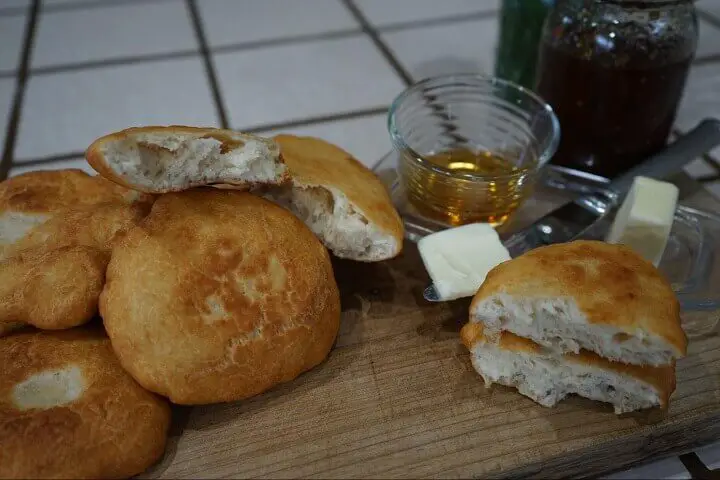
Having such a flexible recipe means that you can make bannock however you like. Eat these fried disks fresh, or keep in an air-tight container for up to three days.
Like this post? Don't Forget to Pin It On Pinterest!









How would you store for long term storage and about what is the shelf life, thanks
If you store it in a sealed plastic bag, it should last a couple of months. If you store it in a Mylar bag with an oxygen absorber, it will last even longer, although I don’t know exactly how much longer. The main benefit of bannock isn’t its shelf-life but how easy it is to cook in a grid-down scenario. You only need five ingredients, and you don’t even need an oven; you could make it in a cast-iron pan over a campfire.
Gosh, this kinda looks and sounds a lot like Indian (Navajo) Fry-Bread, which is very delicious indeed! Makes some awesome Indian tacos if you put taco fixin’s on them! Totally YUM!