Estimated reading time: 7 minutes
Paneer cheese is a mild-flavored cheese made from milk and lemon juice. This is one of the easiest types of cheeses to make, and it is typically served with flavorful Indian dishes such as Tikka Masala.
What is Paneer?
Paneer is an Indian cheese. It is an unaged type of soft cheese that doesn’t melt. It has a very mild milk flavor and a soft, crumbly texture.
The process of making paneer is very simple. First, you heat your milk to a gentle boil, turn off the heat, add your lemon juice, and stir until curds form. Drain and rinse your curds, then pack them tightly and allow them to rest. Once firm, you have paneer cheese that you can cut, eat, or serve with spicy foods.
Paneer is typically made from cow’s milk, although you could also use goat or buffalo milk. Goat milk curds will be smaller than cow milk curds.
Want to save this post for later? Click Here to Pin It On Pinterest!
Why Make Paneer?
Paneer is a delicious fresh cheese that is easy to make. It’s a great way to preserve milk if you have too much, especially if you milk your own cows or goats.
Homemade paneer is a little softer and more crumbly than store bought paneer, which can tend to be a little on the chewy side. It has a nice, fresh, and mild flavor.

Ingredients
- 8 cups of whole milk
- 5 tablespoons lemon juice or white vinegar
Tools
- Large Pot
- Large Bowl
- Strainer
- Cheese Cloth
- Wooden Spoon
- Measure tools
How to Make Paneer
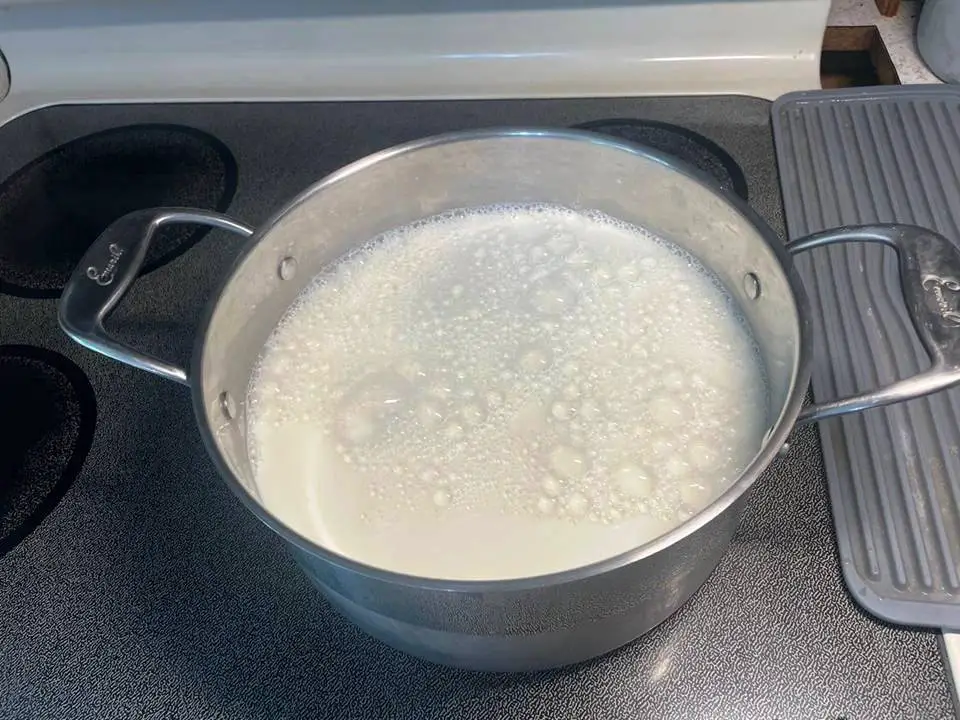
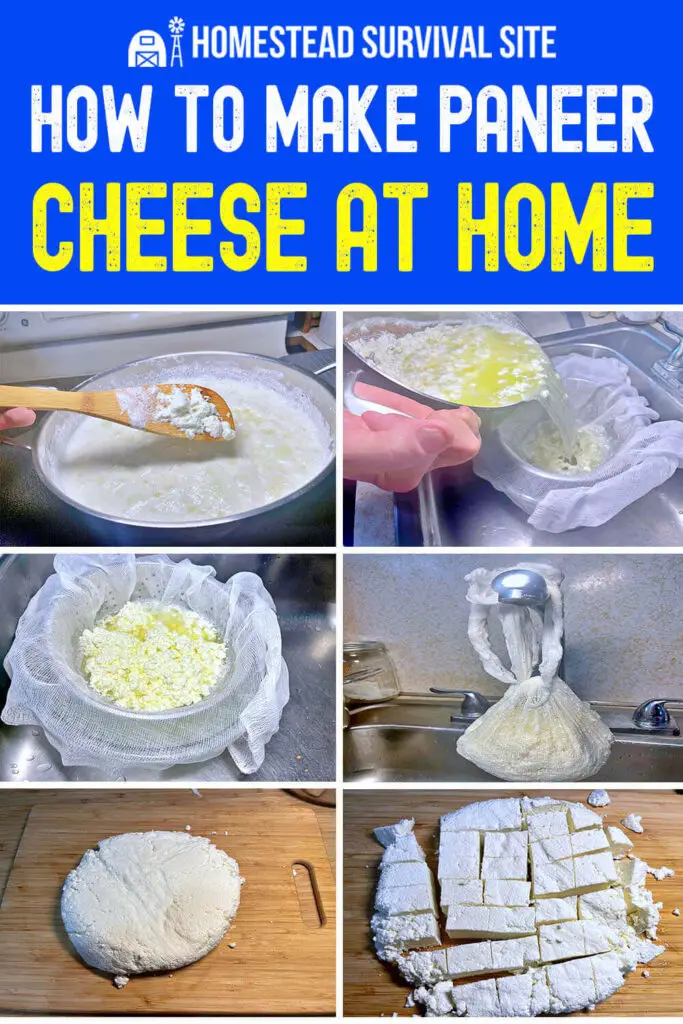
- First, measure and pour your milk into a large, wide pot. A heavy-bottomed pan helps to prevent the milk from scorching. Adjust the recipe to make as little or as much as you need, but try to keep the proportions the same.
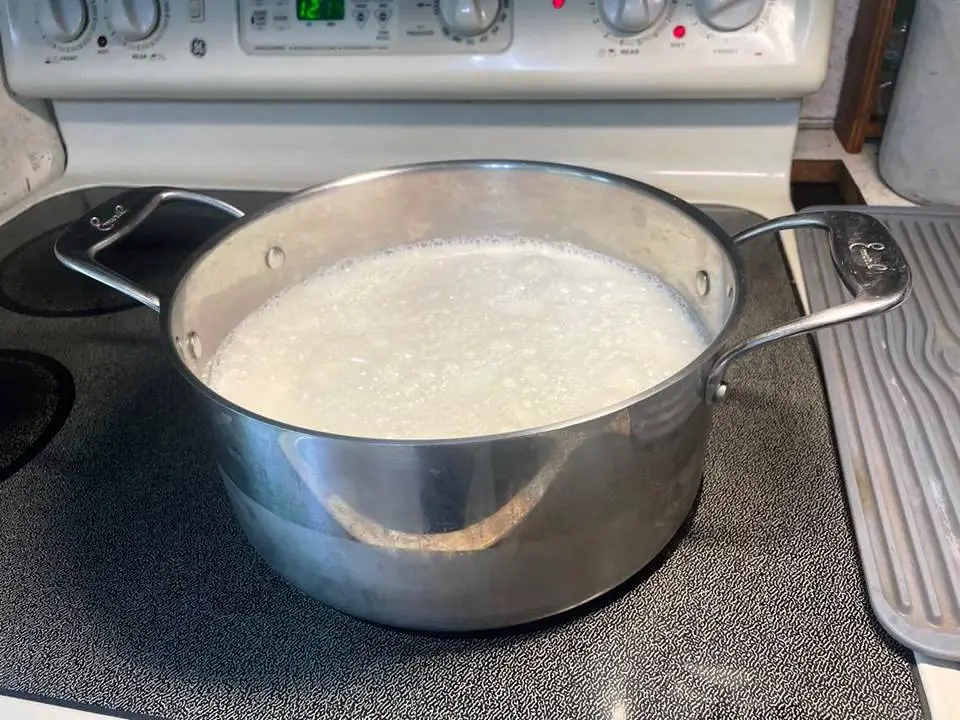
- Heat the milk over medium heat until it reaches a gentle boil. Stir the milk occasionally so it doesn’t scorch on the bottom.
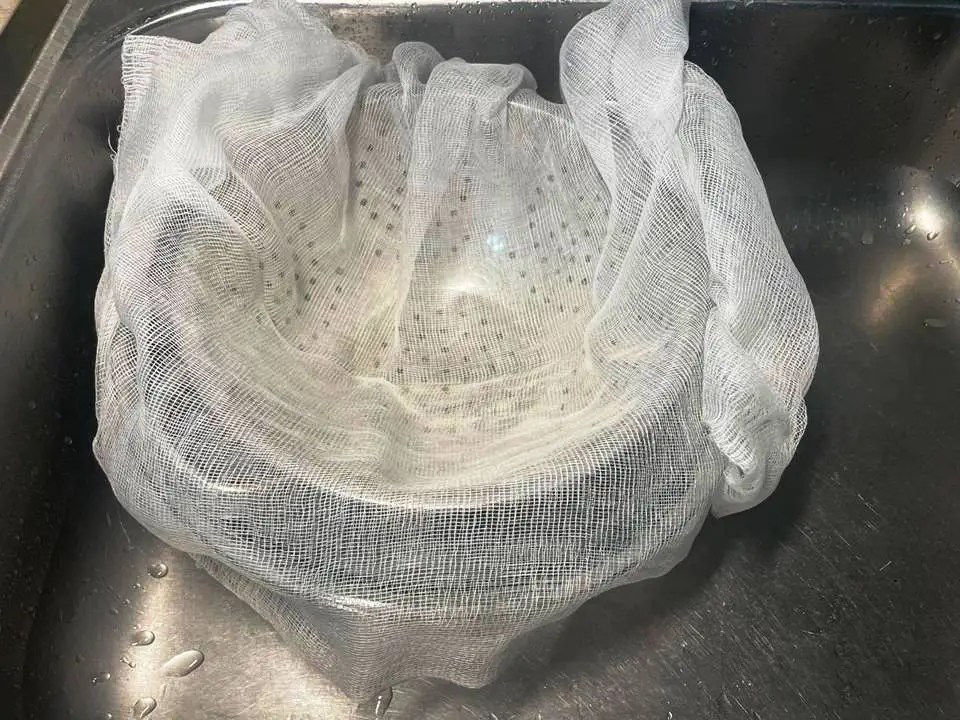
- While the milk is starting to boil, measure out the vinegar or lemon juice and set up your strainer. Set your strainer or colander over top of a large bowl. Line the strainer with a piece of cheesecloth.
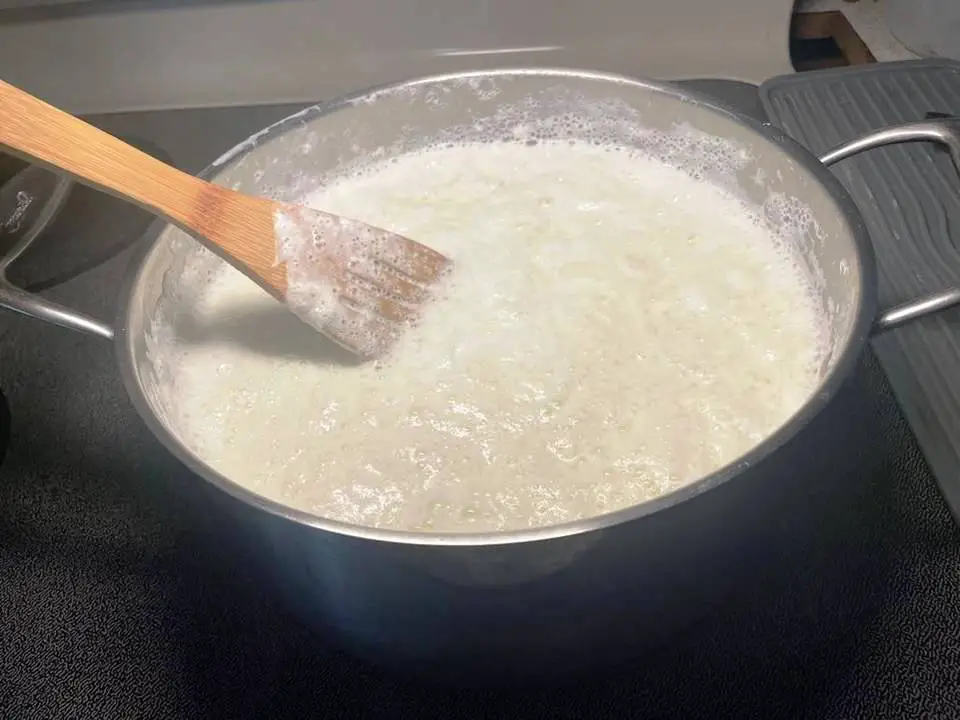
- Once the milk hits a gentle boil, then turn off the heat and pour in your lemon juice or vinegar. Stir gently and allow the milk to curdle.
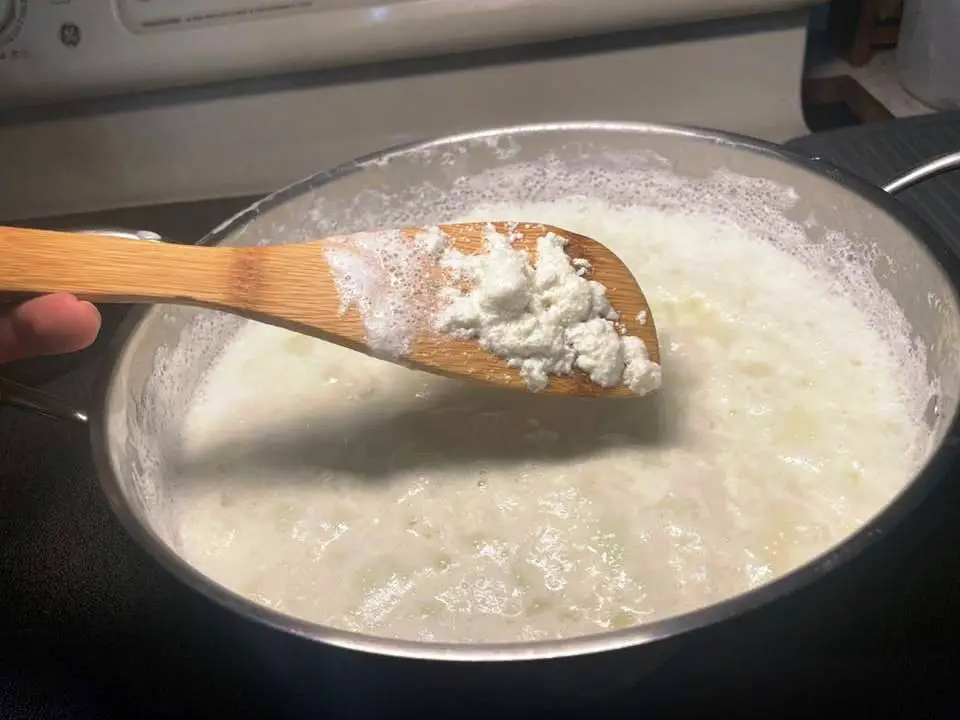
- You’ll know the milk has curdled when it has separated into white curds and a clear, yellowish liquid. If the milk doesn’t curdle, add another tablespoon or two of vinegar and bring the milk back to a boil.
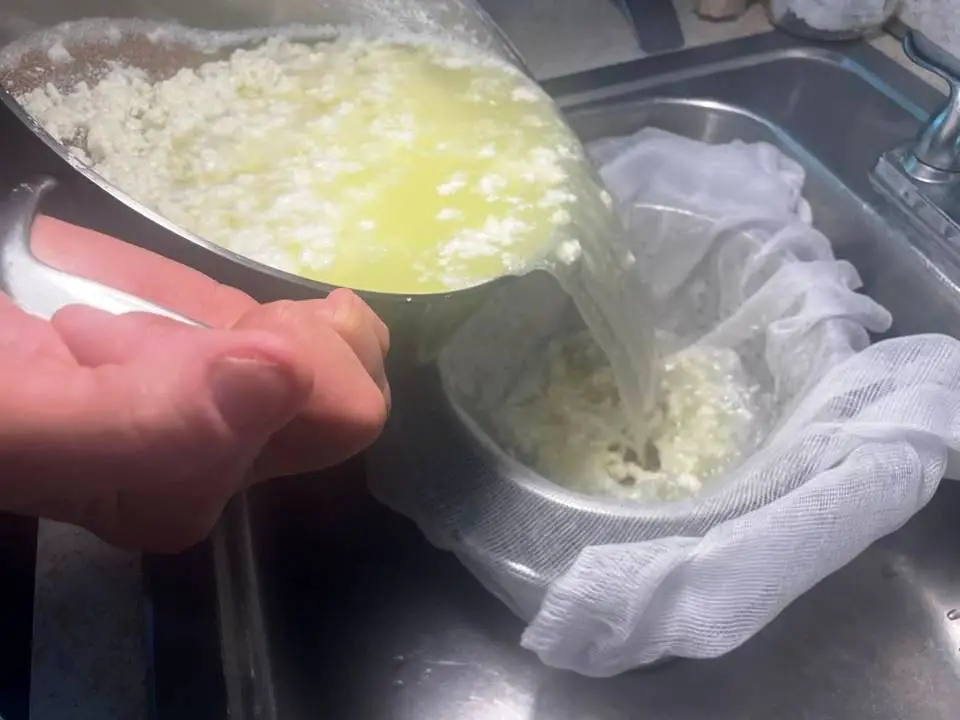
- Pour the curdled milk through the cheesecloth and strainer.
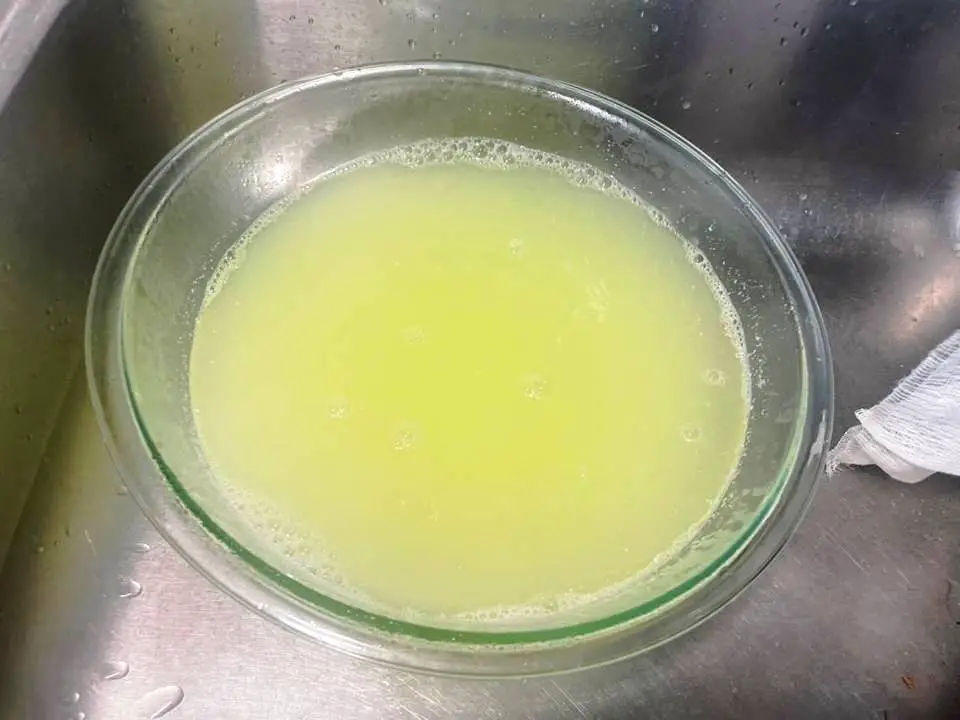
- You can save the clear liquid, also called whey, for later if you like. Set it aside.
- Rinse the vinegar or lemon juice out of your curds.
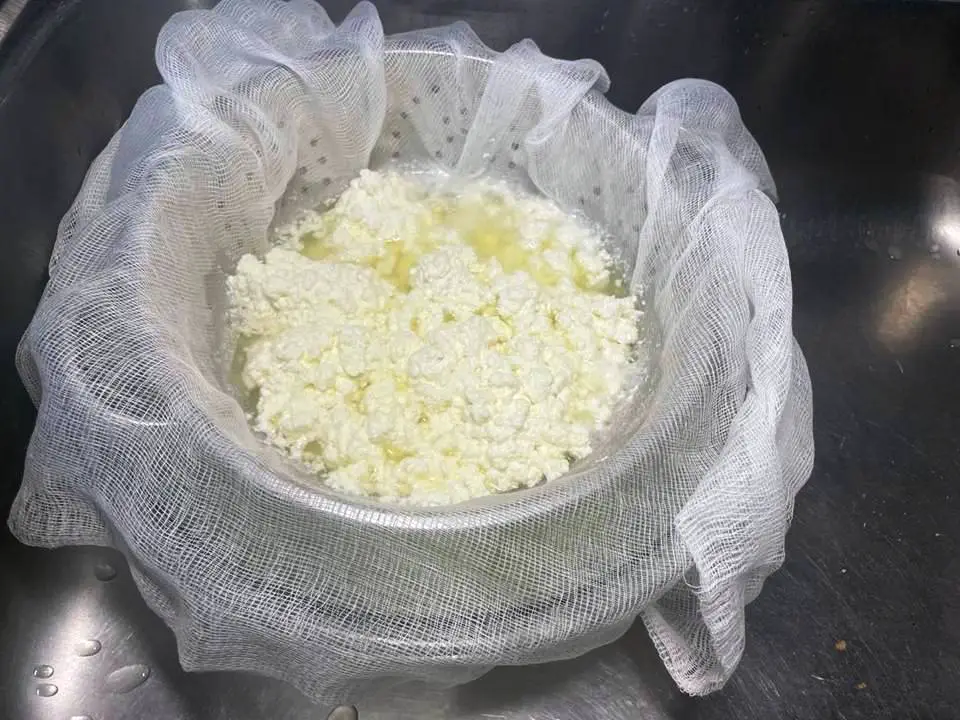
- Once the whey and water have drained, pull the ends of the cheesecloth up around your cheese. Tie a knot to keep the cheesecloth snug around the cheese.
- Gently squeeze your cheese to get out any excess water.
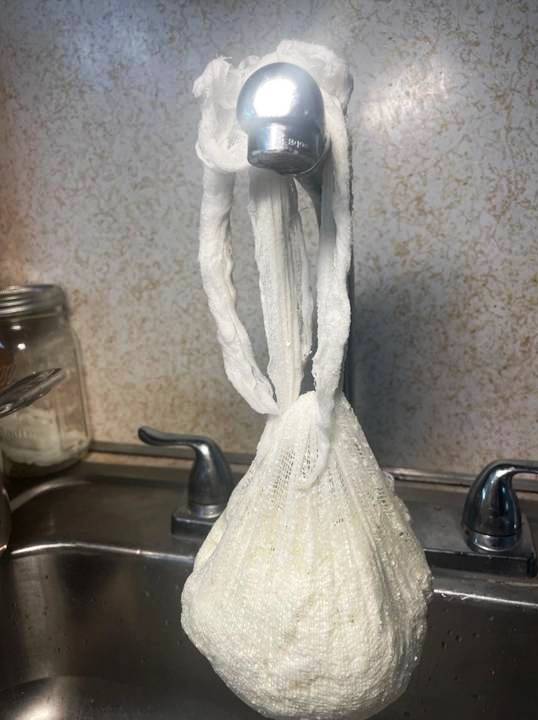
- Use the ends of the cheesecloth to hang your curds over your sink so they can continue to drain for at least half an hour.
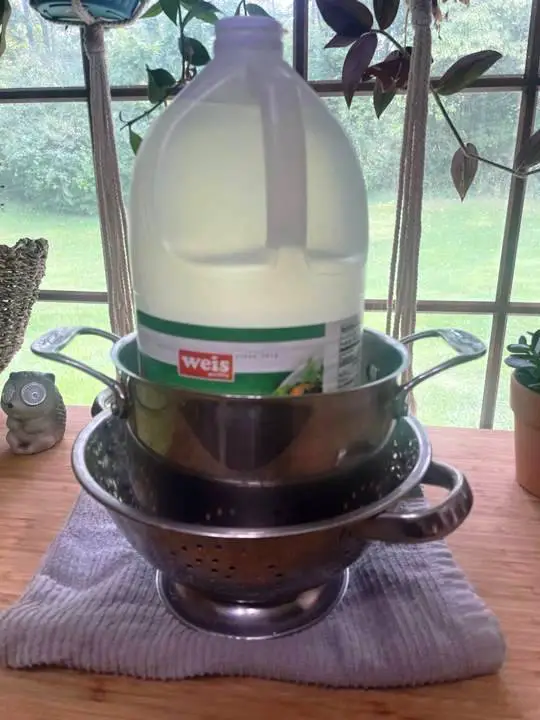
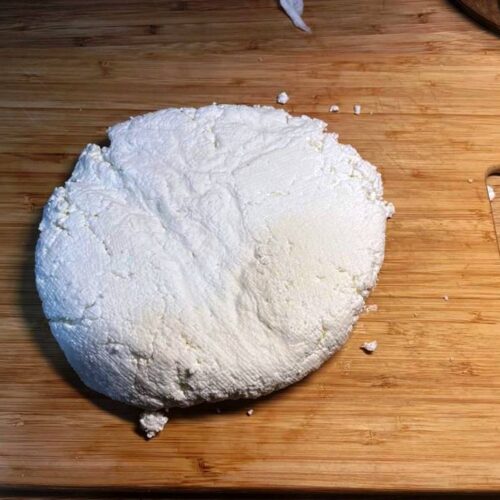
- Leaving the curds in the cheesecloth, press it into a disk shape. Then, set something large and heavy on top. Allow it to rest for 3 or 4 hours.
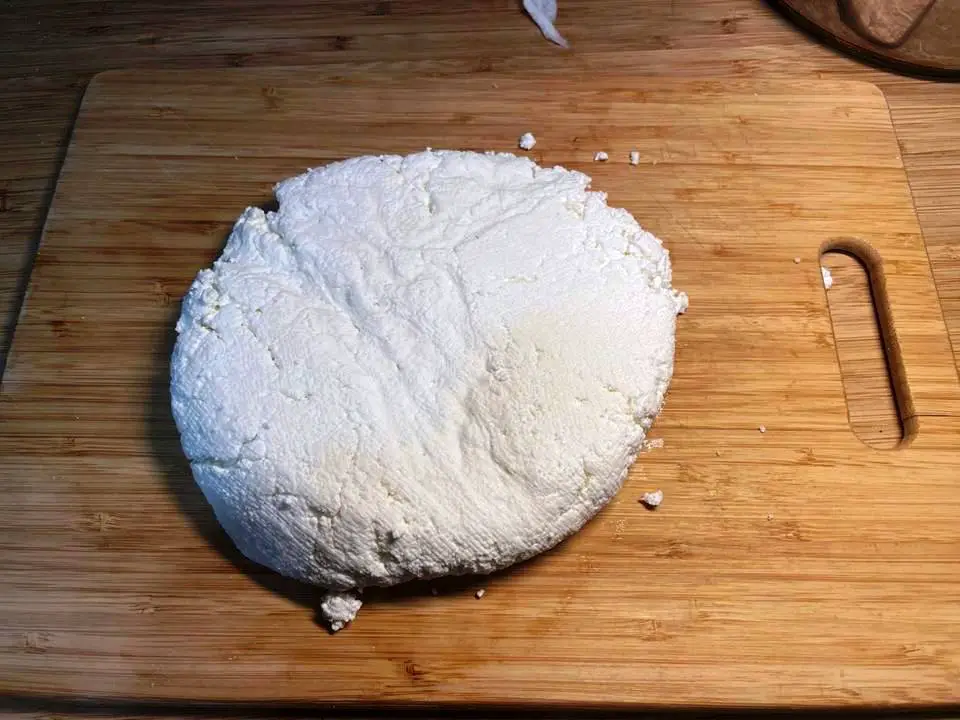
- Once the cheese is somewhat firm, you can remove the weight and the cheesecloth.
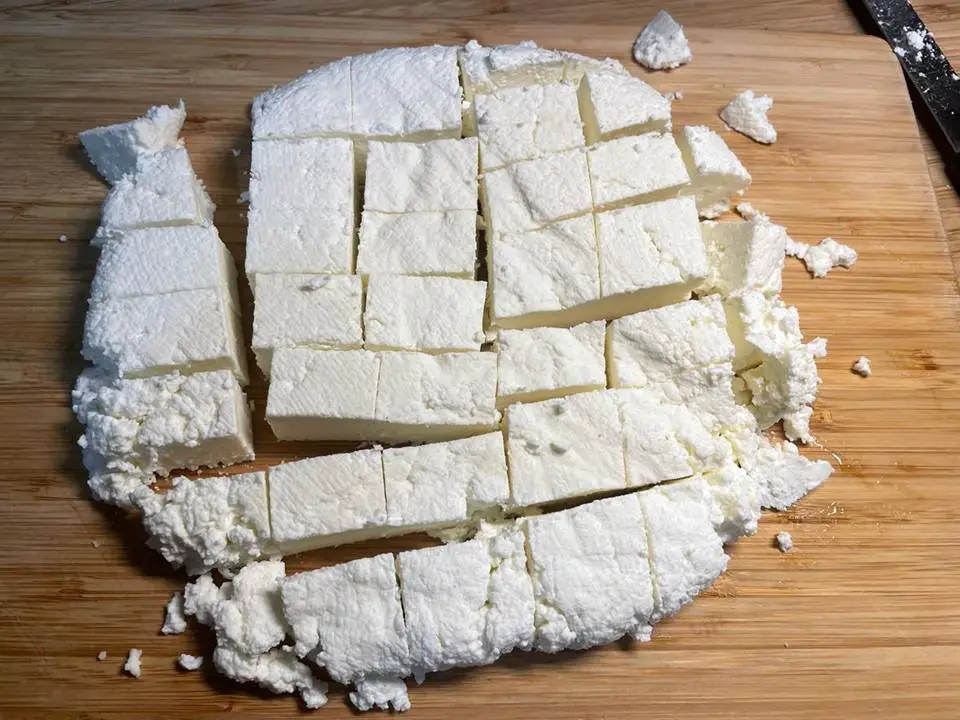
- Cut the cheese into usable pieces. Place in an airtight container to store in your refrigerator for up to 30 days, or freeze in portion-size pieces.
How to Use Paneer
You can eat paneer just as-is for a light, delicious snack. You can serve it with crackers or mix it into sauces. On the other hand, you can even fry it or serve it in spicy dishes.
What to Do with the Whey
Whey is a high protein by-product of making cheese. It isn’t too appetizing on its own, but it makes a great additive to smoothies and soups. This type of whey is slightly acidic and may have a mild bitter taste but it would work well mixed with other, flavorful ingredients.
Like this post? Don't Forget to Pin It On Pinterest!
Paneer Cheese
Equipment
- 1 Large pot
- 1 Large bowl
- 1 Strainer
- 1 Package of cheesecloth
- 1 Wooden spoon
- 1 Set of Measure cups and spoons
Ingredients
- 8 cups whole milk
- 5 tbsps. lemon juice or white vinegar
Instructions
- First, measure and pour your milk into a large, wide pot. A heavy-bottomed pan helps to prevent the milk from scorching. Adjust the recipe to make as little or as much as you need, but try to keep the proportions the same.
- Heat the milk over medium heat until it reaches a gentle boil. Stir the milk occasionally so it doesn’t scorch on the bottom.
- While the milk is starting to boil, measure out the vinegar or lemon juice and set up your strainer. Set your strainer or colander over top of a large bowl. Line the strainer with a piece of cheesecloth.
- Once the milk hits a gentle boil, then turn off the heat and pour in your lemon juice or vinegar. Stir gently and allow the milk to curdle.
- You’ll know the milk has curdled when it has separated into white curds and a clear, yellowish liquid. If the milk doesn’t curdle, add another tablespoon or two of vinegar and bring the milk back to a boil.
- Pour the curdled milk through the cheesecloth and strainer.
- You can save the clear liquid, also called whey, for later if you like. Set it aside.
- Rinse the vinegar or lemon juice out of your curds.
- Once the whey and water have drained, pull the ends of the cheesecloth up around your cheese. Tie a knot to keep the cheesecloth snug around the cheese.
- Gently squeeze your cheese to get out any excess water.
- Use the ends of the cheesecloth to hang your curds over your sink so they can continue to drain for at least half an hour.
- Leaving the curds in the cheesecloth, press it into a disk shape. Then, set something large and heavy on top. Allow it to rest for 3 or 4 hours.
- Once the cheese is somewhat firm, you can remove the weight and the cheesecloth.
- Cut the cheese into usable pieces. Place in an airtight container to store in your refrigerator for up to30 days, or freeze in portion-size pieces.
How to Use Paneer
- You can eat paneer just as-is for a light, delicious snack. You can serve it with crackers or mix it into sauces. On the other hand, you can even fry it or serve it in spicy dishes.
What to Do with the Whey
- Whey is a high protein by-product of making cheese. It isn’t too appetizing on its own, but it makes a great additive to smoothies and soups. This type of whey is slightly acidic and may have a mild bitter taste but it would work well mixed with other, flavorful ingredients.
You May Also Like:










Wow this is a cool idea.
I imagine this wouldn’t work well with reduced fat milk but HOW bad would it turn out?! Lol! … What can I make with 2%, etc, before it goes bad? Thanks, I appreciate all the great ideas I find here!