Estimated reading time: 8 minutes
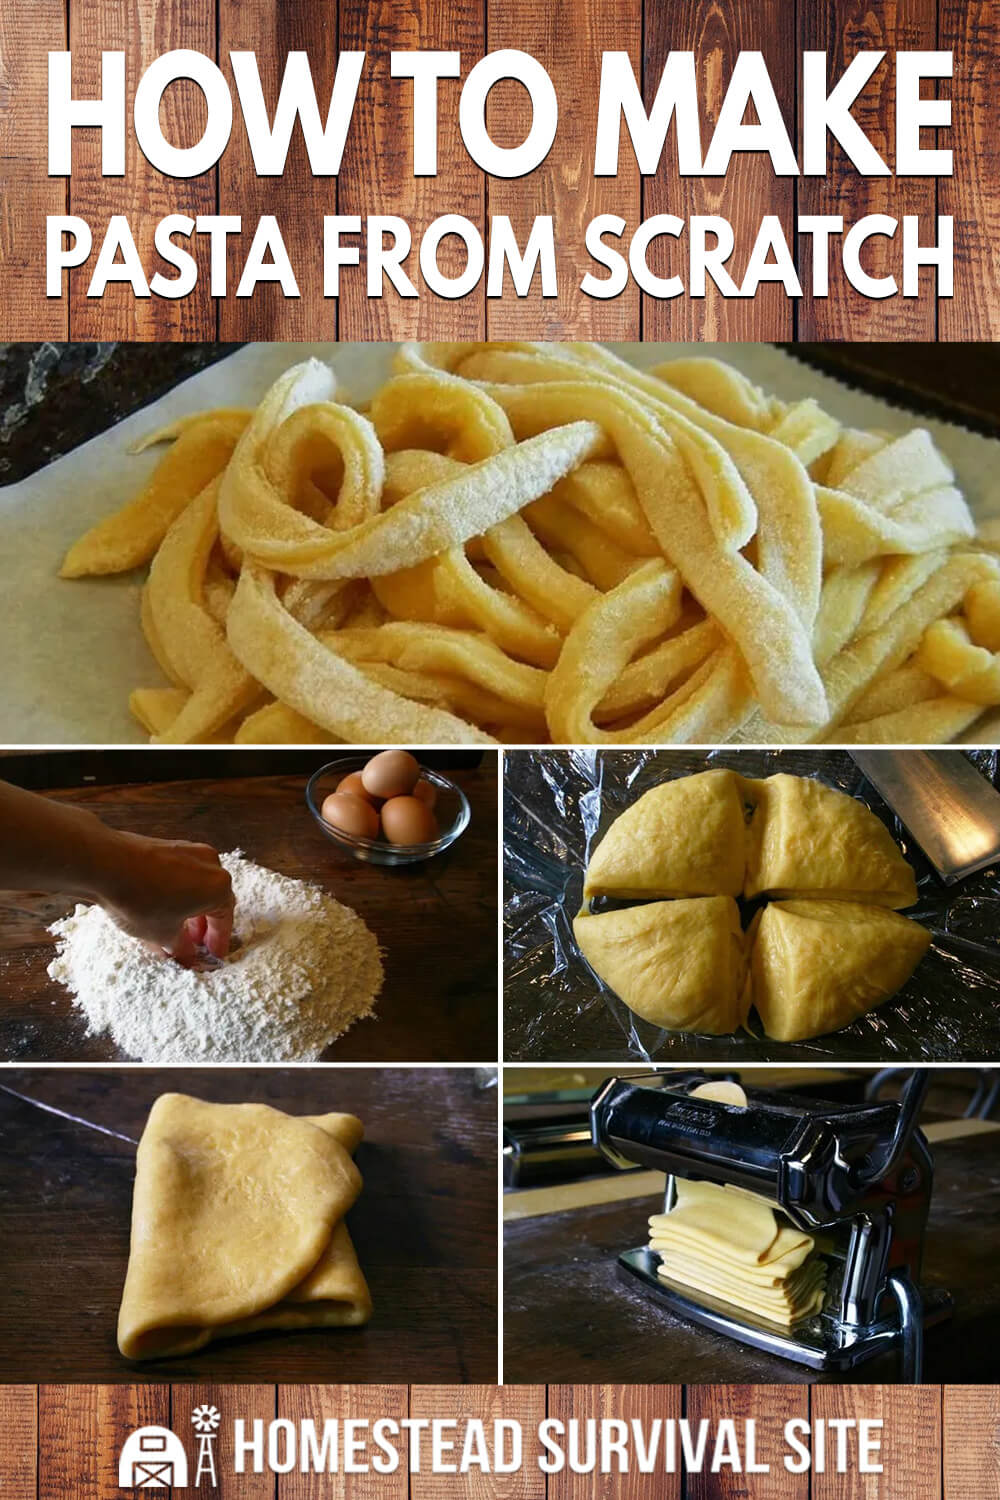
If you’re like me, you probably love the thought of being able to conjure up gorgeous sourdough loaves and silky, authentic homemade pasta without batting an eye. But the reality of such classic, homespun kitchen wizardry can be daunting.
I’ve got some good news: homemade pasta is really easy. (So is sourdough, but that’s another post for another day.) You can have a batch ready to serve in less than 30 minutes.
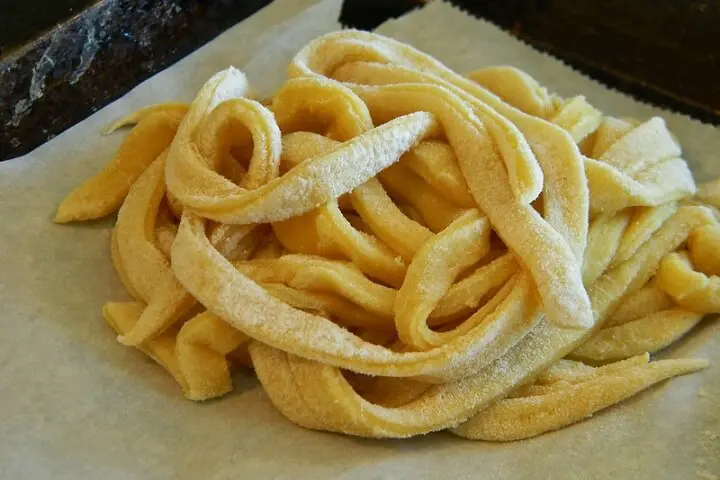
Golden, chewy, and delicious, fresh pasta is a great meal to serve your guests. If you have hens laying loads of eggs, it’s also a perfect way to put some of that bounty to use. Even better, if you have fresh herbs, edible flowers, and other pigment-rich produce around, you can experiment with making fancy colored and flavored variations.
Two words: crowd pleaser. But there’s no need to take it to the next level; ordinary homemade pasta is already impressive and extraordinary enough without any added flair.
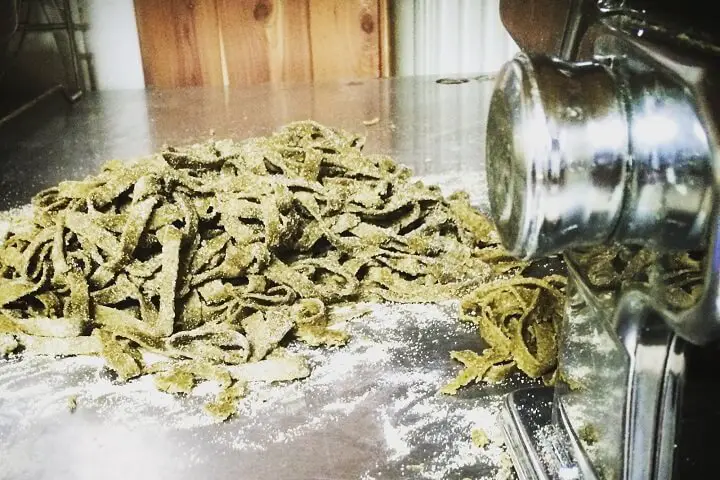
If you look up pasta recipes, you’ll find a lot of varying opinions on what type of flour to use. People love 00 flour for its fine, silky finished product. Others swear by semolina for its authenticity and “tooth.”
Honestly, you can use virtually any flour to make pasta, including gluten-free mixes if that’s your preference. However, when experimenting with non-gluten flours, expect a much less elastic dough that will be more challenging to work with and might demand slightly different proportions than this recipe.
Note: You can make pasta in a food processor, a standing mixer, or by hand. I prefer working by hand but will include some instructions for all methods. I highly recommend a pasta-making machine, but every Italian nonna back in the motherland would scoff at the notion of using anything but a rolling pin and a knife. I’ve done both, and the pasta maker just produces a more beautiful pasta with less effort, in my opinion.
Ingredients:
This recipe yields one pound of pasta but can be doubled or increased more for a bigger batch.
- 4 large eggs, room temperature (my hens lay small eggs, so I use 5)
- 1 tablespoon of olive oil
- 1 teaspoon of salt
- 2 ½ cups of flour
Instructions:
1. Crack your eggs into a small bowl, taking care to remove any bits of shell.
[Food Processor Users: Skip steps 1-5, and instead put all the ingredients into your food processor and pulse about 10 times, until it is all mixed, then proceed.]
[Standing Mixer Users: Skip steps 1-7, and instead put all the ingredients into your mixer with the dough hook attachment, and mix for about 10 minutes. Make sure the dough is not too wet, adding flour if needed.)
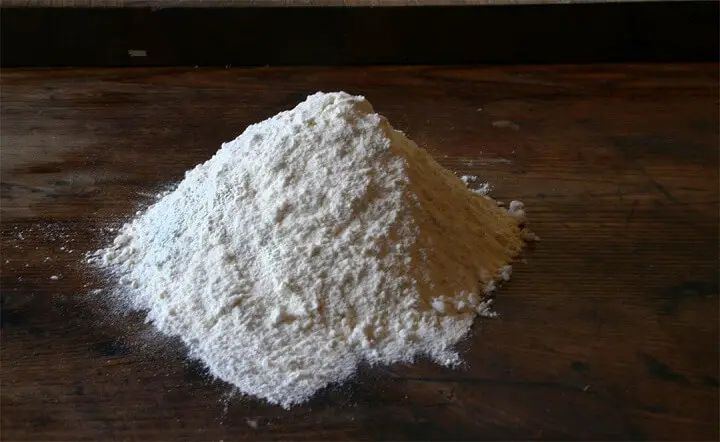
2. Mound your flour into a pile on your cutting board, and then make a well in the center, using your fingertips.
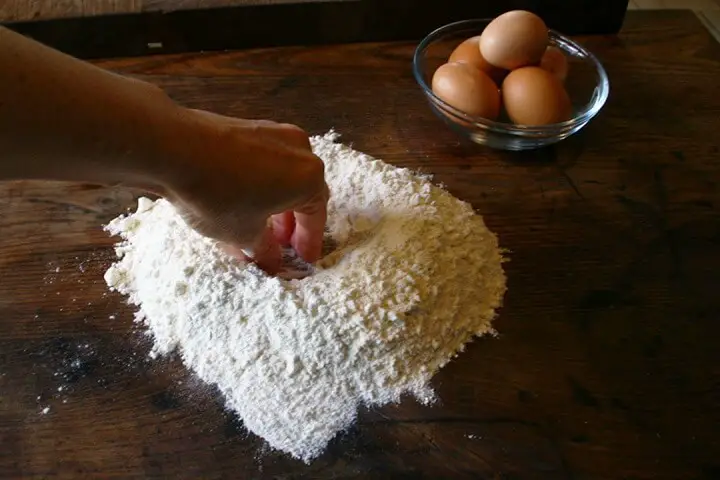
3. Pour the eggs into the well.
4. Gently sprinkle the salt into the eggs, then drizzle the oil onto the mix. Using a fork, gently stir the egg mixture. If some overflows, just fork it back in and push the flour up like a dam.
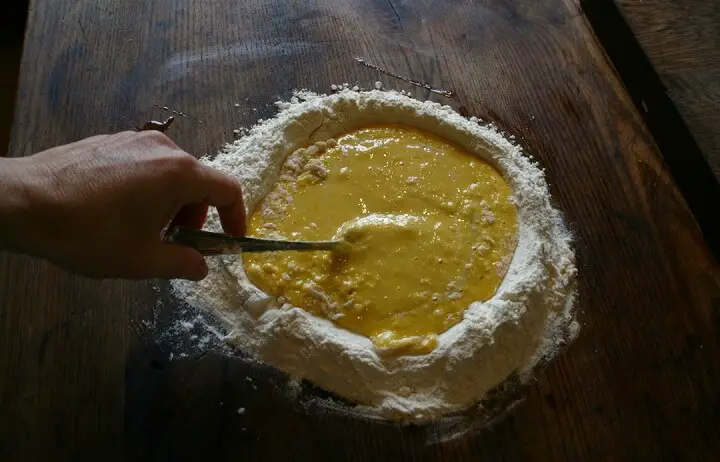
5. Mix the egg, slowly incorporating the flour until you have a nice, thick paste. Continue to mix until the well is gone and all you have left is paste and a smattering of flour.
6. Using your hands to knead the dough, incorporate all of the remaining flour. If you have a pastry scraper, now is a good time to use it to scrape up any dough clinging to the cutting board – but a chef’s knife will also do the trick.
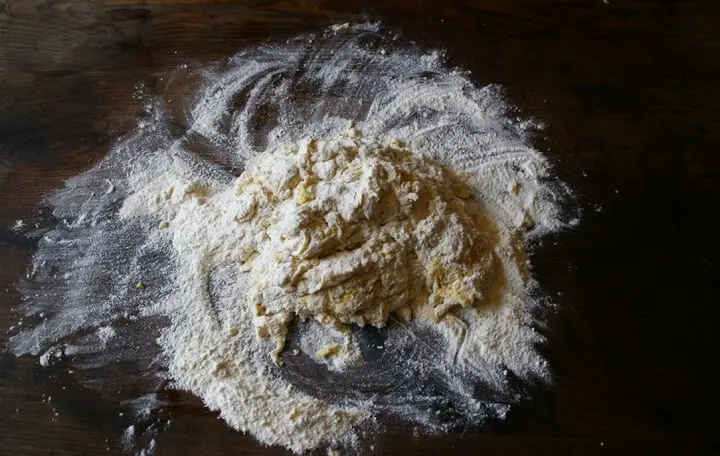
7. Continue to knead the dough until it is soft, smooth, and elastic. This should take around 10 minutes. Add some flour to the cutting board to prevent it from sticking.
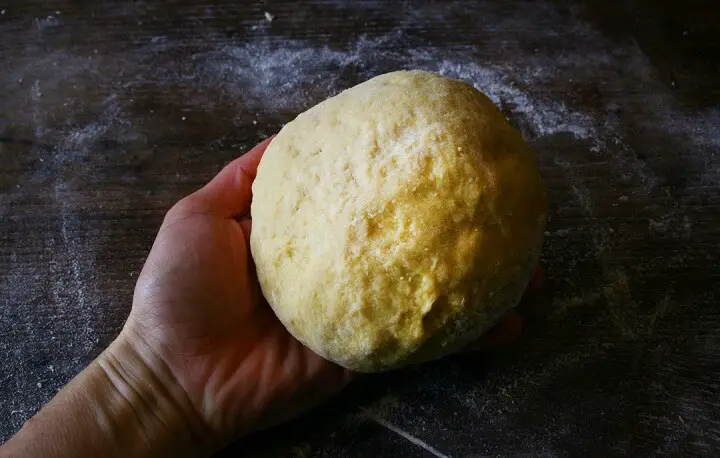
8. Using your hands, form the dough into a nice, round ball and wrap it tightly in plastic wrap. Let it rest for 30 minutes at room temperature.
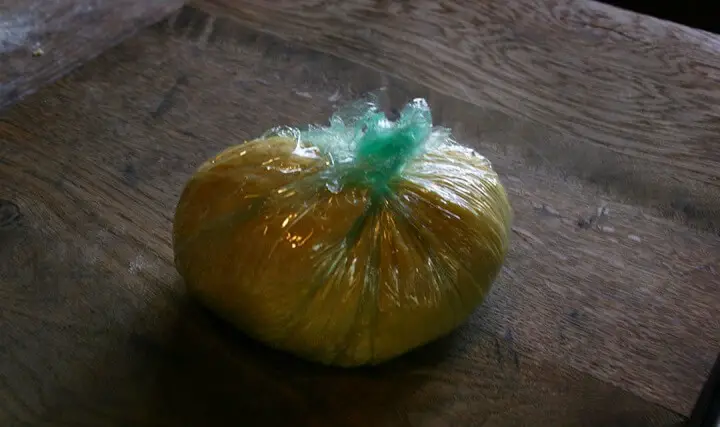
9. While your dough is resting, set up your pasta maker or clean your cutting board to prepare for rolling and shaping.
10. Once the dough is rested, pull the plastic off of it and cut it into 4 equal parts. Immediately re-wrap 3 of the sections, leaving only the one you are working with exposed. You really don’t want your dough to dry out, so don’t skip this step.
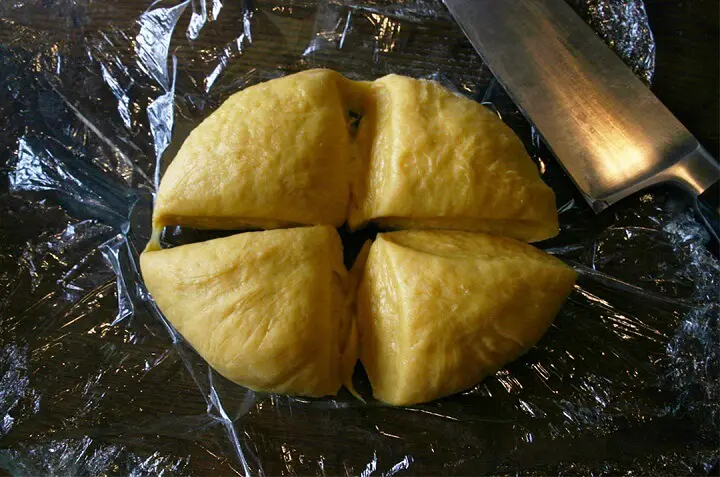
11. With your hands, shape the wedge of dough into an oval shape, flattening it a little. Feed it through the pasta maker on the widest setting, turned so that the oval is going through widthwise.
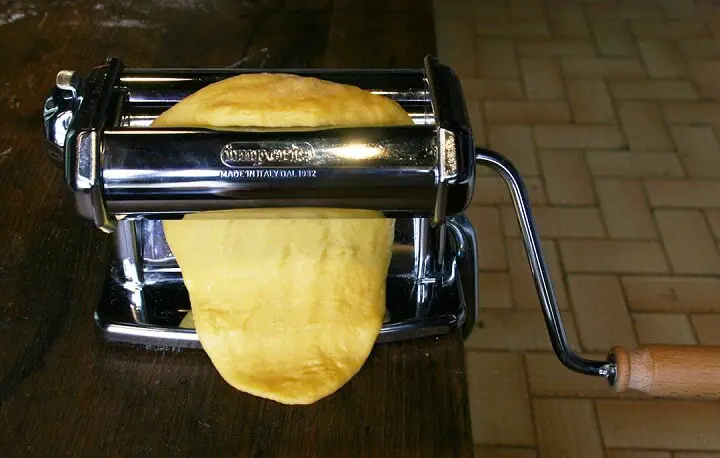
12. Take your flattened sheet and fold it into thirds, then feed it back through the rollers, starting with the folded end. Repeat this a couple of times, then flour the sheet well on both sides and run it through without folding.
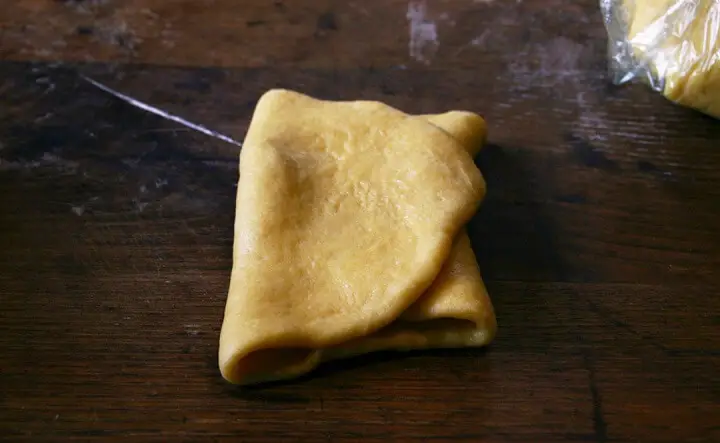
13. Reduce the width a notch on your pasta maker and run the sheet through once or twice. Continue until you have reached your desired thickness. For cutting noodles, I prefer the second to the thinnest setting.
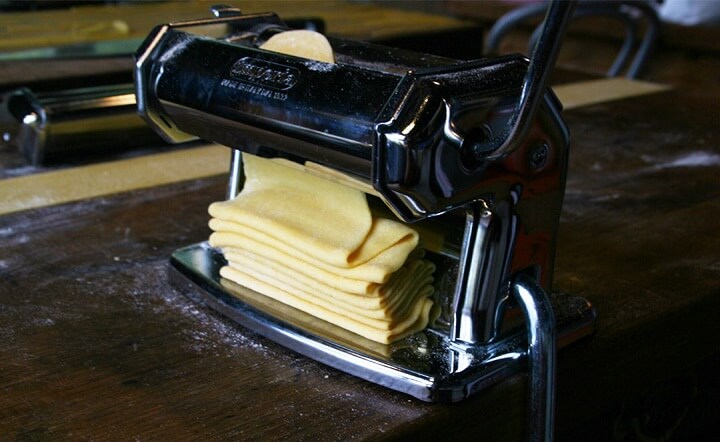
14. Let your sheets dry for at least 10-15 minutes before cutting them into noodles.
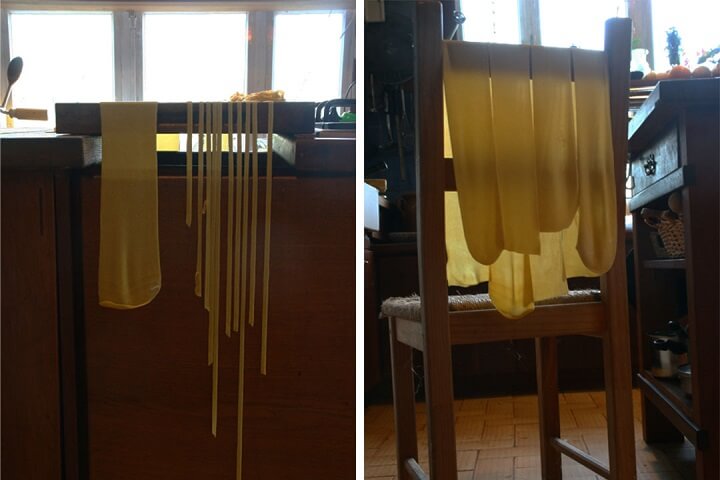
15. Dust the sheets lightly with flour and run through the pasta machine.
16. Hang your cut noodles carefully over a chair back, pasta drying rack, clothes drying rack– whatever is available!
17. Once they’ve dried for at least half an hour, twirl your noodles into pretty nests, or just dust with flour and store in an airtight container until you’re ready to cook them. Fresh pasta stores well for a few days and can be frozen for a couple of weeks.
A couple of notes: If your pasta is not going through the pasta machine smoothly, is rippled or ridged or breaks up, you need to address your pasta dough. Dough that is too wet and sticky will stick to the rollers and make you want to tear out your hair in frustration.
Take a deep breath, let the dough dry out a little, and flour it more before running it through. Sheets that are not dry enough often won’t be cut all the way through and will be lightly scored instead.
The more pasta you make, the better you will get at it, and even imperfect fresh pasta is better than no fresh pasta at all! Take your time to learn a routine that works for you, and enjoy the process.


