Estimated reading time: 10 minutes

It seems that every February I find myself daydreaming and planning the upcoming garden season. However, it is often the coldest part of a Midwest winter. Luckily, there are several flowers that germinate best by going through a freeze and thaw season.
With many spring bulbs planted in fall, there are always a few seeds that I think about in February and early March; however, you can really start this anytime before your last frost. There are hardy vegetable options that do well with this method, too.
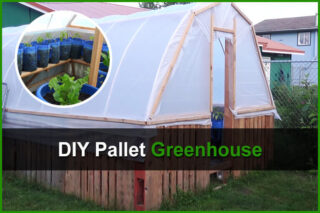
Some seeds can be sowed directly in the ground in winter while others need a little extra care. Making miniature green houses out of milk jugs creates the perfect environment for these baby plants to sprout and have an early start to the rest of garden season. This greenhouse will develop a plant that is ready to transplant without needing to be hardened off.
Want to save this post for later? Click Here to Pin It On Pinterest!
Why Do This?
There are many benefits to giving this method a try, including:
- Save money by seed planting instead of shopping for young plants at a local nursery.
- Skip the risky step of hardening off young plants, like when you start seeds indoors.
- Young plants grown in outdoor milk jug greenhouses are hardy.
- Reuse something that many people just toss in their trash.
- Get a jump start on your garden.
Why Milk Jugs?
This DIY project is a way to reuse items that you would normally toss. You can use milk jugs, water gallon jugs, or any plastic bottle you recycle.
The benefit of the bottle is that it protects the seed from the harshest elements of winter. The clear, or milky clear, bottle holds heat from the sun and prevents overwatering, just like a regular greenhouse. In our homemade edition, we will leave the top cap open which allows oxygen and some moisture from the elements, but in a moderated way.
By using a recycled miniature greenhouse, you can jumpstart your growing season resulting in earlier flowers and vegetables. In a lot of the Midwest, our last frost isn’t until mid-May, meaning that here, we can use these mini greenhouses anytime until then.
Planting most seeds directly in the ground prior won’t have successful results as the direct frost is too harsh on seeds and young plants. You can apply the same concept with a reference to the typical frost schedule for your region.
Supplies Needed:

- Milk jugs or alternative clear bottle
- Utility knife or sharp scissors
- Duct Tape or packing tape
- Permanent marker or paint marker
- Popsicle sticks for an internal label (optional)
- Soil – I do not prefer a seed starting mix because I am starting my seeds in February and won’t be transplanting until May. The soil I use needs to have more nutrients than something temporary like the seed starter. I like to use moisture control soil because sometimes our precipitation is variable, and this seems to stay moist and oxidized. If you feel you are using your milk jug greenhouse for a shorter period, you may choose to try a seed starter mix. You do want a soil that is light and that will drain well.
- Stir stick, like a paint stick
- Seeds
How to Make your Milk Jug Greenhouse
1. Prepare Your Jug
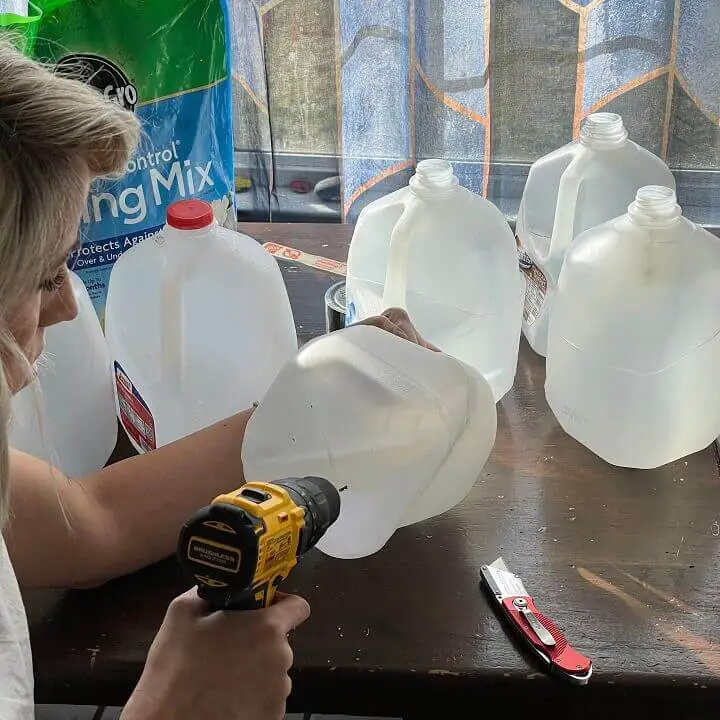
Toss out your lids. Keeping the top open is important for precipitation and airflow. It is essential that you add drainage holes to the bottom. You can slice out small holes using your knife or use a power drill for puncture holes. I find this part easier before you cut the bottle.
After you have made your drainage holes, cut the jug. You will leave the bottom portion as the bigger half. It’s best to make your cut about 2/3 of the way up so you have plenty of room for soil so that roots can grow and establish.
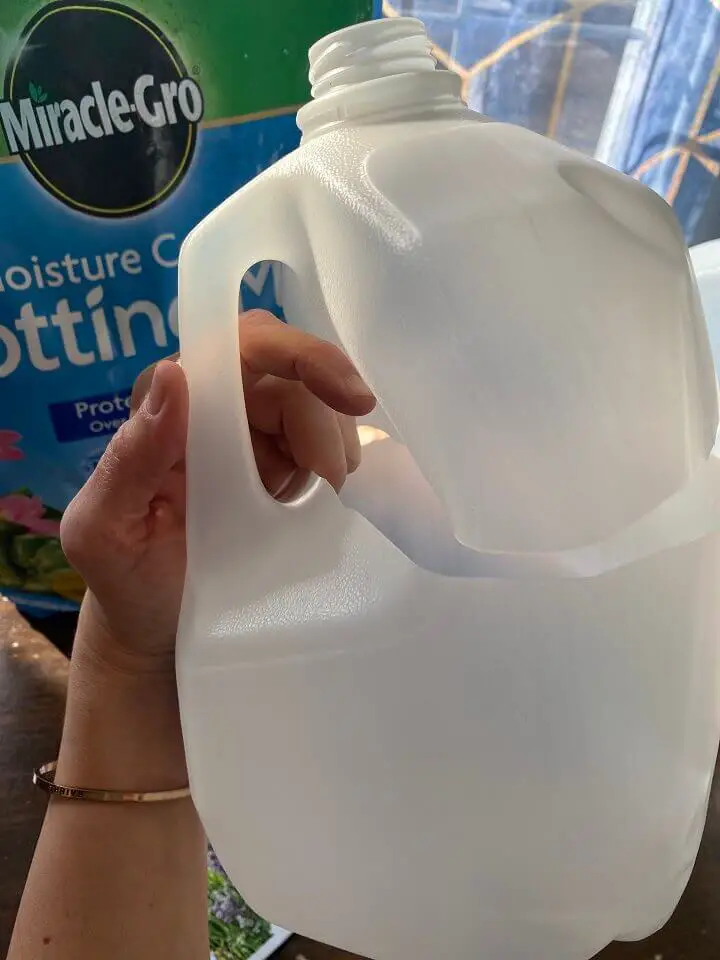
I like to leave one small section attached to keep the two pieces somewhat together; it’s easiest to just let this be the handle.
2. Add The Soil
Adding the soil is an important step. The added soil needs to be substantially moist. You can do this in bulk in a large bucket or wheel barrel, or you can simply do it jug by jug. I suggest mixing the soil with water until it’s heavily moist but not quite wet mud.
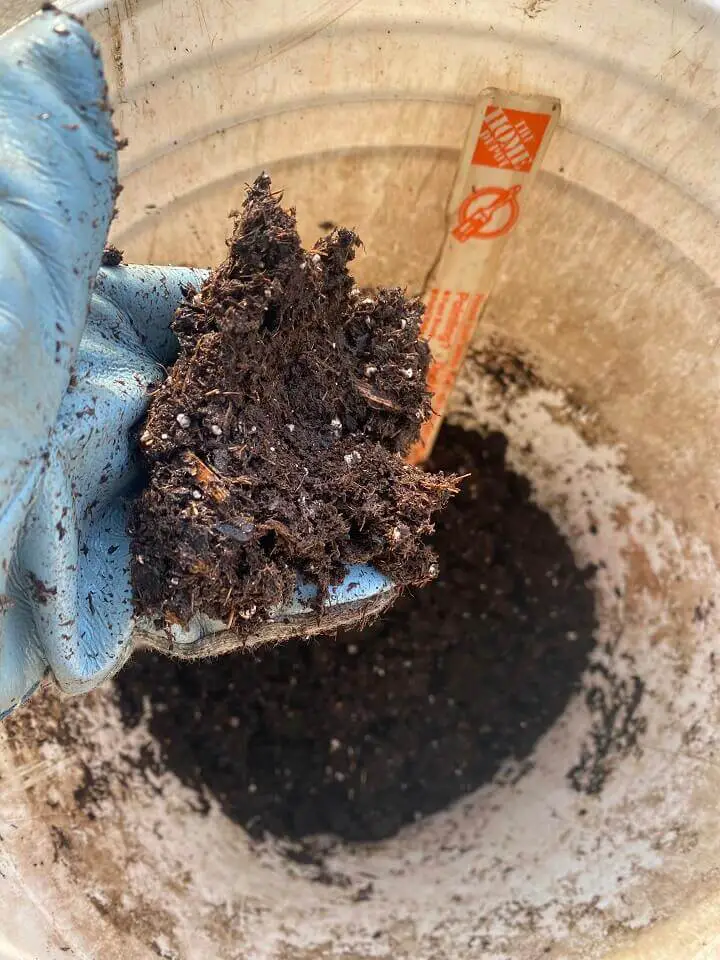
Using a paint stick is an easy way to work with the soil to develop the right consistency.
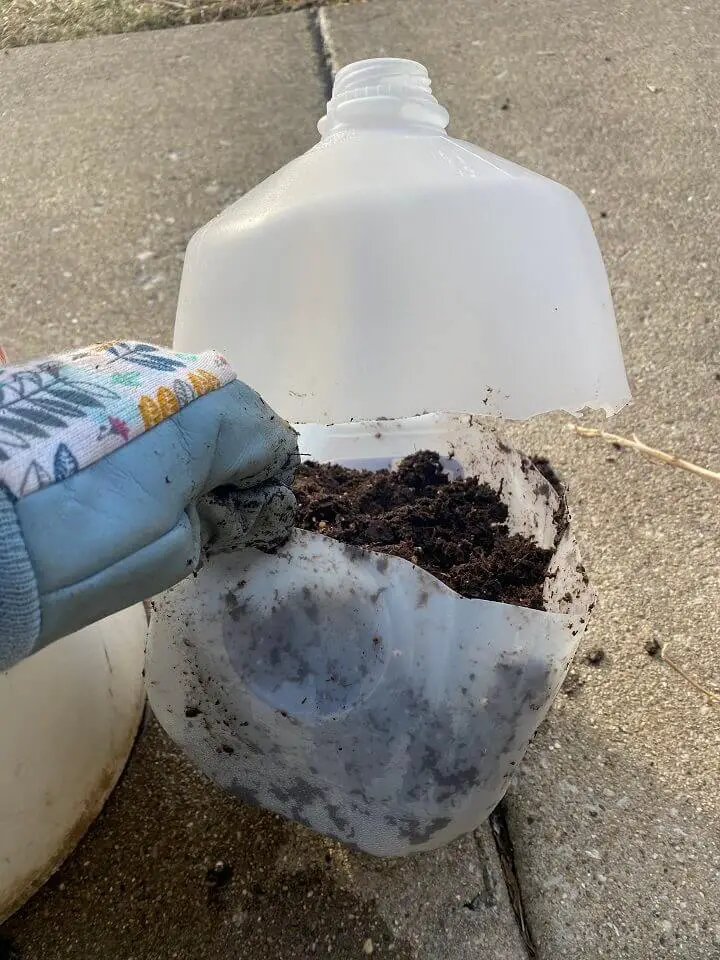
Once your soil is moist, add about 6 inches or enough to mostly fill the lower half of your greenhouse. Having room for roots to flourish will help your seedling go from a sprout to a small plant that is easier to transplant. The more soil in the bottom will also help prevent your milk jug from being tossed in the wind.
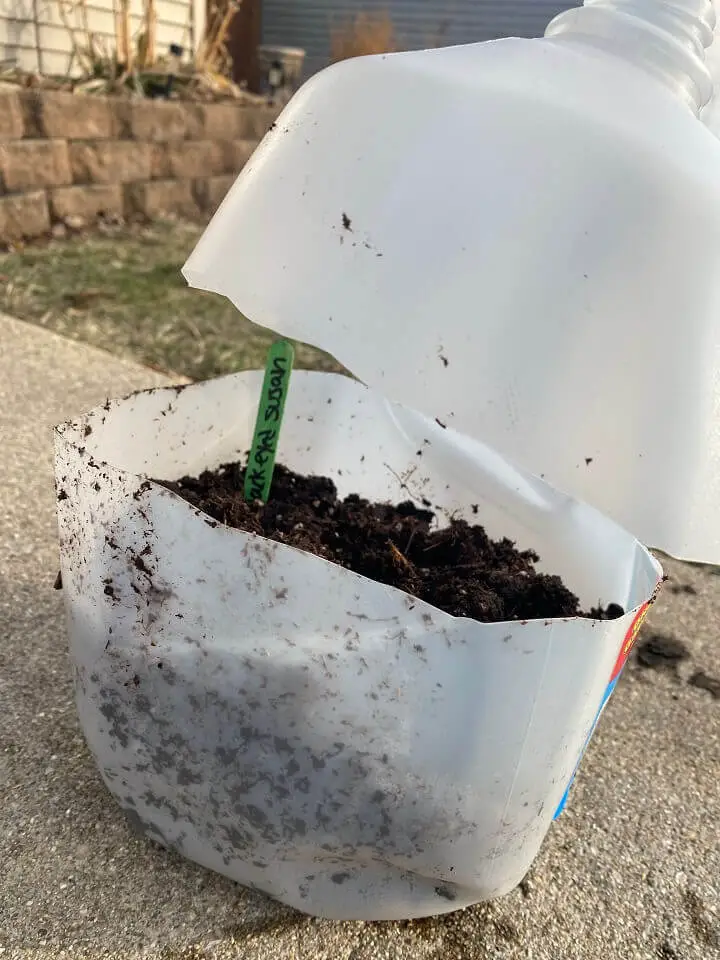
3. Plant The Seeds
When you plant your seeds, don’t bury the seeds deep. The bulk of the soil that in the mini greenhouse is to establish roots. Planting your seeds a maximum of about ¼-½ inch deep is ideal for most plants. If you are planting varieties that naturally reseed, simply setting them on top of the soil is enough. Always check the instructions on your seed packet as ideal depths can vary based on how much sun is needed for germination.
Plant 4-6 seeds per milk jug in case not all sprout. Keep space between each seed to help create an easy separation of roots when you transplant.
At this point, I add an inside plant-name label by sticking a popsicle stick in the soil.
4. Seal Your Greenhouse
Now, seal up your greenhouse. Although packing tape looks a bit a better, I tend to use duct tape to make sure I have a strong seal along the edges. A poor seal can cause too much of a draft in your greenhouse. Double check to make sure you have no wind holes or drafts. If in doubt, add an extra layer of tape.
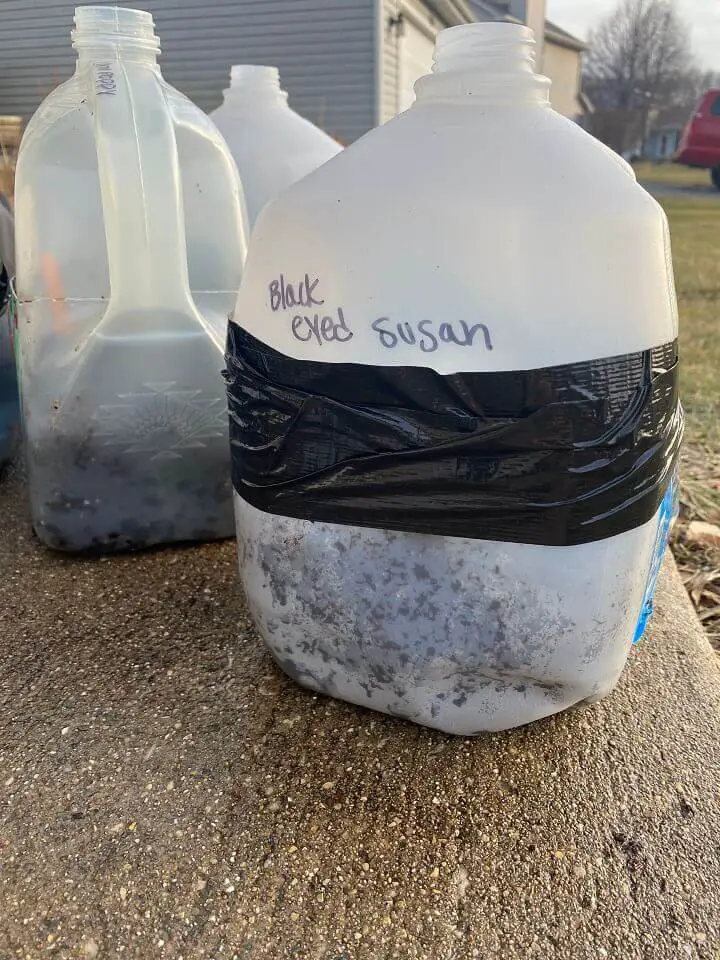
After you seal your greenhouse, label the outside with a permanent marker or paint pen. This outer label sometimes will fade or rub off, which is why you should add the inside label, too.
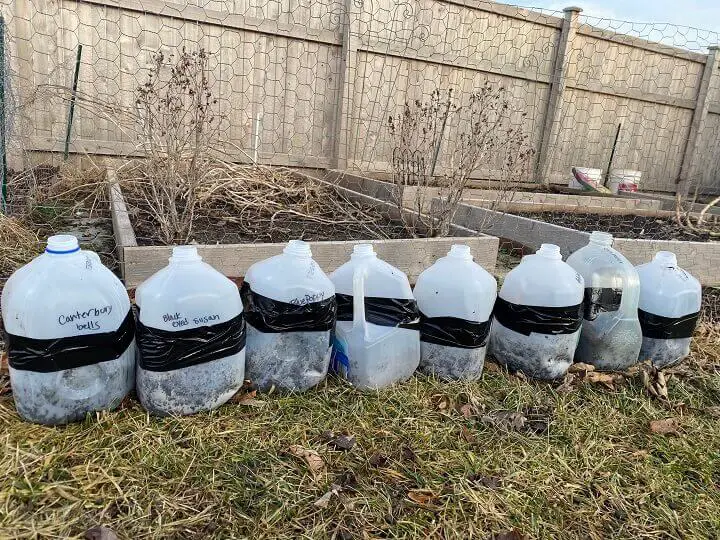
5. Find Sun
Place your milk jugs in a place that is continuously sunny. Wind can be a factor in tipping over your greenhouse, so use structures or rocks to help prop them in place. I like to set them against my raised garden beds or garden fence to help block the wind.
Keeping An Eye On Moisture
If the greenhouse is sealed well, you should see condensation form on the insides of the jug. This trapped moisture keeps an ideal growing environment for your seeds. If you have had no precipitation and you feel your soil looks dry, you can water carefully by setting your greenhouse milk jug into a container of water. Don’t use water that is very cold as this can shock your plant.
Once your soil has sucked up enough moisture to be wet through the drain holes, place the greenhouse back in its regular spot to drain. Watering from the top may disrupt your seeds too much and potentially drown them. If you choose to water from the top, use a mister instead of a direct pour.
What Seeds Work Best?
Depending on when you decide to start your milk jug greenhouses, there are a variety of seeds that you can try. Many perennials do well with a cold stratification through this protected greenhouse. This means that their natural cycle is to begin germination as they are exposed to cold cycles with frosts and thaws.
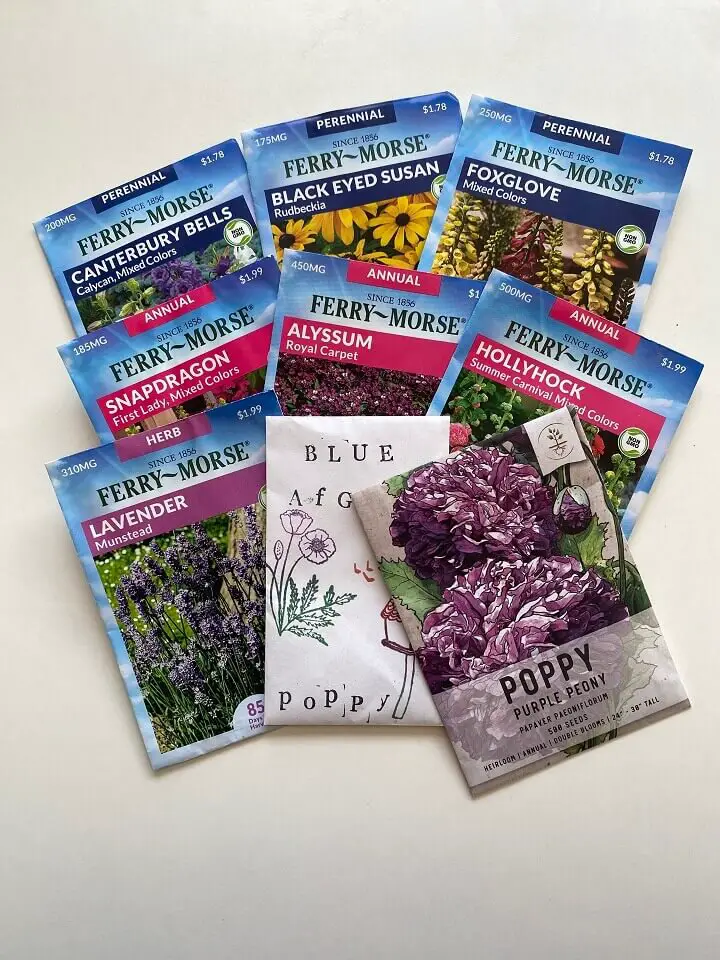
Flowers in this category are the best to start the earliest. Some examples of these plants are milkweed, lavender, several varieties of poppies, hardy hibiscus, lupine, and butterfly bush. If you have a cold winter, sow perennials that need the cold stratification in as early as January to February. If you have a milder winter, you can start sooner.
Hardier annuals and perennials can start in the end of February and early March. This includes foxgloves, black-eyed susan, coneflower, yarrow, canterbury bells and more. Some hardier annuals that can be winter sown include alyssum, annual marigolds, snap dragon, morning glory, zinnia or any other flower that may reseed in the garden. I also like to include hollyhock, but keep in mind that they develop a long taproot, so too much grow time can affect ease of transplant.
Edible plants that you can winter sow includes many greens like kale, spinach, bok choy, cabbage, arugula, and mustard greens. Others include cold tolerant plants like broccoli, cauliflower, rhubarb, radishes, kohlrabi, calendula, thyme, rosemary, mint, and chives.
You can winter sow more tender flowers, vegetables and herbs in late March until the end of frosts. Even though that’s only a few weeks sooner than when you would plant in the garden, this method will still give you a jump start on your garden.
Like this post? Don't Forget to Pin It On Pinterest!
You May Also Like: