Estimated reading time: 12 minutes
Yes, you can make activated charcoal at home, but it's a little more complicated than that, to say the least. If you can buy activated charcoal and stock it, go for it. Making it is a complex and tedious chore. Some websites say it’s so easy. Well, it's not. I'm not saying it can't be done, but you have to be patient and respect and understand the process.
You probably already know the benefits related to water purification, poison treatment, and other things. The question is, what do you do if everything goes down and you run out of activated charcoal? Here’s how to roll up your sleeves and make this magic powder.
You need some basic ingredients. Some are easy to find and improvise, others are a bit obscure and somewhat scary. The good news is that there are alternatives to make this process work, and we’ll cover those ingredients and those steps.
Want to save this post for later? Click Here to Pin It On Pinterest!
Activated Charcoal Ingredients
- Charcoal or the hard woods that will allow you to make it.
- Calcium Chloride, Zinc Chloride or Lemon Juice.
- Water.
Tools for Making Activated Charcoal
- A hot fire.
- A durable pot with a loose-fitting lid to make the charcoal if you don’t buy your own.
- A hammer or small sledge to crush the charcoal for the first time, plus some plastic bags to contain the charcoal lumps.
- A mortar and pestle, blender, or food processor to reduce the charcoal to dust.
- Fine mesh screen or strainer to separate smaller particulates from larger.
- Pans to capture and allow the charcoal dust to soak in the chemical actifier and then rinse.
- Distilled water for rinsing away the actifier.
- Coffee filters for the final filter.
- Time and patience.
WARNING
Before you jump in, I want to make sure understand that working with calcium chloride, zinc chloride, or even fire can be dangerous. Because of that, there are two things you need:
- Ventilation – Be sure you work in well-ventilated areas when burning things and dealing with chemicals.
- PPE – It's important to wear gloves, eye protection, and a mask during the pulverization, activation, and chemical mixing steps, especially since charcoal dust and actifiers can be irritants.
Now that that's out of the way, let's start making activated charcoal.
Directions
We’re not going to cheat so we’ll make this from scratch. There are cheats and we’ll highlight them along the way. You may know a few and please pitch in with any thoughts or suggestions.
Step 1: A Source of Charcoal
You don’t want to buy regular charcoal briquettes to make activated charcoal. Commercially produced charcoal briquettes often have various chemicals added during the manufacturing process.
However, there are brands of charcoal that are commonly referred to as “lump charcoal” with the added promise of “100% natural and chemical free.” Read the label and if you believe it’s true, you can use that as your charcoal source. Otherwise, you’ll have to make your charcoal from scratch.
Step 2: Charcoal Making 101
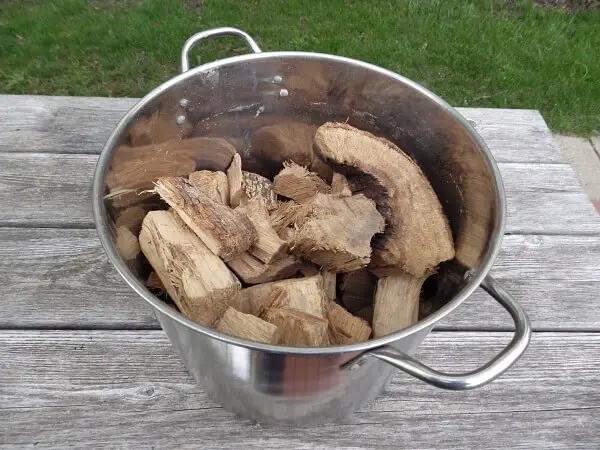
Charcoal is made when wood is subjected to high heat but denied the oxygen that would cause it to burst into flame. The high heat causes the wood to release various organic materials, smoke and gases and a good amount of cellulose leaving relatively pure carbon.
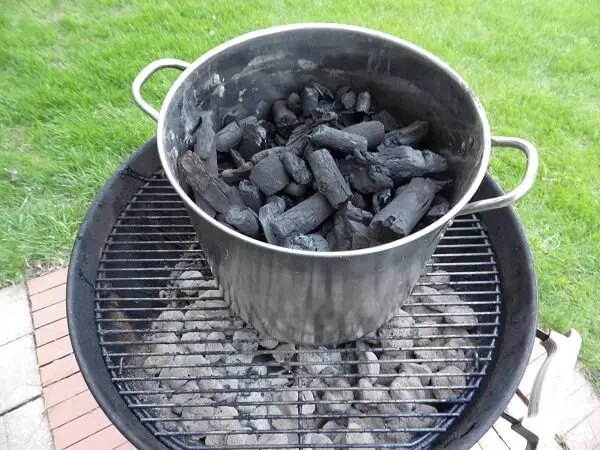
The simplest way to do this is to put lumps of wood into a large pot with a loose-fitting lid and literally cook your wood over a very hot fire.
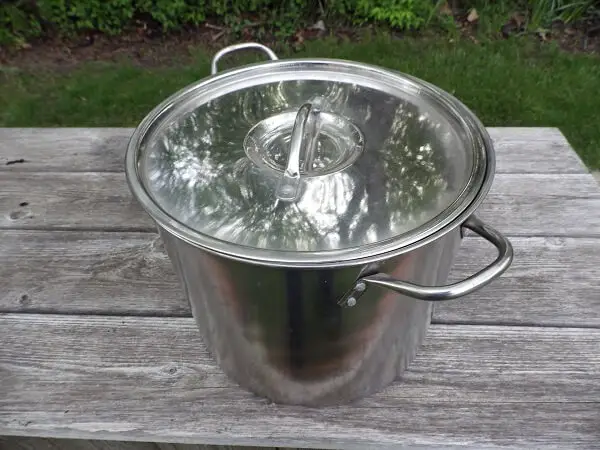
The best woods to use are hardwoods like oak or maple, which have dense fibers. Avoid highly resinous woods like pine, tamarack, cedar, birch or spruce. You should also remove the bark and cut and split the pieces into 3 to 4-inch chunks or smaller.
Pile the wood pieces into the pot, cover and get your fire going underneath. The pot can be suspended over the fire on a tripod or placed onto a grate or the grill on a kettle grill.
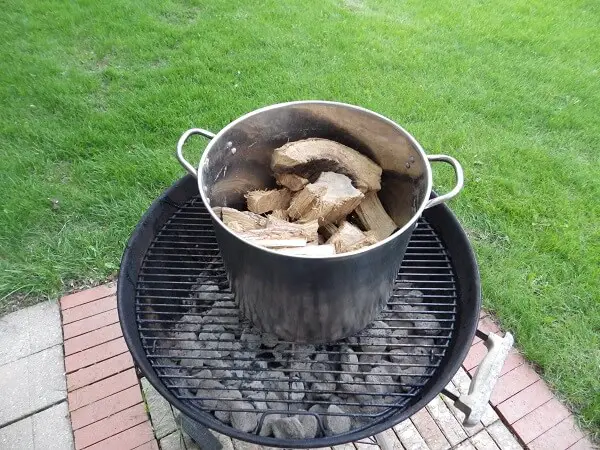
The temperatures needed to make charcoal are in excess of 600 degrees Fahrenheit up to 800 degrees, so you want a fire with flames licking at the bottom of your pot of wood chunks. The loose-fitting lid will allow the smoke to escape but prevent the wood from catching fire.
Be very careful if you’re tempted to lift the lid during this process. Hot smoke and gases from the pot are highly flammable and you may find your pot of wood chunks bursting into flames if you lift the lid. Typically, it takes 3 to 6 hours to convert a pot of wood chunks to charcoal.
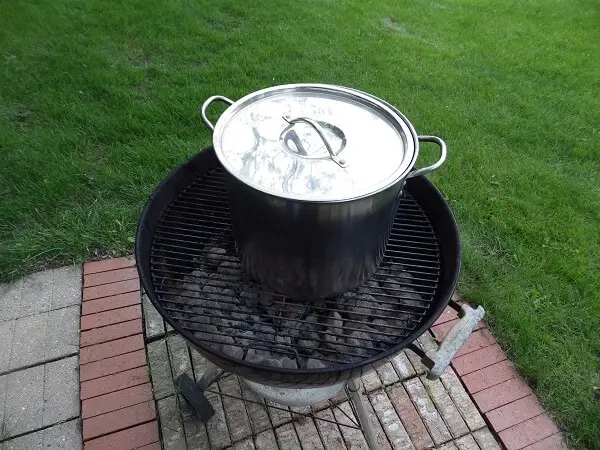
Wait until the fire has burned down and remove the lid quickly and carefully to assess your progress. You may have to stir the charcoal chunks around to measure your success and even break up some pieces to make sure they have carbonized through and through.
When the charcoal is ready, it should be black, lightweight, and easy to break between your fingers. If it isn't, rekindle the fire and give your pot of wood chunks some more time. When done, rinse the charcoal in water and allow to drain and completely dry on a wire rack or dry surface.
Step 3: Pulverizing Your Charcoal
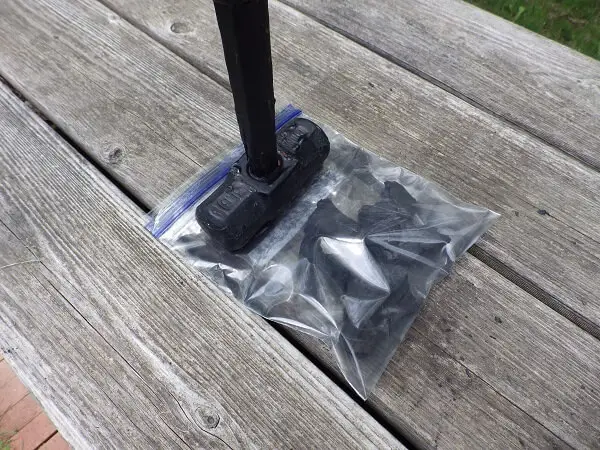
Your goal is to reduce your charcoal chunks to a fairly, fine powder. You start by breaking the lumps into smaller pea-sized pieces. Placing your charcoal chunks into two plastic bags and gently crushing them with the side of a hammer is a good way to start.
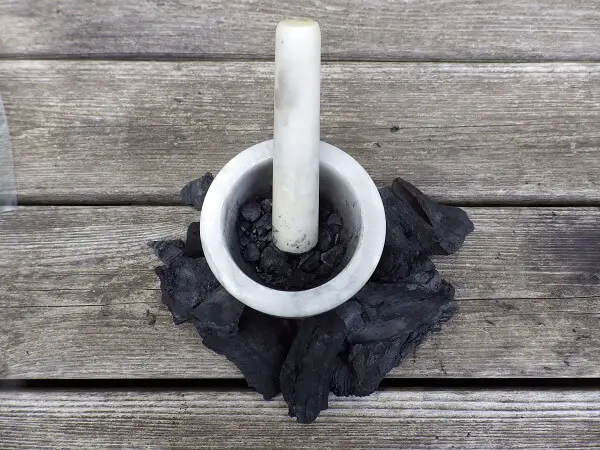
Once you have your charcoal reduced in size, you can use a mortar and pestle to continue to pulverize the charcoal, or you can use a food processor or blender if you’re in a hurry. Charcoal dust will clean up well from your food processor or blender if you use sufficient water, but you might want to do any pulverization outside.
In fact, you should try to do as much of this process outside as you can. As the charcoal turns to powdered carbon, it will drift into the air and coat many things around you. That can be a very invasive mess in the kitchen.
Step 4: Screening Your Charcoal
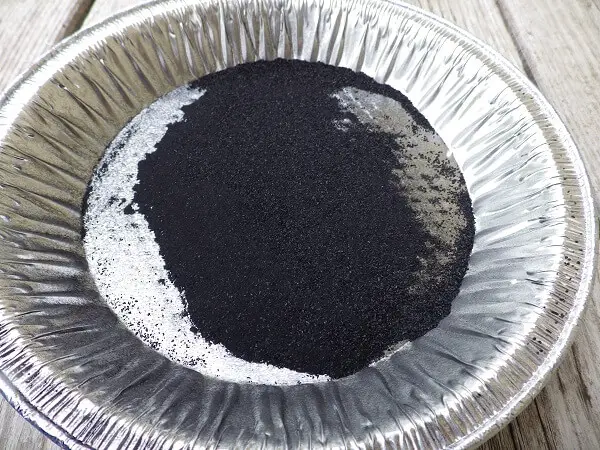
Regardless of the method you use to pulverize your charcoal, you’re still going to have some bigger pieces mixed in with your finer sizes. A fine-mesh screen or strainer over a pan is the easiest way to capture your nicely pulverized charcoal and separate it from the bigger pieces.
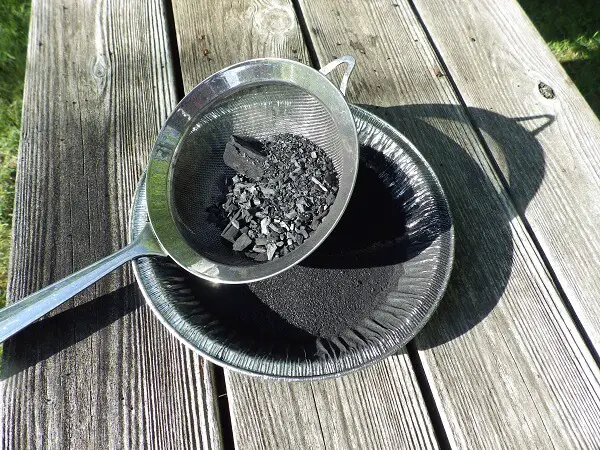
You don’t want to do this on a windy day or you may lose a lot of your charcoal to the wind. Try to find a sheltered area outdoors if you must.
Step 5: Activating The Charcoal
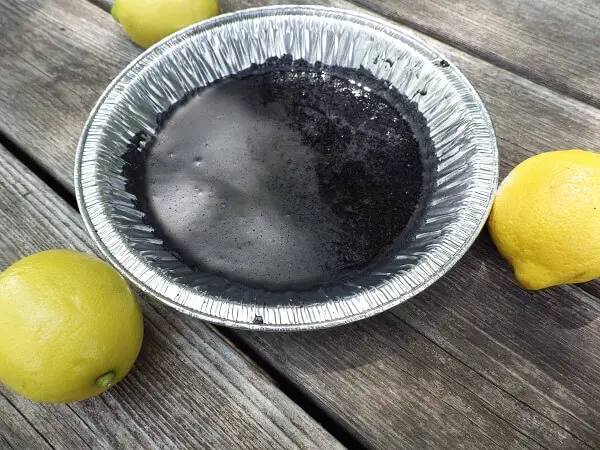
Charcoal is activated using a chemical. The chemical of choice is calcium chloride (CaCl2) added to water, although zinc chloride (ZnCl2) can also be used and there’s a natural source called “lemon juice.” The citric acid in the lemon juice will activate the charcoal in the same way as calcium chloride or zinc chloride.
If you’re shy about chemical names ending chloride, the lemon juice may be the way to go, but remember that even something as common as table salt is sodium chloride.
Calcium chloride can be purchased at some hardware stores, pharmacies, brewer’s supply stores, or on the Internet. The same for Zinc chloride.
While they’re both a benign chemical when rinsed from the charcoal after the activation process, they can become extremely warm when added to water up to 130 degrees Fahrenheit. The dilution is a 25 percent concentrated solution in a mason jar with a lid and then gently shaken.
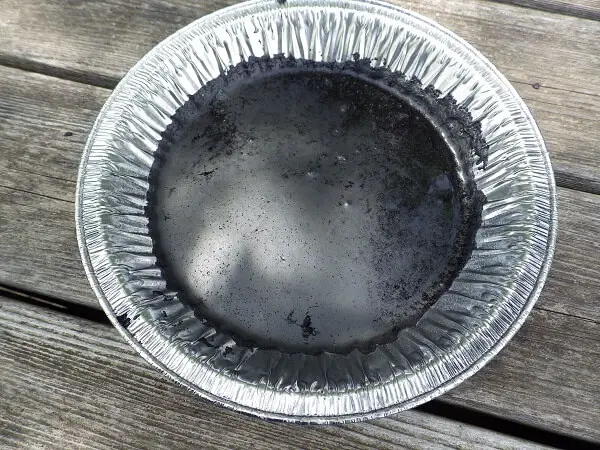
To make the solution, dissolve 250 g of calcium chloride or zinc chloride in 1000 ml of water. You could also think of it as one ounce of calcium chloride to 4 ounces of water. This should be enough to activate up to 8 ounces or a half pound of pulverized charcoal.
Remember to wear gloves when handling the jar if using calcium chloride or zinc chloride because the solution will get hot. If you’re using lemon juice, 1/2-cup of pulp-free lemon juice will suffice. Mix the solution with your charcoal until you have a paste-like slurry and cover.
The liquid calcium chloride solution, zinc chloride solution, or the lemon juice is allowed to soak in the charcoal for 24 hours in the covered pan. The solution should be at least a slurry with some liquid above the surface.
When done, the actifying solution needs to be rinsed away with water.
Step 6: Rinsing Away The Actifier
The easiest setup for rinsing your charcoal is a coffee filter in a mesh strainer suspended high over a bowl. This will take some time and the charcoal should be rinsed 3 times using distilled water.
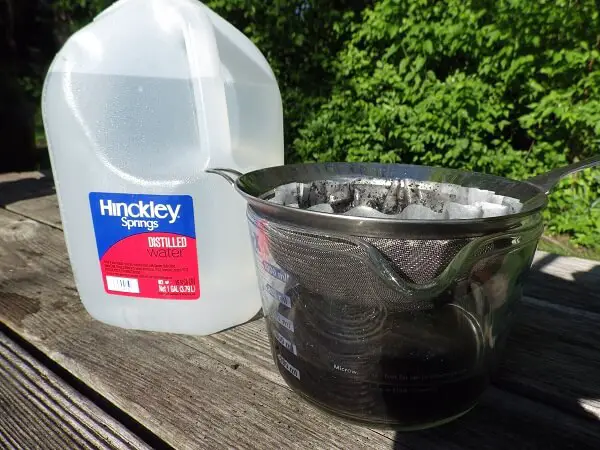
Distilled water is pure H20. You don’t want to use well water because the calcium, iron, and lime in the well water will be captured by the charcoal and reduce its efficiency. City water often has fluoride and the same will happen as the charcoal captures the fluoride.
This is a time-consuming process and the added investment in a gallon or two of distilled water is well worth it.
Step 7: The Final Drying Step
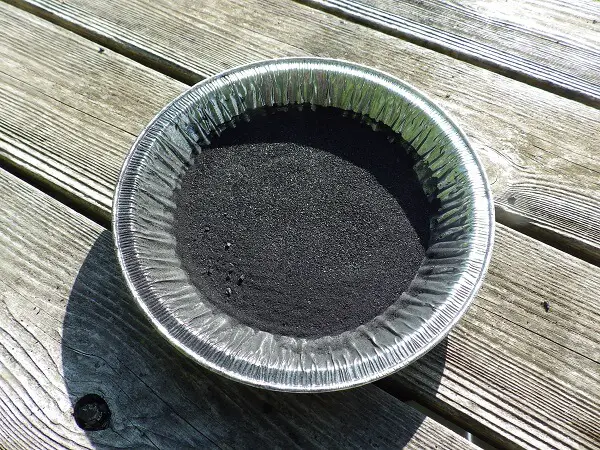
You can allow your activated charcoal to air-dry or dry it in an oven at a relatively low temperature of 225 degrees Fahrenheit for 2 to 4 hours. Check it from time to time to see when it’s thoroughly dry.
Step 8: Storing Your Activated Charcoal
The best way to store activated charcoal is in a canning jar with a tight-fitting lid. You don’t want to allow activated charcoal to be exposed to air or chemicals in the air because odors or even humidity will degrade the charcoal as it absorbs whatever it is exposed to.
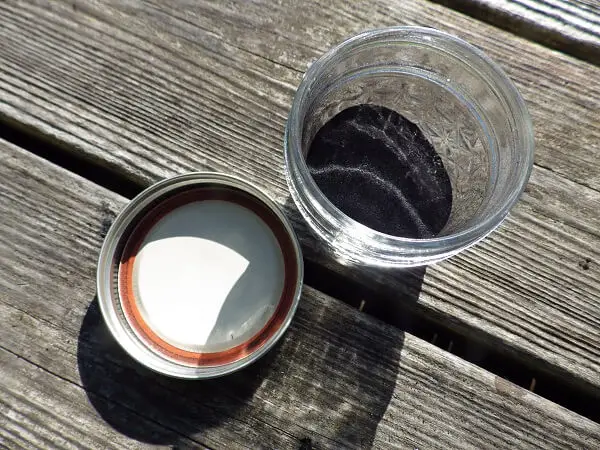
Another possibility is to encapsulate the activated charcoal in gel caps and store them in a jar. Activated charcoal is used to filter air, water, and as an antidote for poisons and exposure to heavy metals when ingested.
The gel caps are the recommended way to take activated charcoal in the event of poisoning, and the typical dose for an adult is 25 to 100 grams.
And now you're done! You can scale up this recipe or scale it down. It all depends on how much you intend to use. It should store indefinitely if kept dry and well packaged.
Like this post? Don't Forget to Pin It On Pinterest!
You May Also Like:








Can you use wood chips to make Activated Charcoal?
I have a wood chipper and I think this could speed up the process.
I don’t see why not. It’s at least worth a try.
This ruined my food processor so probably don’t put it in there.
You started with… what, a 16 quart stock pot 3/4 full of 3-4 inch wood chunks? And ended up with 1/2 of an 8oz mason jar of charcoal??? Can that be right? Does it reduce THAT significantly? I think I’ll just stock it ?
I’ve been looking at purchasing chunks of activated charcoal to add to drinking water. If I skip the pulverizing stage and just activate the large chunks of charcoal would that work do you think? Thanks in advance!
The whole purpose of granulating the charcoal is to increase the surface area that comes in contact with the contaminated substance. If you use big chunks of charcoal, you are defeating this.
Thanks for the detailed explanation..
When I make a fire in my out doors pit, I many times will get a log or so that glows and soldiers for some time then burns out. Its light and crumbly and seems to be charcoal. Would this work if I activated it, or does this have to be done in a container?
It has to be done in a container, away from oxygen. What you have is not really charcoal, regardless of how it looks. It’s an entirely different set of substances including aromatics from natural solvents in the wood, solvents and tar created during burning, and what would become “additional smoke” if it was burned. It also contains a lot of remaining cellulose which, when burned or partially burned, becomes a lot of different molecules you don’t want to ingest.
Now then, to what extent are the prior things “also present” in partially charred wood? Probably not life-threatening amounts. (i.e. If you literally had nothing else on hand, and your toddler just ate poison, and you forced your toddler to throw the poison up by gagging them, and you had your improperly-made activated charcoal science project lying nearby, should you feed it to your toddler to get rid of the remaining poison? Maybe. …Especially if the partly-combusted wood toxins were far less offensive than whatever poison your toddler had eaten.) …But…now that you know this…don’t make improperly-made “almost charcoal” …make the real thing.
Even “the real thing” (home-made) isn’t going to be statistically perfect. It’s just going to be great compared to “nothing at all.” (Don’t forget: If you use an activated carbon filter, as you use it, the quality slowly degrades as the activated carbon absorbs/binds more and more contaminants. You can get very scientific about this, and many people have. The very first thing to do if you want to get an abnormal amount of benefit from an activated charcoal water filter is determine how contaminated your water source is, and what the major contaminants are. If your water has been polluted with some dangerous chemical, such as Fluoride, by some malicious terrorist entity, such as your local government, you might want to change the filter every week or so. 52 times a year is a lot, but it’s peace of mind you’ll be purchasing.)
Acetic acid is vinegar, lemon juice contains citric acid?
You’re right, that was a typo. Thanks for pointing it out!
Thank you for the detailed instructions! I just have 1 question and I know it’s a silly one! In step 1, where you heat up the wood for 3-6 hours, is it just the wood in the pot? No water? Appreciate all the info. Sounds like something fun to try on a boring day!
Yes, just the wood.
If the wood is at all wet it will take much longer. All the water will have to boil away before the wood can even start to char. So it is always best to use the driest wood.
Hi,
The instructions are really close to making Char Cloth which is/was used as a Firestarter today and in the pioneering days hundreds if not thousands of years ago.
A stainless steel pot or cast iron would be even better since the stainless steel pot could technically burn through if it’s subjected to really high temperatures.
Drill a 1/8″ hole in the top of the pot lid for the gas/smoke to escape during wood heating process. This way you can seal the lid on the pot.
Willow is your best choice of wood. Willow lump coal (Brimstone) was used a thousand plus years ago to produce black powder for use in moving earth/rock, to make fireworks and eventually to make black powder for use in firearms and shotgun shells.
The pot of wood with the lid on top was placed on a fire until smoke no longer came out of the hole that is drilled in the top of the lid.
To aid in the grinding process, distilled water was added to the lump charcoal before it was grinded/blended to prevent fires and to aid in the grinding process. Add enough distilled water to make a paste or thick stew. Now, you are able to grind the lump charcoal without having to worry about dust going everywhere. A coffee grinder works well to grind up small lump charcoal pieces.
After the grinding/blending process, add the blended charcoal paste to a clean, long baking sheet with slightly raised sides. Smooth out the blended paste til it covers the entire surface of the backing sheet (heavy duty tin foil could be used here if nothing else).
Bake the blended paste on the cookie sheet at 150-degrees to 200-degrees until the water is gone. Now, grind up the dried chunks of lump coal in the cookie sheet with your morter and pestle.
This should create a powder as thin as corn meal. The same process is down when processing willow lump coal for use in black powder.
Use a hand crank flour sifter to filter out the big chunks of lump charcoal from the powdered charcoal. Grind up the left over big chunks of coal and put the mix through the sifter again.
Use calcium chloride as your acidifier (commonly used as an electrolyte in sports drinks like Gatorade. Solid calcium chloride is deliquescent, meaning it can absorb enough moisture to convert to liquid brine. When dissolved in water, solid calcium chloride releases heat in an exothermic reaction. This brine lowers the freezing point of water to melt additional snow and ice on contact). Calcium chloride is safe to work with especially when mixing with water (non-explosive).
After soaking your powdered charcoal in your acidifier, pour the mixture into a french press (inexpensive french presses are sold at Walmart for $10 – $20). Slowly push down on the french press filter to filter away the acidifier. Pull out the french press filter, add distilled water and push down slowly on the filter stick again. Repeat this process about five times.
Pour the remaining mud mixture at the bottom of the french press into a coffee filter and stir it while the water drips away.
Bake the remaining mixture on a clean cookie sheet like from earlier, mash it up in your morter and pestle and sift it one last time with your hand crank flour sifter in a clean, humidity free environment such as your kitchen or hotel with a kitchenette.
End result is activated charcoal powder. Store in a dry location such as several small Mason jars so you don’t run the risk of your primary, singular batch of activated charcoal powder soaking up moisture while preparing jell cap pills or while using it for other means while the air tight lids is off the container of powder.
Hope this helps. You can see my Char Cloth instructional video below on my youtube page.
Sincerely,
Jacob
SurvivalGeek
https://www.youtube.com/channel/UCfRsUPToBXp4ZIre__dJg4A
(Green Smiley Face Logo On YouTube)
Great additional information. Thank you! By the way, calcium chloride can be purchased in bulk very easily and somewhat inexpensively: it’s common driveway ice melter. Just be sure to get pure calcium chloride because many ice melters are combinations of sodium chloride and other chemicals.
i just wanted to know how to make charcoal and how to activate it
I dont think this “activation process” works. As an activated carbon scientist I can say ZnCl2 activation is thermodinamically driven by the thermal decomposition of complexes upon impregnation of lignocellulosic and other precursor materials. I dont think the process described here is able to do that.
What process would you recommend to activate the charcoal?
Kindly offer us best alternative way to prepare activated chachoal.
Would that be achieved, in your opinion, if instead of rinsing away the acidifier (ZnCl2 or CaCl2) after mixing the slurry, that the entire mixure was cooked (i.e. boiling point) for some period of time?
can we activate it in sodium chloride in replace of calcium chloride ?
With all due respect to the carbon scientist above I found scientific papers including the following one from a Queens University study that suggests the process described here using calcium chloride does work.
Further, it researched whether table salt may work as well, a cheaper option for the 3rd World, although the authors suggested that the degree to which sodium chloride works may not be as effective as calcium chloride.
Here’s a link to the paper: ojs.library.queensu.ca › index.php › ijsle › article › download
Something that puzzled me was whether calcium chloride residue in the activated charcoal presented a hazard or other issues. Additional articles I found suggested that flushing with distilled water 3 times and using a cheap Walmart french press to filter the activated charcoal from the waste water would do the trick.
Distilled water is preferred because the activated charcoal would absorb fluorine, chlorine etc. from the tap water. My twist is to leave some of the activated charcoal and the tiny bits from the previous batch that I can’t capture anyway in a couple buckets of water. They will absorb the pollutants, leaving relatively chemical free water.
I use a chunk of an old bed sheet that’s been washed and throughly rinsed as my filter. I get a piece that overlaps a bucket, place the activated charcoal on the bottom, pour in the chemical free water, agitate, and then tie the sheet closed with picture framing wire.
I hang the bag of charcoal and water over a laundry sink and within 24 hours the water is mostly gone. I refill the bucket with chemical free water, soak the tied bag in the bucket, agitate for several minutes to make sure the charcoal is soaked and then let it hang to dry again. The following day I repeat a third time.
Pickling salt is calcium chloride.
Regular salt is sodium chloride.
pickling salt is sodium chloride– Without anti-caking agents and added iodine. The anti-caking agent is sodium dioxide–powdered glass, and iodine is added to prevent goiter of the thyroid. Iodine will make you pickles mushy.
I use lemon juice to the powder. but after some days, I saw tiny insect attack on my powder. what is the reason & what can I do?
I kept it in airtight jar.
Adding 250 grams of calcium chloride to 1000ml (1000 grams) will give a solution strength of 20% calcium chloride not 25%.
just wondering if you could use citric acid instead of lemon juice? its available in spice section here in oz and cheap, and would the concentration be similar to CaCl.
what you are making isn’t activated carbon. In fact, Activated carbon needs very high temperatures and therefore needing a kiln or a rocket stove setup
The ideas presented are a nice start for some ideas, however, activated charcoal is negativity charged. Meaning all this metal using to filter, grind, mix & sift are greatly effecting it’s negative charge & subsequently making it inactivated.
If your worried about the polarity you can always negatively charge the container! When you bake it Isolate that container and any others.
It is very important that the writer of this article know that his word usage of absorption versus adsorption can be confusing for someone trying to understand the properties of activated charcoal. I was learning about it myself and I was extremely interested in if the charcoal actually absorbed whatever it was filtering etc.
For someone trying to understand how the activated charcoal works this could actually mean that the charcoal can be reused if the process isn’t to absorb but merely bind to the now more porous charcoal with higher surface area. Cleaning the charcoal should allow it to be reused indefinitely in my opinion. As long as the charcoal hasn’t changed physically it should be able to be rinsed for a period of time and have the same capabilities.
I think that the word usage of “adsorption” is a huge thing and prob should be corrected in this article 🙂
Otherwise the article was great and informative , perfect detail and content !
Can I grind up lump coal instead of making charcoal from wood to make activated charcoal?
One source suggested grinding the charcoal and
Calcium chloride together in a mortar as a powder so when the
Water is added the heat reaction will be close to every particle
Of charcoal thus activating it more completely.
Couple of things I’d like to comment on:
1) It’s important to wear safety goggles when using zinc chloride and calcium chloride. They are caustic to the eyes. You don’t want to accidently splash any of that in your eyes. Same with lemon juice.
2) Using an aluminum pie pan to activate your charcoal with lemon juice, aqueous solution of zinc chloride or calcium chloride is probably not a good idea. Aluminum reacts with lemon juice as well as zinc and calcium chloride. It’s better to use a non-reactive vessel such as a glass bowl or glass jar.
You sure you haven’t spent some time down south? because From what you described sounds identical to the steps involved in cooking up a batch of some good ole homemade Mexican ice cream but with the added bonus of the final cleaning process, I bet your stuff must have been nearly pure.
Would like to know if I can use the charcoal from my woodstove? Would it be the same?
How fine should the mesh strainer be?
As fine as possible. You want it to be powder with no chunks.
Can you simply specify
Grams charcoal
Grams/ml water
Grams/ml lemon juice (or calcium chloride or zinc chloride)
You were a bit ambiguous and vague about the exact ratios above.
Will the acid in the lemon juice react with the aluminum pie pan you used? Wouldn’t glass or ceramic be better?
Citric acid is also called “sour salt”.
It can be purchased at the grocery store, and, as I did, from a bulk supplier.
Bought in a 20# box.
We use it for canning, and as a cooking spice, in a labeled salt shaker.