Homestead Survival Site

  • HOME
  • CONTACT
  • ANIMALS
    • Birds
    • Livestock
    • Other
  • DIY
    • Power
    • Projects
    • Structures
    • Upcycling
  • FOOD
    • Cooking
    • Food Storage
    • Recipes
    • Water
  • FREE STUFF
  • GARDENING
    • Fruits
    • Herbs
    • Projects
    • Tips
    • Vegetables
  • MISC
    • Beginners
    • Holidays
    • Natural Living
    • Weather
  • SKILLS
    • First Aid
    • Frugality
    • Homesteading
    • Off Grid Skills
  • SUPPLIES
    • Lists
    • Medical
    • Tools
    • Weapons
You are here: Home / Videos / How To Make Portable Soup

Want to Start a Homestead but Not Sure How?

Sign Up and Get Your FREE Book, "How To Homestead No Matter Where You Live."

I will never give away, trade or sell your email address. You can unsubscribe at any time.

How To Make Portable Soup

By Heidi Leave a Comment ✓ This post may contain affiliate links*

191
SHARES
PinShareTweetPrint

How To Make Portable Soup
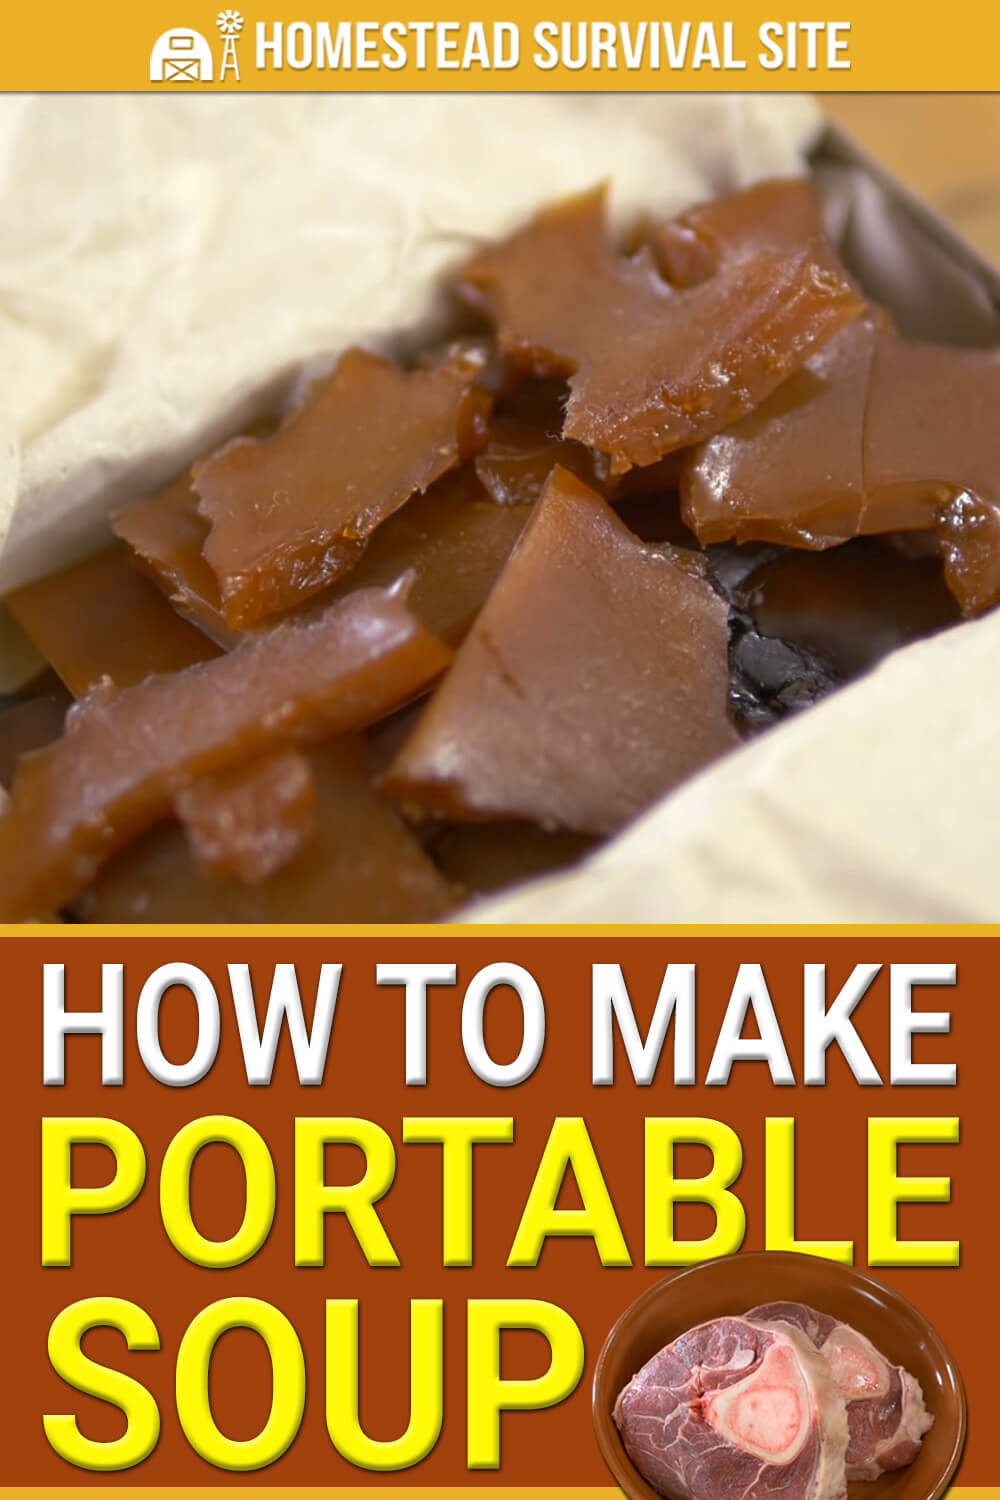
Ever heard of portable soup before? You might be surprised to learn that it was very popular back in the 18th century. It’s basically a solidified broth to which you can add hot water and quickly make soup. It’s also called portable broth, pocket soup, veal glue, and many other things.

As you can imagine, portable soup is very convenient. It’s lightweight and very portable, yet it’s packed with enough flavor to make some really delicious soup. You can also use it as a flavor enhancer in other dishes. In this video, Townsends explains how to make it.

Want to save this post for later? Click Here to Pin It on Pinterest!

Here’s what you’ll need:

  • A medium-size slow cooker.
  • Beef shank.
  • Water.

Here’s what to do:

  1. Add your meat to the slow cooker and fill it up the rest of the way with water.
  2. Put the slow cooker on low for 8 to 10 hours.
  3. Now remove the meat and pick out the bones and gristle.
  4. Strain the remaining broth through some cloth to remove all the little bits and pieces.
  5. Pour the broth back into your slow cooker. Put it on low and leave it for 18 to 24 hours.
  6. Be careful not to overcook it or it will burn.
  7. Once it has cooked down to a gel, remove it and put it on a cloth.
  8. Flip it over several times a day for 10 to 14 days.
  9. Eventually, you’ll have a very stiff paste almost like leather.
  10. Cut it up into small chunks and store it.
  11. When you’re ready, mix it with water to make soup or add it to other dishes.

Watch the video below to see how it’s done:

Want to Start a Homestead but Not Sure How?

Sign Up and Get Your FREE Book, "How To Homestead No Matter Where You Live."

I will never give away, trade or sell your email address. You can unsubscribe at any time.

191
SHARES
PinShareTweetPrint

You May Also Like:

Leave a Reply Cancel reply

Your email address will not be published. Required fields are marked *

This site uses Akismet to reduce spam. Learn how your comment data is processed.

Facebook Icon Twitter icon Pinterest icon
Lost Book of Remedies Video
Easy Cellar Video
Lost Ways Video
Water Freedom System
Megadrought USA
Prepper Website

TOP POSTS

60 Things You Should Stop Buying And Start Making
30 Dirt-Cheap Items You Should Stockpile While You Still Can
11 Powerful Medicinal Herbs You Should Be Growing
45 Homestead Tools for Off the Grid Living
35 Emergency Foods To Stock Up On
15 Foods You Can Grow In Buckets Year-Round

© Copyright 2017-2020 Homestead Survival Site · All Rights Reserved

Disclosure · Privacy · Terms of Use

Facebook · Pinterest · Twitter

* Homestead Survival Site is a participant in the Amazon Services LLC Associates Program, an affiliate advertising program designed to provide a means for us to earn fees by linking to Amazon.com and affiliated sites.

* Homestead Survival Site is a participant in the Amazon Services LLC Associates Program, an affiliate advertising program designed to provide a means for us to earn fees by linking to Amazon.com and affiliated sites.

Copyright © 2021 · Agency Pro On Genesis Framework · WordPress · Log in