Estimated reading time: 11 minutes
Ducks are a delightful addition to any homestead. They’re incredibly versatile—good for meat, eggs, pest control—and as an added benefit, ducklings are next-level adorable. They are also much hardier than chickens and require less complex housing and enclosures.
No matter what your level of experience is with livestock, with a little planning and equipment, you can raise ducklings of your own. The following is a fairly comprehensive guide to getting started with ducklings and should give you all the basics you need for success.
Choosing a Breed
There are many, many breeds of ducks out there, so before you start looking, make a list of what you most want out of your birds, then consider your environmental conditions. The most comprehensive comparison chart of duck breed characteristics I’ve used can be found here.
Having raised many hundreds of ducks, I’ve given a few practical recommendations to help you make your breed selection. Bear in mind that you will be selecting for purpose, temperament, and a combination of other factors.
There are so many reasons to raise ducklings, and your specific reasons for wanting ducks should drive your breed selection process. Here are a few things to consider.
Meat
When it comes to meat animals, ducks have it all: dark, tender meat and ample amounts of fat that can be rendered for use year-round. Homesteaders who wish to raise ducks for meat will be delighted with how rapidly ducklings mature. Choose heavier breeds like Pekin and Saxony and always harvest when they are young—older ducks have tougher meat.
Eggs
Duck eggs are rich, delicious, and beloved by chefs and bakers. In fact, with as few as 20 ducks, you can produce enough eggs to sell to local high-end chefs at a tidy profit. If you choose to raise ducks for eggs, choose a breed known for high laying frequency.
Golden 300 Hybrid Layers, Khaki Campbells, and White Layers are all renowned for laying nearly 300 eggs per year, but this ample production comes at a price: they are very skittish breeds.
Pest Control
Many people let ducks into their gardens between seasons to help clean up and prepare for a new round of plantings. Unlike chickens, ducks offer excellent pest control against snails and slugs—and they aren’t nearly as destructive.
All ducks are excellent foragers and can keep weeds, ticks, flies, wasps, and even Japanese beetles in check. Runner ducks are particularly good foragers, but Muscovy ducks are the all-time champions of pest control.
Pets
Ducks can make very sweet pets, as long as you are prepared to give them the conditions they need to thrive. Warning: ducks poop a LOT. Ducks that spend time indoors will need either duck diapers (yes, these really exist) or to be fed on a schedule so that their pooping intervals are predictable and they can be put outside when “nature calls.”
Temperament
While this may not seem like a terribly important selection factor, it is. Extremely skittish breeds are difficult to handle and make poor pets. Nervous breeds can also be difficult to herd into their house at night, and “duck rodeo” is only funny the first few times, trust me.
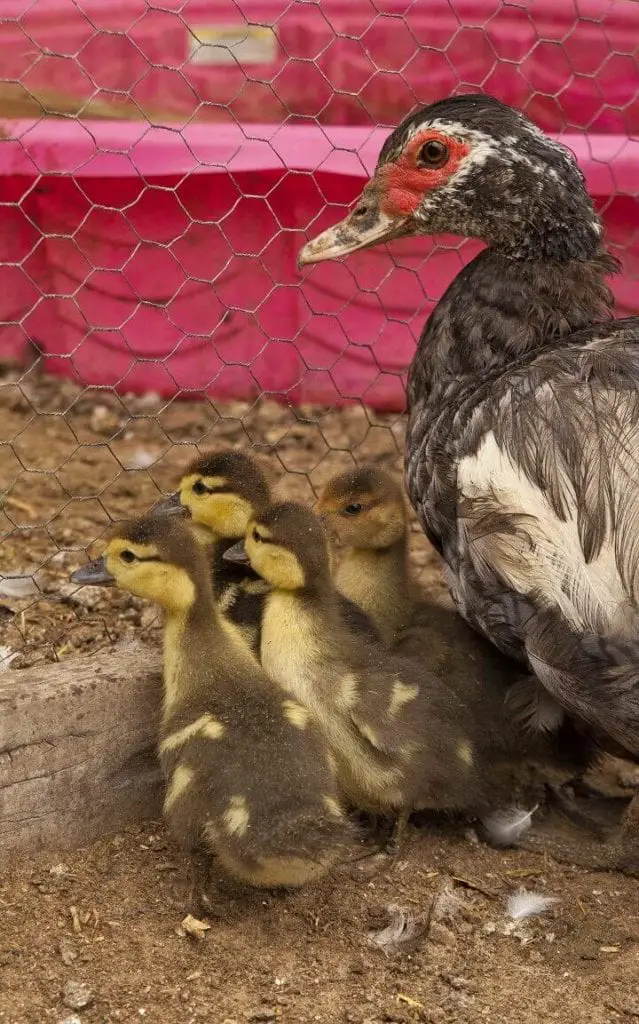
Most domestic duck breeds are poor mothers. If you want a self-sustaining duck population, you will either need a few females who are good mothers (Muscovy, Mallard, Silver Appleyard), an incubator, or a reliably broody chicken.

Getting Started
Once you’ve done the fun part—figuring out which duck breeds you want to raise—now comes the actual work of preparation and planning.
Eggs or Ducklings?
A little online research will quickly reveal that there are numerous companies across the country where you can order your new quackers. Most producers offer hatchlings or eggs, and there are pros and cons to each option.
One thing to always keep in mind is that your ratio of males to females should be 1:5. Too many drakes can result in aggressive sexual behavior and injury to female ducks.
Hatching from Egg
There are a couple of reasons to hatch ducklings yourself, starting with how thrilling the process of incubation and hatching is for families with children. Hatching eggs also buys you some time (around 28 days) if you still need to build a shelter and install fencing. Fertile eggs purchased on eBay or through a local farm will be less expensive than those sourced from a commercial hatchery.
However, if you don’t already own an incubator, this is another piece of equipment you will have to buy. On the other hand, if you plan on raising ducks continuously, you’ll need an incubator anyway. Plan on an 80% hatch rate and buy an incubator that can hold enough eggs to hatch the number of ducklings you want.
The biggest downside to hatching ducks from eggs is that you won’t have any control over the ratio of males to females. This isn’t a big deal if you just want to raise ducks for meat, but if you want eggs, it can be a problem.
Buying Hatchling Ducklings
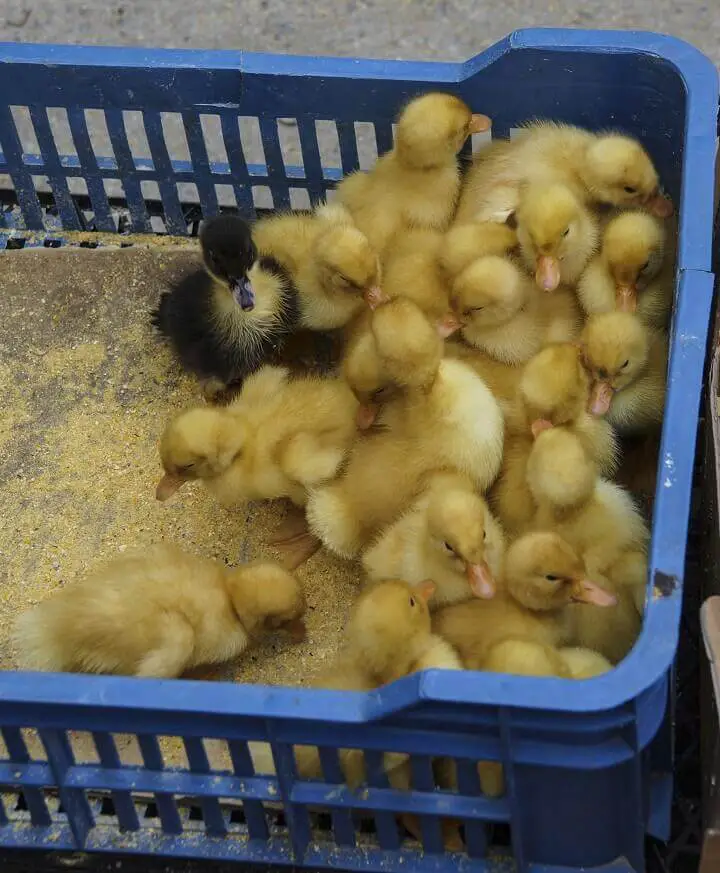
It should go without saying that buying just-hatched ducklings will give you the instant gratification of duckly goodness in days, rather than weeks. Birds that arrive by mail are also sexed, so you can ensure a healthy ratio of males to females.
However, these tiny little peepers will have to go through the postal system, which can be dangerous in frigid winter or sweltering summer, depending on where you live. You also need to be able to head to your local post office as soon as they arrive—carriers won’t deliver live animals to home addresses.
Any delay can be deadly, so bear this in mind. Ducklings will be weak and stressed from travel, and even under the best of conditions, some may not make it alive.

Caring for Ducklings (First Two Weeks)
Even though ducks are hardy and largely disease resistant, ducklings are still fragile baby animals that need a few specific conditions to thrive.
Brooding Pen
Whether you’re waiting for your incubated eggs to hatch or have a flock of ducklings sitting in your online shopping cart, you’ll need to have a safe, warm place ready for your babies. Optimally, you should start your brood off penned in a garage, barn, or another enclosed indoor environment. The amount of space you need will depend on how many ducklings you are planning to raise.
For hatchlings, you should plan on 48 square inches per duckling. This works out to 3 ducklings per square foot. I’ve used both plastic kiddie pools and metal stock tanks, and sometimes a combination of both—they’re easy to clean and provide enough space for up to two dozen birds.
You can use a plastic tote, a puppy playpen, a rabbit cage, or even a spare bathtub to start, but you’ll want it to be easy to clean and to have a place to transfer the ducklings when you’re cleaning the brooder out.
Heat and Bedding
Ducklings are messy. They’re messy eaters, they splash their water everywhere, and they poop a lot. You want to start out with two inches of straw or wood shavings as bedding.
Never use cedar shavings, and avoid newspaper or cardboard—a slippery surface can result in spraddle leg, which I promise you don’t want. If you have an ample supply of them, some folks like to use towels instead of bedding (I would only do this with a small number of birds).
Ducklings initially need to be quite warm, so you should provide one heat lamp per three dozen birds. Hang the lamp 18 to 20 inches from the bedding in an area that allows ducklings to rotate in and out as they desire.
Ideally, for the first week, the temperature at the bedding surface should be around 95 degrees. Make sure there are no drafts that can reach inside the pen as that can be fatal to freshly-hatched ducklings.
You can easily tell if the temperature is appropriate simply by observing your ducklings (they are so cute, you’ll be observing them a lot in the first weeks). If they are all huddled together tightly, it’s too cold, and if they are all panting or distancing themselves from the heat lamp, it’s too hot. Your ducklings should be spread out all over the brooder engaged in different activities.
Food and Water
For the first two weeks, you can feed your ducklings a regular unmedicated chick feed (20-22% protein). They aren’t at risk of coccidiosis, so you should avoid feeding them medication they don’t need. Ducklings require more niacin than chicks, which you can supplement by adding brewers yeast to their feed.
One cup per 20 pounds of food is plenty, but you can also just add a generous sprinkle to their food dish each day. Niacin deficiency can cause leg deformity, and eventually death, but is very easy to avoid with proper nutrition.
As soon as you get your ducklings home from the post office, you need to get them to drink water by dipping their beaks into a dish. Make sure they are tilting their heads back to drink. Place water in a shallow dish the day before your ducklings arrive, so that it has time to adjust to the ambient temperature and isn’t too cold.
Drowning and hypothermia are the leading causes of death in ducklings, so make sure that they can easily escape from the water dish if they fall in. Lining the bottom of a dish with marbles or small stones is perfect for the first week or so.
For the first couple of days, adding 1/3 cup of sugar to the water can help ducklings that have arrived by mail regain strength and vitality after their journey.
Caring for Ducklings (Two to Five Weeks)
By the time your ducklings are two weeks old, they are much hardier and more capable of regulating their body temperature.
Heat and Water
Once your ducklings are two weeks old, in most climates you can turn off the heat lamp during the daytime and only switch it on at night. In warmer climates, they may not need any supplemental heat after two or three weeks. As mentioned before, the best way of gauging the needs of your ducklings is to observe them and see how they are behaving.
Ducklings are perfectly capable of swimming at two weeks old, and providing them with a container to swim in (under strict supervision) will help them to develop their leg muscles. It’s also the cutest thing ever. Meanwhile, your ducklings will be consuming (and wasting) a surprising volume of water at this point. Check on their water dish as often as possible to make sure they have an ample supply.
Food and Recreation
After the first two weeks, you can switch to a starter/grower feed (15-16% protein) for ducks or chickens, but keep supplementing with niacin until they are 18 weeks old. Your two-week-old ducklings will be thrilled with all sorts of treats you can feed them now, from frozen peas in their water dish to weeds pulled from the garden. You may even see them chasing and catching flies that land in their brooder, attracted by the mess they make.
Ducklings mature quickly, and between three and five weeks old they are ready for supervised outdoor time when the weather permits.

Caring for Ducklings Six Weeks and Beyond
As your ducklings rapidly grow, you should be expanding their living space and preparing an outdoor space for them.
Ducks are ready to be outside full-time once they are fully-feathered, around two months old. However, they need a shelter to sleep in at night and may benefit from fencing that protects them from predators. If they free range, keeping them enclosed in their house until morning will help you collect eggs more easily.
The duck house floor should be covered in a generous layer of straw where they will nest and lay their eggs. Mucking the house out regularly will keep your flock happy and provide you with nitrogen-rich material for your compost pile.
Ducks love water and should have a place to splash around in. Because they are so messy, however, it is best to use the smallest kiddie pools or heavy-duty plastic troughs used for concrete mixing as swimming pools. This way, you can rinse and fill the containers with clean water every day.
A word of caution: ducks love to dig into muddy areas with their bills and can create deep holes. Keeping the swimming containers on concrete pavers will also protect your turf.
At 18 weeks, your ducklings will look like full-grown ducks and can transition to a regular layer feed (16% protein). Ideally, they will spend their days happily foraging for insects and eating weeds, and bringing you endless entertainment with their antics.
Of all the barnyard animals, I consider ducks the easiest and most beneficial to raise. I hope that you agree.
Like this post? Don't Forget to Pin It On Pinterest!
You May Also Like:


