

Estimated reading time: 8 minutes
Survival bars are a great addition to your bug-out bag and your prepper supplies. They are compact, easy to carry, and calorie dense. But, unfortunately, they’re also expensive and not very tasty!
But there’s another solution- DIY ration bars. These bars are healthier, fresher, and much better tasting. They are also endlessly adjustable so that you can make them however your family likes.
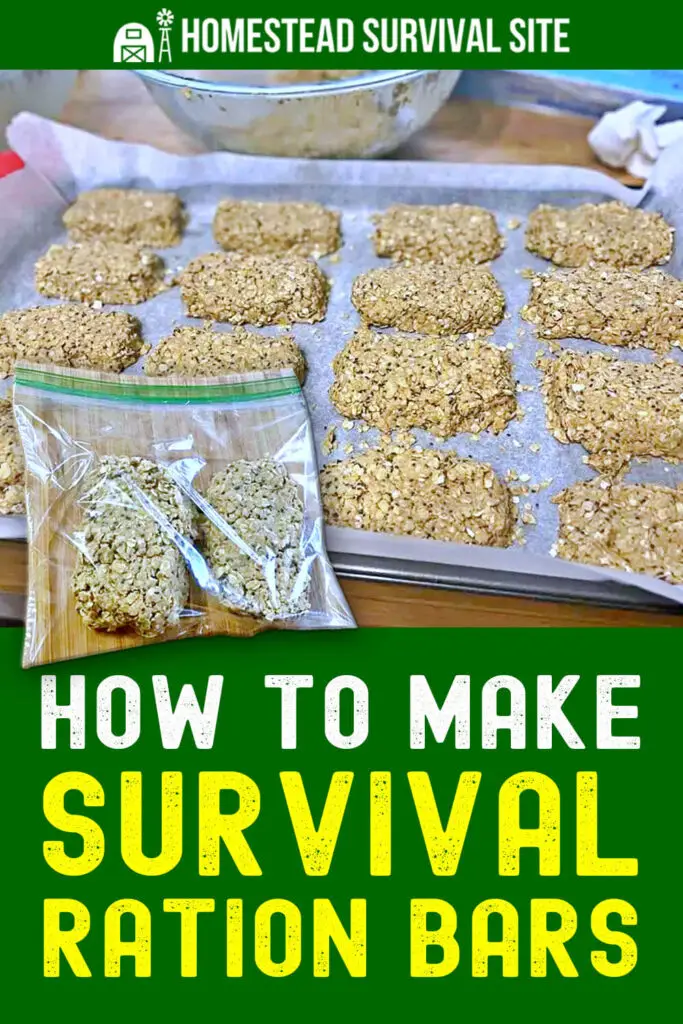
With this recipe, I made 21 servings of survival bars. Each bar came out to 340 calories based on the ingredients I used and the size of the bars I made. Even better, they taste like cookies!
You’ll get plenty of calories, fats, and protein for each bar and nutrients from the chia seeds. If possible, drink these bars with water because the chia seeds will swell in your stomach and make you feel fuller, longer.
I made these bars with just ingredients that I had at home. It’s easy and doesn’t require baking, and most of the ingredients are very inexpensive. These are a great snack for every day as well as for survival ration bars.
Want to save this post for later? Click Here to Pin It On Pinterest!
Here’s the basic recipe:
Survival Bars
- 10 minutes prep time
- 30 minutes chill time
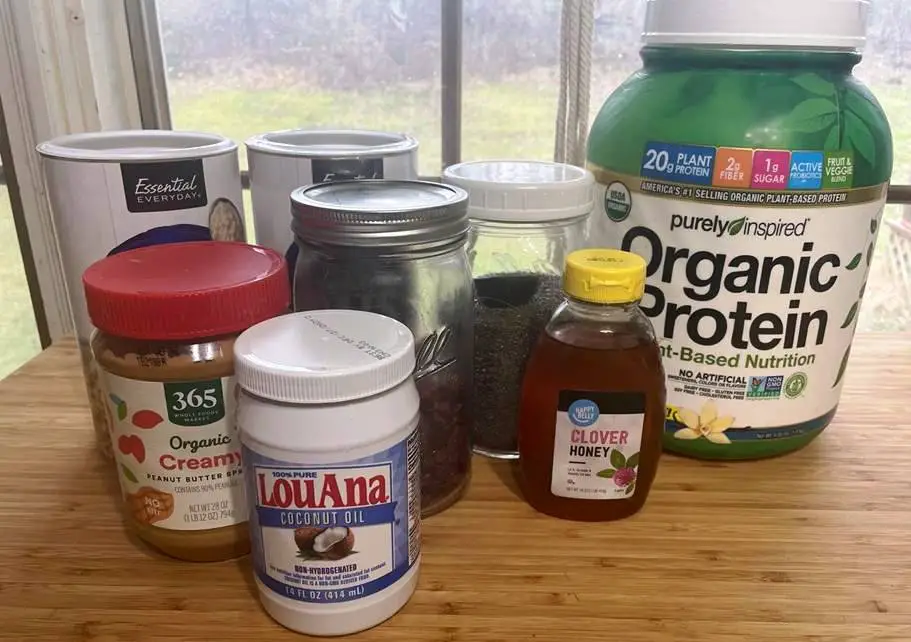
- 6 cups of oats
- 6 Tbs of chia seeds
- 6 scoops of vanilla protein powder
- 1 cup of honey
- 1 cup of coconut oil
- ¾ cup peanut butter
DIY Survival Bar Directions
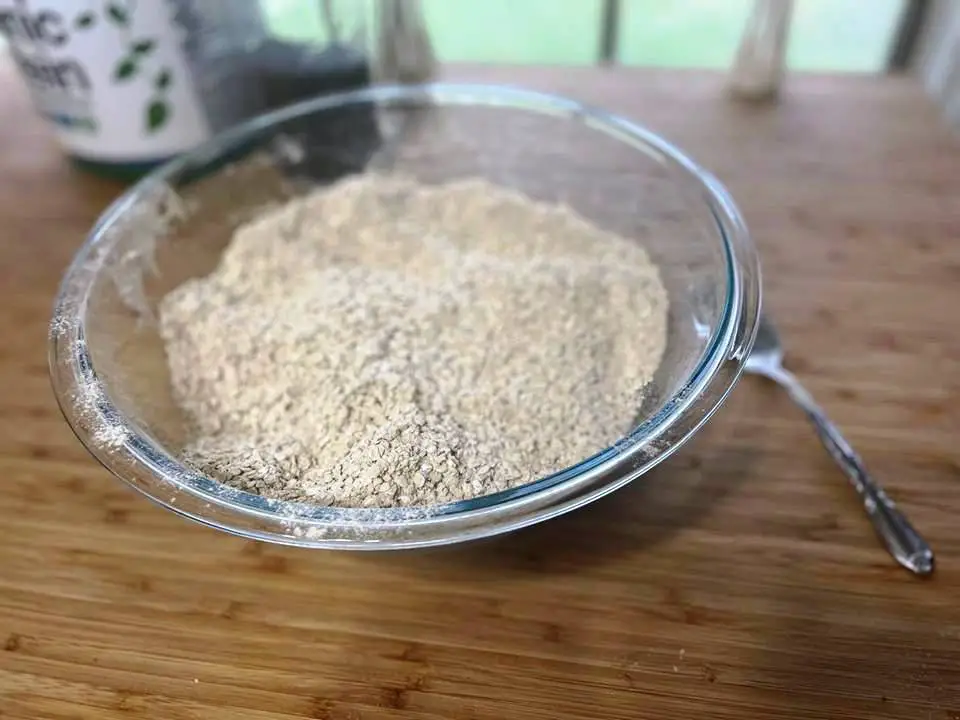
- First, put all of the dry ingredients together in a large bowl and mix them well. Set the bowl aside until you’re ready for it.
- Second, put your ‘wet’ ingredients in a separate bowl: honey, coconut oil, and peanut butter.
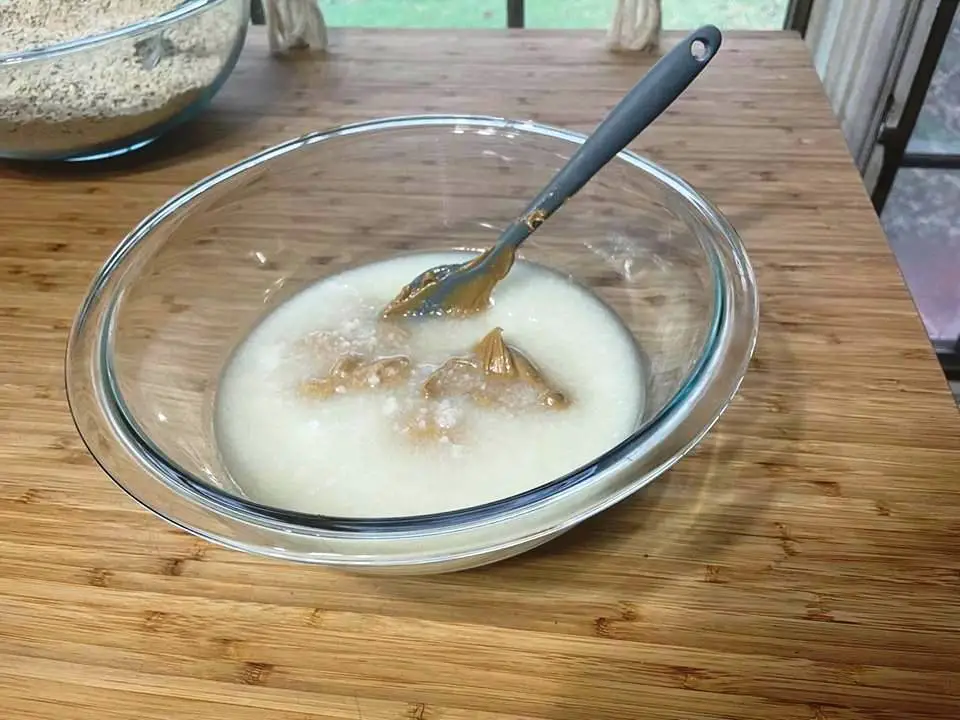
To make it easier to stir, I melted the wet ingredients in the microwave for 1 minute.
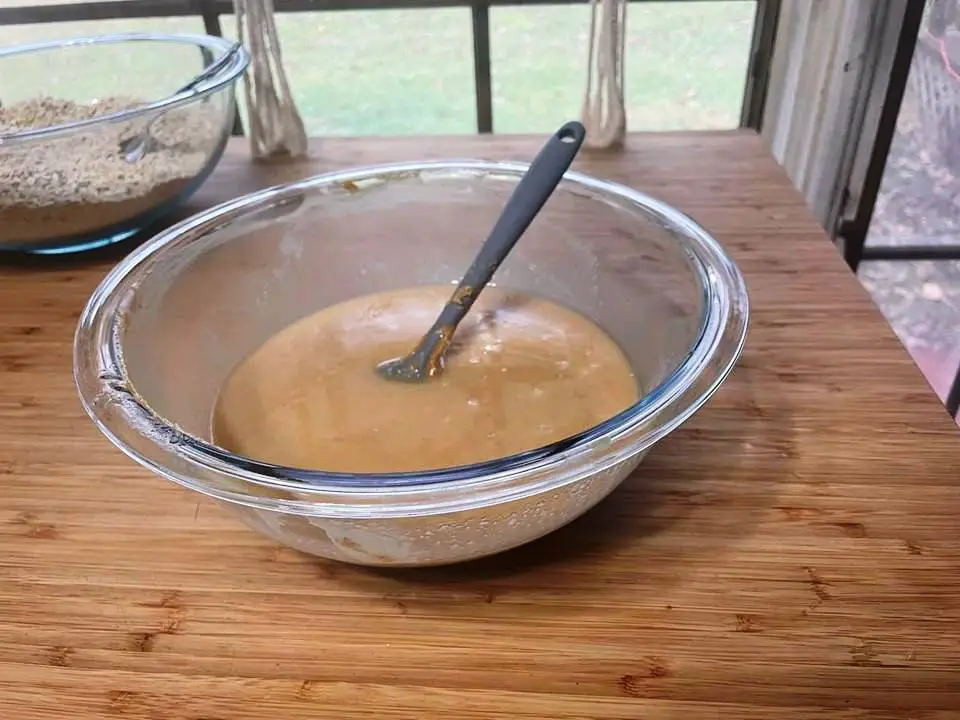
You could also do this on the stovetop in a pan on low heat. Stir well.
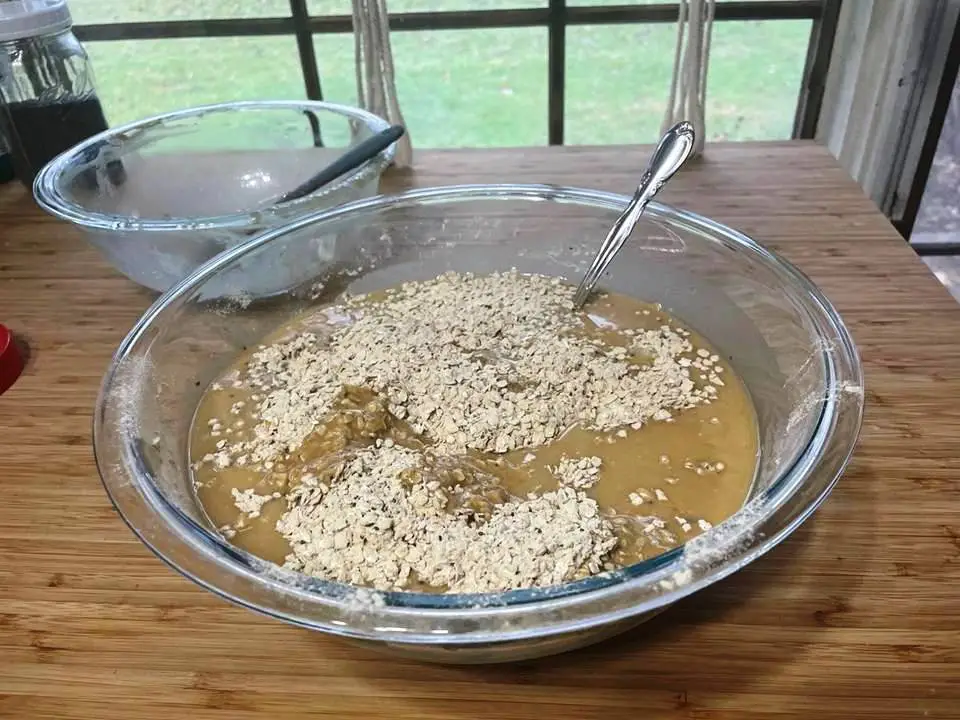
- Pour the wet ingredients over the dry ingredients and stir them up.
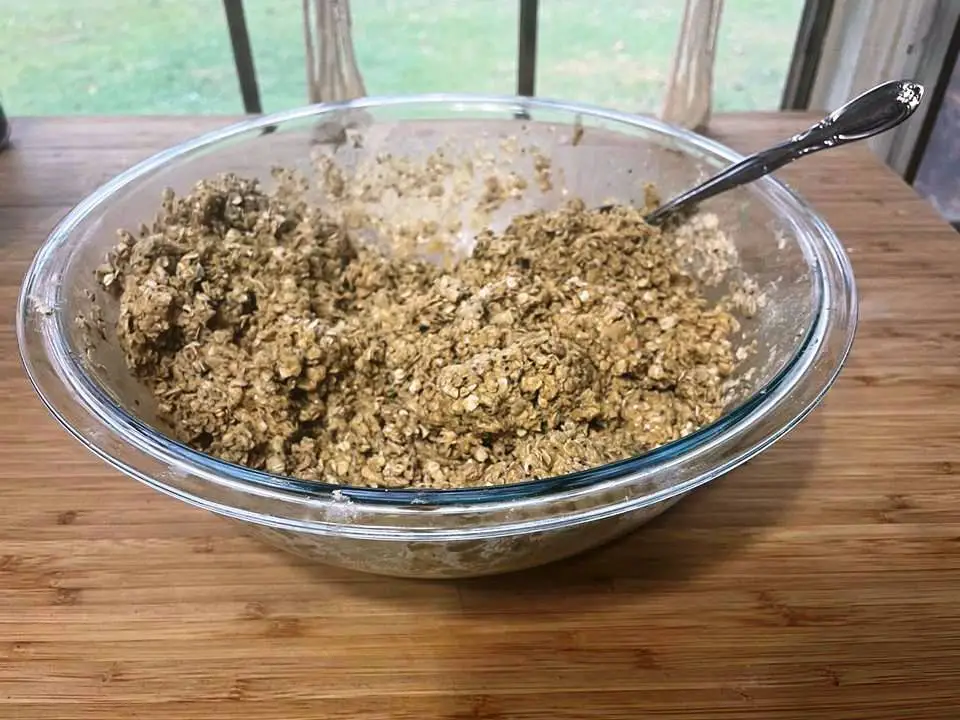
- To check the consistency of your mixture, see if you can form a ball. If the ball sticks together but doesn’t stick to you, it’s perfect. If the mix is too sticky and you can’t get it off your skin, you may need to add in a little more protein powder. If the mixture is too crumbly, you can add more melted coconut oil or even water.
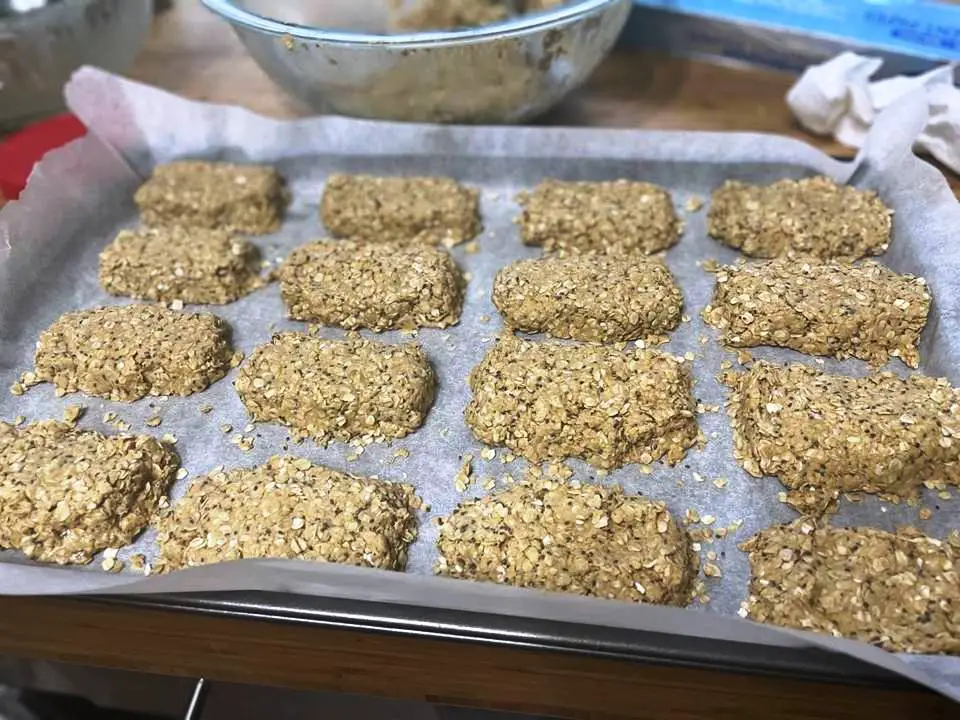
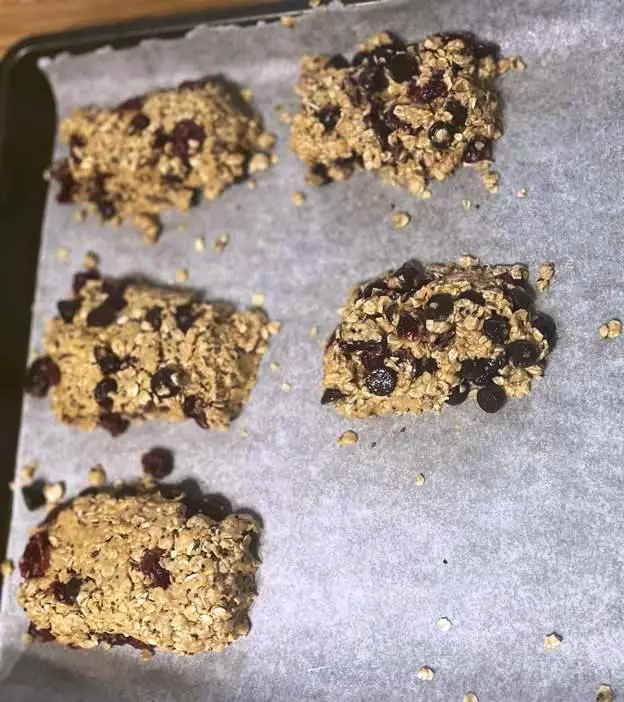
- Place a piece of parchment paper over a cooking sheet.

- Grab a large handful of your mixture, and squeeze it together, so it compacts a little bit. Shape it into a bar and set it on your pan. Leave a little space between each bar.
- After the bars are formed, place them in the freezer for about half an hour to harden. The coconut oil will make the bars hard enough that they really stick together.
- Remove your bars from the freezer and package them for storage.
How to Store Your Survival Bars
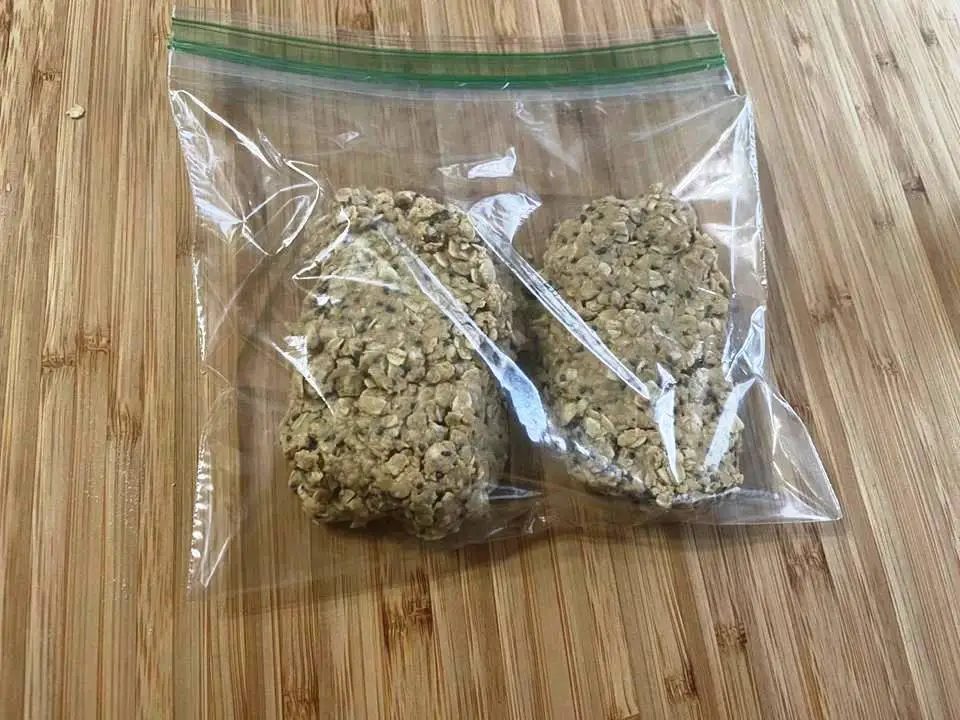
You can package the bars individually wrapped in wax paper, in bags, or just layered between pieces of parchment paper. I like to put 2 bars in a baggy so they’re easy to grab when it's time to go.
Store the bars in the freezer so that they stay fresh. They should be good for about a year, but they probably won’t last that long because they taste so good! Also, because the bars contain coconut oil, they will get soft in hot weather. You might even prefer them this way!
You can grab a bar as fuel for a long hike or bike ride or to bring along in a bug-out situation.
Survival Bar Options
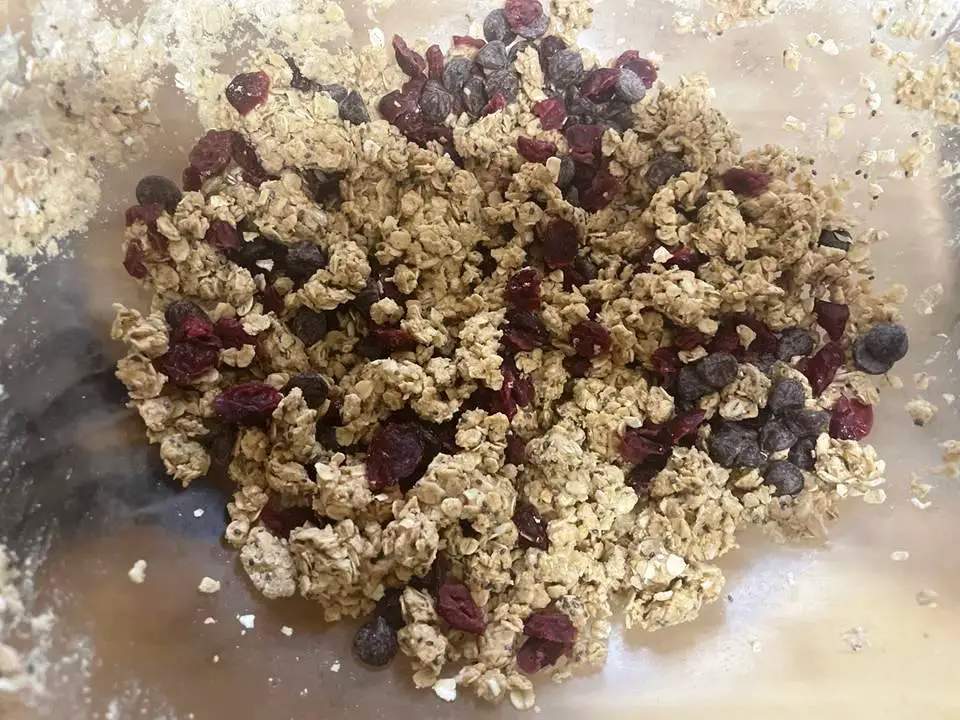
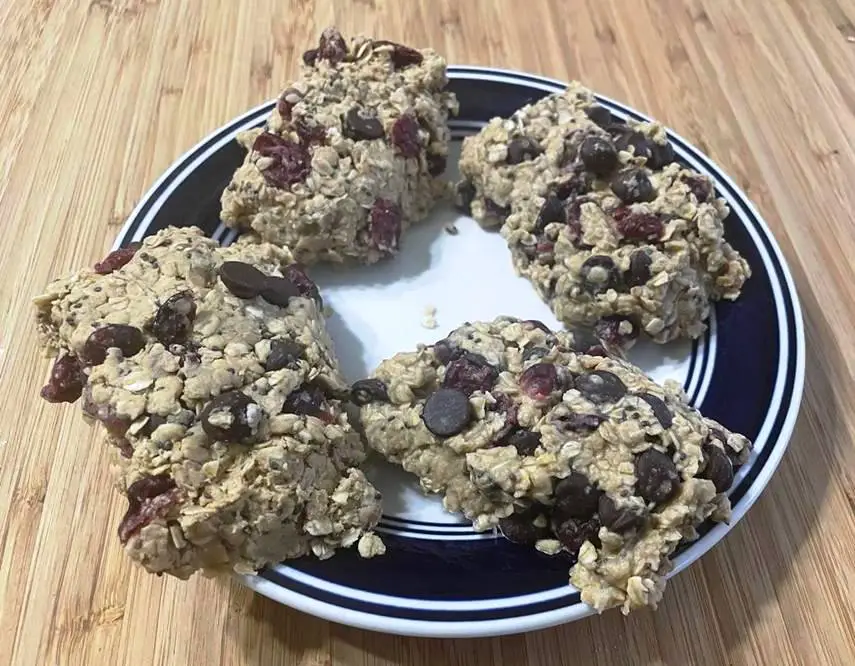
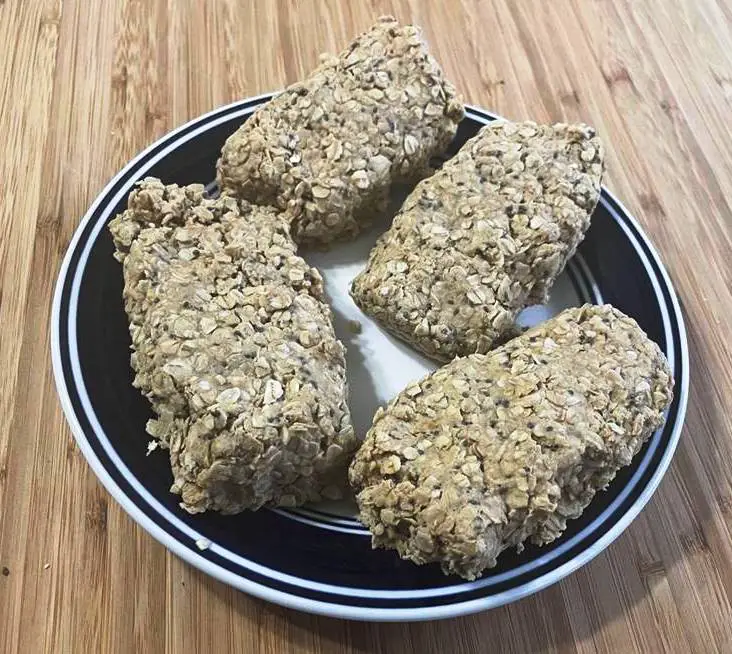
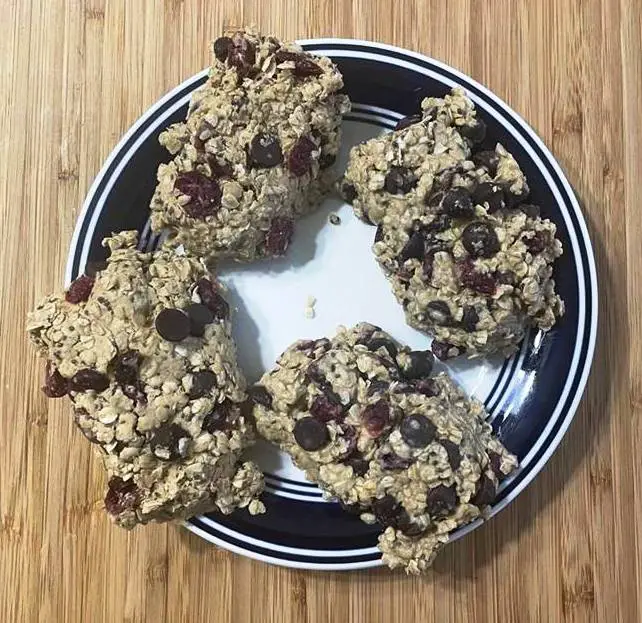
You can adjust this recipe to meet your family’s needs. I made a tray full of the survival bars plain, but then I also made some with optional mix-ins. The things you choose to mix in will change the calorie count and storage life, so keep that in mind as you make them.
I added a large handful of dried cranberries and chocolate chips because that’s what my family loves. You can add in dried fruit, nuts, and chocolate pieces – it’s up to you.
If you don’t like the vanilla flavor, you can choose a different flavor of protein. For example, you may prefer chocolate, peanut butter, banana, or a combination of flavors.
If you don’t like the bar shape, you can put them into muffin tins with a paper lining. This may make it easier to store long-term. Also, you could form your bars into balls instead.
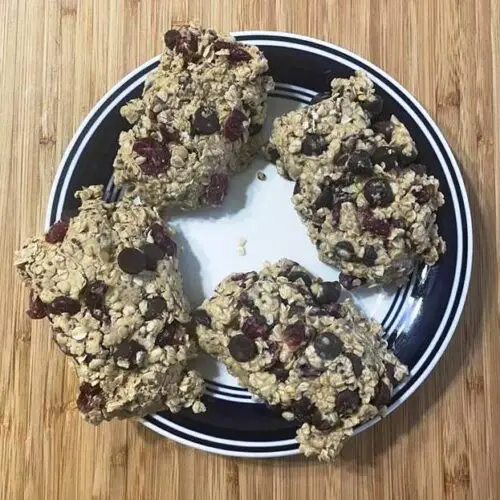
I love these bars because my kids devour them like cookies. They taste great, are a healthy alternative, and help them get some extra protein and calories that they need to grow both during a survival situation and every day.
Calculating the Calorie Count
In order to calculate the calories in each bar, I added up all of the calories from each of the ingredients, then divide it by the number of servings. It looked like this:
- 6 cups of oats: 1800 calories
- 6 tablespoons of chia seeds: 360 calories
- 6 scoops of protein powder: 960 calories
- 1 cup of honey: 960 calories
- 1 cup of coconut oil: 1920 calories
- ¾ cup peanut butter: 1140 calories
I added all of the calories together for a total of 7140
Then, I divided the sum of the calories by the number of bars I made (21) for a final calorie count of 340 calories per bar.
In a survival situation, getting enough calories is very important. Figure out the calories for each bar will help you know how many calories you’ve eaten. This way, you can ration your food without getting too hungry.
Like this recipe? Don't Forget to Pin It On Pinterest!
Survival Ration Bars
Ingredients
- 6 cups rolled oats
- 6 tbsp Chia seeds
- 6 scoops Vanilla protein powder
- 1 cup Honey
- 1 cup Coconut oil
- 3/4 cup Peanut butter
Instructions
- Put all of the dry ingredients together in a large bowl and mix them well. Set the bowl aside until you’re ready for it.
- Put your ‘wet’ ingredients in a separate bowl: honey, coconut oil, and peanut butter.
- To make it easier to stir, I melted the wet ingredients in the microwave for 1 minute. You could also do this on the stovetop in a pan on low heat. Stir well.
- Pour the wet ingredients over the dry ingredients and stir them up.
- To check the consistency of your mixture, see if you can form a ball. If the ball sticks together but doesn’t stick to you, it’s perfect. If the mix is too sticky and you can’t get it off your skin, you may need to add in a little more protein powder. If the mixture is too crumbly, you can add more melted coconut oil or even water.
- Place a piece of parchment paper over a cooking sheet.
- Grab a large handful of your mixture, and squeeze it together, so it compacts a little bit. Shape it into a bar and set it on your pan. Leave a little space between each bar.
- After the bars are formed, place them in the freezer for about half an hour to harden. The coconut oil will make the bars hard enough that they really stick together.
- Remove your bars from the freezer and package them for storage. You can package the bars individually wrapped in wax paper, in bags, or just layered between pieces of parchment paper. I like to put 2 bars in a baggy so they’re easy to grab when it's time to go.
- Store the bars in the freezer so that they stay fresh. They should be good for about a year.
You May Also Like:


Sorry seems more like an energy bar or meal replacement. Can’t store these in a Bob so not really a survival bar.
Make SURE your protein powder DOES NOT have acsulfame (sp?)potassium. It’s an elitests ordered ingredient and is toxic. The body doesn’t know how to process this lab created sweetener and is worse than processed sugar.