

Estimated reading time: 7 minutes
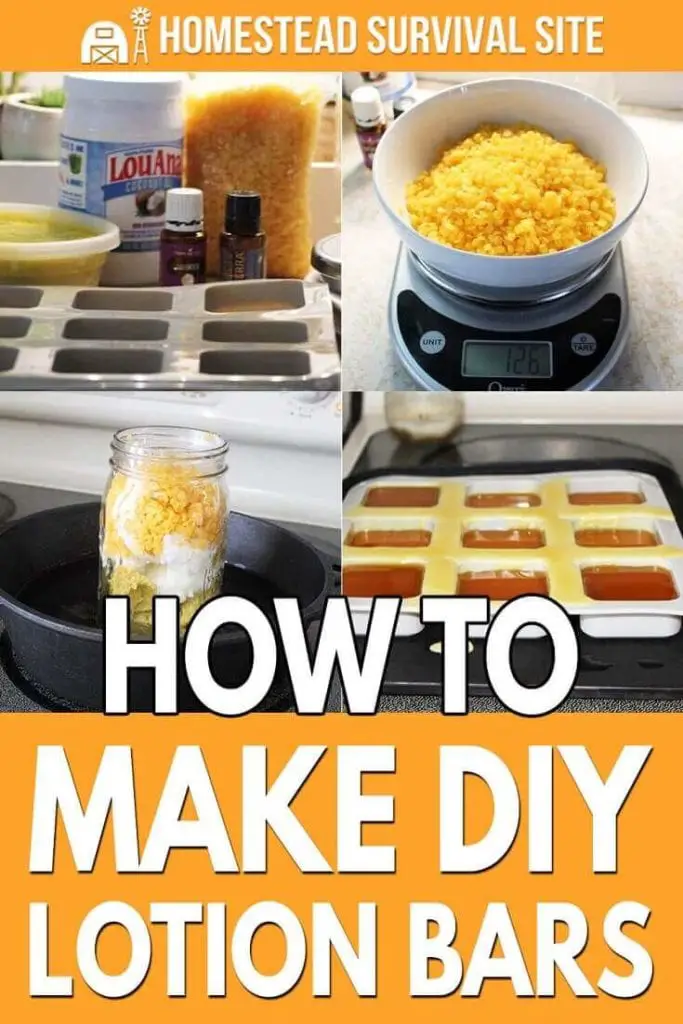
DIY lotion bars are a great alternative to commercial lotions. They are easy to make, shelf-stable, and can be made with just a few simple and natural ingredients. Lotion bars may look like an old-fashioned bar of soap, but they are actually a moisturizing lotion in solid form.
There are all kinds of recipes available to make your own lotion bars. Many are complicated or require fancy ingredients and tools, but this recipe is excellent for beginners. You only need a few simple ingredients and a few kitchen items to create your own lotion bars.
Keep reading to find out how to make your own lotion bars with this easy-to-use DIY lotion recipe.
Want to save this post for later? Click Here to Pin It On Pinterest!
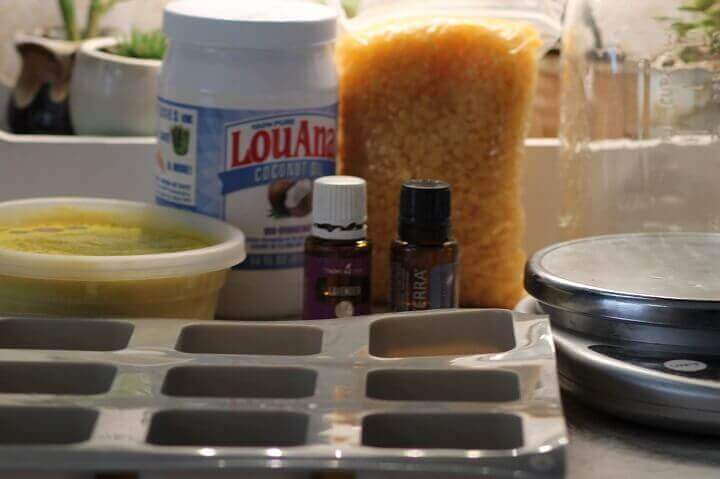
You'll need a few simple ingredients:
- Coconut oil
- Shea butter
- Beeswax pellets or pastilles
- Essential oils
You'll also need a few items:
- Soap mold
- Kitchen scale or measuring cups
- Double boiler
- Spoon
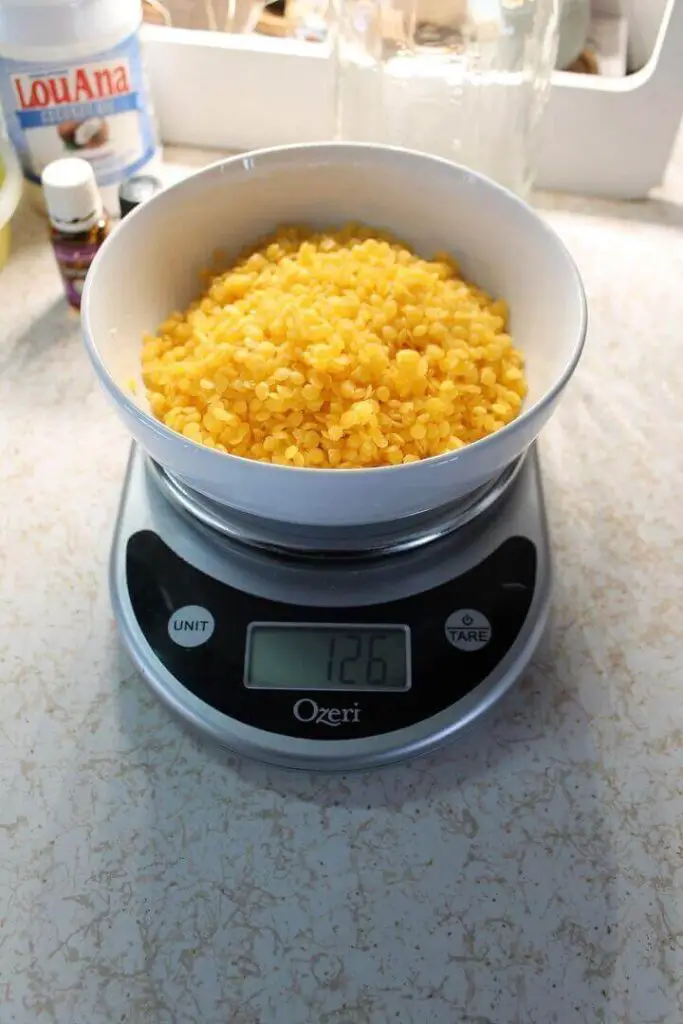
The recipe calls for equal parts of coconut oil, shea butter, and beeswax pastilles. To make 12 half-dollar-sized lotion bars, use approximately 125 grams of each or roughly 1 cup. You can adjust the recipe as needed to make more or less lotion bars.
Directions
Step 1
Measure your ingredients, one at a time, using your kitchen scale or measuring cup.
Step 2
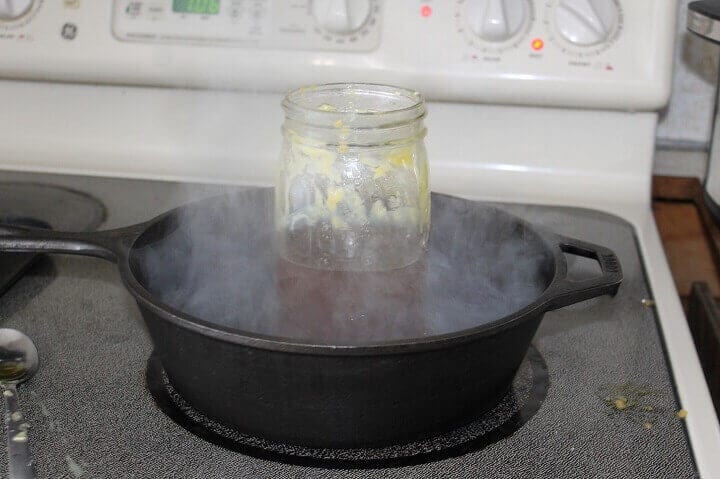
Next, combine the shea butter, coconut oil, and beeswax in your double boiler. If you do not have a double boiler, you can put your ingredients into a quart-sized mason jar. Place the filled mason jar into a saucepan with a few cups of water in the bottom.
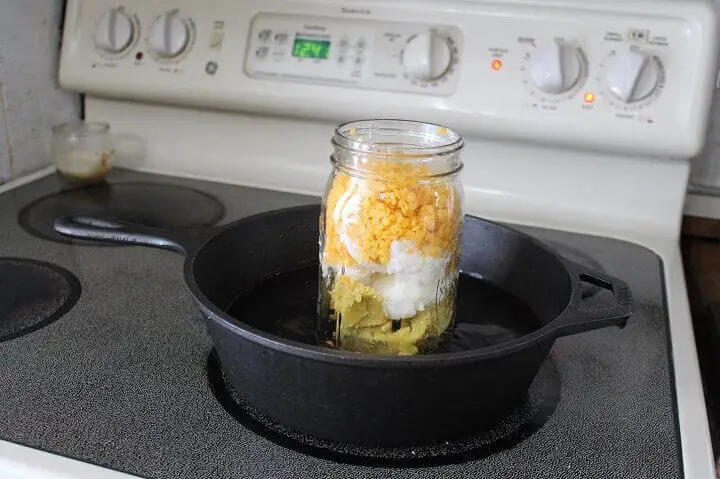
Step 3
Heat your saucepan over low to medium heat and stir constantly until all of the ingredients are melted. Keep in mind that coconut oil and shea butter have a lower melting temperature than beeswax. It will take a little longer for the beeswax to melt. Just keep stirring! The lower the heat, the more nutrients in your final lotion bars are preserved. Heating the ingredients too high will cause the natural properties of the oils to break down. The entire melting process took around 20 minutes.
You might prefer to melt your ingredients in the microwave. To do so, combine your ingredients in a microwave-safe bowl and cook them for 30 seconds at a time, stirring each time. Microwaving may destroy the quality of the vitamins in the final product. However, it will not affect the feel of the lotion bar.
Step 4
Once everything is melted, remove the saucepan from heat and allow the mixture to cool slightly. Continue stirring.
Step 5
Once the mixture has cooled, you can stir in your essential oils.
Add a few drops at a time of your favorite essential oil until you reach the desired amount of fragrance. Lavender creates a calming lotion bar. For a minty bar, add a few drops of peppermint oil instead. If you don't have any essential oils available, don't despair! You could leave your bars unscented. They have a fresh, natural scent that is delightful all on its own.
Step 6
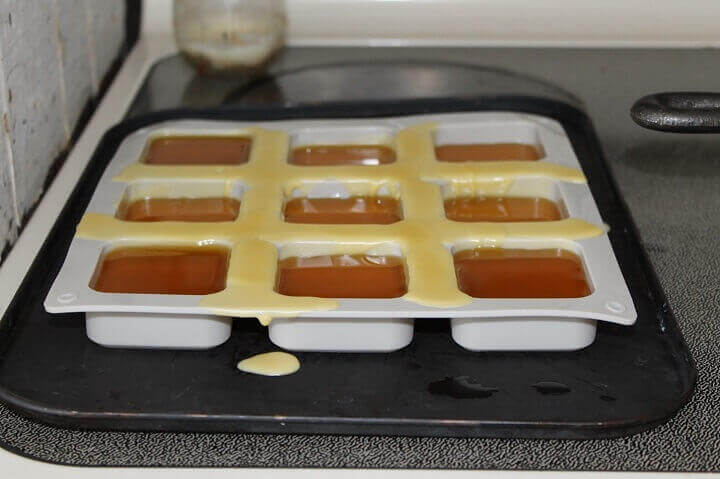
Pick up your mason jar or double boiler with oven mitts, being very careful not to get burned. Slowly pour your mixture into the silicone soap molds.
Step 7
Molds are readily available in a number of shapes and sizes. Some are even available with designs and prints. If you do not have any soap molds available to use, you can pour the lotion mixture into a glass baking dish, or you could even use muffin tins. Since this recipe is made of natural ingredients, you won't need to worry about your kitchen items becoming contaminated. Just wash them thoroughly when you are done.
Step 8
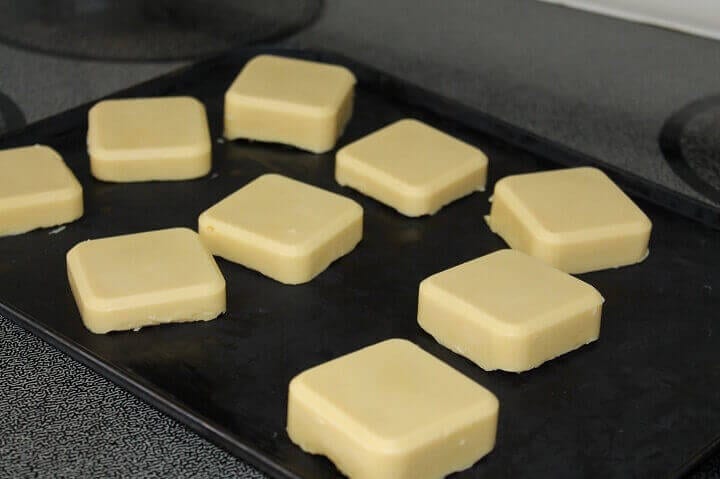
Allow your lotion bars or baking dish to cool completely. Once the bars are cool, you can easily pop them out of their molds. If you chose to pour the mix into a baking dish, you can cut the bars with a warm knife into your desired size.
Step 9
Store your lotion bars in a cool, dry place. You may wish to package them in small tins, glass mason jars, or wrap them neatly in parchment paper and tie them with a pretty ribbon. Your lotion bars should last for 1 to 2 years if stored correctly.
FAQ
What if I can't find shea butter?
If you have difficulty obtaining shea butter, you could substitute an equal amount of cocoa butter or mango butter. Cocoa butter will give the lotion bars a rich, chocolaty fragrance, while the mango butter will give them a fruity aroma.
Will my lotion bars melt at room temperature?
Your lotion bars should stay solid at average room temperatures. However, hot summers may make your lotion bars soft. Keep them out of direct sunlight and away from heat. You can store them in the refrigerator if the temperatures are very warm.
How long will my lotion bars last?
Lotion bars made from cocoa butter or shea butter are typically shelf stable for around two years, provided your ingredients were fresh. However, if your lotion bars begin to have an off odor or smell rancid, throw them away and make a fresh batch.
Can I add other ingredients to my lotion bars?
Yes! You can always add rose petals, dried lavender buds, or other safe flower petals to your lotion bars for color and interest. Although you can add the essential oil of your choice, if you alter the ratios of ingredients, you may end up with a lotion bar that is too soft or too hard. Be sure to look around for additional recipes, if required.
Why do some bars use Vitamin E?
Vitamin E can be used as a mild preservative to extend the shelf life of your lotion bars. Add in 12 to 15 drops of Vitamin E per 3 cups of lotion bar mixture after you have removed the mix from heat and before you stir in your essential oils.
Like this post? Don't Forget to Pin It On Pinterest!
You May Also Like:


Thank you for this; looks super easy. I just looked up how to do it with essential oils. It looks like you use about 15 drops after the stuff is all melted, but not while it is too hot (or too cool). then you put your drops in and stir, then pour in the molds. I never use lotions, but this actually looks like something I would use, can be made with really good ingredients, and will be nice to use. (By the way! I was wondering about shea butter. According to the other video, you can substitute shea butter for the cocoa butter. (I’m thinking maybe try half and half?). This lady (Laurie Neverman) has a homestead and she does newsletters, which I am signed up for.