

Estimated reading time: 16 minutes
The first freeze wipes out many herbs. Here’s how to save the best of the bunch and preserve them for the months ahead.
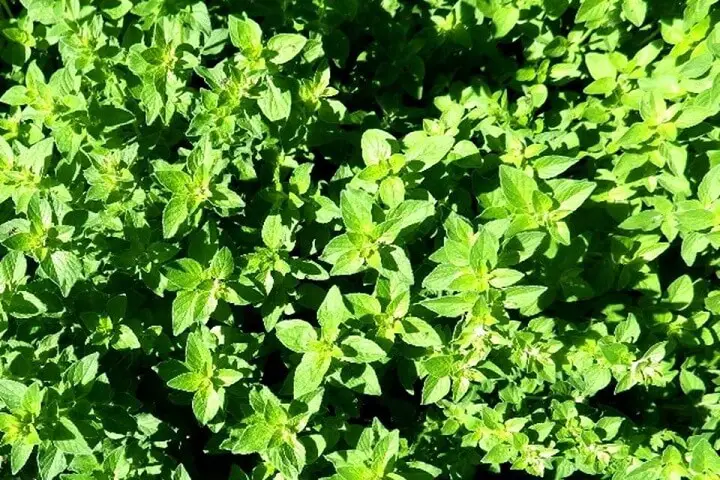
Herbs are easy to grow and many of us space them around our gardens. Some of us even have dedicated herb gardens that we harvest all summer long. But if there’s one thing every herb gardener learns the hard way, it’s that the first frosts and freeze of autumn can wipe out an herb garden. Fortunately, there are easy ways to preserve herbs, and some may surprise you.
Want to save this post for later? Click Here to Pin It On Pinterest!
Herb Preservation 101
The challenge with preserving herbs is preserving not only the plant but the flavor. It’s a simple fact of organic chemistry that fresh herbs will always be more flavorful than most preserved herbs, but there are some methods that not only preserve the herbs but the flavor as well.
Other methods reduce the flavor, but anyone who has ever used dried herbs knows that the simple solution is to add a little bit more to a recipe to compensate.

Some Ancient History
Herb preservation is nothing new. Our ancient ancestors sun-dried herbs to preserve them initially for medicinal use but also as a flavoring for foods and teas.
Trade in the ancient world was often driven by the import and export of herbs and spices, and some like saffron and pepper were so highly prized in the middle ages in Europe that they were worth more than their weight in gold.
Herbs and spices were also used in other food preservation practices from curing meats to pickling and fermenting seafood and vegetables. In actual fact, some herbs and spices like mustard seeds have natural food preservation qualities that inhibit bacterial growth in food.
We’ll cover some ancient methods and explore some contemporary approaches as well. They include vacuum sealing, ice-cubing, and refrigerator drying. There’s also that thing called a food dehydrator that some of us are familiar with, and it’s a great tool for preserving herbs and spices.
Another old technique worth mentioning is storing herbs in oils or vinegars. Ancient cultures discovered that submerging herbs in olive oil or wine vinegar both flavored the liquid and helped keep the herbs usable for weeks or months.
Herbal oils and vinegars can still be made today, and they’re a great way to capture the flavor of summer herbs in a form that adds instant punch to salad dressings, marinades, and cooked dishes.
What’s the Difference Between an Herb and a Spice?
The simplest way to think about this is that herbs typically come from the leaves of a plant and the spices come from everything else. This could include spices from seeds, roots, bark, flowers, stems, and bulbs.

As a result, herbs tend to occur in various shades of green due to the chlorophyll in leaves while spices range in colors across the spectrum. Harvesting and preserving spices is a whole different subject, so we’re only going to focus on green, leafy herbs for now.
Tools for Herb Preservation
You probably have a lot of these tools on hand, but some are a bit obscure like a food dehydrator or vacuum sealer. Here’s a quick inventory of some tools you may need to track down for various herb preservation options. You don’t need all of them. Our ancient ancestors only needed the sun.
- Cookie sheets or metal trays for drying, and foil.
- Refrigerator/freezer for drying or freezing.
- Ice cube trays for herb/spice-cubes.
- Cheesecloth for refrigerator and outdoor drying.
- Food processor for coarsely chopping or pulverizing to a powder.
- Food dehydrator with multiple, stacking trays.
- Vacuum sealer for freezer or refrigerator.
- Storage containers can be empty, recycled herb and spice jars from the store, canning jars, even empty pill or vitamin bottles, and vacuum-sealed plastic bags.
- Parchment paper often gets overlooked, but it’s very handy when layering herbs for freezing or when separating portions in storage containers. It prevents herbs from sticking together, especially if you’re freezing chopped leaves or vacuum-sealed bundles.
Harvesting and Basic Prep Tips
When you harvest has a lot to do with the plant and how you plan to use it. Most leafy herbs are best harvested before the plant flowers and goes to seed.

Once flowering occurs, the plant invests most of its energy in the production of seeds at the expense of the leaves, and they may lose some flavor and not be as succulent or tender.
Washing and Drying Before Processing
Any part of the plant that you plan to preserve should be rinsed under cold water and allowed to air dry on paper towels in the kitchen or outdoors briefly in the sun.
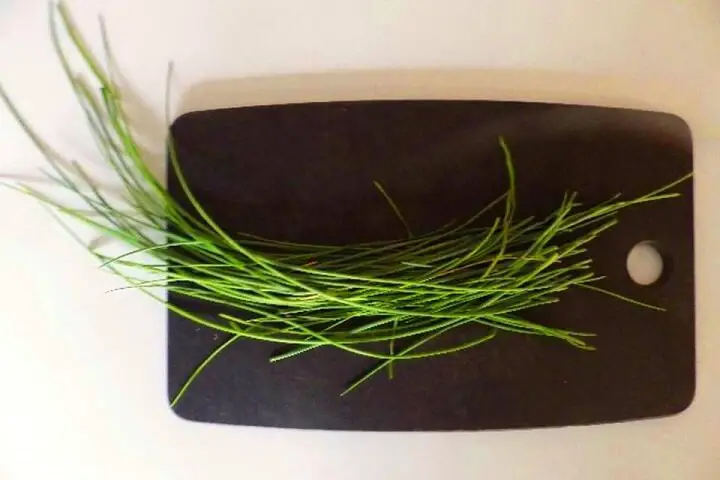
Plants grown outdoors accumulate everything from dirt to bacteria to bug and bird droppings, to say nothing of insect eggs and chemicals in the air. Wash ‘em. And then dry them before you do anything else.
If you have a salad spinner, this is one of the best ways to quickly remove excess water after rinsing. Herbs that get preserved while still damp are more likely to mold or turn brown, so spinning them dry speeds up the process. Just be gentle with fragile herbs like basil or mint, which can bruise easily.
What Are You Trying to Accomplish?
Preserve Color. Most herbs are green. We expect them to look that way and want to keep them that way. Various techniques can help to preserve color while others can compromise it. A lot of it has to do with properly managing temperature and time.
Preserve Flavor. This isn’t always easy. Particularly for dried herbs. That’s due to the loss of natural oils due to the drying process. There are alternative ways to retain flavor including the refrigerator process, vacuum sealing and freezing, and the ice-cube technique.
Extend Shelf-life. Some herbs can keep for years if properly dried and stored. Examples include oregano, mint, and chives, although any herb or spice will lose flavor over time. The primary goal is to prevent mold and bacterial growth so the herbs and spices are food-safe.
The Seven Methods
The standard and easiest approach to preserving herbs and spices is to dry them and store them in a jar. There are two ways to do that.
1. Sun Drying
This is the oldest way to preserve herbs and spices. Herbs and spices can be dried in the sun outdoors or indoors.
Indoors would obviously require a southern exposure to full sun as long as possible and has the added benefit of keeping both insects and airborne pollutants away, along with any precipitation.
The easiest way to do this is to take the washed and air-dried herbs and place them on a sheet of foil on a baking sheet or any flat surface. A board or table will do if it has a good angle to the sun.
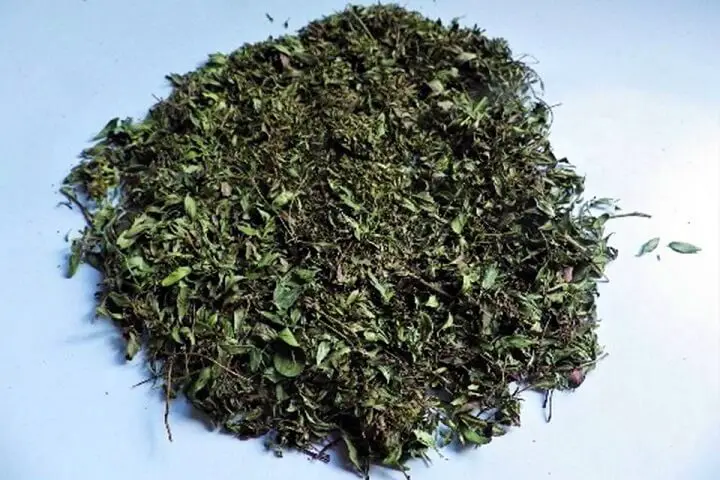
Let the herbs dry and turn them from time to time. Test them by crumbling them in your fingers. If they crumble easily, they're done.
Outdoors is another option, but you have to protect the herbs in some way so the bugs, dust, and bird droppings don’t find their way onto your slowly drying herbs and spices.
One way to do this is to place the herbs on a foil-lined cookie sheet and stretch some cheesecloth across the top. The cheesecloth will keep the bugs at bay and should do a decent job of trapping any airborne particles while allowing the sun to pass through the cheesecloth netting and the air to circulate.
You’ll want to bring them indoors at night in case of rain or morning dew, but if it's a sunny day, they should be close to done by the day's end. The garage is an option for overnight storage if you have a lot of trays.
A lot has to do with the type of herbs and the thickness or succulence of the leaves. Sage has a thicker more succulent leaf than basil and may take more than a day.
If all of that is too fussy for you, you can just let them dry in the sun uncovered, but keep an eye on the wind so they don’t blow away. And regardless of how you dry them outdoors, don't put them under a tree where a bird may come to roost.
2. Food Dehydrator
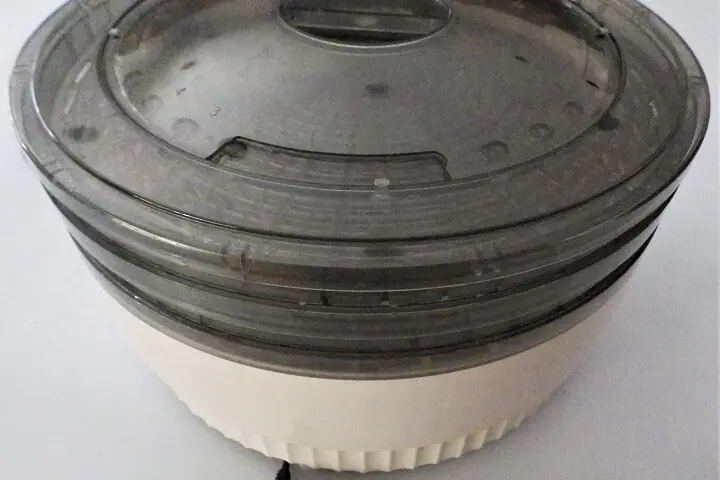
Food dehydrators are a layer of trays with a heating element at the bottom and sometimes a small fan to circulate the air. You can dry various and multiple types of herbs, but the herbs at the bottom which are closest to the heating element will dry out faster. You may need to rearrange levels or remove trays as the herbs dry.
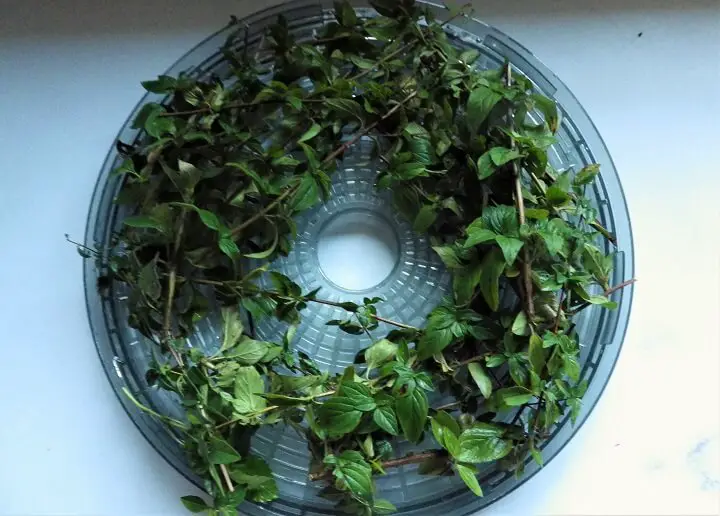
It makes sense to put more robust herb likes chives, sage, and rosemary on the bottom tray and more delicate herbs like basil and mint towards the top.
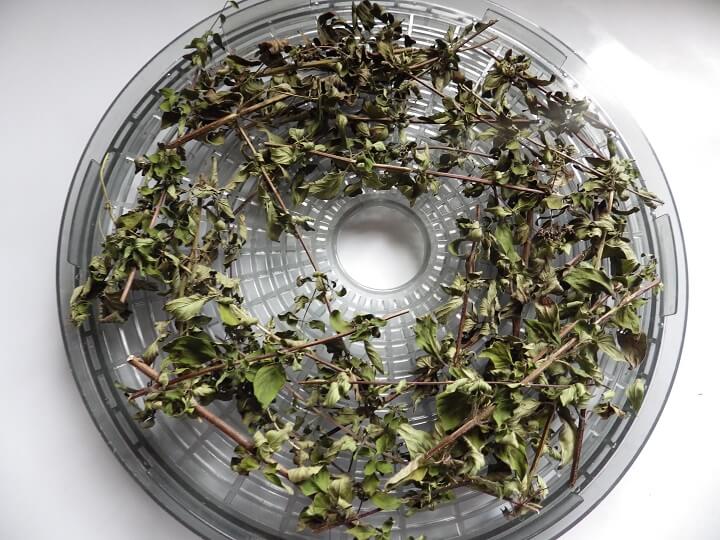
Check them periodically because some might dry before others. Do the crumble test to know when they’re done.
Other Methods
We usually don’t think of freezing herbs, but it’s a great way to preserve the flavor and the herb without drying out all of the natural oils. Here are a couple of ways to use your freezer to keep your herbs.
3. Herbed Ice Cubes
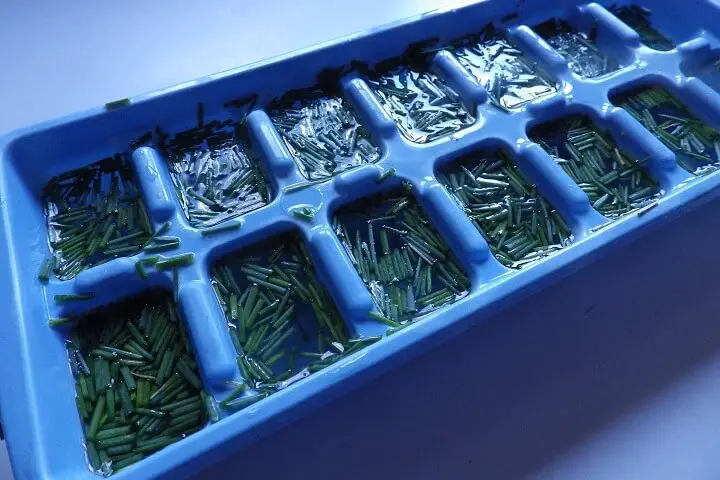
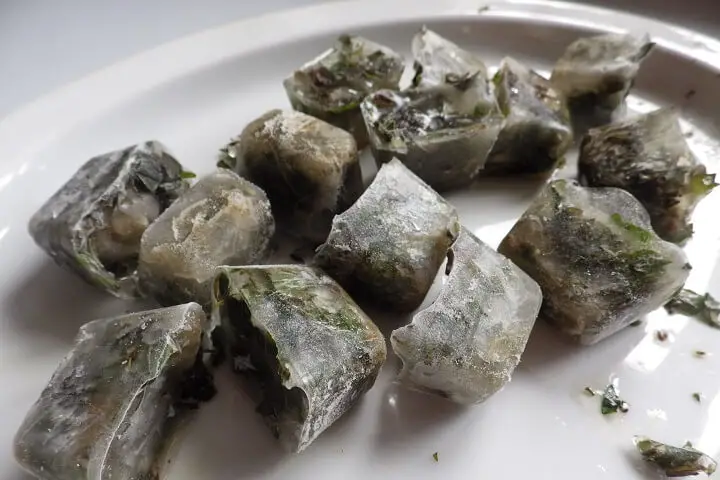
This technique is so simple a child could do it, and why not invite the kids to help? It’s as simple as chopping fresh herbs, dropping them into an ice cube tray, filling them with water, and freezing.
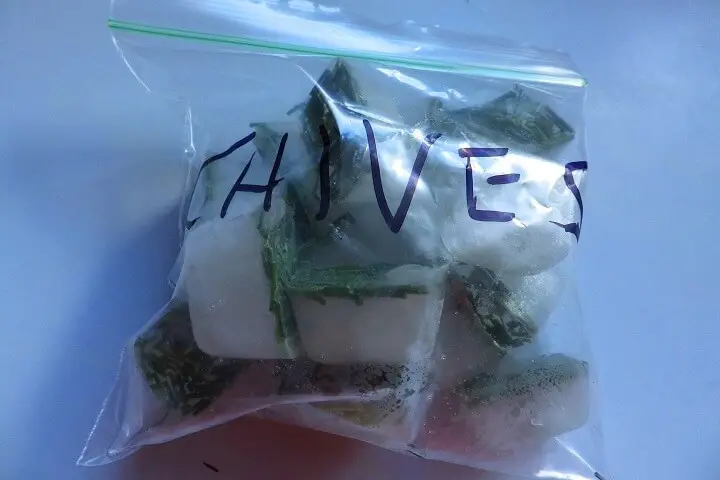
You then drop the cubes into large plastic bags and store them in the freezer. When you want to add herbs to a soup, stew, or sauce just drop in some herb cubes.
As simple as this technique is, there are a few things to think about.
- Most recipes seem to measure herbs and spices in teaspoons. It may be smart to make the decision that you’ll only put a teaspoon of any herb or spice into any ice cube compartment. That way you’ll always know how much you’re adding to a recipe when you drop in an herb cube or two.
- Many seasoning mixes are blends of herbs and spices. Italian seasoning is usually a combination of equal parts oregano, rosemary, and basil. If you add a teaspoon of each to an ice cube compartment and add some water, you’ll have an Italian herb blend for your next marinara self-contained in your herb cube.
You could do the same with other herbs and spices. The traditional combinations and proportions are easy to find on the Internet and all you have to do is remember to write on the plastic bag the seasoning combination before you toss it in the freezer.
- Broth instead of water. You don’t have to use water to freeze your herb cubes. You could use a broth or any other liquid that is customarily added to certain recipes. If that’s a pain, just add water, but it’s worth thinking about. Then again, you could always just drop a bouillon cube into the cube compartment with the herbs and be done with it.
4. Vacuum Sealed and Frozen
Good vacuum sealers aren't very expensive, and vacuum sealer bags are even cheaper. It’s a great way to seal and freeze anything, and it works for fresh herbs as well. Vacuum sealing and freezing is a great way to really preserve the flavor of fresh herbs, and you don’t have to go through any steps or process.
Just wash and let the herbs air dry, then toss them into the bag in the quantity you want and seal and freeze. Once you open the frozen herbs, store them in the fridge and continue to use them for up to 4 weeks.
And it’s not just about the freezer. There’s another drying method that does a good job of retaining flavor while effectively drying out the herb. It was featured on Marta Stewart's show a while ago and it works, although it’s a bit complicated.
5. Refrigerator Drying
Refrigerator drying requires dedicated shelf space in the fridge with a layer of cheesecloth on the shelf with the herbs on top and a layer of cheesecloth folded over. The refrigerator is actually a very dry environment and it’s why we store fresh vegetables in the crisper where moisture can be maintained and managed.
The downside is the need to dedicate refrigerator space to the herbs for anywhere from one to three weeks. If you have a second refrigerator in the garage, that might help.
The good news is that this technique really preserves the color of the herbs, but make sure they’re as dry as possible. All herbs can be dried with this approach, and it’s particularly good for the more delicate herb varieties like basil and mint that can quickly turn to toast with the other air-drying techniques.
When the herbs seem sufficiently dry, store them in canning jars and keep them refrigerated. This may use up too much refrigerator space, so reserve this technique for an herb that you use frequently across a range of recipes.
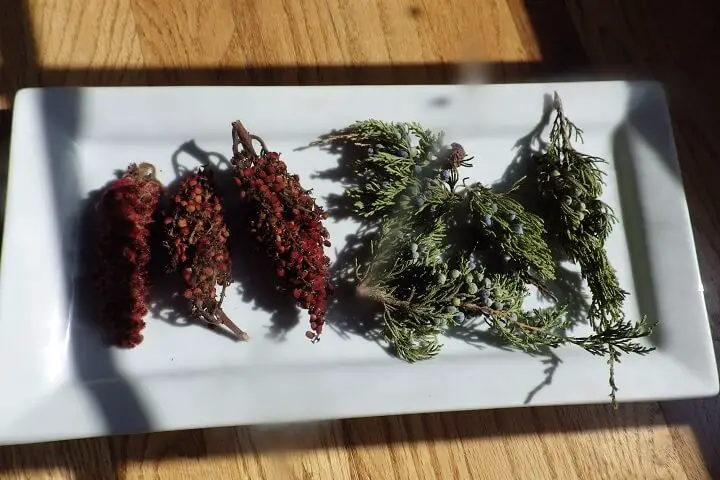
Another low-tech option is to bundle herbs together and hang them upside down in a cool, dry place indoors. A closet, pantry, or basement with good air circulation works well. Tie small bunches with string, leaving space between each bundle.
This method takes a little longer than sun drying, but it avoids exposure to pests, dust, or sudden weather changes. For thicker herbs like rosemary or sage, hanging can also help preserve essential oils better than direct sun.
6. Pestos
A pesto is a basic sauce usually made with a blend of olive oil, fresh herbs, some salt and pepper, and some nuts. You can use any herb, although basil is the herb of choice for most pestos. You could also use any kind of nuts, but pine nuts show up in most recipes.
Homemade pestos are best stored in the refrigerator and used within a month, but you can process jarred pesto in a hot water bath and it should keep for up to 6 months in the pantry. Just make sure you refrigerate after opening.
If you have an especially large harvest of herbs, pestos are a great way to preserve them and a pesto sauce is great on anything from pasta to bread, meat, and fish.
Better yet, you can adjust the flavor to the dish. A mint pesto would be great on lamb. A sage pesto on chicken, or lemon balm pesto on fish would also be a nice surprise. Here’s the basic recipe; just substitute your herb and nut of choice.
Basic Pesto Recipe
Ingredients:
- 1 cup of fresh basil leaves (you can substitute the herb of your choice)
- 1 tablespoon of finely chopped garlic (optional)
- ¼ cup of pine nuts (you can substitute any nuts)
- ½ teaspoon of salt
- ½ teaspoon of pepper
- ¼ to ⅓ cup of extra virgin olive oil
(If you want to make a larger batch just multiple all the ingredients equally).
Directions:
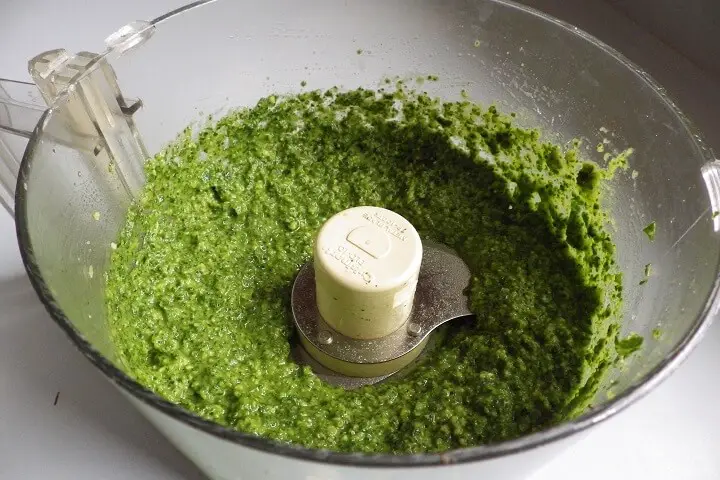
- Put all of the ingredients except the olive oil into a food processor and pulse until everything is finely chopped. With the food processor running, slowly add the olive oil until you have a paste-like consistency.
- Jar and refrigerate or process in sealed canning jars immersed in boiling water for 15 minutes.
- You might want to add a ½ cup of parmesan cheese to your pesto when you’re ready to cook if you want a traditional pesto recipe. We’ve omitted it because it could compromise shelf-life.
7. Jars

One way is to save your old herb and spice jars from the store, or you could buy some. Wash them and dry them, and you could even use an empty bottle of store-bought oregano to store your homegrown oregano. Or just put a label on it. Keep them in the pantry with your herb collection or in a spice rack.
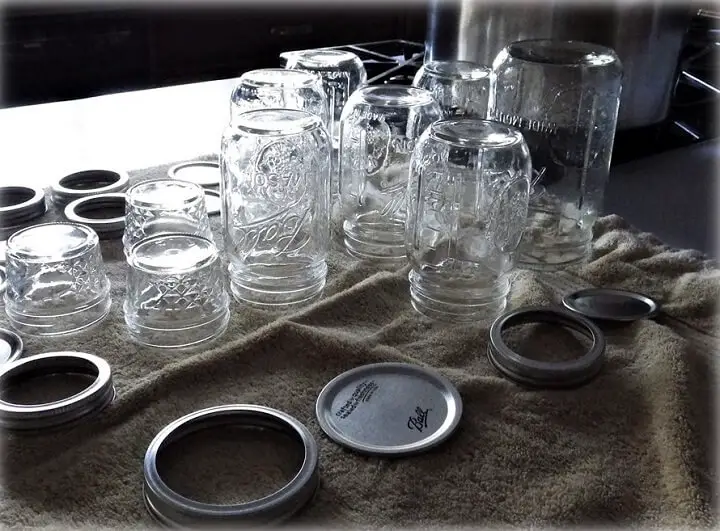
You could also use canning jars for bigger batches. If you ever notice an off odor or mildew smell in your herbs, discard them. Hopefully, you won’t have that problem and you’ll be able to harvest and successfully preserve your herbs season after season.
One last tip: always store herbs away from light and heat. Even if they’re perfectly dried, constant exposure to sunlight or a warm stove will fade both color and flavor. A dark cupboard or drawer is best. If you want to go a step further, consider adding a food-safe desiccant packet to jars. It keeps moisture at bay and extends the shelf life of your herbs even longer.
Like this post? Don't Forget to Pin It On Pinterest!
You May Also Like: