Estimated reading time: 8 minutes
When most people think about housing their chickens, their first thought is a chicken coop. Coops are indeed a great, all-purpose option, and most chicken keepers raise wonderful, happy, healthy flocks with a single coop and an attached run.
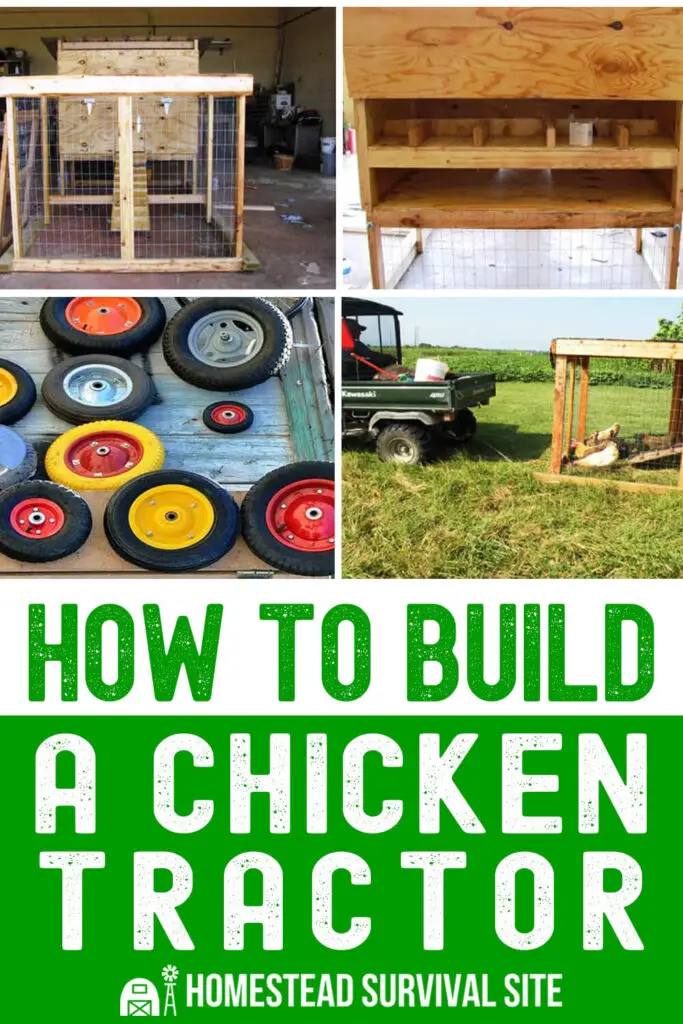
If you have a bit more space, though, you might also consider using a chicken tractor. These light, mobile structures are even easier to build than a chicken coop, and in this article you’ll learn everything you need to know about building your own.
Want to save this post for later? Click Here to Pin It On Pinterest!
What is a chicken tractor?
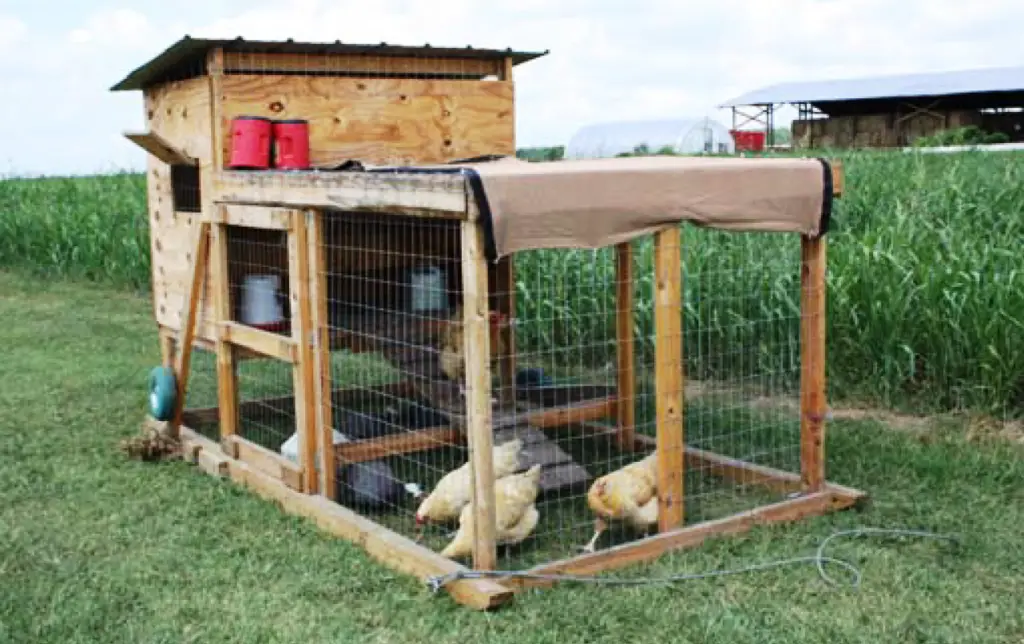
A chicken tractor is a lightweight, moveable chicken coop with an attached run. They can be used instead of or in addition to a traditional chicken coop. The name is a reference to one of their original purposes, which was for farmers to use their chickens to turn over the soil, pull up weeds, and eat bugs in their fields – functions also performed by a traditional tractor.
As chicken ownership has expanded, so have chicken tractors. Even people who don’t need to maintain large areas of farmland like them for combining some of the best attributes of free-ranging and containing chickens.
A tractor allows your birds to forage and explore new parts of their environment, while also protecting them from predators and keeping them out of places they shouldn’t be, like your garden, your neighbor’s yard, or the road.
How do I know if a tractor is right for my flock?
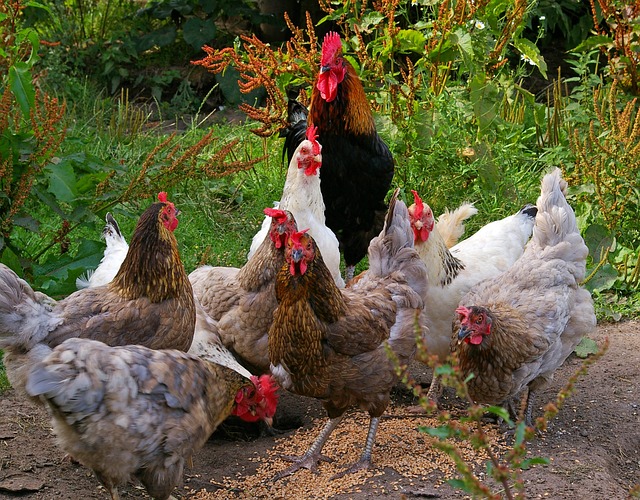
Chicken tractors generally work best for people who have relatively small flocks on relatively large plots of land. If your flock is too big, your tractor will have to be so big it will become impossible to move (unless you have an actual tractor, gator, or other equipment on hand). If your land or yard is too small, there’s not much point in moving your chickens around on it.
Another major factor in deciding whether a chicken tractor is right for your flock is what predators are common in your area. If large predators, especially bears, are around, a coop that’s not heavy and anchored to the ground will not be very safe for your birds – a bear can and will simply lift it off the ground.
Tractors may also not be ideal in areas that have heavy winters or very wet weather, at least not as permanent housing. In these areas, your hens will probably benefit from having heavy-duty winter housing, and only using their tractor when the weather is better and you don’t have to worry about frostbite.
The last thing to consider when looking at getting a chicken tractor is the shape or layout of your land. If it’s particularly steep, overgrown, or rocky, the struggles of moving a chicken tractor over it may not be worth it. This will also depend on your own available manpower or horsepower – if you have a large team or a motorized vehicle, you can move a chicken tractor just about anywhere.
How do I build a chicken tractor?
Step 1: Choose a plan or design
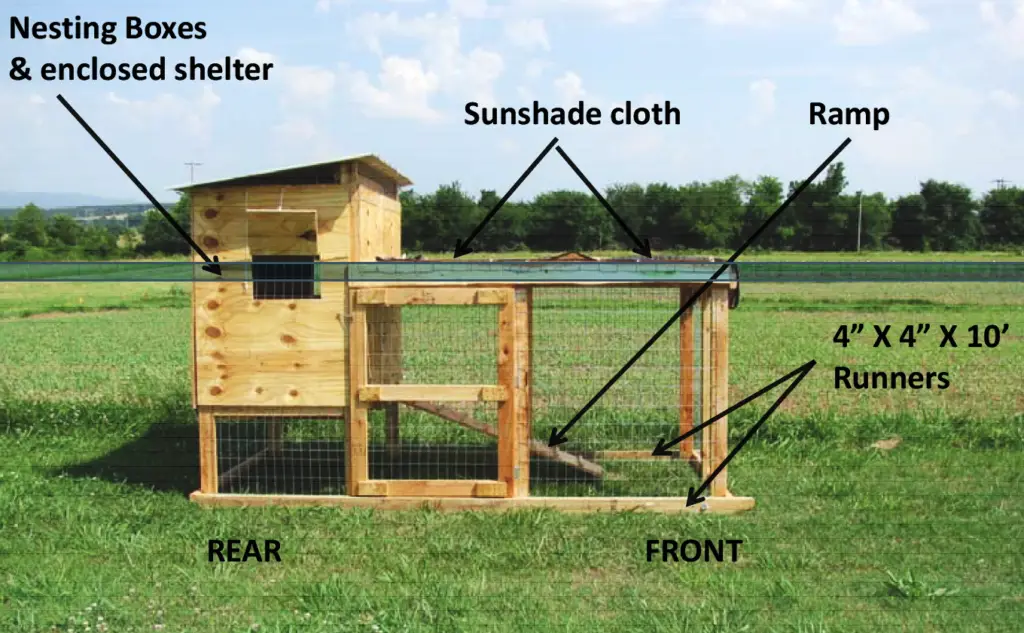
Which chicken tractor plan you choose for your chicken tractor will depend on your flock and how you intend to use the tractor.
If you want to keep your flock in it full-time or overnight, you’ll need to find a sturdy, heavy plan with a floor and lockable doors. If you intend to use it instead as a companion to a traditional coop to give your birds the chance to explore different areas, you can choose a lighter, simpler design.
Either way, make sure the plan you find is large enough for the number of birds you have, and mobile enough to be moved over your land by the available people. There’s no point in building a chicken tractor if it’s too heavy or ungainly to ever be moved.
Step 2: Build the frame
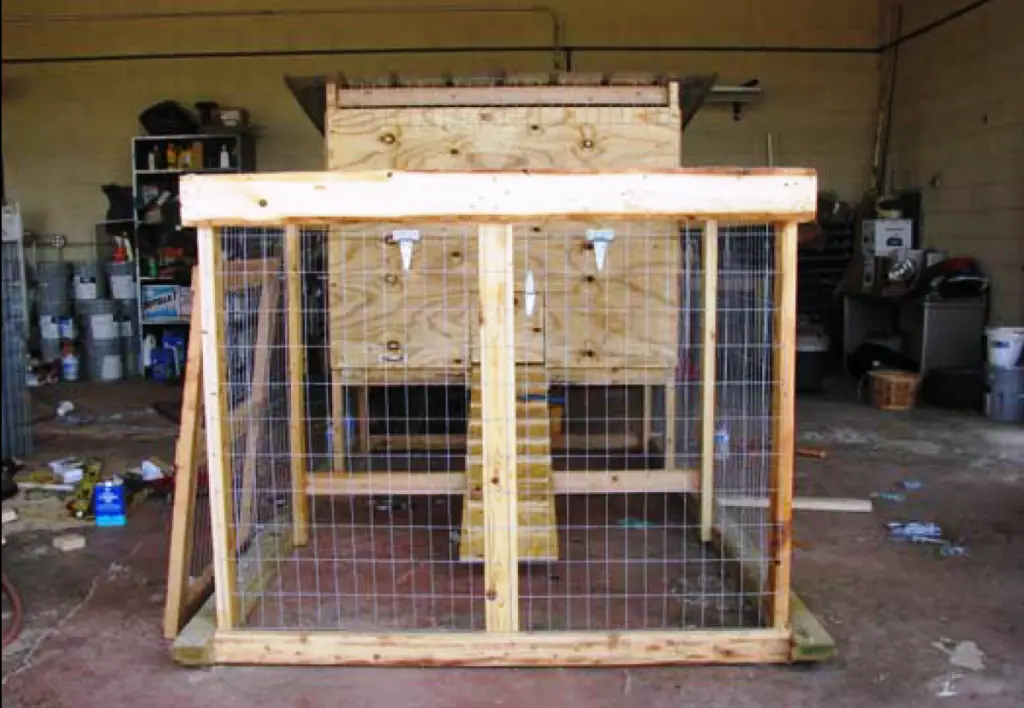
When building the frame of a chicken tractor, you’ll want to balance durability with mobility, choosing a material that’s strong enough to withstand the weather and frequent relocations, but also light enough to be easily lifted and moved. Wood is a popular choice, but be careful with which wood you choose.
Pressure-treated lumber, the type most commonly recommended for outdoor projects, can leach toxic copper compounds into the soil and end up damaging your land and hurting your chickens. PVC pipe is also another option, which has the benefit of being very lightweight. You will likely need to add additional anchors to a PVC tractor, though, if you plan to keep it out in high winds or other bad weather.
Step 3: Construct the “coop” portion of the tractor
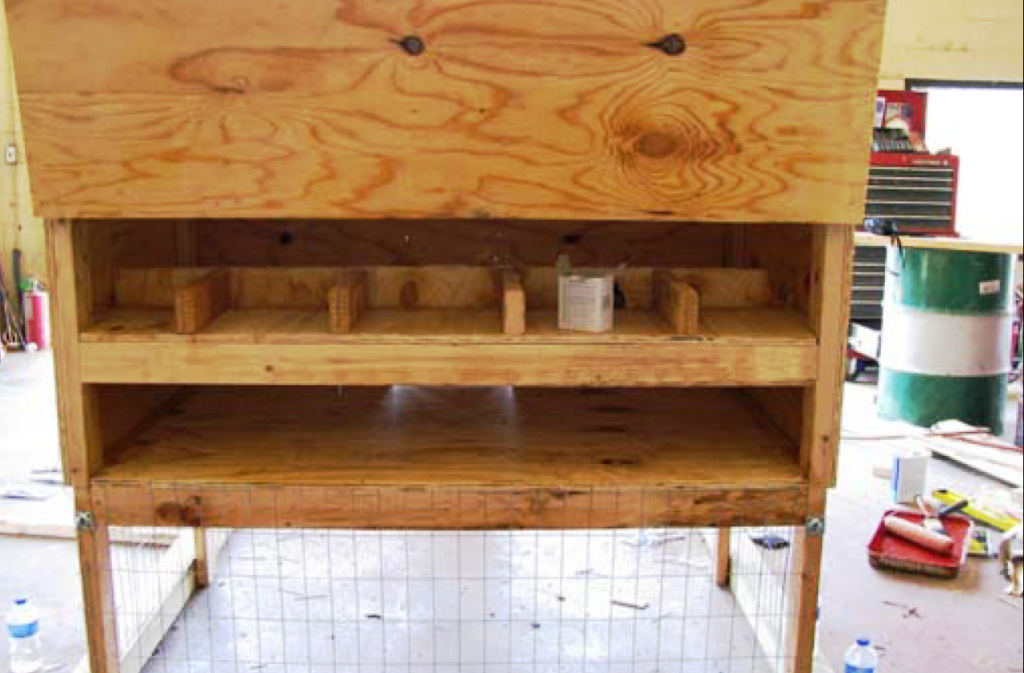
How sturdily you build the coop portion will depend on the intended purpose of your tractor. If it’s full-time housing, it will need to be strong and watertight, probably with an elevated floor.
If the tractor is intended only as an addition to a traditional coop, this portion can be much less heavy-duty. Most predators are less likely to bother your hens during the day, and you can always keep them in their regular coop in bad weather, so the main purpose of including a coop in a day tractor is to provide shade and nesting boxes where your girls can lay their eggs.
In a full-time tractor, the coop will need to protect them from wind, weather, and predators. It will also need to be big enough for all the birds to go in at night and when the tractor is being moved – about four square feet per bird, depending on the breed – and have roosts where they can sleep at night.
Step 4: Cover the “run” portion
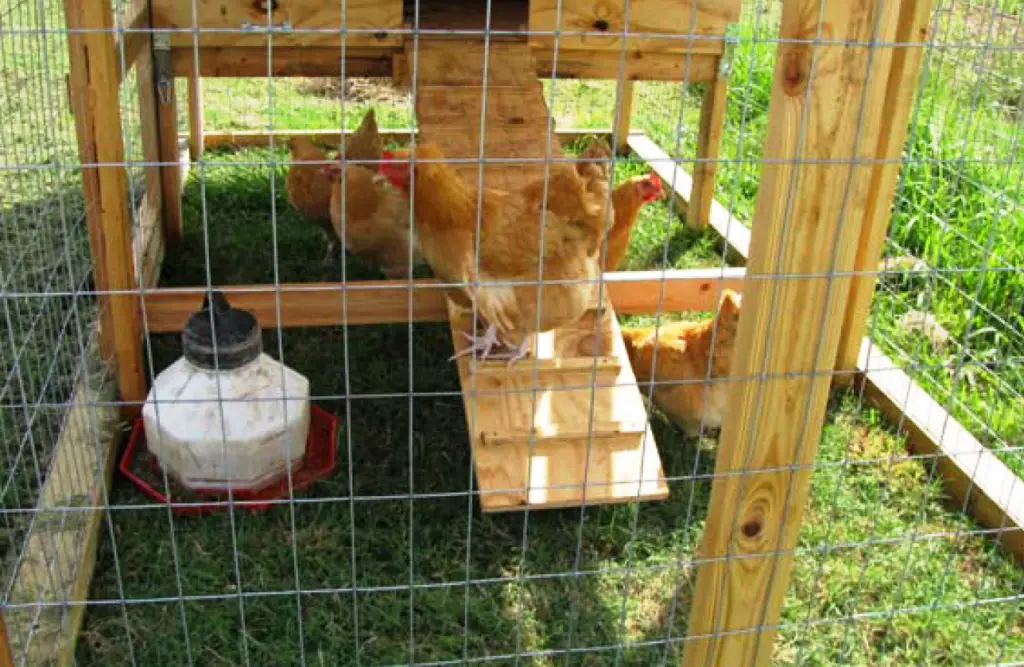
It is very important to use hardware mesh to cover your chicken tractor, not chicken wire. Chicken wire has many uses, especially keeping your chickens out of places you don’t want them to be, but its holes are too large to protect your girls from predators like snakes and rodents. It’s a good idea to use hardwire mesh on the coop itself as well, to cover any cracks or eventual warping that might let in predators.
Step 5: Add wheels
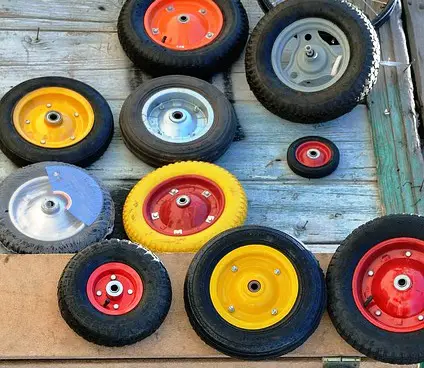
Chicken tractor designs don’t always have wheels on them, but I would recommend adding them to all but the smallest of tractors, to make moving easier and safer. If your initial plan doesn’t have wheels, add them under the heaviest part of the tractor, usually the coop.
This way, you can lift the lighter portion and more easily drag the heavy part along the ground. Be mindful, though, of the way the wheels will affect your frame, and make sure they don’t stop the frame or fencing from sitting flush with the ground – even a tiny gap can let in predators.
Step 6: Check the details
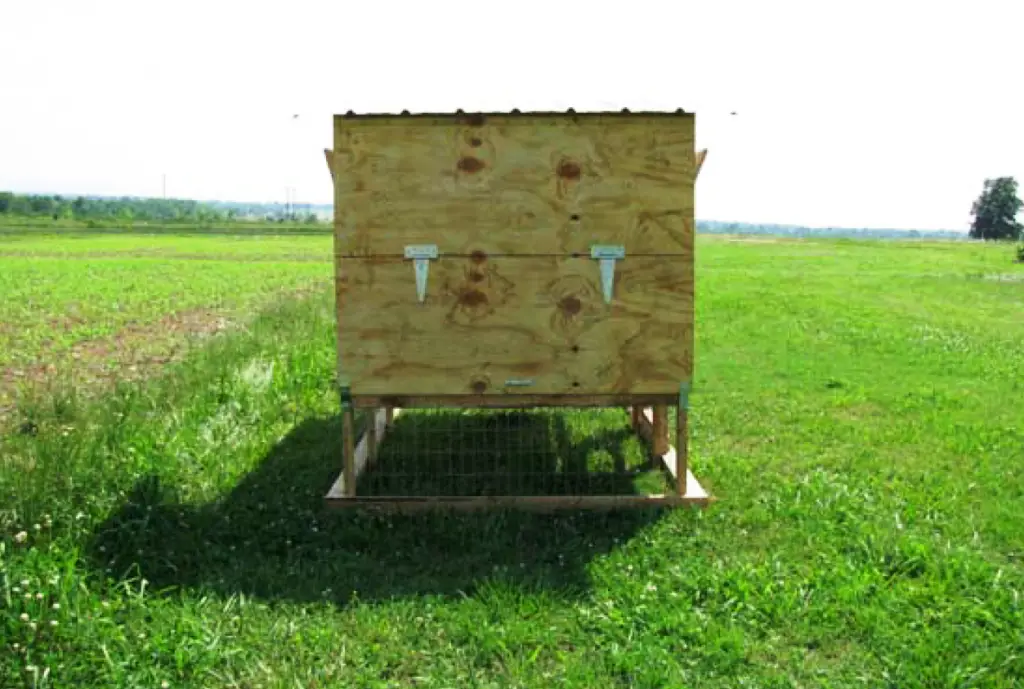
Double-check your workmanship by shaking the tractor to test its stability and spraying the coop with a hose to make sure it’s watertight. Give the whole setup a few test moves to see if you can relocate it yourself, and make sure the wheels aren’t hindered or uneven.
If you’re nervous about predators, you can leave some food in the tractor overnight to see if they get in; you can also leave it out in bad weather to see if it breaks or blows over. If it does, don’t worry! You can always add weight or reinforce walls and fences to make sure your tractor is as safe as possible.
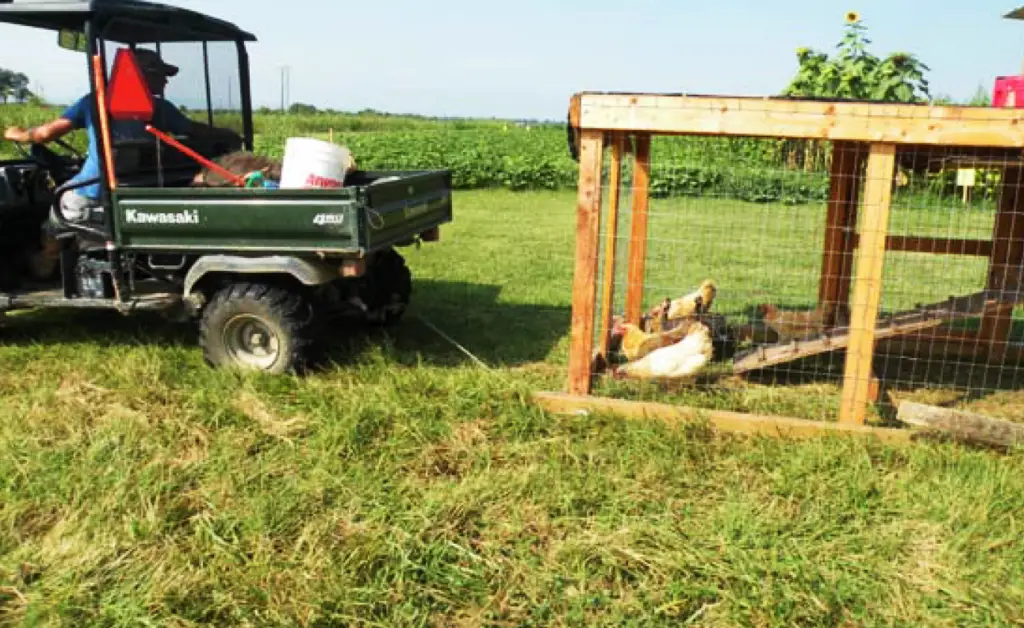
Now that you know how to build your own, you can see for yourself all the wonderful benefits a chicken tractor has to offer to you and your flock!
Like this post? Don't Forget to Pin It On Pinterest!
You May Also Like:


