

Estimated reading time: 5 minutes
If you want to make rich, homemade compost but don’t have space for a large compost pile, a tumbling composter is a great solution. Tumbler composters are ideal for small spaces, and they speed up decomposition by making it easy to turn the compost regularly without losing too much heat.
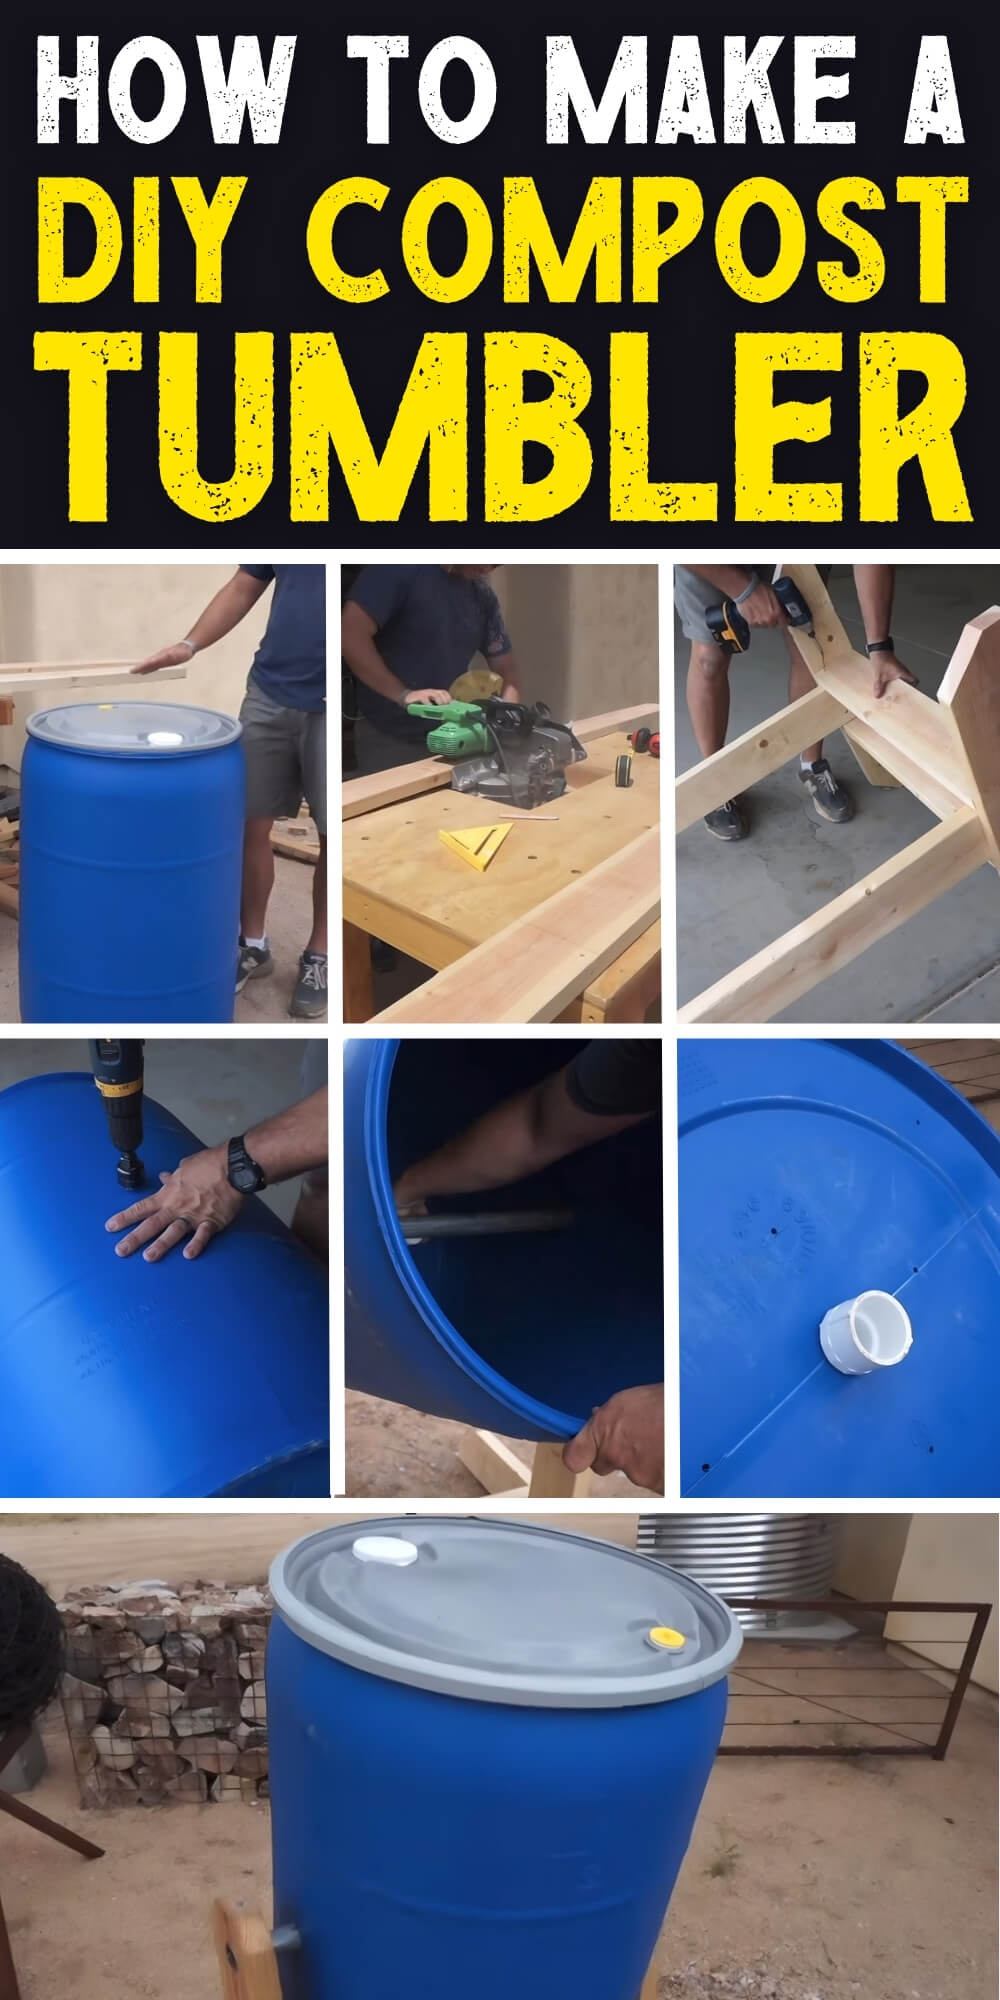
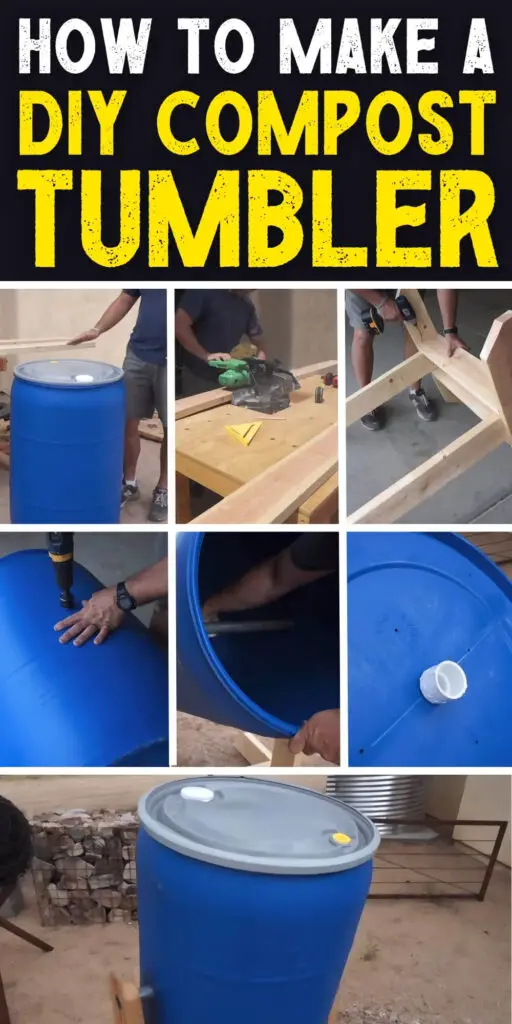
You can purchase tumbler composters online, but if you have a 55-gallon barrel or can find a cheap used one, you can turn it into a tumbler with the following tutorial from HomesteadEconomics. In it, he explains how to build a sturdy DIY tumbling composter with a barrel, some basic tools, and a bit of elbow grease.
Want to save this post for later? Click Here to Pin It On Pinterest!
Materials Needed:
- 1 x 55-gallon blue plastic barrel (with a removable lid and locking ring)
- 2 x 10-ft 2×6 boards (for the frame)
- 1 x metal fence pipe (for the pivot/axle)
- PVC pipe and fittings (for internal aeration)
- Screws or nails
- Drill and hole saw
- Linseed oil or wood sealant (optional, for protecting the frame)
Step-by-Step Instructions:
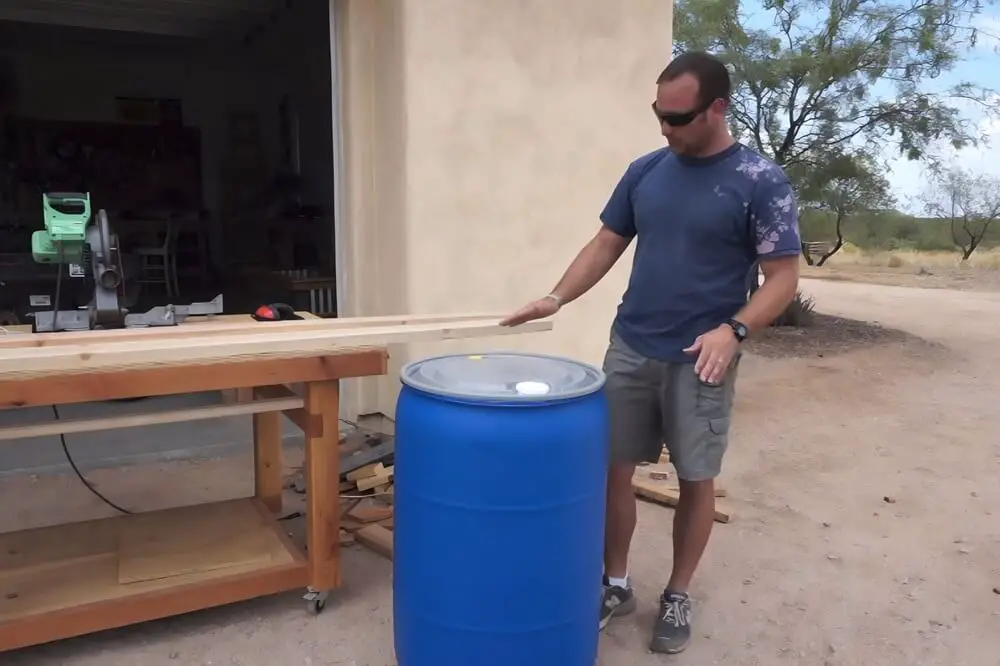
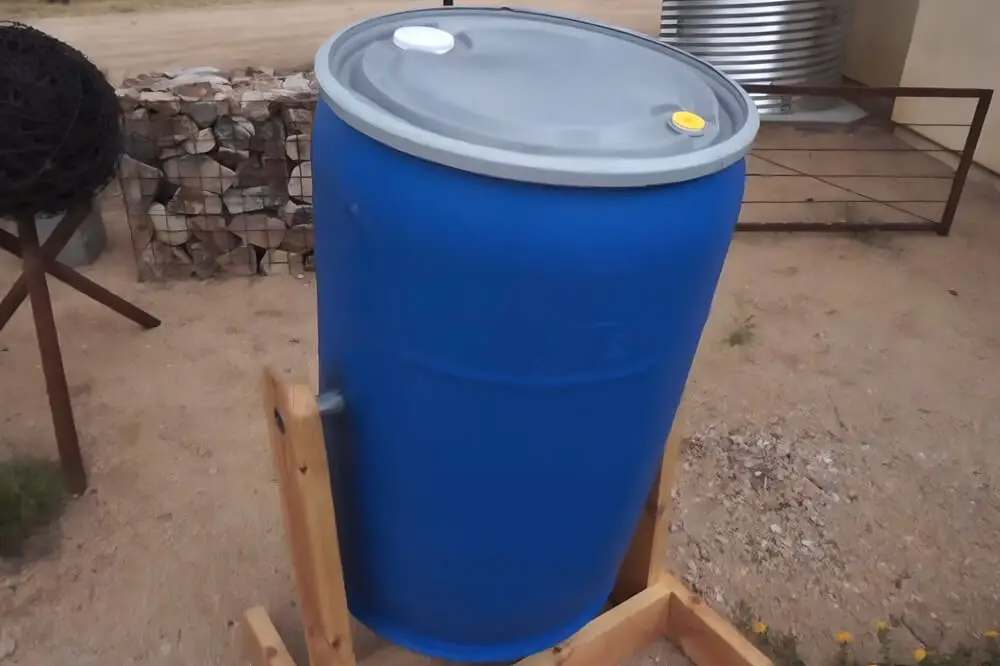
1. Choose the Right Barrel
Start with a 55-gallon blue plastic barrel that has a removable lid and locking ring. This saves time since you won’t need to cut a door or install hinges. These barrels are tough, weather-resistant, and often easy to find secondhand or locally.
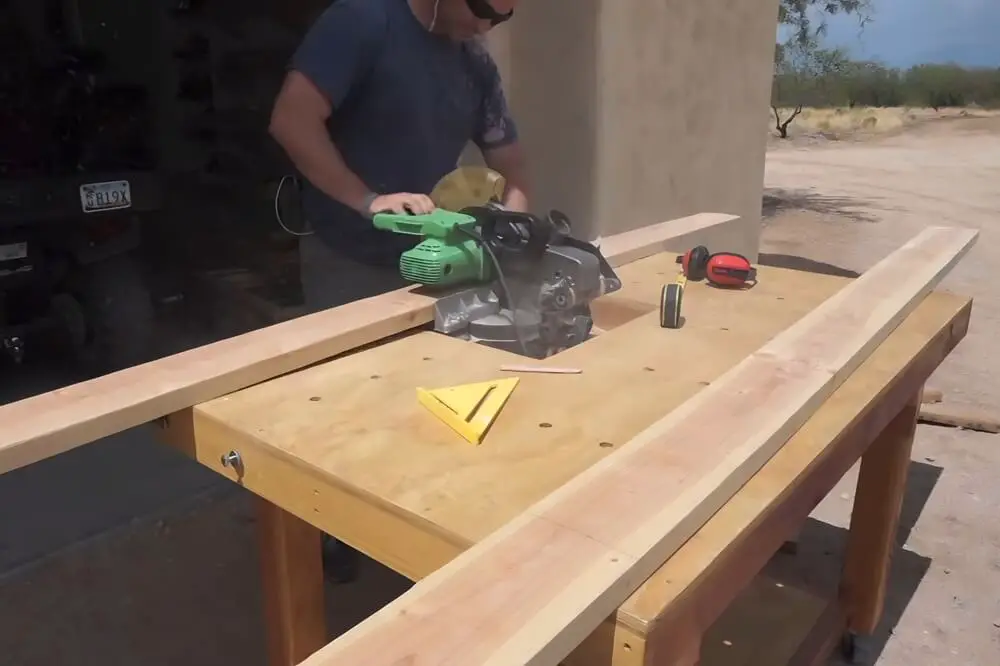
2. Cut the Wood for the Frame
Use two 10-ft 2×6 boards to make the entire support frame. Cut the following pieces:
- Uprights: 35 inches (x2)
- Feet (angled supports): 34 inches (x2)
- Cross braces: 29 inches (x2)
You can add decorative or angled cuts to the feet for a cleaner look.
Use a fence board as a template to round or shape the tops of the upright posts where the barrel will rest.
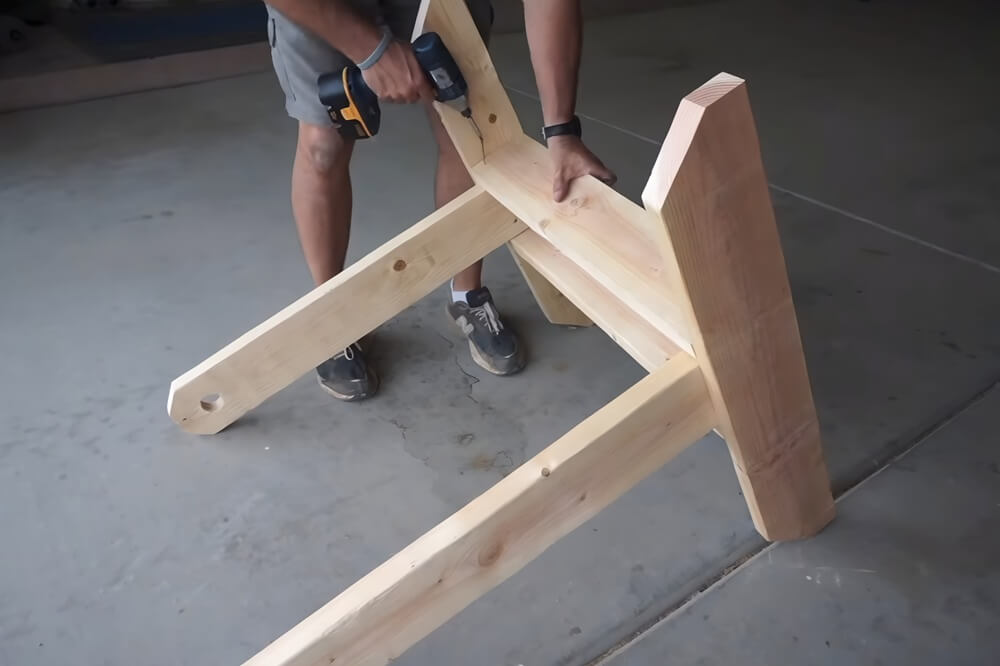
3. Assemble the Frame
Attach the uprights vertically to the feet, then connect them using the cross braces at the top and bottom. The top cross braces will support the metal pipe axle that the barrel spins on.
To save on materials, he used nails for most of the frame and reserved screws for key structural joints. He also added holes for retention screws where the metal pipe rests, helping secure it in place and preventing it from shifting during use.
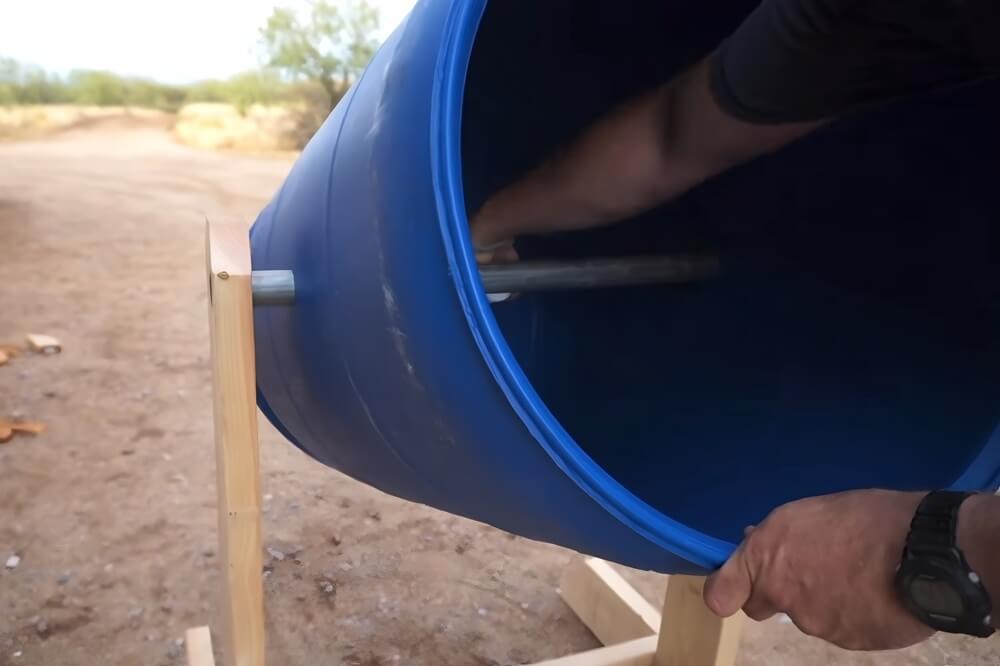
4. Drill the Barrel for the Axle
Find the midpoint along each side of the barrel using the molded seam lines as a guide. Drill a hole on each side large enough to fit your metal fence pipe, which will act as the barrel’s axle.

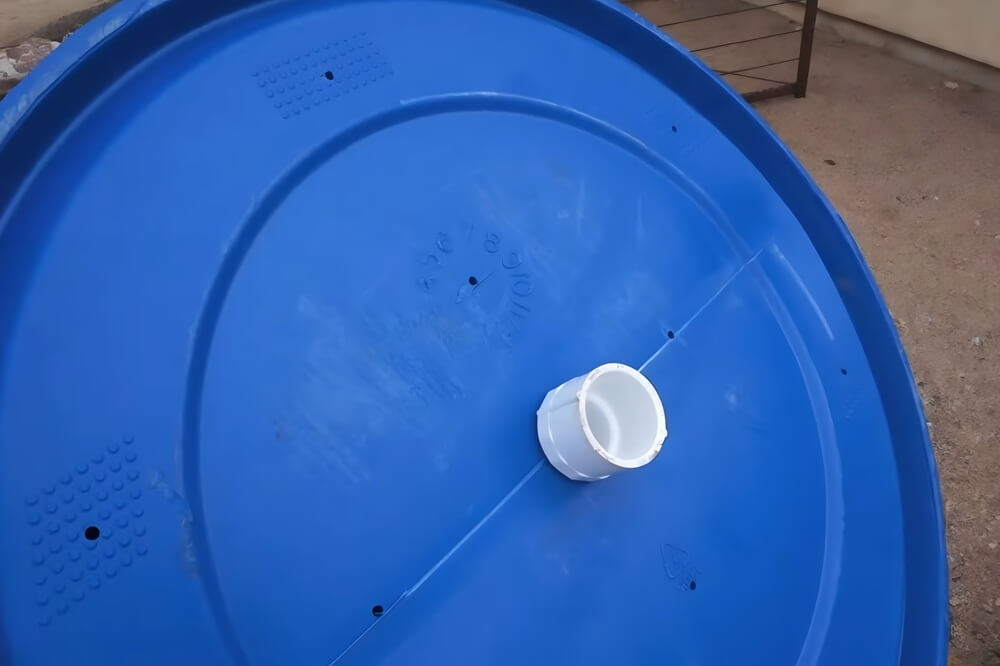
5. Add Internal Aeration Pipe
To help air flow through the center of the compost, install a section of PVC pipe with holes drilled along it:
- Use flanged PVC fittings on the inside and outside of the barrel wall to hold the pipe in place.
- Cap the ends of the pipe to prevent compost from clogging it.
- This step helps keep oxygen flowing even when the barrel is full and compacted.
6. Drill Air Holes in the Barrel
Drill small holes on the top and sides of the barrel to allow oxygen in and gases to escape. In dry climates, fewer holes help retain moisture. In wet regions, more holes improve ventilation and prevent soggy compost.
7. Insert the Barrel and Finish Assembly
Thread the metal pipe through the barrel and rest it in the top cross braces of your frame. Use retention screws or brackets to keep the pipe securely in place while still allowing the barrel to spin freely.
Final Thoughts
This DIY tumbling composter is a great way to reuse materials, reduce kitchen waste, and create nutrient-rich compost for your garden without needing a huge backyard or dealing with a messy compost pile. It's low-cost, simple to build, and very effective.
Be sure to check out HomesteadEconomics for more homestead projects and DIY ideas.
Like this post? Don't Forget to Pin It On Pinterest!
You May Also Like: