
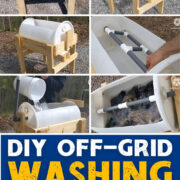


Estimated reading time: 5 minutes

When you’re living off-grid, one of the everyday challenges people don’t always think about is laundry. Washing clothes by hand in a bucket can be time-consuming, messy, and hard on your back. And relying on electricity or fuel-powered machines isn’t always practical.
That’s why it’s worth having a simple, sturdy, non-electric washing machine. With just a barrel, some scrap lumber, and a few hardware store parts, you can build a washer big enough for jeans, towels, and blankets. This particular design is from a Youtube named Will. It's urable, easy to use, and costs under $150 to make.
Want to save this post for later? Click Here to Pin It On Pinterest!
You can watch his video and read the instructions below:
Materials Needed
- One 30-gallon closed-top plastic barrel
- 2×6 and 2×4 lumber (lengths depend on your barrel size)
- Wood glue
- 3-inch wood screws
- Schedule 80 PVC pipe and fittings (for the agitator)
- Optional Schedule 40 fittings if you can’t find Schedule 80
- Roofing screws with rubber grommets
- JB Weld (or similar epoxy) for sealing threads if needed
- A drain valve or spigot
- Teak oil (or another wood sealer)
- Tools: saw, drill, tape measure, sander, foam brush
Step 1: Build the Frame
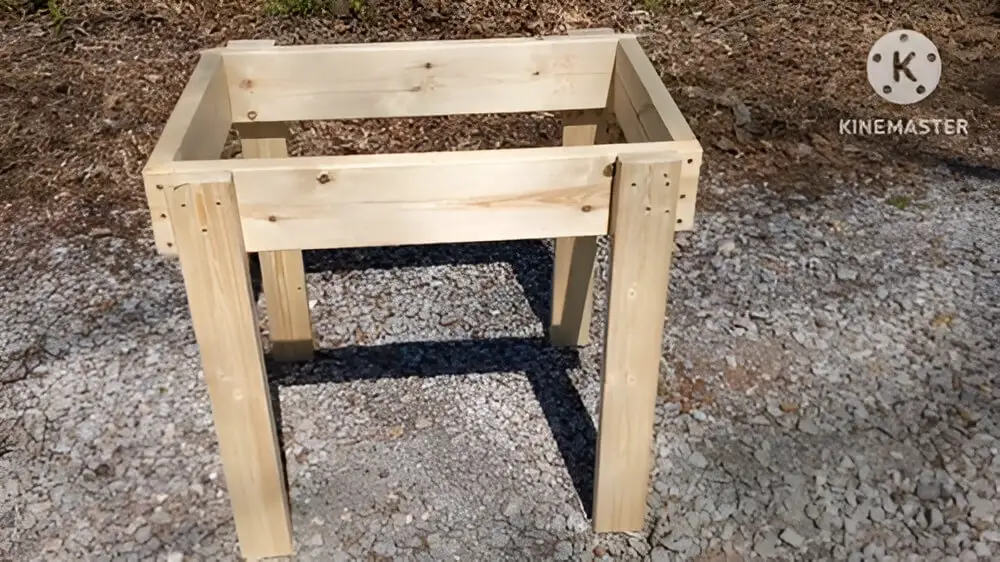
- Cut your 2×6 lumber into four pieces to form a square frame.
- Glue and screw the corners together so that your 30-gallon barrel will fit snugly inside.
- Add four legs to the frame. Make them a little long. You can always cut them down later to adjust the height.
Step 2: Add Crossmembers and Supports
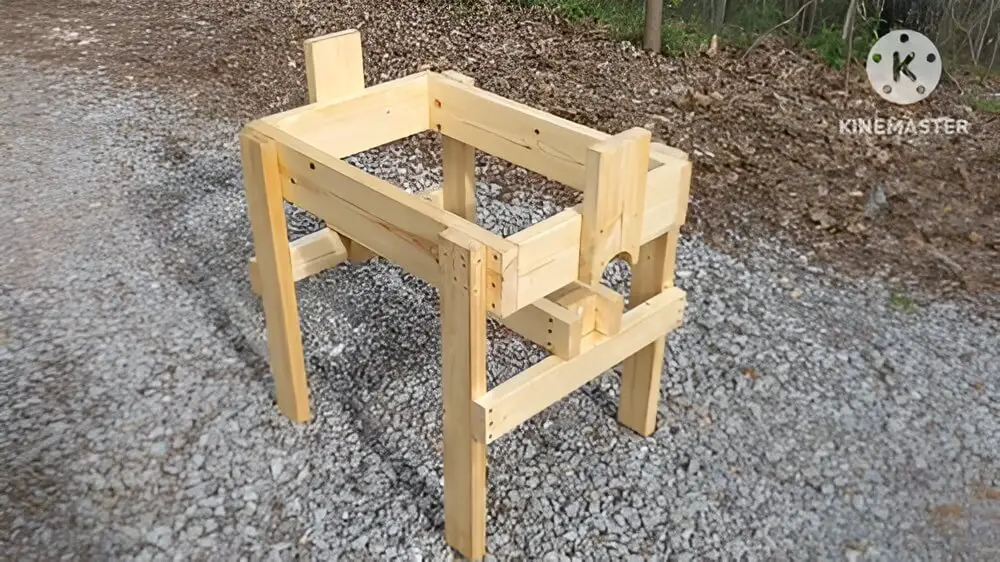
- Measure from the barrel’s seam to its edge. Add 3¼ inches to that number.
- Install a crossmember at that height so it lines up with your barrel.
- Build a center support structure from 2x4s to keep the barrel stable. Screw and glue it into place.
- Seal the entire frame with teak oil to protect it from water.
Step 3: Fit the Barrel
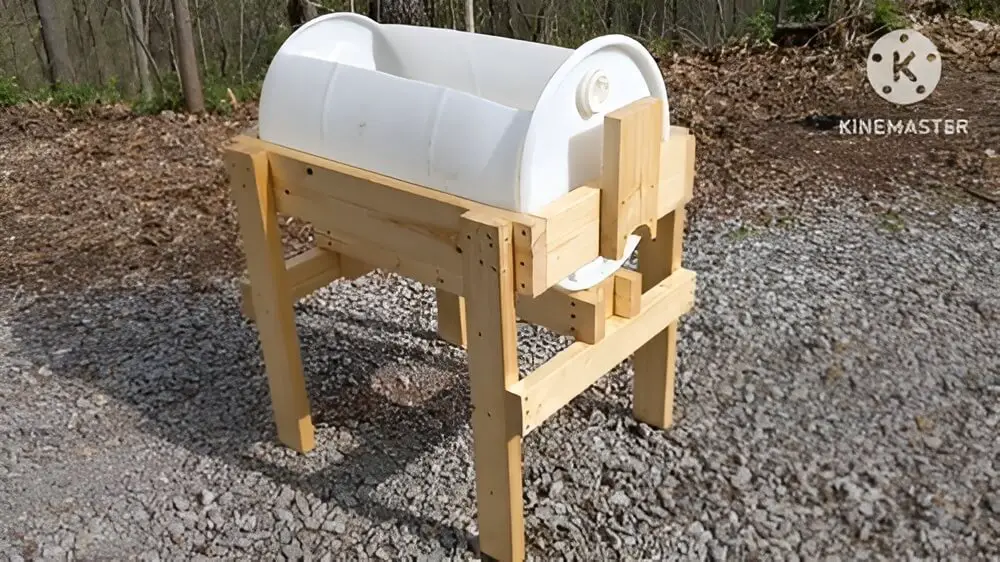
- Drop the barrel into the frame.
- Cut a relief notch in the wood near the drain port so you can access it later.
- Drill a hole in the top of the barrel large enough to add clothes and water. Smooth the edges with sandpaper.
- Secure the barrel into the frame with four roofing screws for extra stability.
Step 4: Install the Agitator
- Drill holes through the 2×6 uprights and the barrel walls on both sides.
- Run Schedule 80 PVC pipe through as your agitator shaft.
- Add fittings inside the barrel to create “paddles” that will churn the clothes back and forth.
- Leave enough of the pipe sticking out on one side to act as a handle. This lets you rock the agitator back and forth manually.
- Dry-fit the agitator first to ensure it swings freely without hitting the sides, then glue the fittings.

Step 5: Add the Drain
- Install a threaded barrel plug with a ¾-inch drain valve.
- If the threads don’t match, seal it with JB Weld on the inside.
- You can attach a hose to the valve to direct water away when draining.
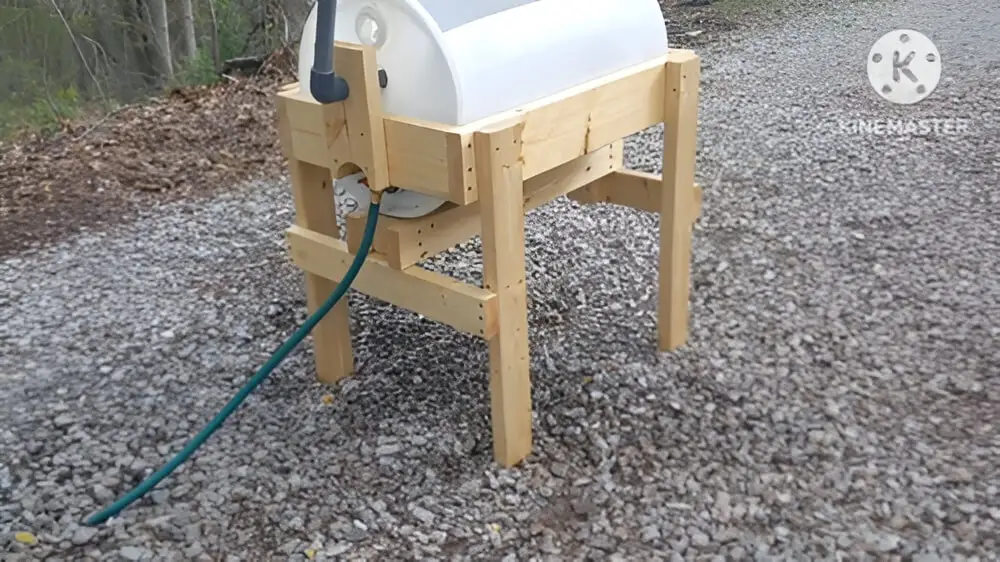
Step 6: Test and Use
- Load clothes, water, and detergent through the top hole.
- Work the agitator back and forth to wash the load.
- Let the clothes soak for 20–30 minutes, then agitate again.
- Drain through the valve, refill with clean water, and agitate to rinse.
- Drain again, then wring clothes by hand or add a manual ringer to the frame for easier drying.
You can watch the video below to see him using it:
Cost and Final Notes
The entire project cost less than $150, which is a fraction of the price of a commercial off-grid washer. It’s also far sturdier than most small “non-electric washers” you’ll find online, which often can’t handle heavy loads.
With this setup, you’ll have a reliable, long-lasting way to wash clothes off-grid without electricity or fuel.
Like this post? Don't Forget to Pin It On Pinterest!
You May Also Like:





Brilliant diy project! Thanks!
thank you for this…well done, very clear…even I could build this
you can use a blue 55 gal barrel with a metal brace made to fit inside that hold a pvc coupler bushing ( don’t glue)and the agitator as shown in video running through a plywood top with a hole to pass thru the agitator main beam simple metal tabs to locate the plywood.to the barrel. lean the barrel 30° from verticle and dont fill it all the way up ( just to the top of the barel bottom so the clothes come out of the water at the top.) you have to secure the barrel( ratchet strap) with a full wrap (use 2 t post for security) no drain just lay it down to drain.( this keeps the barrels integrity for other uses,) just a few small holes at the very top and the shee plate bushing holder flat on the bottom.) blue barels are plentiful around the farm and almost always open top. instead of one long handle install a T and 2 short handles or a cross and 4 push pull works more efficiently. and you can add them to your punching cardio count. if you desire a dedicated blue barrel you can doll it up put a lid on the top hole etc.
be weller than before.