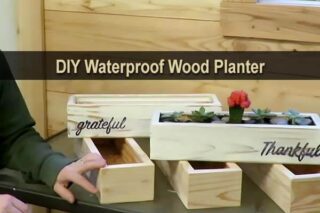
Several years ago I spent $100 on a nice elevated planter box for my back porch. It looked really nice in my backyard, and I grew some of my favorite herbs in it.
Then last week, I was looking through Youtube and I saw this video by Cottage Life, and I thought, “Hey, that looks a lot like my planter box.” So I clicked on the video, and yea, it's pretty much the same thing I have, only the materials probably only cost him $20. Figures.
It goes to show that oftentimes, you can find a much cheaper way to get something you want, even if it means building yourself. This DIY project is fairly simple. It does involve some power tools, but just a table saw and a drill. Nothing too complicated. Here's how to build it.
Things You Need:
- 4 preasure treated fence boards
- 2 2×2 pressure treated boards
- Deck screws (1 5/8″)
- Deck screws (2 1/2″)
- Rocks
- Soil
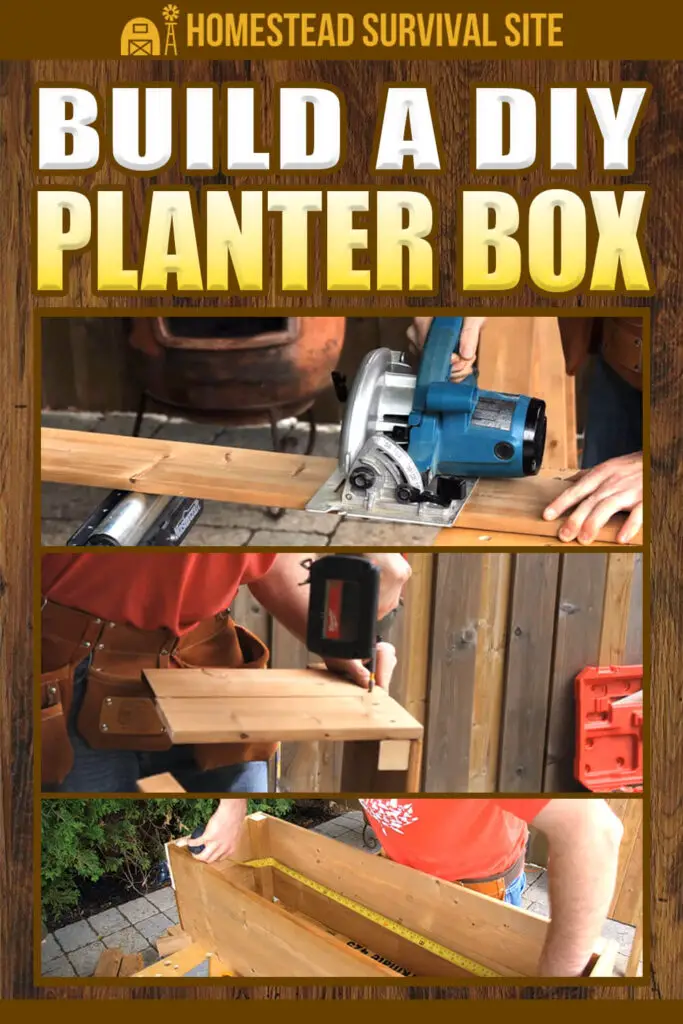
How To Build It:
- Cut the four fence boards down to 3 feet.
- Cut a 2×2 board into four 14-inch legs.
- Screw the legs onto the sides with the 1 5/8″ deck screws.
- Use the remaining fence boards to cut four 12-inch pieces.
- Cut the other 2×2 into two 30-inch pieces (these are the rails).
- Push the two rails into the bottom. Screw them into place.
- Cut the rest of the other 2×2 into three 10 1/2 inch boards.
- Put these against the rails on the ends and in the middle.
- Screw them into place with the 2 1/2 inch screws (pre-drill the holes).
- Cut a fence board into two 3 foot pieces. These will lay on the bottom.
- Cut squares on the corners so they fit around the legs.
- Put them in place, and drill some holes into them for drainage.
- Add rocks, then add soil, and you're done!
If your head hurts, no worries! Watch the video below to see him walk through these steps.
You May Also Like: