This post may contain affiliate links.* As an Amazon Associate I earn from qualifying purchases. Click here to read our affiliate policy.


I don't normally post a lot of DIY articles and videos on this site, but when I do, I try to make sure they're really good ones that are fairly easy to do and legitimately useful. I'm not very good at building things, so easy is a requirement for me.
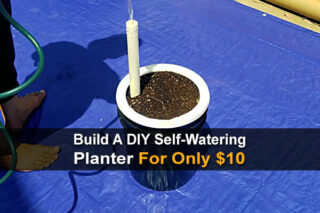
Recently, I came across a project that I love: A DIY Waterproof Wood Planter by Lumnah Acres. This is perfect for growing herbs, and it makes a great gift as well.
Want to save this post for later? Click Here to Pin It on Pinterest!
Here's what you need:
- 3 1/2″ wide by 32″ long board
- 3 1/2″ wide by 10″ long board
- 3 1/2″ wide by 14 1/2″ long board
- Glue, nails or screws 1″ long to 1 1/4″ long
- Matte finish paint a clear coat
- 220 Sandpaper
- Black sharpies
- Indoor/outdoor caulking
- A can of flex seal for waterproofing
- Paint
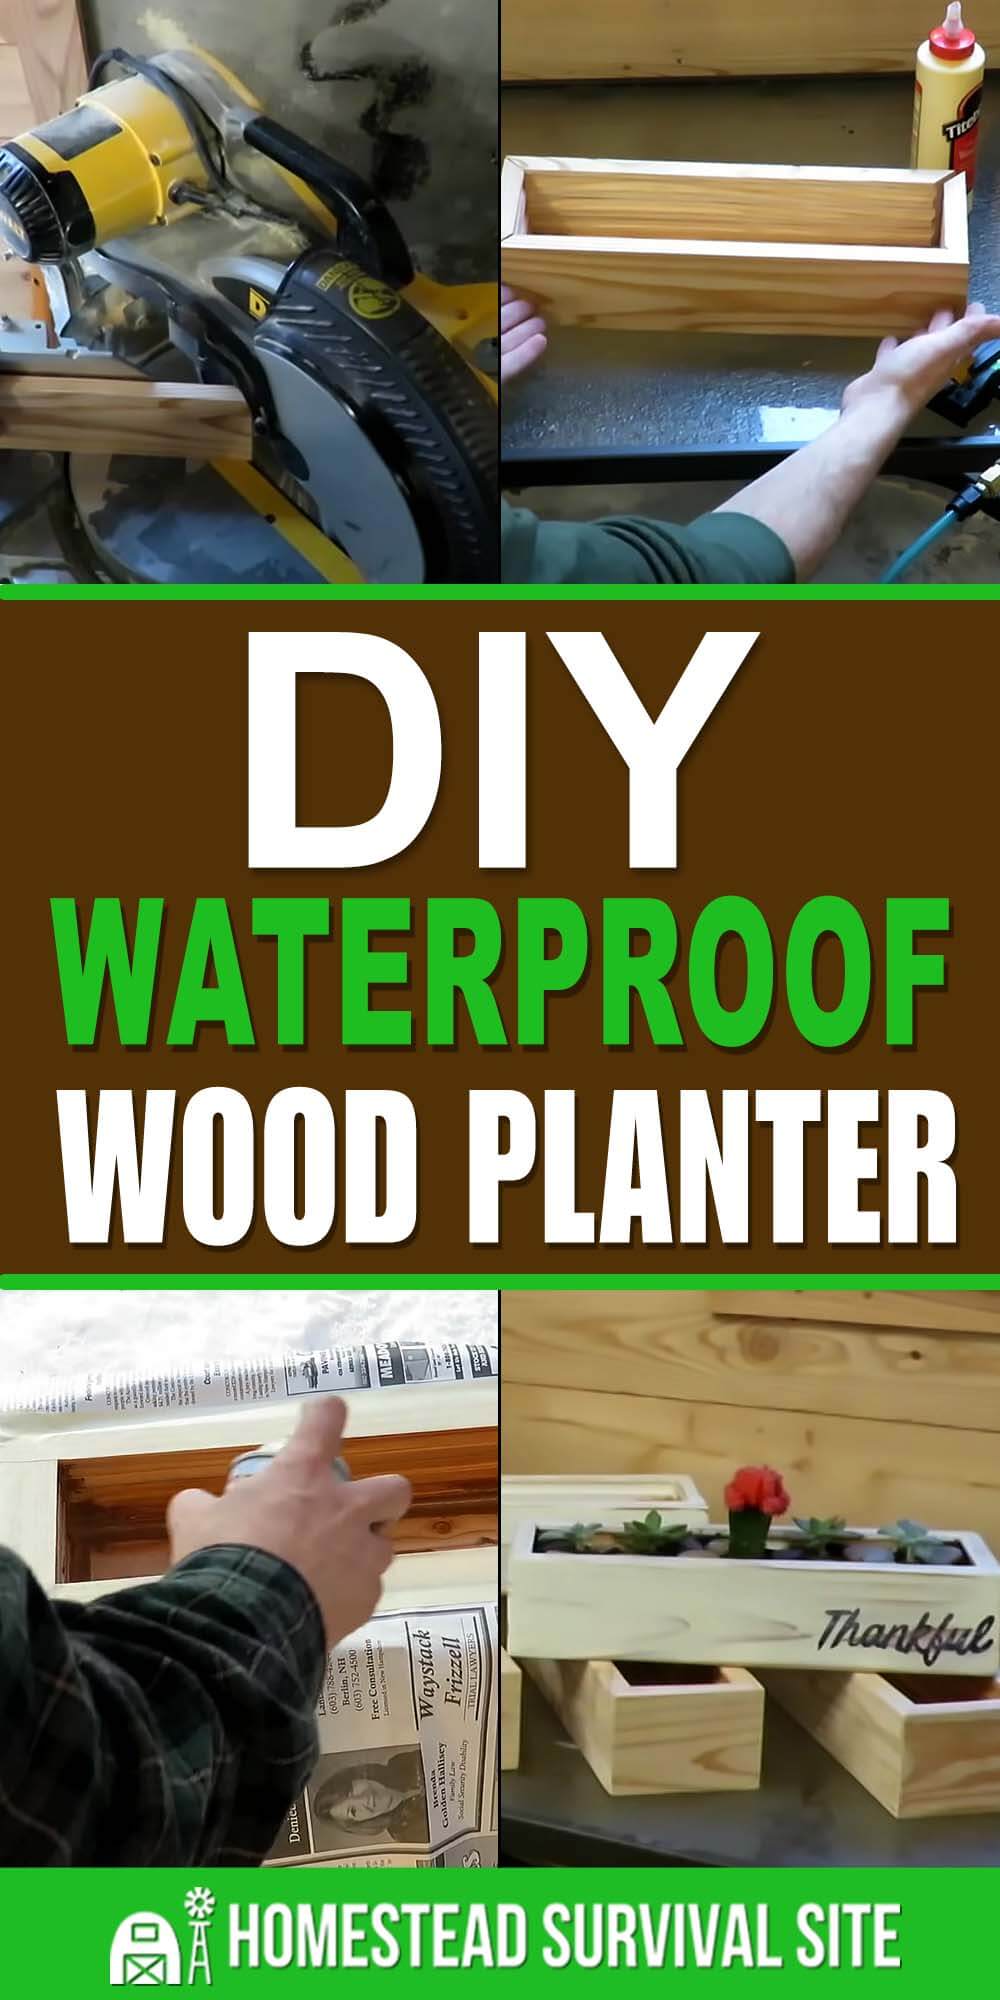
Here's how to build it:
- Use a miter saw to cut 45-degree angles on the ends of the 32″ board.
- Cut the board in half so you have two 16″ boards.
- Repeat the last two steps except with the 10″ board so you end up with two 5″ boards that have 45-degree angles on each end.
- Assemble the four pieces and measure the dimensions of the inside. It should be about 14.5″ by 3.5″. Cut a board down to length (this is how you end up with the third item in the materials list above).
- Assember the five pieces. Make any necessary adjustments to ensure they fit together perfectly.
- Put glue between the pieces and use a brad nailer to nail them together. Make sure the nail holes are on the ends.
- Once the frame is assembled, but glue all around the edges of the bottom board and nail it into place.
- Let it dry, then sand down the tops and corners with some sandpaper.
- Put glue on the inside around the bottom edge.
- Cover the top edges with masking tape, and the outside of the planter with newspaper.
- Now spray the inside of the planter with Flex Seal.
- Now paint the outside of the planter.
- Once it's dry, sand it down completely.
Watch the video below to see it done and to learn how to add a monogram to the side.
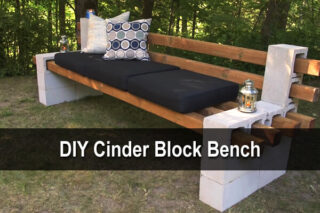
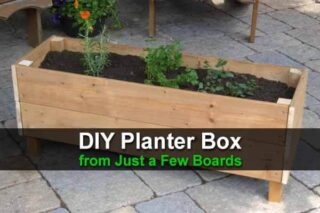
You May Also Like:


that flex seal is not worth its money. i have a fish pond that people took a pick to pull it up. and now it will not hold water. i have put the Flex Seal on it many times to seal up the holes in it but it will hold for a while and the next time i look it is leaking.
What would you recommend?
SWEET!!
Flex seal/tape is not a permanent patch under that much pressure. It’s a temporary patch