

Estimated reading time: 9 minutes
You may have seen new milk products in the store or at your favorite coffee shop recently. Apart from the standards of cow or goat milk, there are also soy, almond, cashew, and coconut milk. This recent trend to find new milk sources stems from those who are allergic to dairy or want different sources for milk options.
Oat milk is the newest item to the dairy aisle with many companies introducing their own version of oat milk in the near future. This interesting take on milk is not only easy to make, but it also has some great health benefits.
Want to save this post for later? Click Here to Pin It on Pinterest!
A serving of oat milk has more fiber and carbs than traditional cow’s milk. It also has other vitamins and minerals that are similar to what you would ingest when eating a bowl of oatmeal.
Oat milk is made primarily from water and rolled oatmeal, meaning it is gluten and dairy-free. Vegans also have enjoyed oat milk as it doesn’t require any byproduct from animals. There are a few different variations of oat milk and plenty of ways to create it in your own home.
For those of us on homesteads without dairy cows or goats, it can be a useful trick when milk has run out yet again. There have been plenty of times when I have run out of milk after my local stores closed. Having this oat milk recipe on hand helps out during those times when I am making a recipe that calls for milk and have run out of the usual stuff.
Making your own oat milk is also a great way to save money. I have to drive quite a long way to get a gallon of milk under a dollar, and my growing family easily drinks a gallon of milk every two days. Spending up to $4.00 per gallon on my local suppliers can put a big damper on the budget.
Rolled oats are a staple in many homes and probably even more so on homesteads that value quality food at a low price. Not only does oatmeal store well, but it is usually available in large quantities that come in tubs or buckets at a fraction of the cost of those you would find at the grocery store.
So, I set off on making my own oat milk and wanted to share what the process was like. I found that not only was it easy to make, but most of my family liked it, which is always a win in our house! Here’s how to make your own oat milk:
Step 1: Gather Your Ingredients
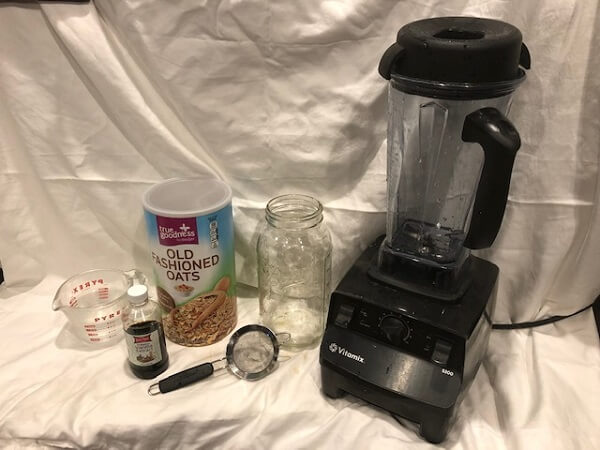
Again, there are a few different variations on how to make oat milk. I decided to start with basic oat milk and then make another version with added vanilla and sugar. I used the following items to make my oat milk:
- 1 cup of rolled oats
- 4 cups of cold water (I use filtered water through our reverse osmosis setup)
- Large bowl or container (I used a large mason jar)
- Small sieve or strainer (My small strainer fit perfectly on top of the mason jar making for easy pouring. You can also use cheesecloth or even a clean kitchen towel as well.)
- Blender
- Vanilla and sugar (not pictured) to taste
Step 2: Blend It Up
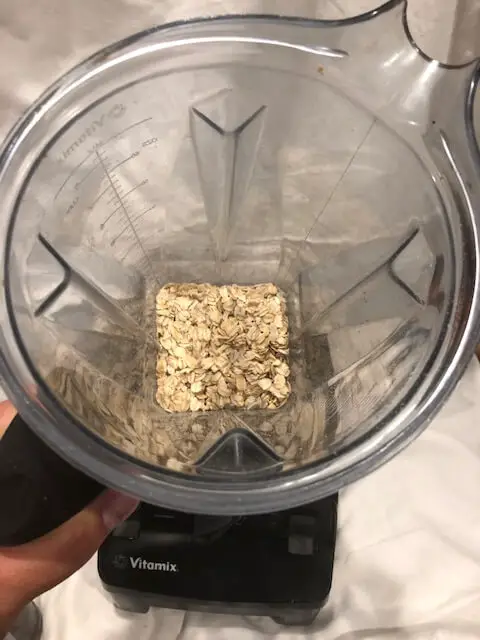
Place the oatmeal in the bottom of the blender. After doing some research, I learned that old fashioned rolled oats are the best for making oat milk. Steel-cut oats are too unprocessed for a creamy texture while one-minute highly processed oats are too fine and may create a slimy consistency.
I also found that some recipes called to soak the oats before you blend. However, I also found plenty that didn’t do this. Soaking and rinsing in cold water can help remove excess starch to help prevent a slimy consistency. However, I also found recipes that stated that soaking can cause sliminess.
Add in the water and blend on high for 30-45 seconds. Be careful not to over blend as the oatmeal can produce a slimy quality.
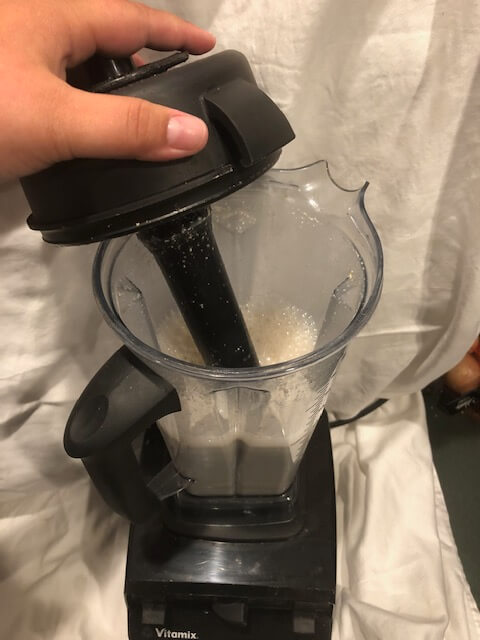
Step 3: Strain
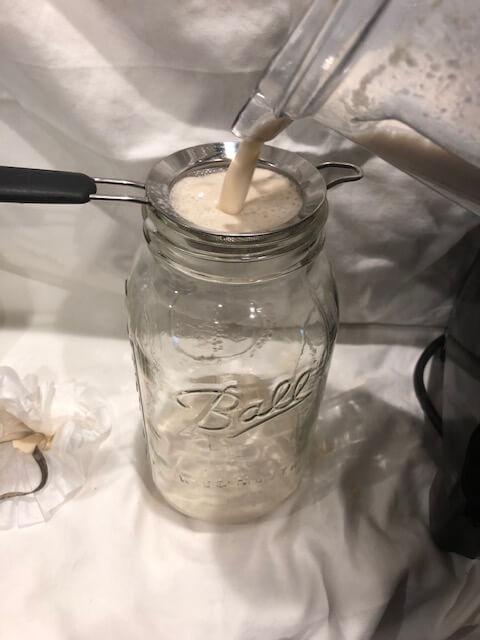
Place your strainer on top of the jar or bowl and slowly pour the oat milk through the sieve. I must admit that this part did take some trial and error on my part. At first, I used a coffee filter but found that it wasn’t draining well enough.
Plenty of other recipes call for special bags but I found that you can really use anything that has a small enough filter so that you leave out the pulp.

I was surprised at how much oatmeal pulp appeared in the strainer and had to rinse it a few times. You can also save the oatmeal pulp to use as baby food or in a recipe.
Step 4: Strain Again
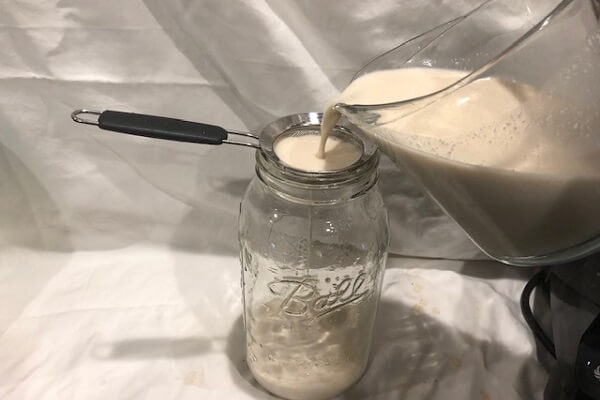
I knew that I was going to serve this to my kids, so I wanted to make sure it was smooth and creamy without any grittiness. I dumped the mason jar into a large measuring cup and strained the oat milk a second time. You can strain it a third time if desired as well.
Step 5 (Optional): Add Flavor

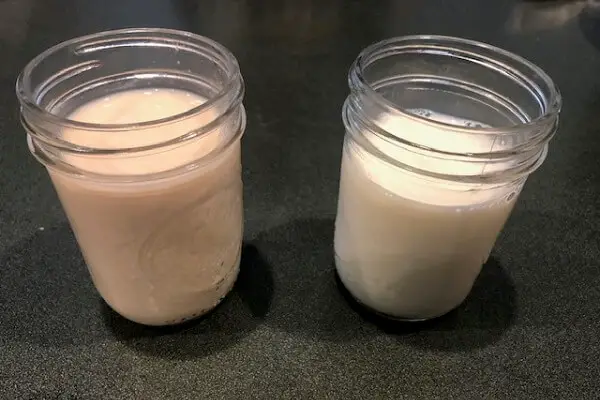
You can drink oat milk without adding anything else to it. This basic version is great for using in recipes or as a substitute for coffee creamer. I wanted to offer my kids a more appealing version, so I split up the milk into two mason jars and added a few drops of vanilla and a teaspoon of sugar to one of them.

I also saw recipes of people adding berries or dates into their oat milk to flavor it as well. There are also other versions including strawberry and chocolate options. You can add any other kind of flavoring that you would like to create your own flavored oat milk.
Step 6: Chill and Serve
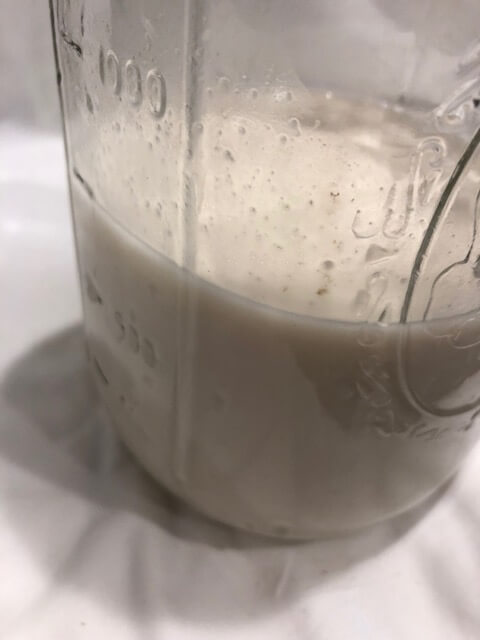
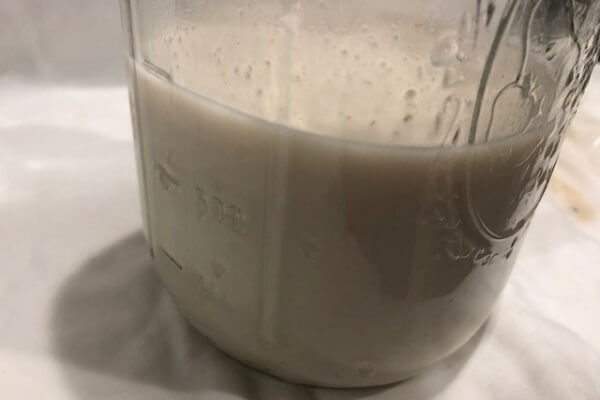
I popped both of my jars into the fridge to cool down. Everyone in my family tried them and preferred the flavored option. I did find that the oat milk does separate so you do have to shake the liquid up before serving. I also found that this version came out a bit slimy, but I didn’t think it was too bad.
If I make it again, I would probably cut this final version with some water as I found that it was a bit too thick for my taste. Oat milk is also darker than cow’s milk, and there is some graininess to it as some of the pulp didn’t get completely strained out.
Final Verdict:
Honestly, I can see myself making oat milk when I am in a pinch or don’t have the money to buy the expensive milk sold nearby. I don’t think that you would notice the difference when used in a recipe or baking.
My husband is lactose intolerant, so oat milk may be an option for him if he is craving a glass of milk as well. I would soak the oats in cold water and rinse them prior to blending next time as well to cut down on any of slimy consistency of this first batch.
In terms of becoming self-sufficient, those homesteads without a dairy cow or goats would greatly benefit from the knowledge of how to make oat milk. Knowing how to make oat milk is a great tool for those of us homesteaders who want a different source of milk.
Like this post? Don't Forget to Pin It on Pinterest!
You May Also Like:


Thanks so much for a practical how-to article! I so appreciate your work.
Thank you, i wondered what to use in place of cow milk if it come to the point that there are no farms that produce milk or delivery stop for a reason out of ones hand.