Estimated reading time: 28 minutes
Many of us have preserved everything from fruits to vegetables as jams, jellies, and pickles. A lot of us have never had a reason nor the inclination to can beef or any other meat for that matter. But there are good reasons to consider canning meats like beef.
- You’re concerned about the rising price of meats like beef and want to stock up before prices spike higher.
- You want to buy a side of beef to save money but have run out of freezer space.
- You live remotely and off-the-grid and simply don’t have the ability to freeze foods.
- You’re concerned about losing electric power and any frozen foods as a result.
- Beef was on sale and you stocked up but have run out of refrigerator and freezer space to store it.
- You want to add to your long-term food storage and want meat as a menu option in your stockpile.
- You value the time-saving convenience of using canned beef in recipes.
- You’re sick and tired of endlessly chewing on beef jerky.
Whatever your reason for canning beef it’s easy to do and has a surprisingly long shelf life if processed, packaged and stored properly. The USDA recommends 2 to 5 years but some sources state that canned beef can keep for 8 up to 15 years.
Want to save this post for later? Click Here to Pin It On Pinterest!
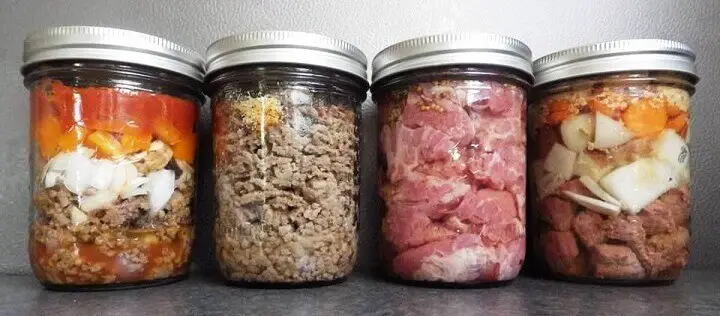
It’s All About Pressure Canning
Unlike processing for jams, jellies and pickles, meats like beef need to be pressure canned. A hot-water bath in an open pot won’t work. You need a pressure cooker and the jars will need to be pressure processed from 75 to 90 minutes depending on the size of the jars.
The reason is that meats tend to be alkaline versus acidic. Acidic foods like citrus fruits are naturally resistant to bacteria. Alkaline foods like meats don’t have those natural properties and need both high heat and pressure to effectively kill any pathogens.
It’s all about pH which assigns numbers from 0 to 14 tracking food acidity starting at “0” moving up to the highest alkalinity at “14.”
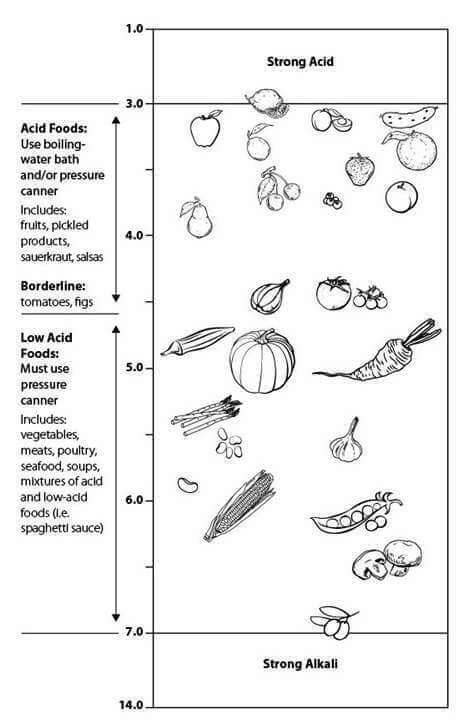
We’ll cover the details on pressure processing along with additional charts for recommended times, sizes, tips and techniques.
Variations on Beef
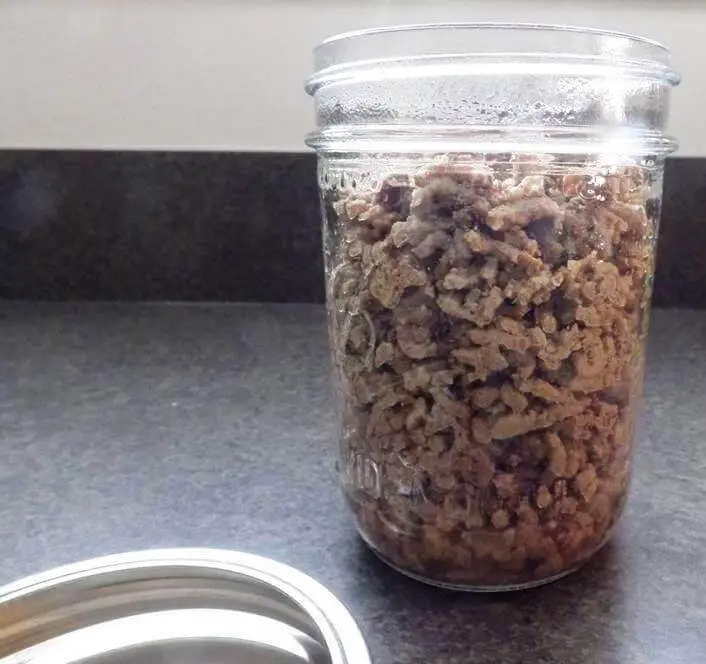
We’re going to start simple with canned ground beef. You don’t see it in stores that often but you can actually buy canned ground beef on Amazon. It’s a bit pricey, so that’s all the more reason to can your own.
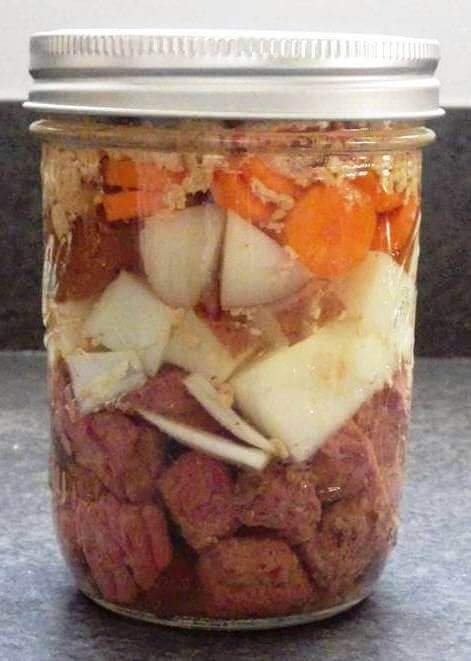
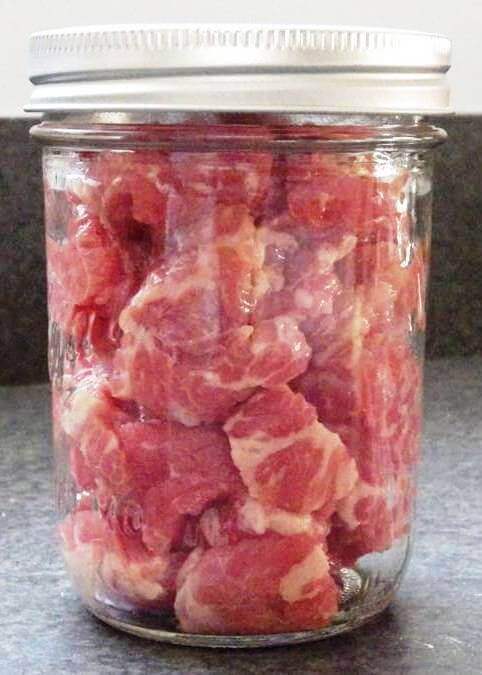
But it’s not just about canning ground beef. We’ll also explore how to can beef stew and corned beef along with some simple additions that allow you to make taco and chili flavored beef for easy recipe prep.
In fact you can take it a step further and can beef soups, Bolognese spaghetti sauces and other meats like pork, venison and chicken. What’s critical is to remember that canning any kind of meat requires pressure canning.
Pressure Canning 101
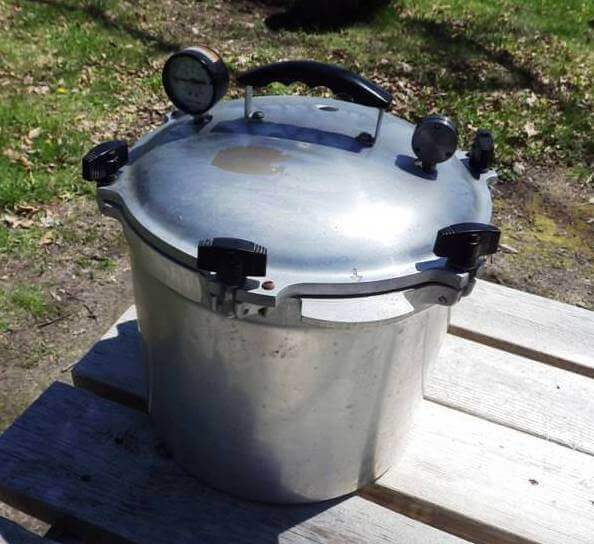
There are numerous variations on pressure canners but one of the best has 6 twist-down screws around the top perimeter of the pot. There’s also a pressure gauge and a weighted stopper that fits over a steam release valve.
The seal is metal on metal and applying a thin coating of vegetable oil to the inner rim where the top and the pot meet and seal will make removing the top easier after pressure canning.
Differences Between Pressure Canning and Open Bath Canning
Temperature
The critical difference between pressure canning with a sealed and enclosed pot as opposed to an open, hot water bath pot is temperature. Water boils at 212º Fahrenheit (100º Celsius).
An open pot will not allow the temperature to go much higher. The bubbles and resulting steam will stabilize the boiling water at 212 degrees.
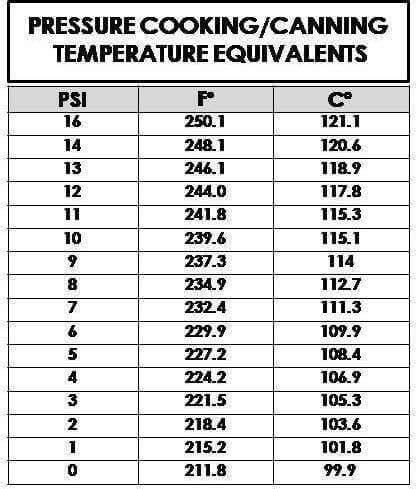
A pressure canner allows the water/steam and internal temperature in the pot to go as high as 250º F. 240° F is the recommended temperature to effectively kill any and all bacteria that may be resident in highly alkaline foods like beef.
Timing, Pressure and Altitude
Another difference is timing. Open water bath canning can be accomplished in as little as 15 minutes for some recipes and a little bit longer for others. Pressure canning requires at least 75 minutes or more to ensure the foods are properly preserved.
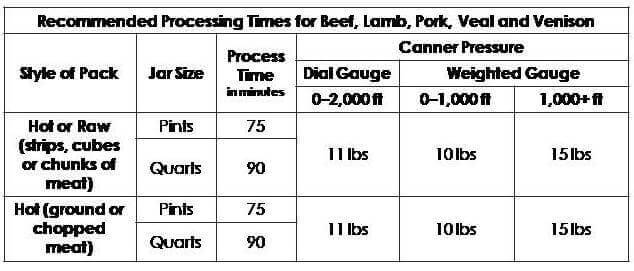
The pressure you choose is also critical and can vary depending on the altitude of your location. If you don’t know your altitude, there are apps for your phone that can quickly tell you.
Water Levels
There’s also a question of water levels in open bath canners versus pressure canners. Open bath canning usually recommends that the jars be completely immersed in water for processing. Pressure canning requires a water level that does not cover the jar.
It’s usually recommended that the water in the canner be 2 to 3 inches. The water in a pressure canner is there to produce steam under pressure to achieve high temperature to process the jars.
Here again, individual pressure cookers will have specific directions for water levels and timing for various recipes so don’t make assumptions about the details. Read the instructions for your pressure canner.
Pressure Canning Tips
Use Wide-Mouth Jars for Canning Beef
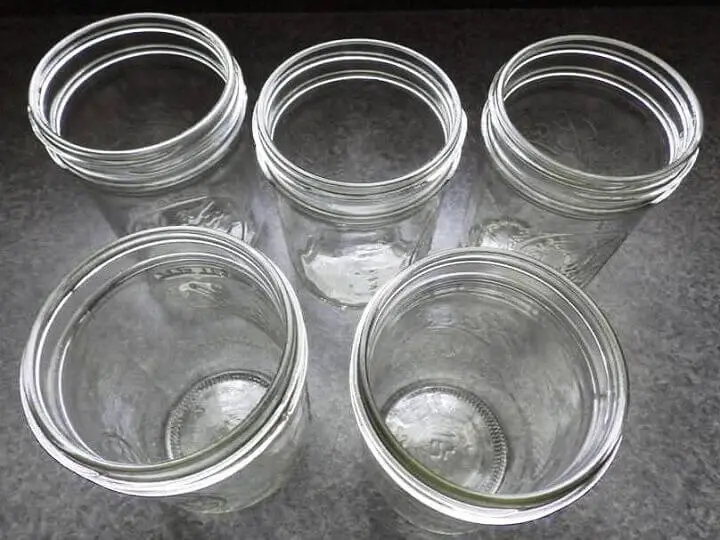
You can use 1-pint or 1-quart jars to can your beef recipes but make sure they are the wide-mouth jars, not the canning jars with high shoulders typically used for pickling. It’s a lot easier to spoon meat out of a wide-mouth jar especially if your beef is in chunks.
De-Bubble
Any time you add any kind of liquid to chunks of food in a canning jar; bubbles will be trapped in some of the spaces in the jar. Use a knife blade and insert it into the jar and gently move it from side to side especially around the sides of the jar.
If you’ve released a lot of bubbles, adjust the contents by adding more liquid or beef to maintain a 1-inch headspace.
Leave Some Headspace
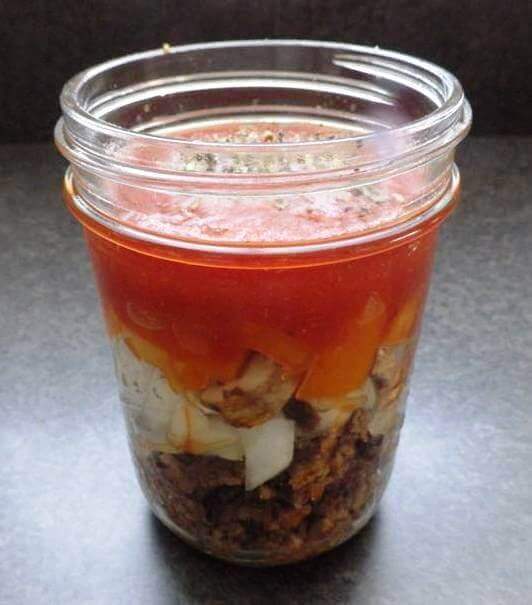
Headspace is a common canning term that refers to the amount of space at the top of the jar separating the contents from the jar lid. A 1-inch headspace is a standard recommendation for any pressure canned meats.
How to Can Beef
Regardless of what kind of pressure canner you use, read the included directions carefully so you understand the dynamics of how your particular pressure cooker works. They can be dangerous if used improperly so take the time to understand how to manage the pressure and the steam.
Here are some basic tips and cautions from The National Center for Home Food Preservation related to using a pressure cooker or canner for any reason:
1. Make sure the pressure-canner is working properly.
Clean lid gaskets and other parts according to the manufacturer’s directions; make sure all vent pipes are clear and contain no trapped material or mineral deposits. Center the canner over the burner. The burner and range must be level. Your pressure canner can be damaged if the burner puts out too much heat.
In general, do not use on an outdoor LP gas burner or gas range burner over 12,000 BTU’s. Check your manufacturer’s directions for more information about appropriate burners.
Put the rack and hot water into the canner. If the amount of water is not specified with a given food, use enough water so it is 2 to 3 inches high in the canner. Longer processes required more water.
Some specific products (for example, smoked fish) require that you start with even more water in the canner. Always follow the directions with USDA processes for specific foods if they require more water be added to the canner.
For hot packed foods, you can bring the water to 180 degrees F. ahead of time, but be careful not to boil the water or heat it long enough for the depth to decrease. For raw packed foods, the water should only be brought to 140 degrees F.
2. Place filled jars, fitted with lids and ring bands, on the jar rack in the canner, using a jar lifter.
When moving jars with a jar lifter, make sure the jar lifter is securely positioned below the neck of the jar (below the ring band of the lid). Keep the jar upright at all times. Tilting the jar could cause food to spill into the sealing area of the lid.
3. Fasten the canner lid securely.
Leave the weight off the vent pipe or open the petcock.
4. Turn the heat setting to its highest position.
Heat until the water boils and steam flows freely in a funnel-shape from the open vent pipe or petcock. While maintaining the high heat setting, let the steam flow (exhaust) continuously for 10 minutes.
5. After this venting, or exhausting, of the canner, place the counterweight or weighted gauge on the vent pipe, or close the petcock.
The canner will pressurize during the next 3 to 10 minutes.
6. Start timing the process when the pressure reading on the dial gauge indicates that the recommended pressure has been reached.
For canners without dial gauges, start timing when the weighted gauge begins to jiggle or rock as the manufacturer describes.
7. Regulate the heat under the canner to maintain a steady pressure at, or slightly above, the correct gauge pressure.
One type of weighted gauge should jiggle a certain number of times per minute, while another type should rock slowly throughout the process – check the manufacturer’s directions.
Loss of pressure at any time can result in under-processing or unsafe food.
Quick and large pressure variations during processing may cause unnecessary liquid losses from jars.
IMPORTANT: If at any time pressure goes below the recommended amount, bring the canner back to pressure and begin the timing of the process over, from the beginning (using the total original process time). This is important for the safety of the food.
8. When the timed process is completed, turn off the heat, remove the canner from the heat (electric burner) if possible, and let the canner cool down naturally.
Lift the canner to move it; do not slide the canner. It is also okay to leave the canner in place after you have turned off the burner. It is better to do so than to let jars inside the canner tilt or tip over if the canner is too heavy to move easily.
While the canner is cooling, it is also de-pressurizing. Do not force cool the canner. Forced cooling may result in food spoilage. Cooling the canner with cold running water or opening the vent pipe before the canner is fully depressurized are types of forced cooling. They will also cause loss of liquid from jars and seal failures. Forced cooling may also warp the canner lid.
Even after a dial gauge canner has cooled until the dial reads zero pounds pressure, be cautious in removing the weight from the vent pipe. Tilt the weight slightly to make sure no steam escapes before pulling it all the way off.
Newer canners will also have a cover lock in the lid or handle that must release after cooling before the lids are twisted off. Do not force the lid open if the cover locks are not released. Manufacturers will provide more detailed instructions for particular models.
Depressurization of older canner models without dial gauges should be timed. Standard size heavy-walled canners require about 30 minutes when loaded with pints and 45 minutes when loaded with quarts. Newer thin-walled canners cool more rapidly and are equipped with vent locks that are designed to open when the pressure is gone.
These canners are depressurized when the piston in the vent lock drops to a normal position. Some of these locks are hidden in handles and cannot be seen; however, the lid will not turn open until the lock is released.
9. After the canner is completely depressurized, remove the weight from the vent pipe or open the petcock.
Wait 10 minutes; then unfasten the lid and remove it carefully. Lift the lid with the underside away from you so that the steam coming out of the canner does not burn your face.
10. Using a jar lifter, remove the jars one at a time, being careful not to tilt the jars.
Carefully place them directly onto a towel or cake cooling rack, leaving at least one inch of space between the jars during cooling. Avoid placing the jars on a cold surface or in a cold draft.
11. Let the jars sit undisturbed while they cool, from 12 to 24 hours.
Do not tighten ring bands on the lids or push down on the center of the flat metal lid until the jar is completely cooled.
12. Wash jars and lids to remove all residues.
13. Label jars and store in a cool, dry place out of direct light.
14. Dry the canner, lid and gasket.
Take off removable petcocks and safety valves; wash and dry thoroughly. Follow maintenance and storage instructions that come from your canner manufacturer
Raw Beef or Cooked?
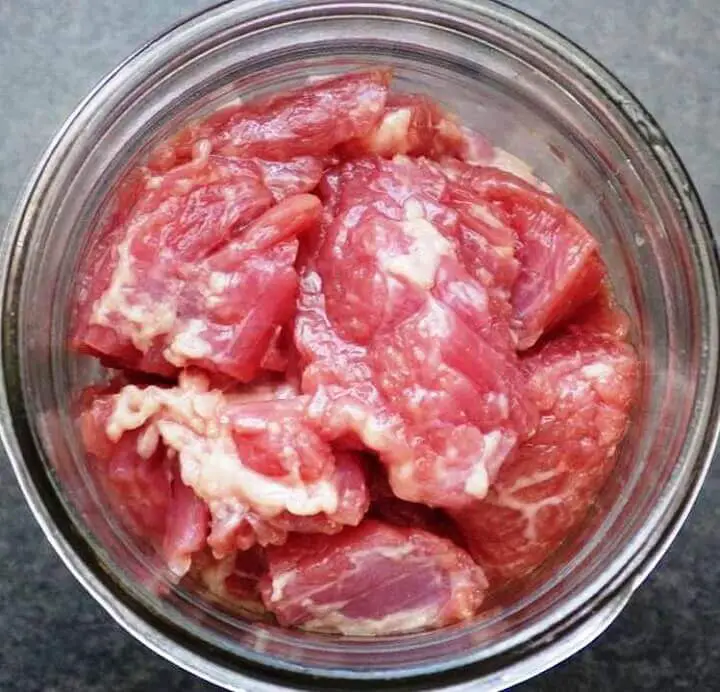
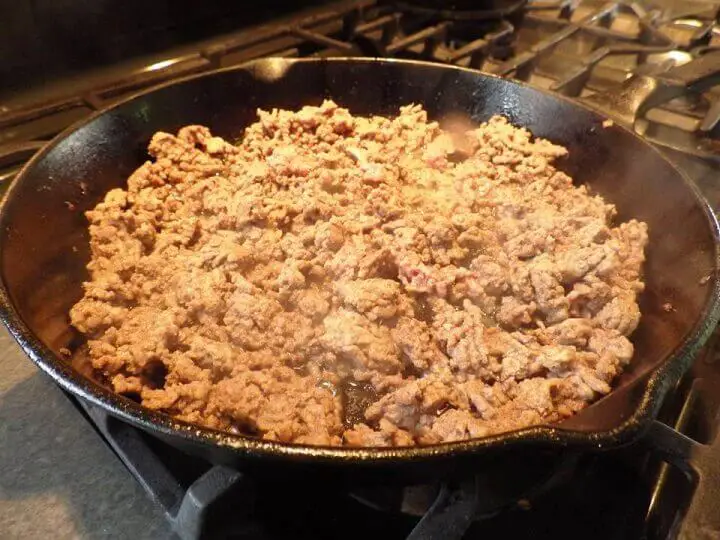
We’re going to cover recipes for beef and its variations that are both raw and pre-cooked to some degree before canning and processing. This is usually referred to as either a “raw pack” or a “hot pack” describing whether the meat is raw or cooked.
There are a lot of recipe ideas out there for processing raw beef in the jar because the pressure canning process essentially cooks the beef after it has been canned.
Opinions vary on the quality of canned raw beef but when you can raw beef and cook it in the jar while processing you miss the caramelization that results from browning. There are exceptions including corned beef which tastes fine when canned and processed raw.
Based on the dynamics of pressure processing, even canned raw beef is food safe but taste and tenderness can be sacrificed to some degree when a basic cooking step like browning is skipped. It’s up to you.
NOTE: As a general rule you add 1-pound of beef to a 1-pint jar or 2-pounds to a 1-quart jar. The amounts can be less if you are adding other ingredients like potatoes or carrots to make a stew. Those amounts are indicated in each recipe.
Recipe #1: Canned Ground Beef (makes 1 pint)
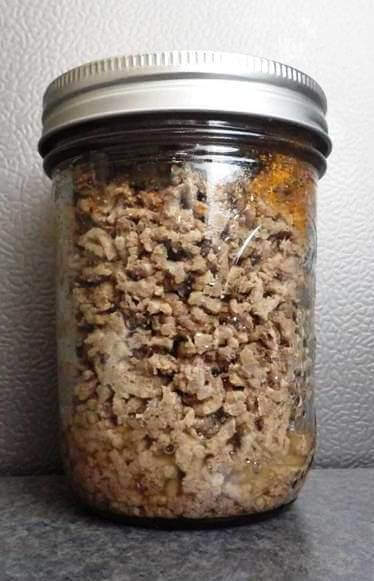
This recipe can work for any ground meat. This recipe focuses on ground beef with an 80/20 lean to fat ratio although any ratio can work. This is a hot pack using cooked ground beef.
Ingredients:
- 1 pound of 80/20 ground beef
- pickling salt (optional)
Directions:
- Spray a skillet with cooking spray or heat a small amount of fat or oil in it.
- Brown the ground meat in the skillet.
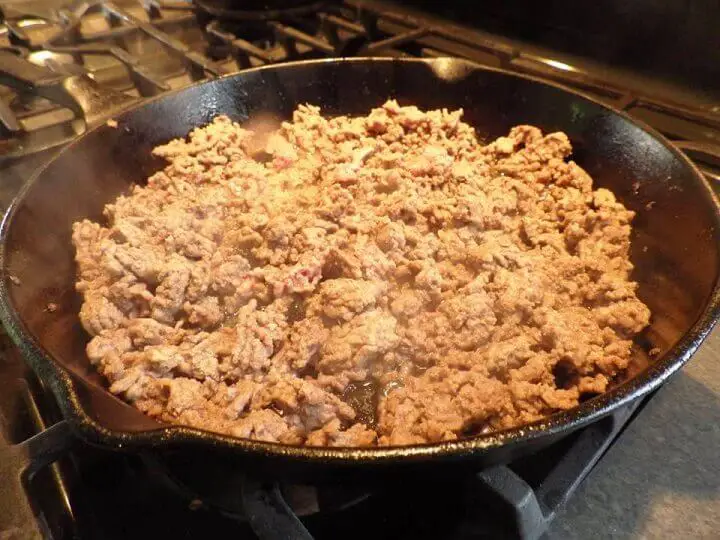
- Drain and transfer the browned meat to a covered bowl or pot to keep hot if you are cooking in batches.
- Pack meat loosely into half-liter (1 US pint) OR 1 liter (1 US quart) jars.
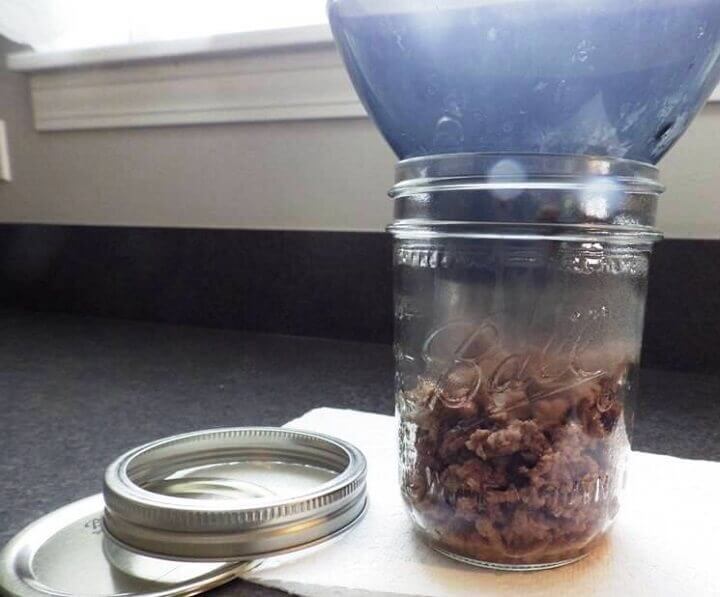
- Leave 3 cm (1 inch) headspace.
- [Optional]: add ½ teaspoon pickling salt to half-liter (1 US pint) jars; 1 teaspoon of pickling salt to 1 liter (1 US quart) jars.
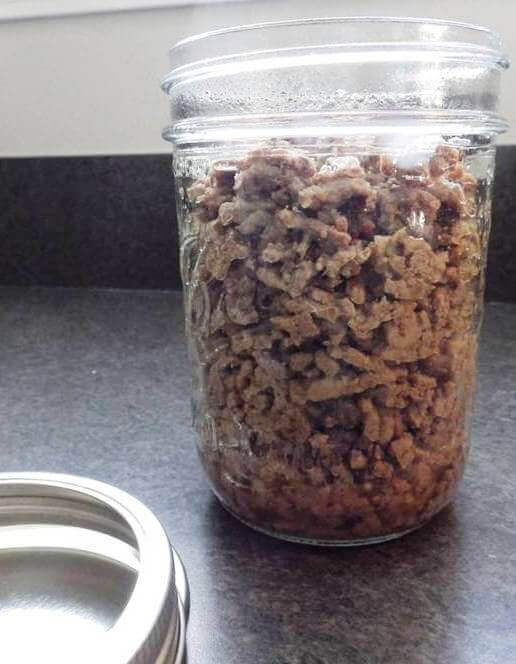
- Some recipes recommend adding hot water leaving the 1-inch of headspace. Others recommend leaving the cooked ground beef dry in the jar. It’s up to you and most likely depends on how you plan to use your canned ground beef in the future.
- Wipe jar rims with a paper towel soaked in vinegar to remove any fat that can compromise the seal on the lid.
- Put lids on.
- Processing pressure: 10 lbs (69 kPa) weighted gauge, 11 lbs (76 kpa) dial gauge (adjust pressure for your altitude when over 300 meters / 1000 feet.)
- Processing time: half-liter (US pint) jars for 75 minutes OR 1 liter (US quart) jars for 90 minutes.
Recipe #2: Canned Corned Beef Brisket (makes 2-4 pints)
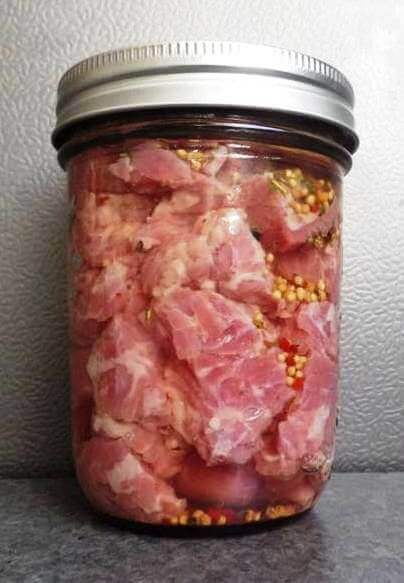
This recipe uses a slab of corned beef brisket. Many of us have plenty on hand after taking advantage of the sales that usually occur after St. Patrick’s Day. In this instance the corned beef is trimmed, cut and canned raw before processing.
Ingredients:
- 1 pound corned beef per each 1-pint jar
- ½ tsp. spice from the spice packet usually included with a brisket
- Hot water (optional)
Directions:
- Wash and rinse the corned beef slab.
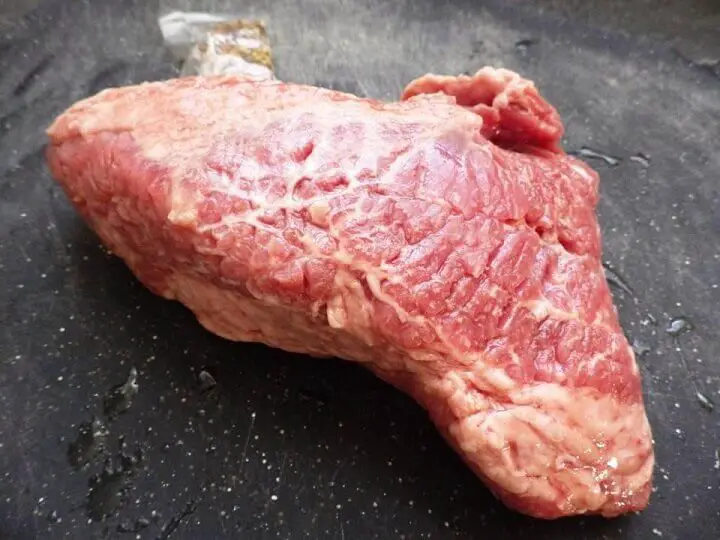
- Trim off any excessive fat
- Cut each slab into ¾” cubes and mix well to distribute the fattier pieces.
- Pack each jar with approximately 1 pound of cubed corned beef. Leave 1” of headspace.
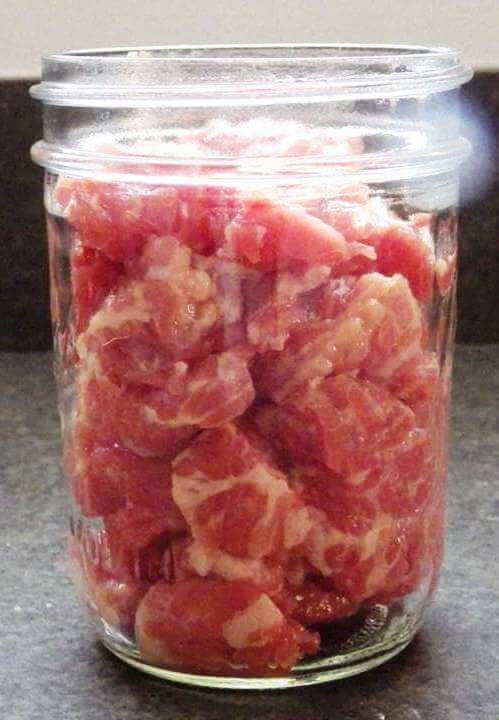
- Add the spices from the spice packet
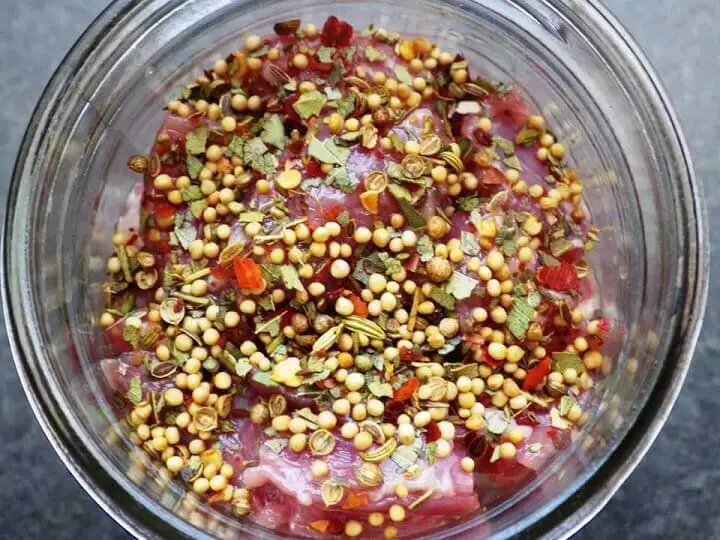
- (optional) You can add hot water to the jars or allow the corned beef to release its own juices while processing.
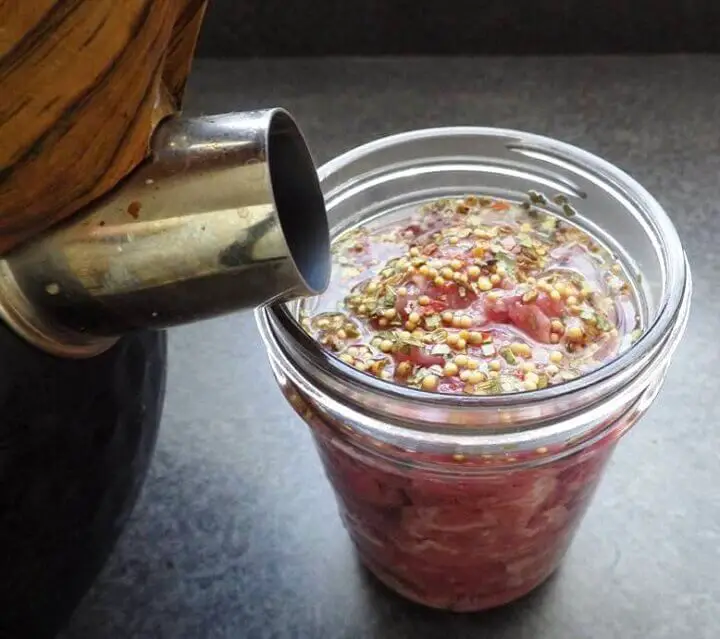
Just make sure you keep the 1” of headspace after adding any liquid.
- Clean off the rim with a paper towel dampened with vinegar.
- Add lids and rings. Center the lids on the jars. Finger tighten the rings – don’t crank down on them.
- Add jars to the canner.
- Place the lid on the canner and tighten according to the instructions.
- Turn the heat on high.
- Allow the canner to heat.
- The temperature should come up to 240-245 degrees F (115 – 118 degrees C).
- Allow the canner to process for 75 minutes for pint jars, 90 minutes for quarts.
- After processing, turn off the heat.
- Allow the canner temperature to come back to 200 degrees F (93 degrees C).
- Remove the weight and let the canner vent for 10 minutes.
- Remove the lid and then remove the jars.
- Allow the jars to cool and come to room temperature. Listen for the “ping” of the lids sealing.
- Test the lids to make sure they have dimpled, and no longer flex.
- Once cooled give the jars a quick rinse.
- Label and date each jar.
Recipe #3: Canned Beef Stew (makes eight 1-pint jars)
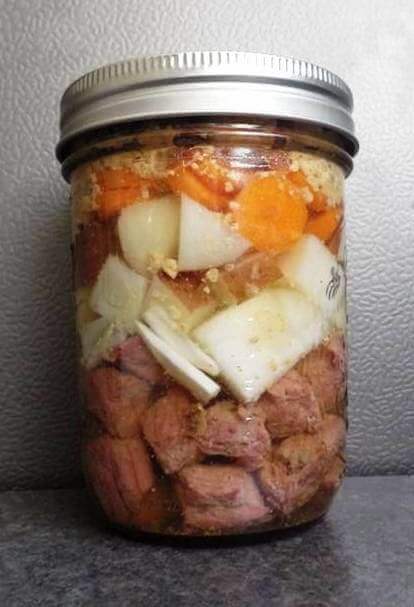
Canned beef stew is a treat for many of us and is surprisingly easy to make. We recommend you brown the beef cubes but you can add carrots, onions and potatoes raw and allow the processing to cook everything.
A thick gravy is a traditional part of beef stew and you can either add your own gravy ingredients or add a ½ packet of powdered beef gravy in an envelope to the mix before processing.
Ingredients:
- 4 pounds of stewing beef cut into ¾-inch chunks
- 1 tablespoon of oil
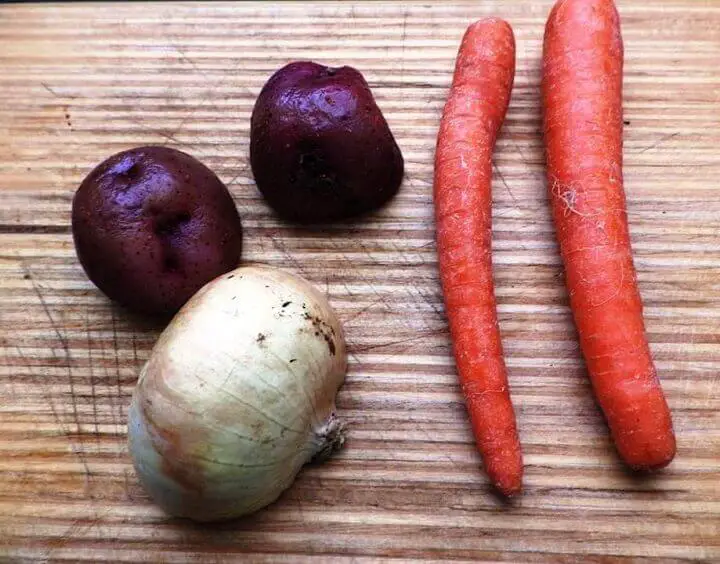
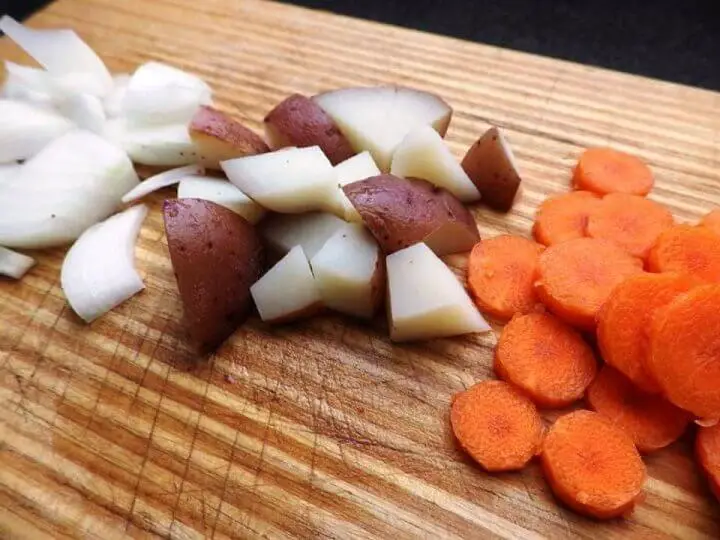
- 4 cups of potatoes cut into in ½-inch cubes
- 2 cups of carrots sliced into circles
- 1 cup of onions coarsely chopped
- 1 cup of celery coarsely chopped
- Beef stew seasoning packets in envelopes or:
- 2 teaspoons of seasoned salt
- 2 teaspoons of pepper
- 1 tablespoon of corn starch
- Enough hot water to fill the jars to within 1-inch of the rim after you’ve added all of the other ingredients
Directions:
- Cut the stewing beef into chunks and brown in the oil in batches and keep warm in a covered bowl
- Cut up all of the vegetables as indicated and rinse well in a colander or strainer
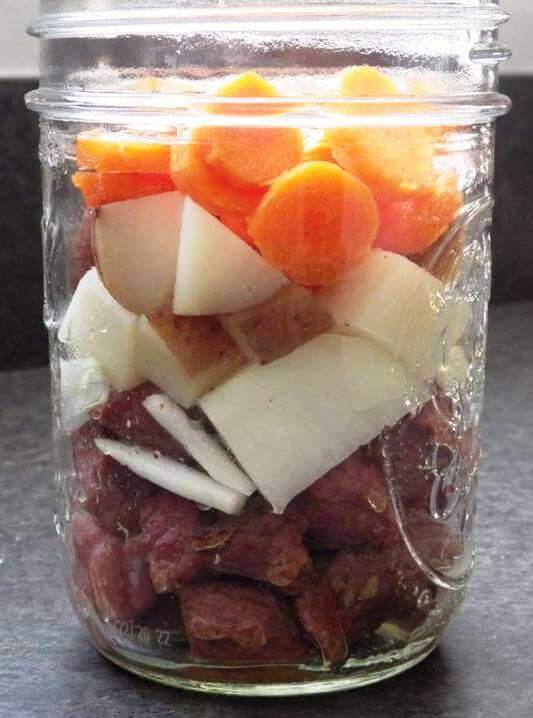
- Add a ½ cup of the browned beef chunks to a 1-pint jar
- Top with 1/8 cup of chopped onions
- Top with ½ cup of cubed potatoes
- Top again with ¼ cup of sliced carrots
- Blend all of the seasonings and corn starch in a bowl
- Top each one of the eight 1-pint jars with 1 teaspoon of the blended seasoning mix or a teaspoon of beef stew seasoning mix in an envelope.
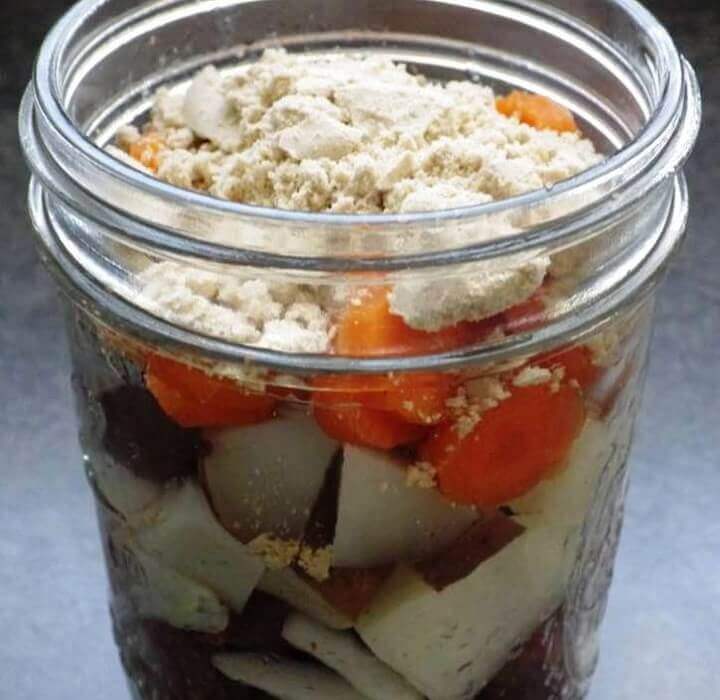
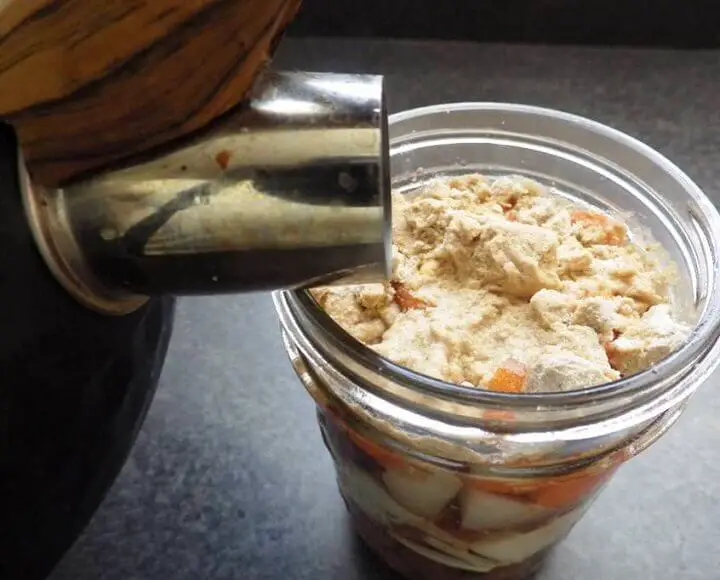
- Add boiling water to within 1-inch of the rim
- Wipe the rims with a paper towel soaked in vinegar
- Seal the lids hand tight
- Add jars to the canner.
- Place the lid on the canner and tighten according to the instructions.
- Turn the heat on high.
- Allow the canner to heat.
- The temperature should come up to 240-245 degrees F (115 – 118 degrees C).
- Allow the canner to process for 75 minutes for pint jars.
- After processing, turn off the heat.
- Allow the canner temperature to come back to 200 degrees F (93 degrees C).
- Remove the weight and let the canner vent for 10 minutes.
- Remove the lid and then remove the jars.
- Allow the jars to cool and come to room temperature. Listen for the “ping” of the lids sealing.
- Test the lids to make sure they have dimpled, and no longer flex.
- Once cooled, remove the rings, and give the jars a quick rinse.
- Label and date each jar.
Variations: Taco Beef/Chili Beef/Bolognese Spaghetti Sauce
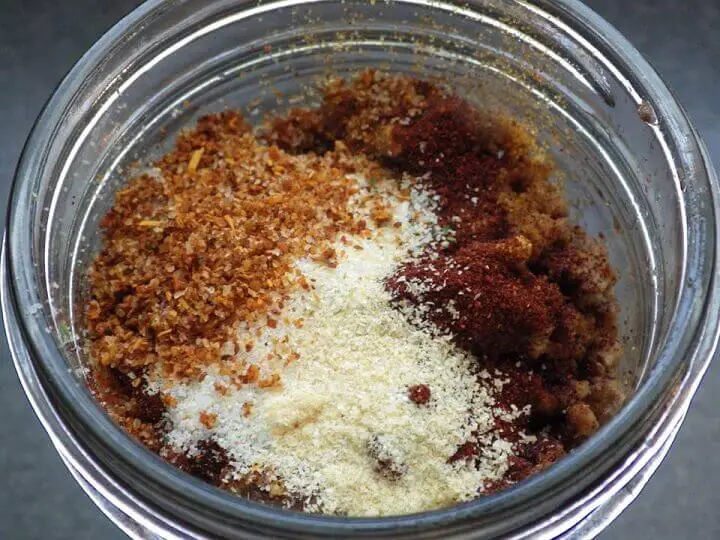
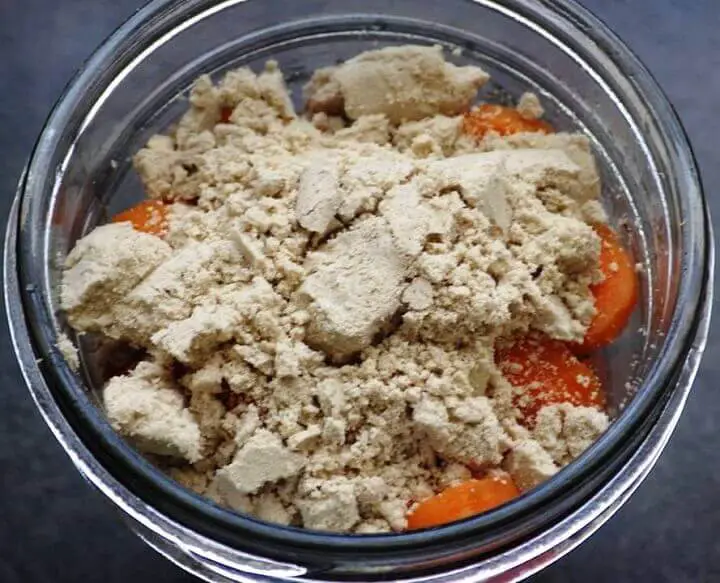
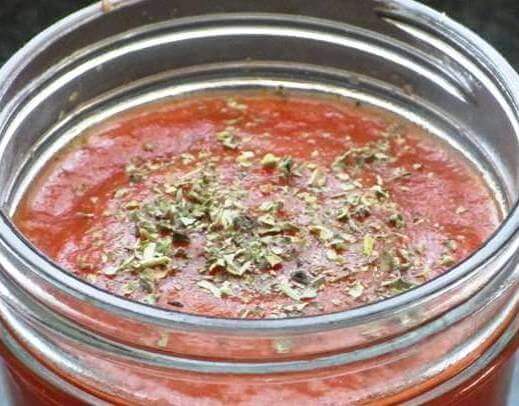
At this point, you get the idea and there are ways to customize your canned beef to accommodate a number of other recipes. Some only require the addition of seasoning to the beef and the spaghetti meat sauce requires a little bit of time to prepare.
Here’s a brief rundown of how to create canned beef variations:
Canned Taco Beef
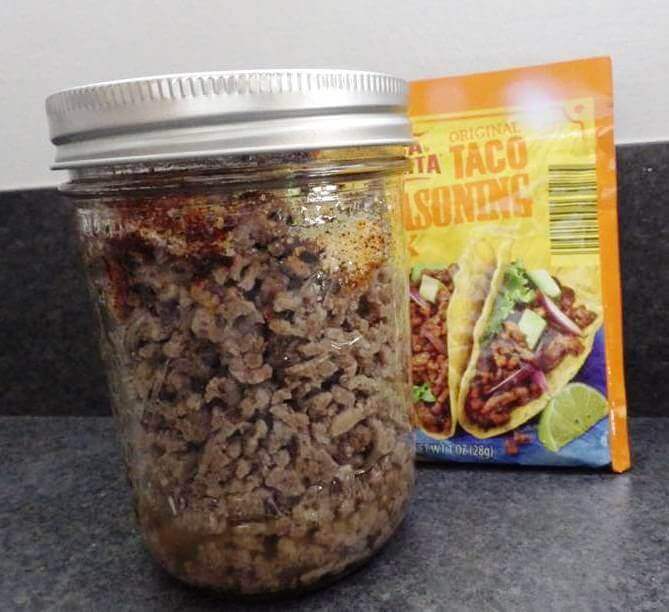
Follow the directions for canning ground beef for a 1-pint jar but add 2 teaspoons of taco seasoning mix from an envelope to the top of the meat in the jar or make your own taco seasoning:
- 1 tablespoon chili powder
- 1 teaspoons ground cumin
- 1 teaspoon corn starch
- 1 teaspoon sea salt
- 1 teaspoon ground black pepper
- ½ teaspoon ground paprika
- ¼ teaspoon garlic powder
- ¼ teaspoon onion powder
- Hot water (optional)
Blend all of the spices in a bowl and add 1 teaspoon to the top of the ground beef in each of your canning jars before processing. You can add water as an option up to 1-inch from the top of the jar before processing.
Canned Chili Beef
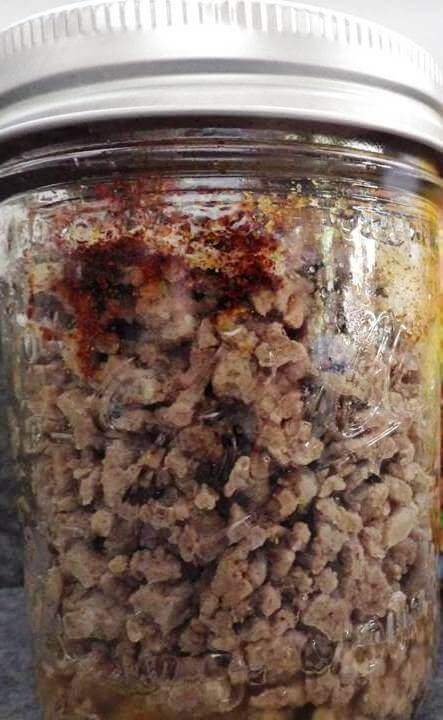
This is similar to the canned taco beef recipe with one option. You can either use ground beef from the canned ground beef recipe or chunks of beef from the canned beef stew recipe.
Just pack the meat into a 1-pint jar and top with either 2 teaspoons of chili seasoning mix from an envelope of top with 1-teaspoon of the following:
- 1 tablespoon chili powder
- 1 teaspoons ground cumin
- 1 teaspoon corn starch
- 1 teaspoon seasoned salt
- 1 teaspoon crushed red pepper flakes
- ½ teaspoon sugar
- ¼ teaspoon garlic powder
- ¼ teaspoon onion powder
- Hot water (optional)
Here again, you can add hot water to the jar after filling and spicing if you like. It’s all a matter of personal taste and how you plan to use the canned chili beef. Just make sure you keep the 1-inch head space.
Bolognese Spaghetti Sauce (makes eight 1-pint jars)
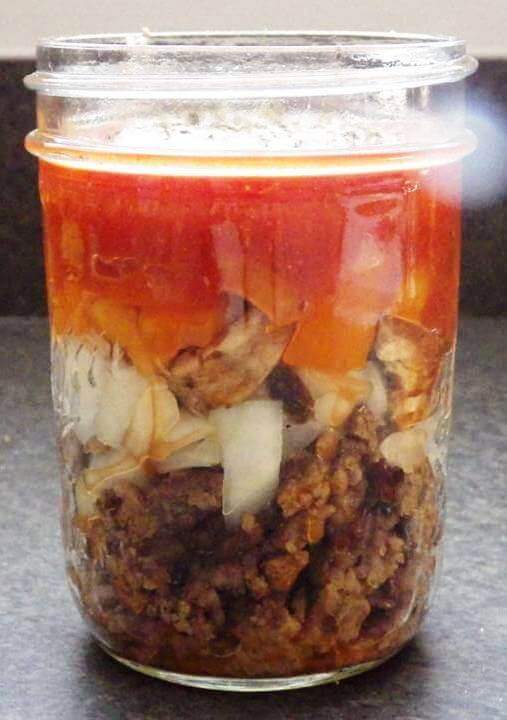
Bolognese is the traditional designation for a spaghetti sauce made with meat, usually beef. You can use your own meat based spaghetti sauce or any other meat based recipe and can it using the process and the steps we’ve outlined.
The reason it’s worth pressure canning a beef-based spaghetti sauce is that it’s so versatile for a range of recipes, and like beef stew, provides a high nutrient density across a range of ingredients.
Here’s the basic recipe. Follow the previous steps for pressure canning depending on the size of your jars.
Ingredients:
- 2 pounds of ground beef
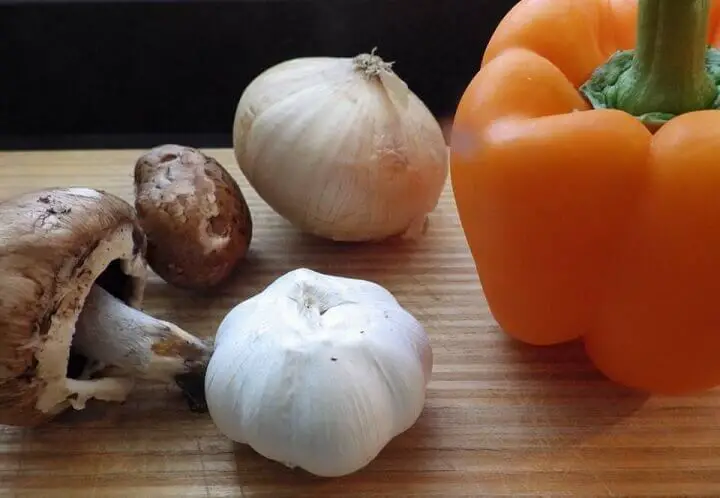
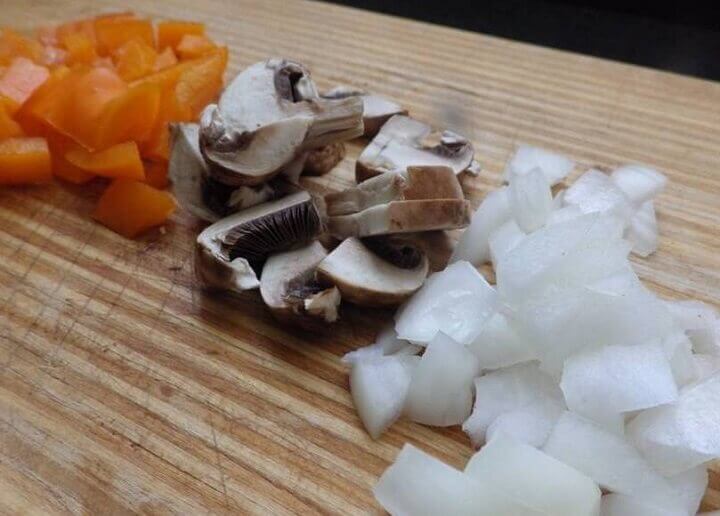
- 1 onion diced
- 2 bell peppers diced
- 2 cups of sliced mushrooms
- 2 cups celery diced
- 4 cloves of garlic finely diced
- 1 32-ounce can of diced tomatoes
- 4 cups of tomato sauce
- 2 teaspoons seasoned salt
- 1 tablespoon oregano
- 1 teaspoon thyme
Directions:
(These are the directions for filling one 1-pint jar using portions of the all of the ingredients described above.)
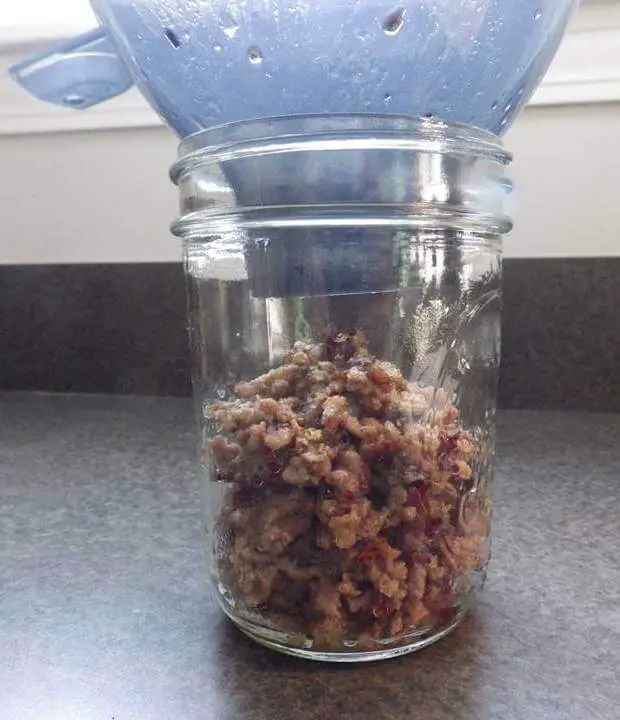
- Brown the ground beef, drain and fill a 1-pint jar half full with browned beef.
- Add the ¼ cup of onions, ½ a diced garlic clove, ¼ cup of mushrooms chopped and ¼ cup of diced bell peppers to the jar.
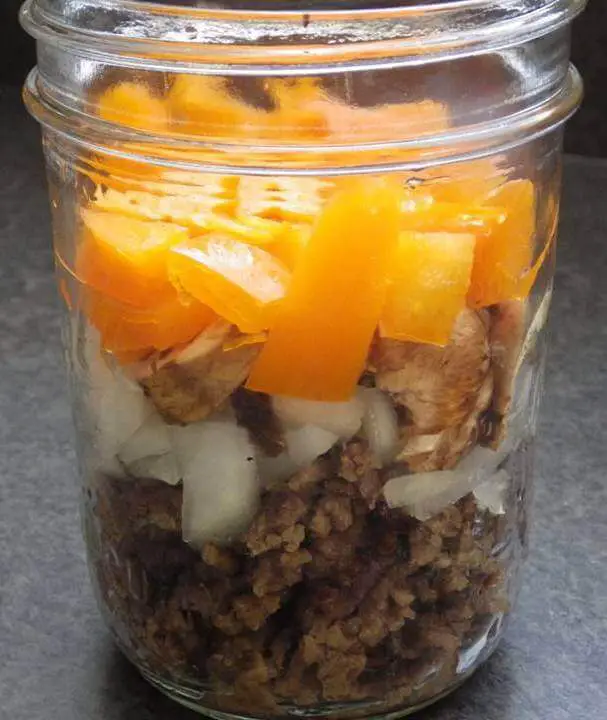
- Top with tomato sauce leaving 1-inch of headspace.
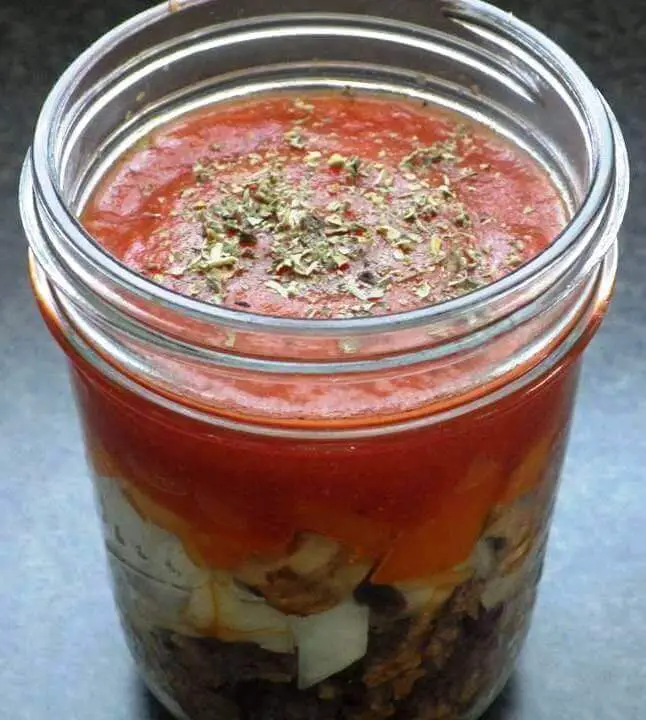
- Follow the previous directions for pressure canning.
Canned Beef Storage
The ideal environment for storing any canned food is in a cool, dark space. Basements offer the best opportunities but a pantry will do. Root cellars are always an option if you have one.
Once you open a jar of canned beef in any form you should eat it immediately. You can keep it in the refrigerator for as long as you would keep any leftover meat. Keep it in the jar if possible.
When Canned Beef Goes Bad
Home canning anything comes with its share of risks. The basic tests for assessing anything that has been home canned regardless of the method is:
- When opening a sealed jar, a light “whoosh” is expected. A lot of pressure or even a surprising amount of pressure releasing on opening, on the other hand, is not a good sign. Gas may have built up inside the jar due to bacterial activity. Remember to throw out any can or jar that does this if something doesn’t seem right.
- Bubbles usually indicate fermentation, a bacterial process that can be perfectly fine if done deliberately and under certain conditions. It’s also great for pickles, wine, beer, and other dishes.
- In low-oxygen environments like canned food, botulism and other dangerous bacteria can survive (and even thrive).
- The liquid in the can is usually straightforward. As a result, if the liquid is cloudy, it could indicate that the food has gone wrong.
- Any mold on the underside of a lid indicates that the food should be discarded. Mold on the underside of a lid, regardless of color, is a bad sign, and the food in that can, or jar should not be consumed.
- A lid that can be pushed up and down is not securely closed. When you first can something, the lid gets sucked down as the jar cools. As a result, depressing a lid and popping it back up should not be possible, which means it didn’t close properly. As a result, unopened and unrefrigerated jars are unsafe to consume.
- If there are food traces on the outside of the container, it most likely leaked from the inside. If there is a leak, the seal is broken, and the food is potentially dangerous. Throw it out if you’re not sure.
- If the contents of a can or jar smell “off” or unusual, or otherwise differ from what you remember, the food has most likely gone bad. Throw it out if it doesn’t pass the sniff test.
There’s No Limit
Once you understand the fundamental dynamics of pressure canning you can apply it a range of beef cuts and not only other meats but meat and even seafood variations like chicken stews, canned salmon and even bouillabaisse la Marseille.
In the short term, canning basic cuts of beef can give you added food security in a time when meat prices are soaring and disasters seem to surround us. It’s a valuable skill to acquire and practice and just makes sense on so many levels.
Like this post? Don't Forget to Pin It On Pinterest!






How long can you safely store home canned meat?
To play it safe, about a year is the maximum but it’s always important to assess its appearance, smell and taste. In spite of our best efforts, things can happen especially to home processed foods. The most important thing is to pressure can the meat to the recommended times and temperature in a proper jar or package.
Your canning instructions are the clearest, most detailed, I have seen. Very thorough and helpful! Thank you!
Thanks. That’s much appreciated.