

Estimated reading time: 11 minutes
Both making and pressure canning homemade chili can be done in a single afternoon. Preserving chili will make it shelf-stable for at least two years and increase your protein-rich food stockpiles far more economically than buying commercially manufactured packets or buckets.
Making chili can also serve as a homeschool or skill-building activity for your children or grandchildren. The little ones can learn more about the farm-to-table experience by using vegetables the family grows in the garden—and perhaps even beef harvested from your cattle herd.
Want to save this post for later? Click Here to Pin It On Pinterest!
The science behind the cooking process, the measuring of ingredients, and where they fit on the food pyramid can also be part of this hands-on learning activity.

Homemade Chili Recipe
Yield: About 15 pints
Prep Time: 7 minutes
Total Time: 2 to 3 hours
Ingredients
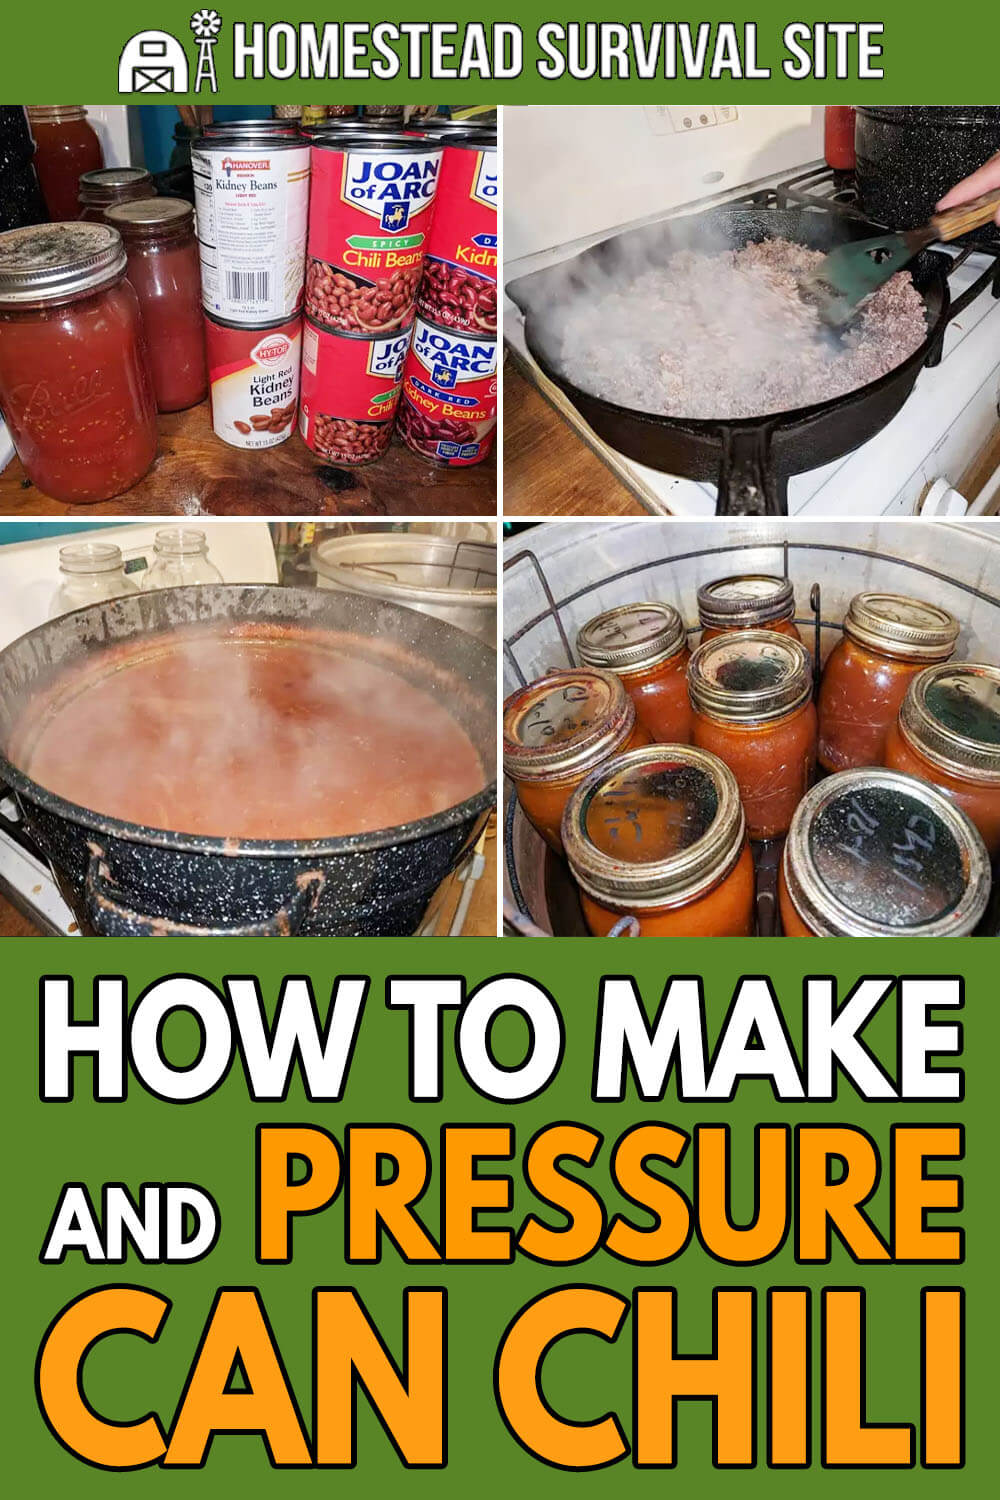
- 4 pounds of hamburger – Use up to 1 pound more if you want a thicker chili.
- 3 quarts of tomato juice
- 1 onion finely chopped
- 3 quarts of chunk tomato
- 3 cans EACH of kidney beans, light-dark and spicy
- 1 small squirt of mustard
- 1 small to medium squirt of BBQ sauce
- I to 3 pinches of chili powder – to taste
- 1 to 3 pinches EACH of salt and pepper – to taste
Directions
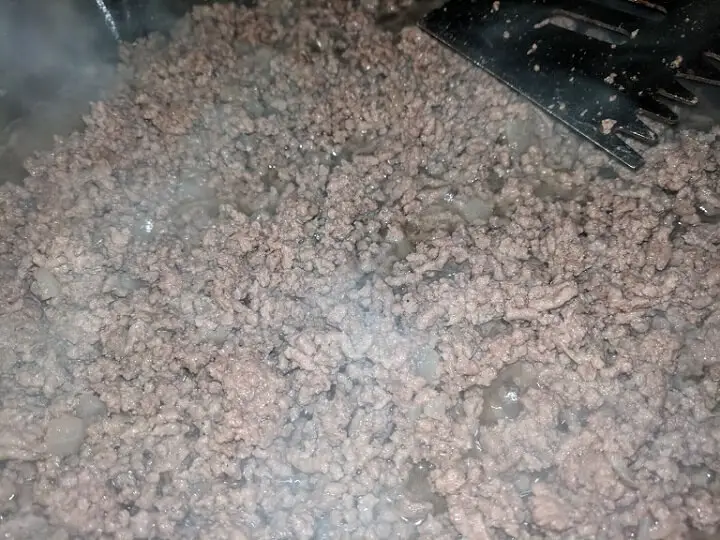
- Brown the hamburger in a large skillet and do NOT drain the grease.
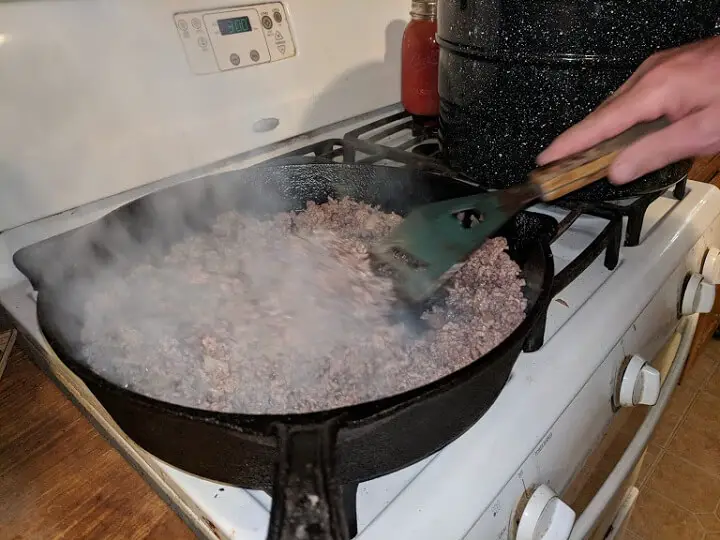
Buy or use top quality hamburger with a low-fat content – this type of beef will not produce a high ratio of grease.
- Chop up the onion while the hamburger browns.
- Pour the hamburger from the skillet into a large stockpot.

- Pour in the tomato juice and chunk tomatoes.
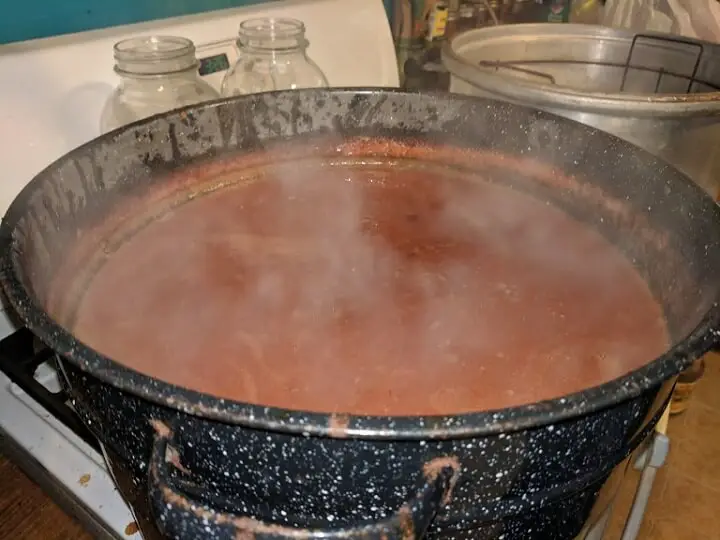
- Set the heat under the large stockpot to a simmer.
- Stir to combine the ingredients thoroughly.

- Stir in all of the beans.
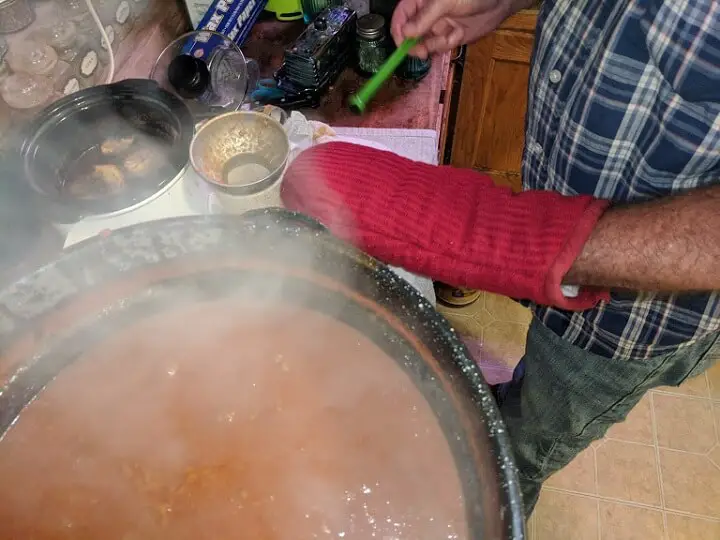
- Add in the rest of the ingredients and stir thoroughly to combine again. The chili, even at a simmer, will get really hot and produce a lot of steam. I recommend using a metal wooden-handled spoon or ladle to stir.
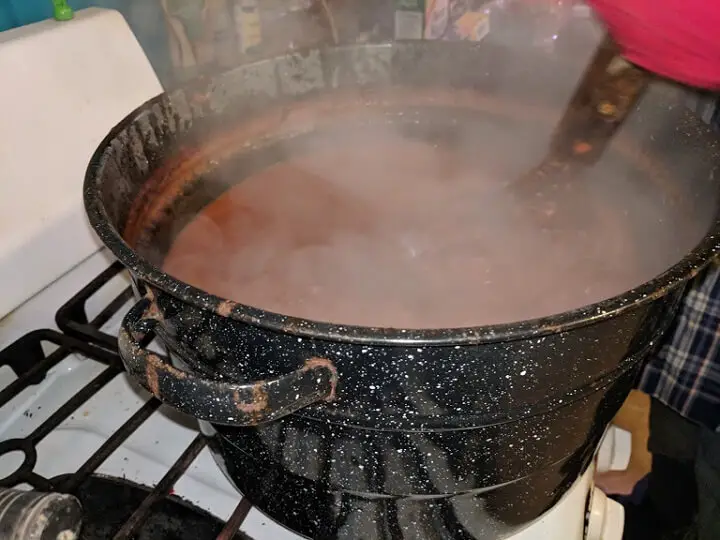
- Allow the chili to simmer for about two hours, until it cooks down. If you want a thicker chili, allow the ingredients to simmer down at least two and a half hours. Stir occasionally to avoid scorching or sticking.
This recipe will make enough chili to can about 8 pints and leave plenty to eat right away as a family meal or put some in the freezer to preserve it for the short-term and pull out to eat on a chilly evening.
How To Pressure Can Chili
Prep Time: 10 Minutes
Total Time: 1 hour and 40 minutes
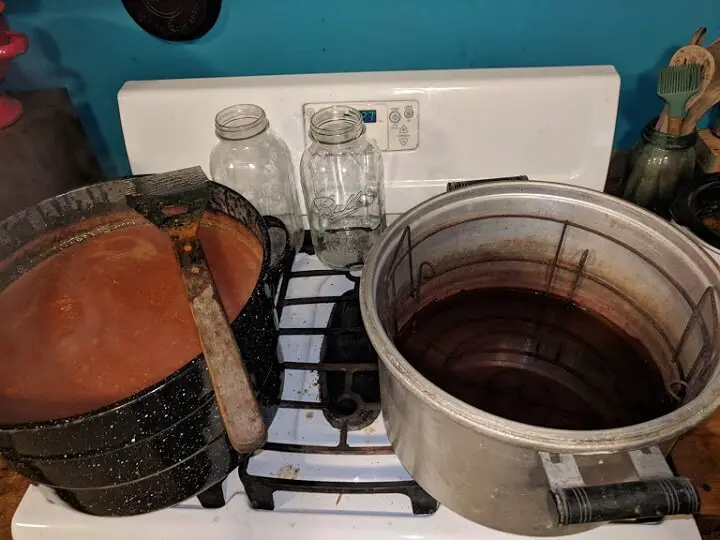
- Place your pressure canner on a stove burner and place the wire rack inside. Do not place the locking ring around the canner yet. Meat ALWAYS has to be processed in a pressure canner and not a water bath canner to preserve it so it will be safe for human consumption.
- Prepare the Mason jars by cleaning them thoroughly in hot water – even if they look clean.
- Place the jars in a kitchen strainer and allow them to dry completely.
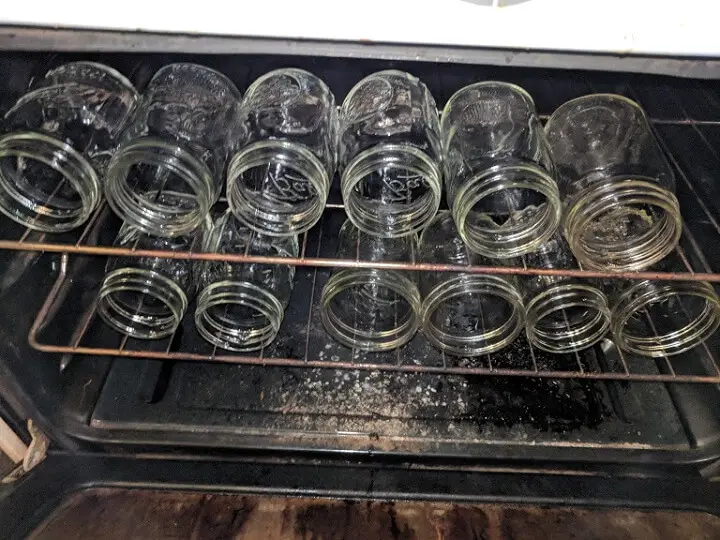
- Set your oven at 200 to 225 degrees and place the jars on the racks – on their sides with the mouth facing the oven door. Leave the jars in the oven at this low heat setting until each one is pulled out and filled with your homemade chili.
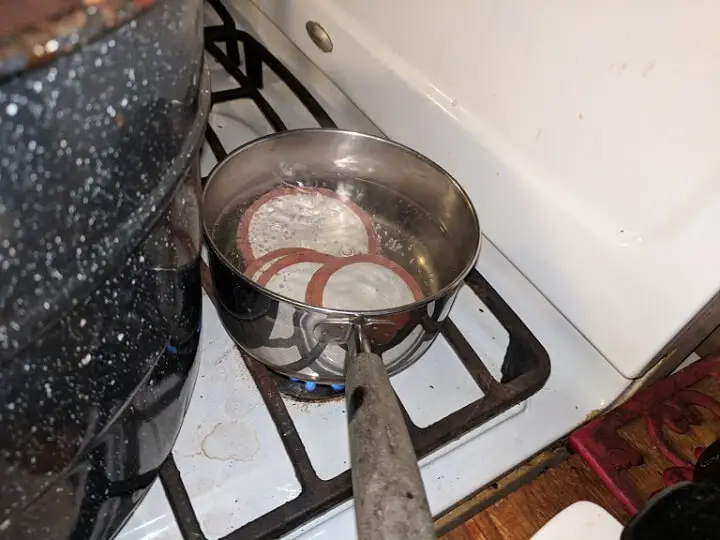
- Place your lids in a small sauce pan and warm to just about a simmer or above, do not let them come to a boil.
- Set the rings you will need for the Mason jars aside in your work space.
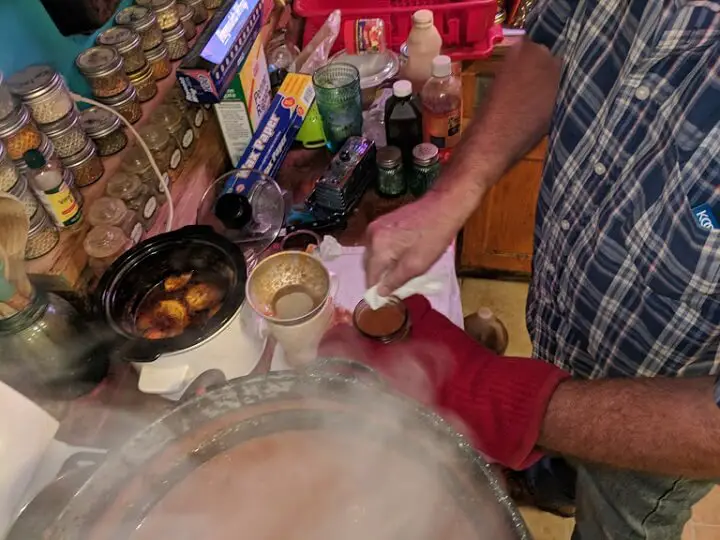
- Gather all of your canning tools and make sure they are clean and ready to use in your work space:pressure canner, jar lifter, magnetic ring lifter, funnel, coffee cup or ladle, and oven mitts are recommended. I also recommend keeping several clean dish towels or paper towels handy to wipe away drips from the lip of the Mason jar. Any debris on the lip of the jar will prevent the lid from sealing properly and allow moisture and bacteria to get inside of the jar.
The green magnetic lid lifter is an incredibly inexpensive canning tool and using it will greatly decrease the chance of touching the rubber on the ring and getting debris on it or contaminate the underside of the lid with debris on your hands.

- Fill the pressure canner with about three inches of water. You will not be able to open the pressure canner to add more water like you can when water bath canning.
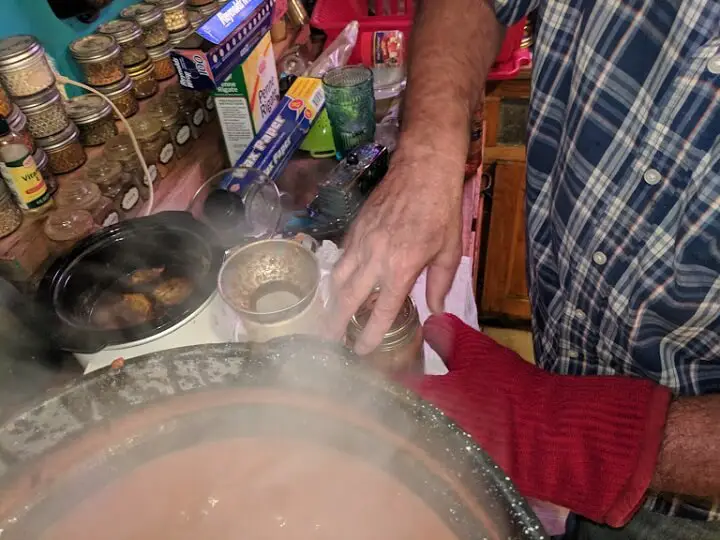
- Place a canning funnel on the Mason jar
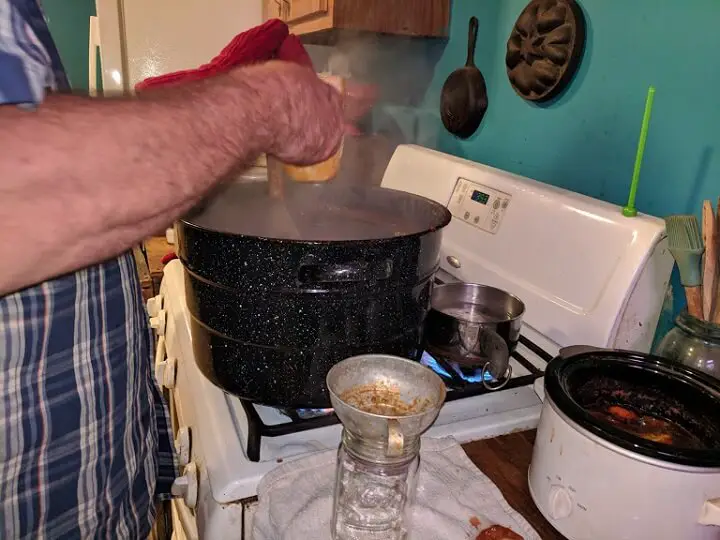
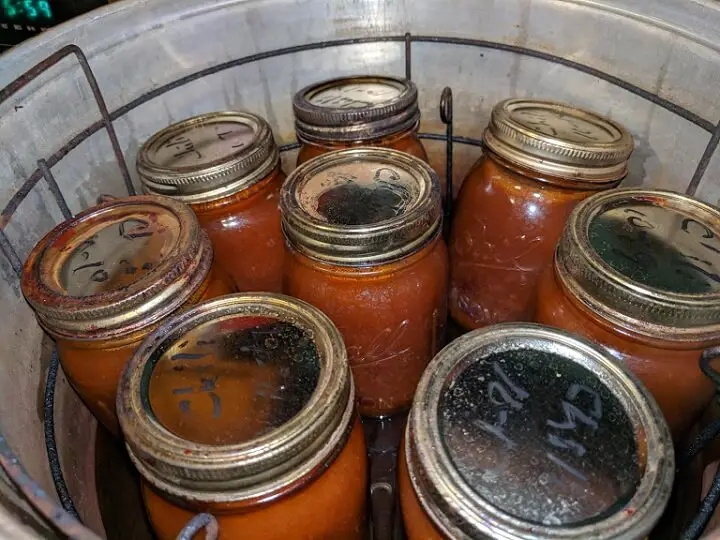
- Use a coffee cup of ladle to carefully scoop out the hot chili in a Mason jar. Leave 1-inch headspace.
Allow the ingredients to settle for a moment to make sure the jar is full enough, if not – like in the photo below, add more of the solid ingredients (primarily) into the Mason jar.
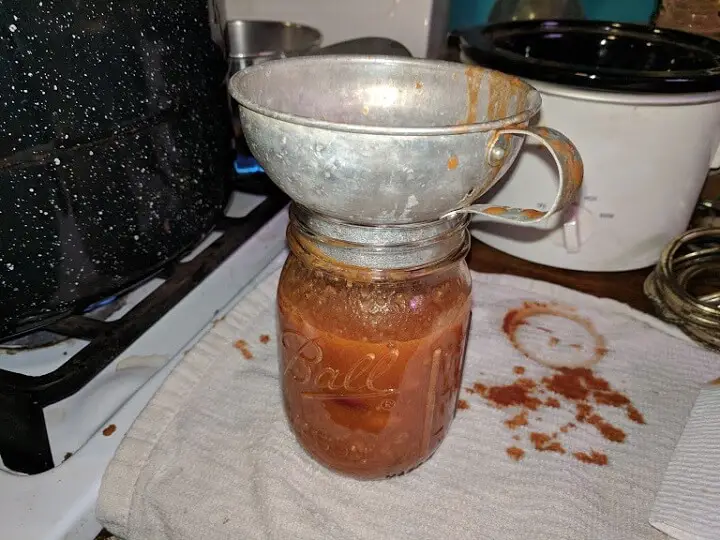
- Wipe off any excess on the lip of the Mason jar to ensure the rubber on the lid seals properly.
- Place the lid on the jar using the magnetic jar lifter and then push it down firmly with a hand covered with an oven mitt or a dishtowel.
- Screw the ring firmly into place.
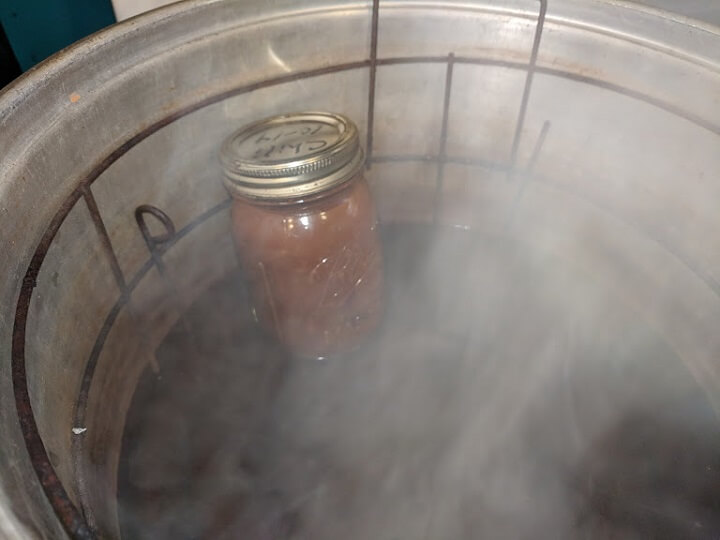
- Use the jar lifter to place the Mason jar into the pressure cooker.
- Make sure not to allow the Mason jars to touch when placing them in the pressure cooker.
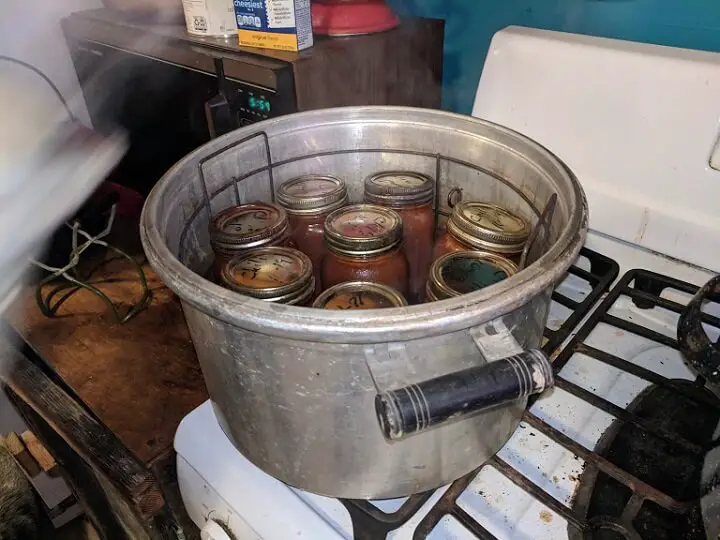
Once the pressure cooker is filled to capacity, put the ring into place and the lid on.
Pressure cookers vary slightly in style, but all will have a mechanism to securely affix the pot to the lid.

Follow the manufacturer’s instructions for tightening the ring into place around the lid. The process is simple and quick, but the ring must be latched firmly into place not only to ensure the food is preserved properly, but for your safety as pressure begins to build up inside the cooker.
- Process the chili at 10 pounds of pressure for approximately 90 minutes.
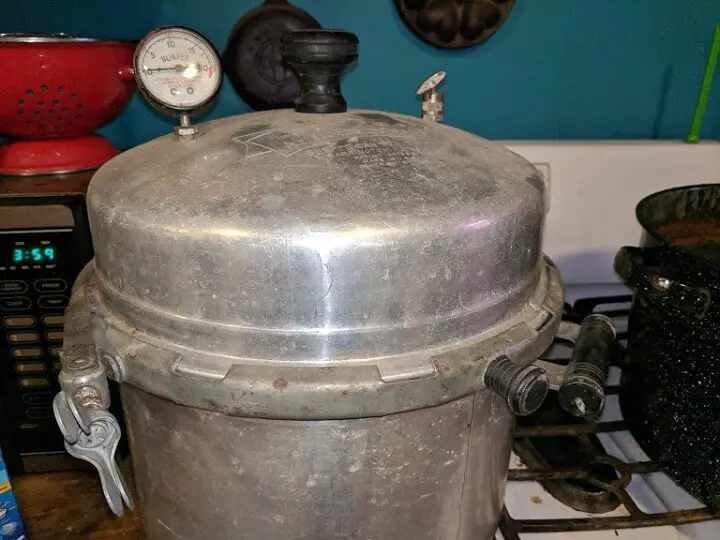
Keep your eye on the pressure gauge frequently to make sure you don't need to adjust the steam release knob to either increase or decrease the opening as per the manufacturer’s directions.
- When the processing time is up, turn off the heat under the pressure cooker and do not attempt to open until the pressure gauge is back to zero and the cooker is cool to the touch. Typically, I wait for about five minutes after pressure hits zero to follow the manufacturer’s directions for releasing the attachment ring and opening the pressure canner.
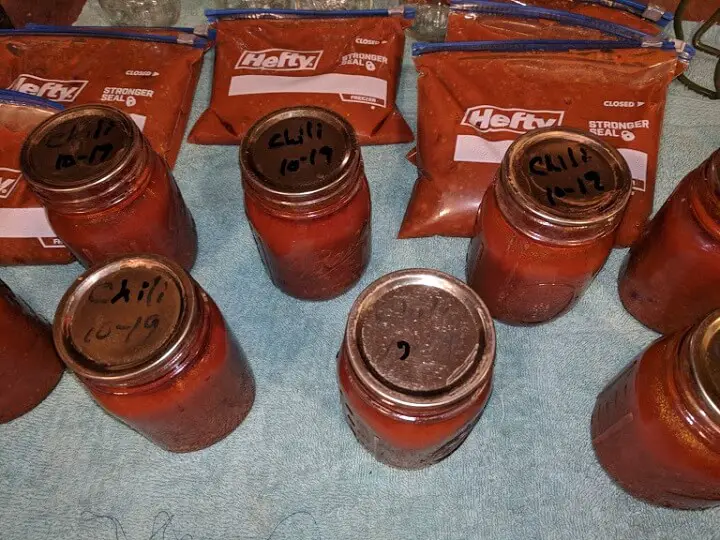
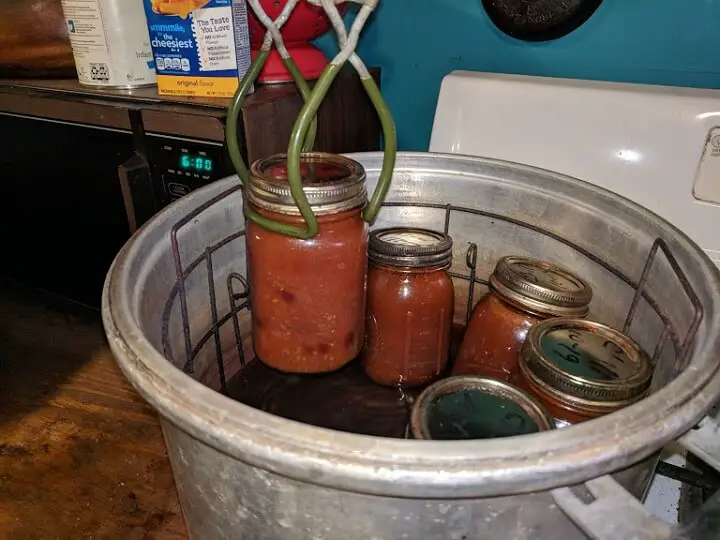
- Remove the still extremely hot jars with the jar lifter and place them on a level space to cool for 24 hours. I always lay a towel on the table or kitchen counter to ensure the hot jars are not being placed in a spot that is even slightly damp – which can (and often will) crack the glass.
Remember to always listen for the Mason jar lids to “ping”, noting that they have sealed before you write the date and content on the lid and put them up for storage.
It is best to allow the jars to settle in place for 24 before relocating them to a storage shelf.
Like this post? Don't Forget to Pin It On Pinterest!
You May Also Like:


well I was a bit grossed out at the location / kitchen the canning was being viewed. did not look clean at all, very unsanitary and the lids of the jars looked really old. overall I appreciated the recipe Thank You.
recap, I’m not a total neat freak but I will clean my surrounding in prep area / Kitchen first. especially in canning you can get so sick and even die if you don’t
have clean working tools, again Thank You.
Okay I got it you are Gringros. But 3 to 4 PINCHES OF CHILI??!???’s. This is not Chili, this is bean stew with seasoning. If the name is Chili it is a primary seasoning not an add on.
After I stop fuming I will go back to read the rest of the article.