Estimated reading time: 13 minutes
We called him Roger, and he lived on our kitchen counter for many months. Every few days, my mom would say, “Oh! I need to feed Roger today!” or ask me to go and give him a big squeeze or burp him. “Roger” was our Amish Friendship Bread Starter.
Amish Friendship Starter used to seem so mysterious to me. How could you let batter sit out on the counter? How was it safe to eat? Was it really alive? I was always afraid I would kill it or ruin it somehow. But “Roger” always turned out just fine, and he tasted delicious!
Want to save this post for later? Click Here to Pin It On Pinterest!
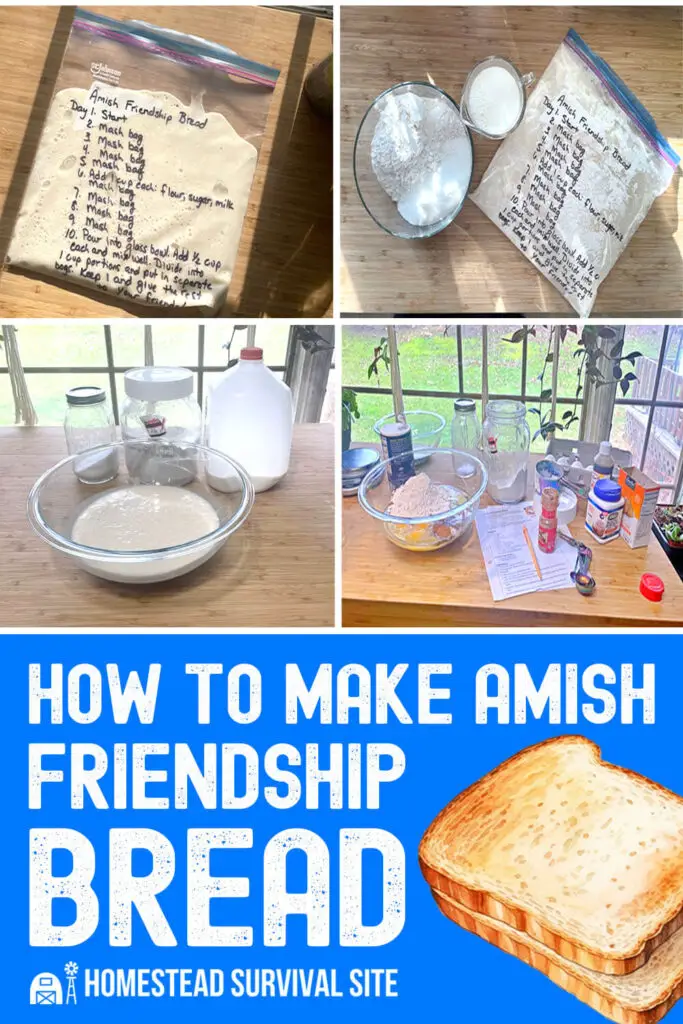
Amish Friendship Bread
Amish Friendship Bread is like a chain letter you share with all your friends. Once you create your starter recipe, you nurture it and occasionally feed it for about ten days. On day ten, you can divide your starter and share it with your best friends, bake with it, freeze it, or even start a whole new batch. When those starters have all been nurtured, they can be split and shared again and again and again.
Amish Friendship Bread is made from a sourdough starter. The starter is a yeast substitute that is essentially a live fermented culture. With the proper care, sourdough starter can last indefinitely.
Our starter, Roger, was a gift from the church ladies. He was so prolific that we practically had an epidemic of friendship starters at our church that year, as the church ladies passed an abundance of squishy little baggies aroundeach and every week.
You can make a sourdough starter from flour and water, but I used this Amish Friendship Bread Starter Recipe using milk, yeast, water, flour, and sugar. Here’s how I made mine and turned it into some delicious sweet bread.
How to Make Amish Friendship Bread Starter
Equipment:
- Glass Bowl
- Wooden Spoon
- Measuring Cups
- Gallon Ziplock Bags
- Sharpie
Ingredients:
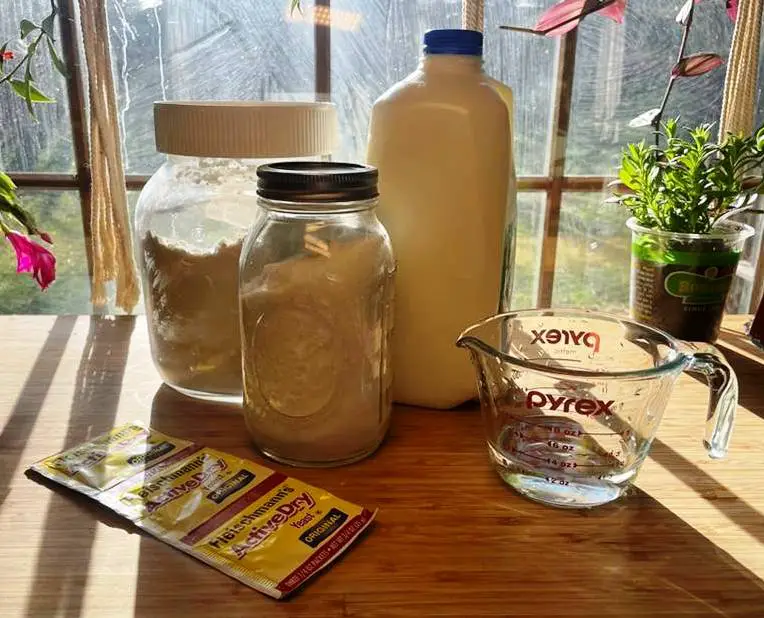
- 1/4 cup warm water
- 1 package active dry yeast* (2 ¼ teaspoons)
- 1 cup all-purpose flour
- 1 cup granulated sugar
- 1 cup milk (2% or higher fat)
Directions:
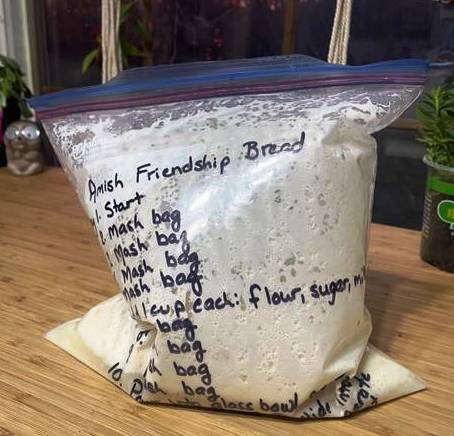
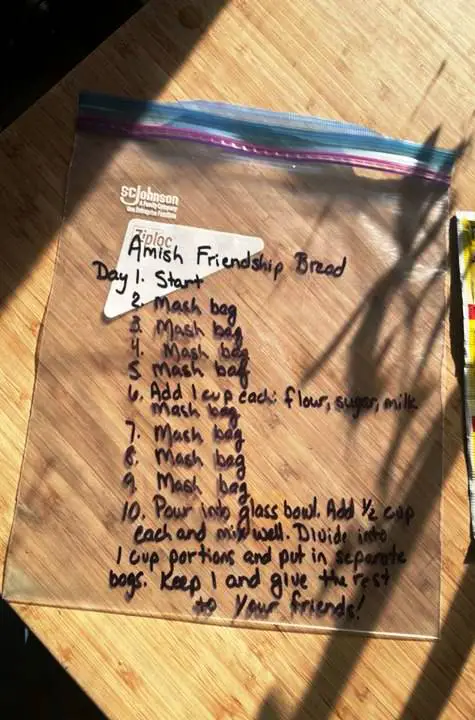
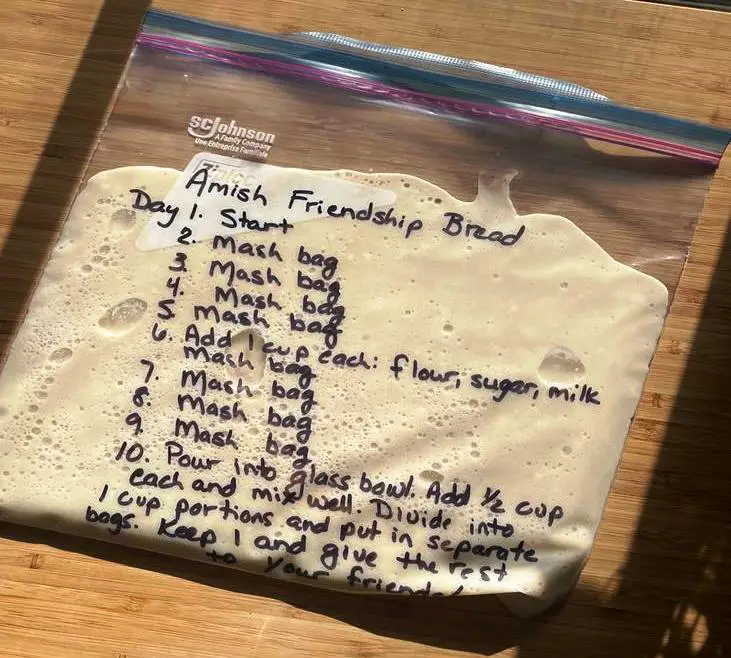
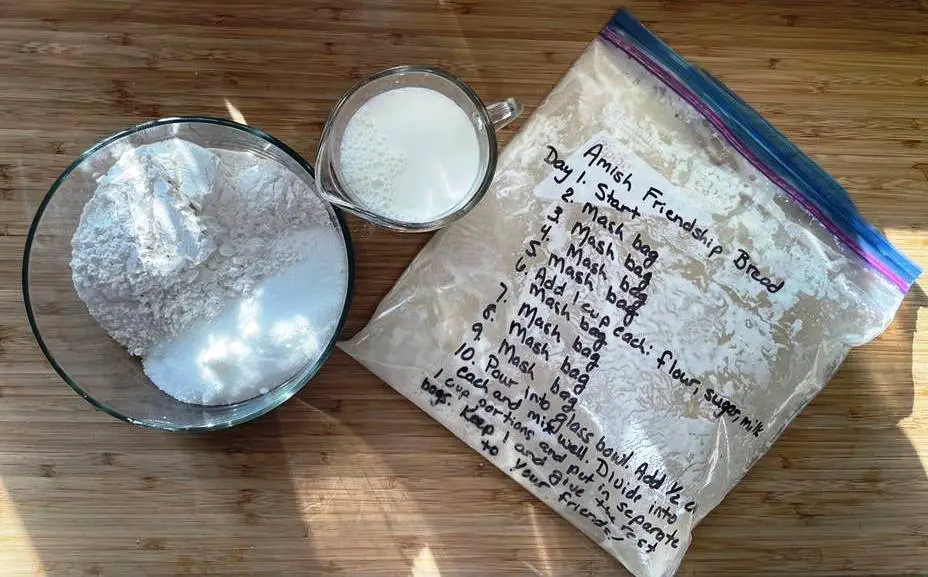
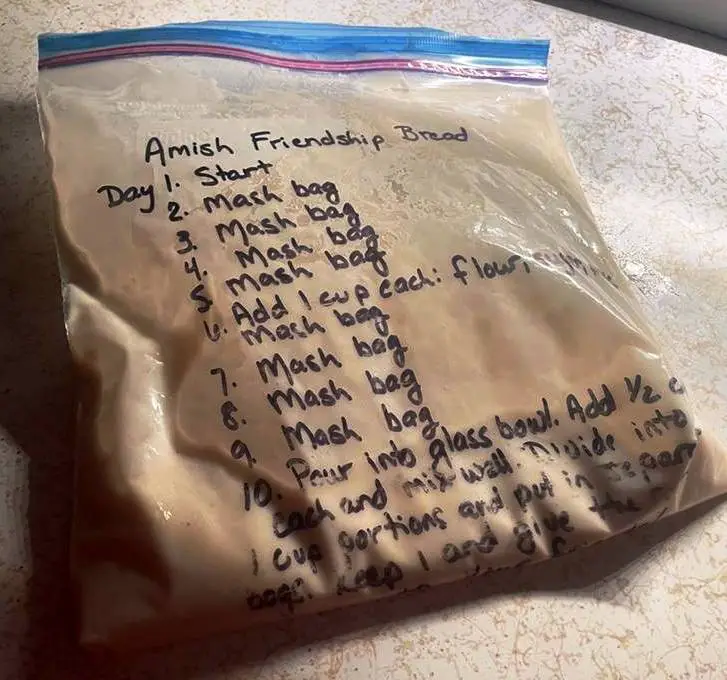
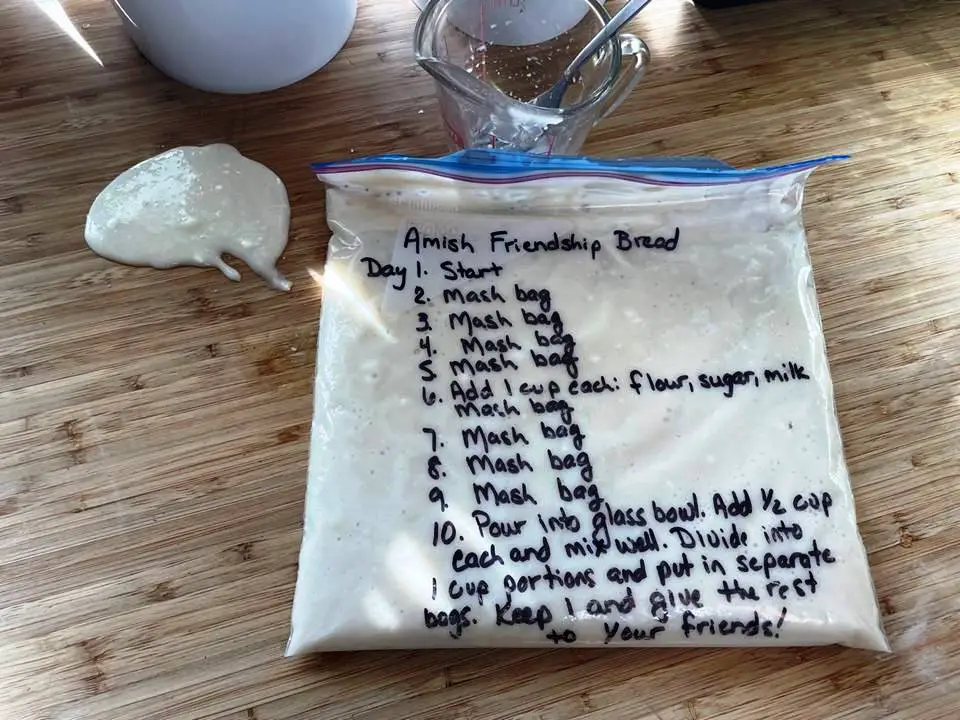
1. First, write your directions on the Ziplock bags with a Sharpie. This makes it easier later on! If you don’t want to use a baggie, you can always make the starter in a glass jar or shallow bowl with a loose cover.
2. Pour warm water into a small glass bowl.
3. Sprinkle the yeast over the water and allow it to proof for 5 to 8 minutes.
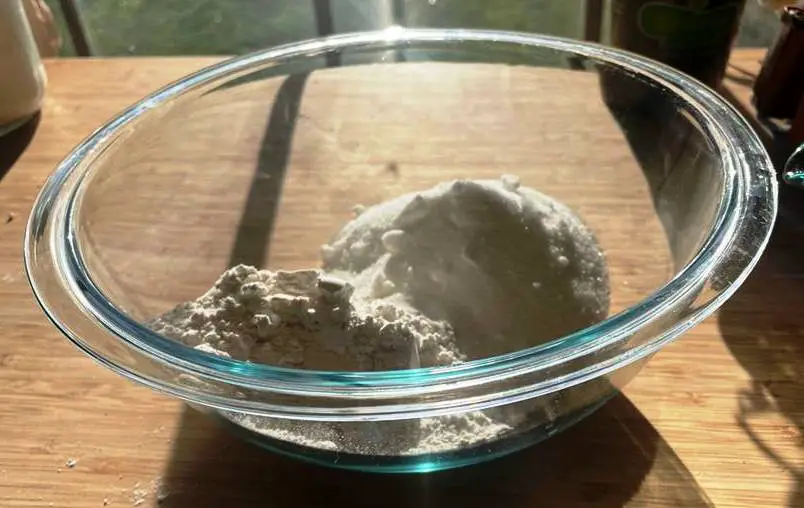
4. In another bowl, mix together your flour and sugar.
5. Pour in the milk and stir well.
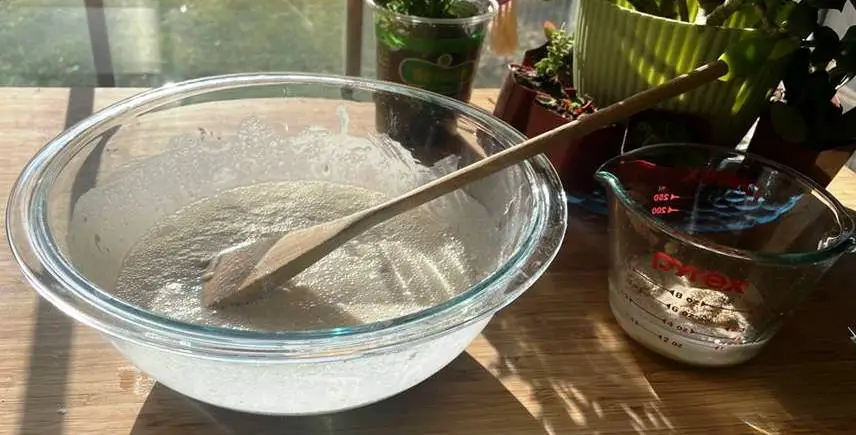
6. Blend in your yeast mixture.
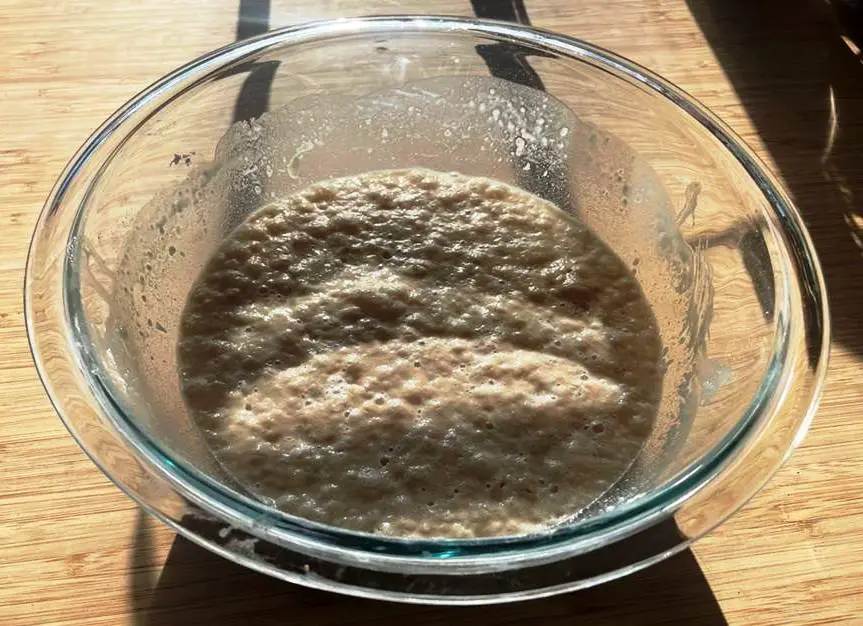
7. Cover loosely and allow the mixture to stand until it gets bubbly.
8. Pour the contents into your prepared baggie and seal it tightly so it doesn’t spill. Keep the sourdough mixture at room temperature but out of direct sunlight. This is day 1.
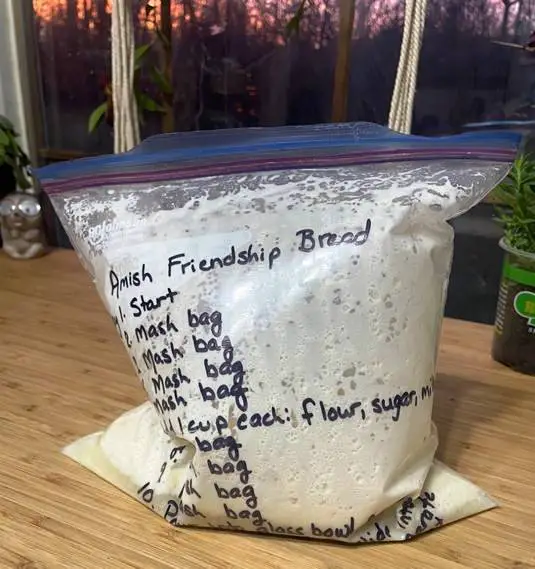
9. Day 2. Squeeze or massage the bag to mix it up. My bag was full of gas as the starter fermented. Just open the bag, let the air out, and seal it up again as often as needed.
10. Day 3. Squeeze the bag to mix it up.
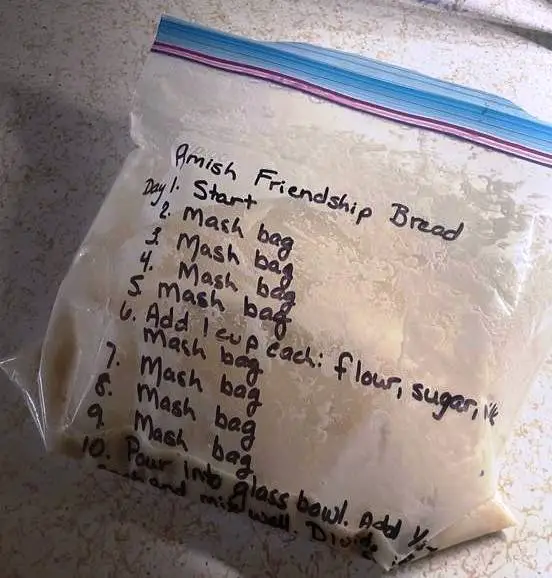
11. Day 4. Squeeze the bag to mix it up. My bag got a little bit wet on the outside and the ink came off on my countertop. Try to keep your bag dry or set it on a paper towel if you are worried about this happening to you.
12. Day 5. Squeeze the bag to mix it up.
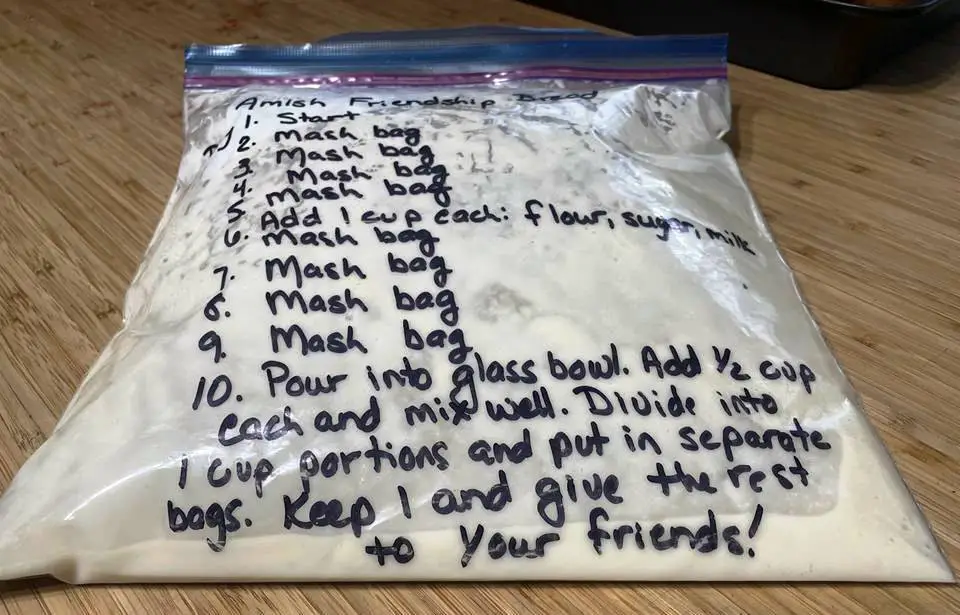
13. Day 6. It’s time to feed your starter so it can keep on growing. In a glass bowl, mix up 1 cup of flour, 1 cup of sugar, and 1 cup of milk. Then pour it into your plastic bag. Squeeze the bag to mix it up.
14. Day 7. Squeeze the bag to mix it up.
15. Day 8. Squeeze the bag to mix it up.
16. Day 9. Squeeze the bag to mix it up.
17. Day 10. It’s time to feed and divide the starter.
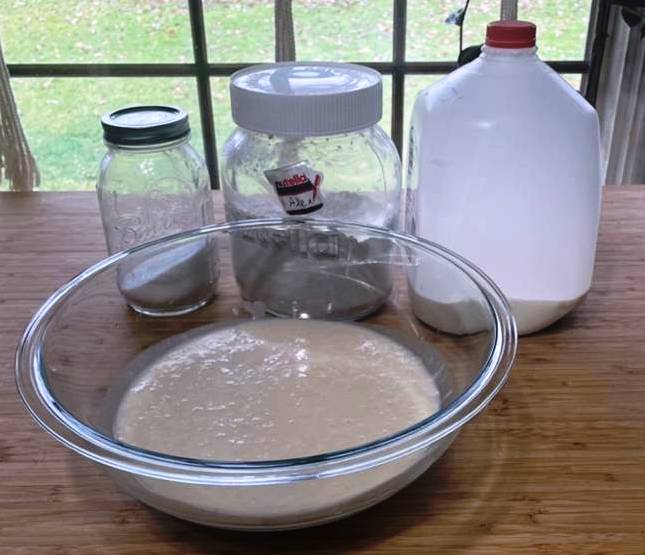
18. Pour your starter into a glass bowl. Add ½ cup flour, ½ cup sugar, and ½ cup of milk. Mix it all well with a wooden spoon. You will get 4 to 6 servings of starter from this bag.
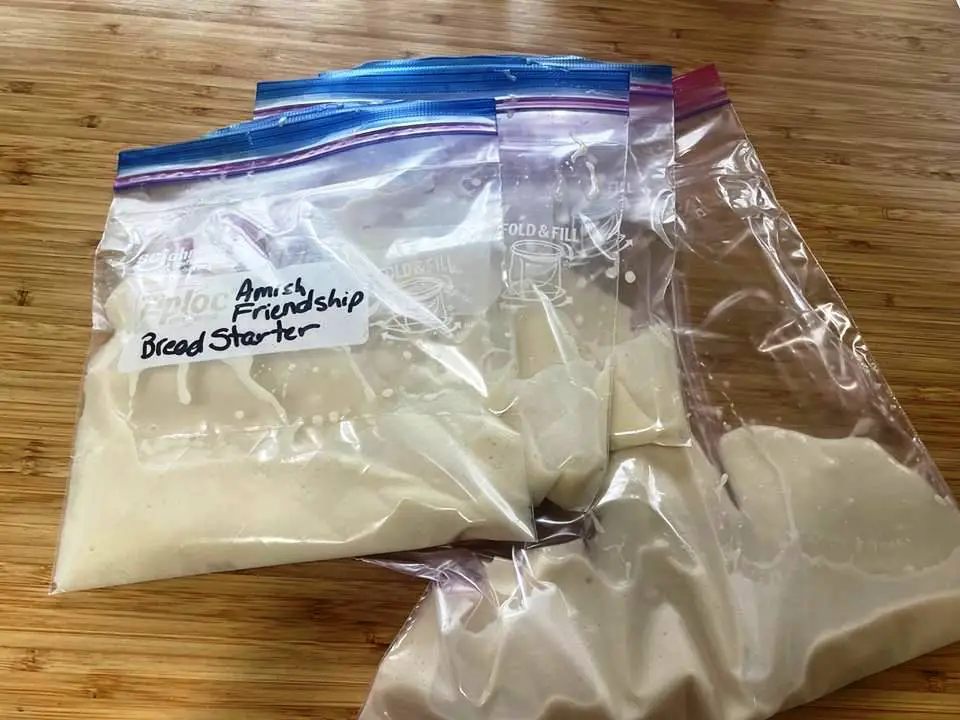
19. Write the directions on new bags and place 1 cup of starter mixture in each one. This becomes day 1. Seal well and pass them along to friends! Make sure to keep one bag for yourself to grow a new starter.
20. You can begin baking with your starter if you don’t want to give away the bags. You can also freeze any unused bags. You should be able to thaw the bags, allow them to return to room temperature, and begin feeding again if desired.
Tips on Nurturing Your Friendship Bread Starter
- Don’t use metal utensils or bowls.
- You may want to write the date of Day 1 on the front of the bag so you don’t forget what day it is.
- Be careful to keep the outside of the bag dry so the writing doesn’t come off on your countertop.
- If gas fills your bag, you can just ‘burp’ it and let it out. Make sure you keep the bag sealed tightly so it doesn’t spill.
- Remember to keep your growing starter at room temperature.
- Your starter should be bubbly and ‘active’ – if it isn’t, you might try giving it an extra feeding to give it a jump start. If you are storing your starter close to a window, sunlight or cold air can make it unpredictable. Generally, a nice warm counter is the best place to keep it safe. Starters are hard to kill and most of the time they can be resurrected if they aren’t bubbly enough.
- Your starter will have a fermented smell, but it shouldn’t smell rancid or look an off-color. If that happens, you’ll want to dump it and start again.
How to Make Amish Friendship Sweet Bread from Starter:
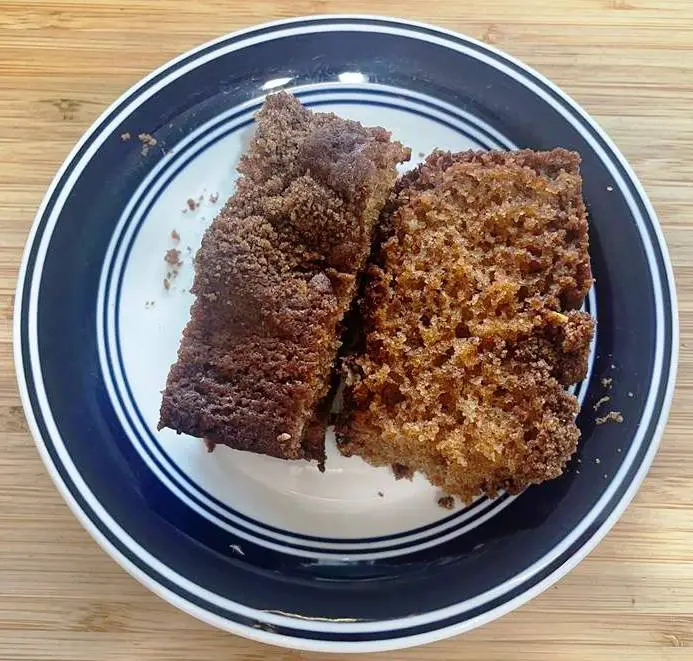
This is a cake-like bread that you can also bake in muffin tins if you prefer. It makes a hearty breakfast, side dish, or dessert with a sweet taste and the texture of a muffin or cornbread.
Ingredients:
- 1 cup oil
- 3 large eggs
- ½ cup milk
- ½ teaspoon vanilla
- 1/2 cup granulated sugar
- ½ cup brown sugar
- 2 cups flour
- ½ teaspoon salt
- ½ teaspoon baking soda
- 1 ½ teaspoon baking powder
- 2 teaspoons cinnamon
- 1 cup Amish Friendship Bread Starter
CINNAMON SUGAR MIXTURE:
- 1/2 cup brown sugar
- 1 1/2 teaspoons cinnamon
Instructions:
1. Preheat your oven to 325 degrees.
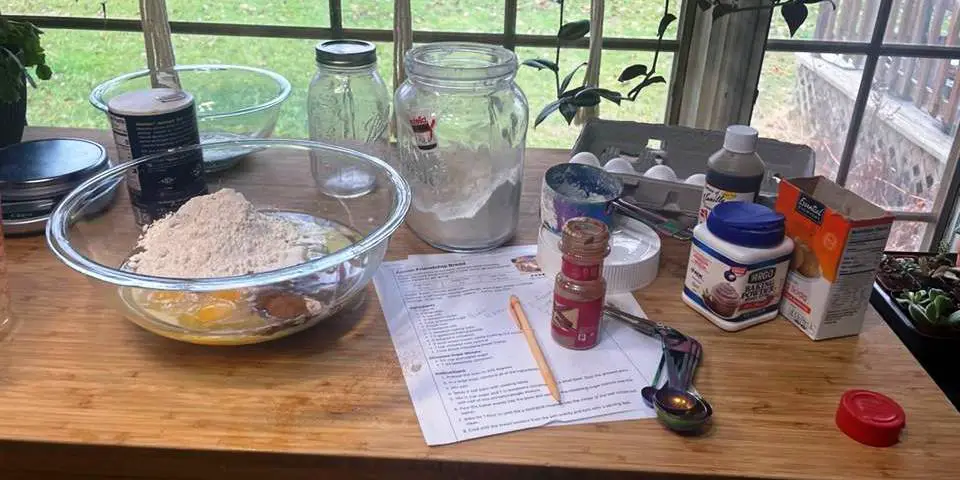
2. In a large bowl, combine all of the ingredients, including your starter.
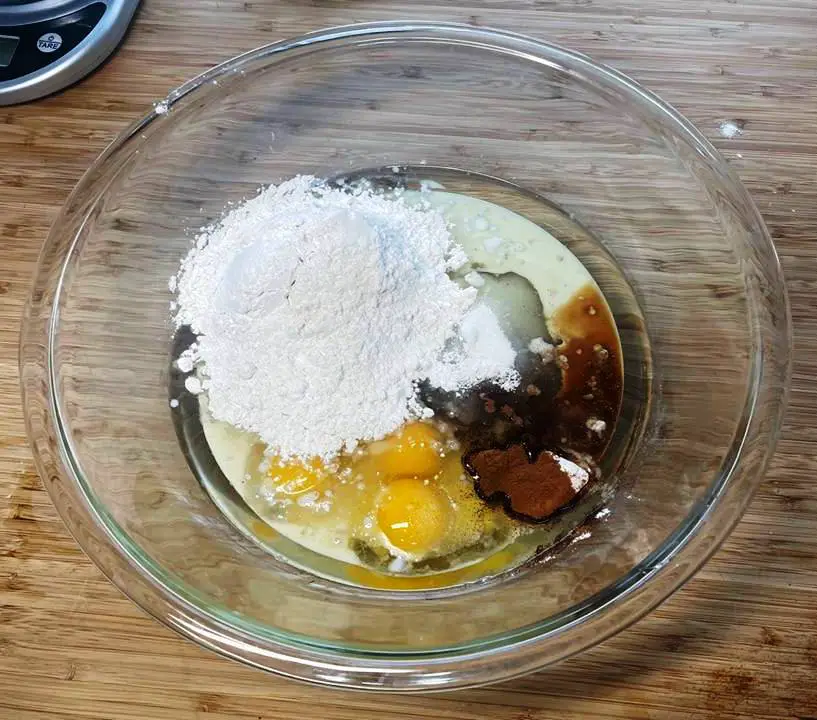
3. Mix well with a wooden spoon. The batter will be thick like pancake batter.
4. Spray 2 loaf pans, a cake pan, or muffin tins with cooking spray. I used a glass Pyrex baking dish for my sweet bread.
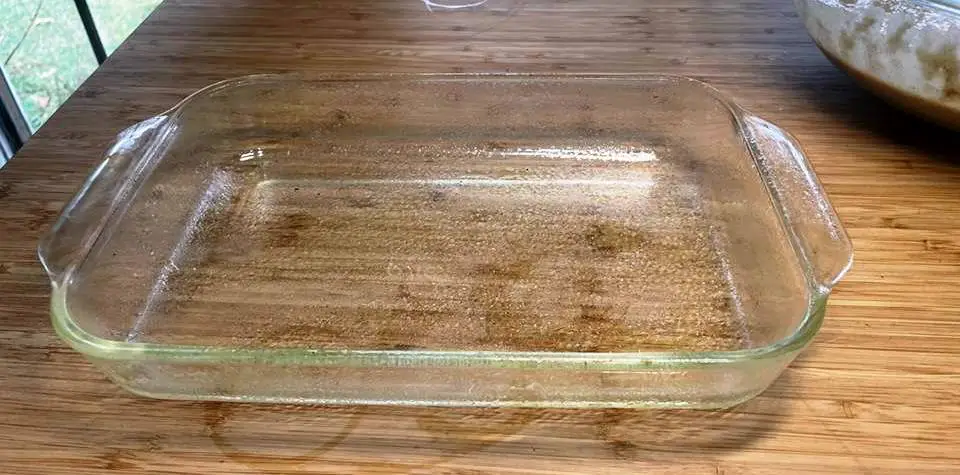
5. Dust your pans with half of the cinnamon and sugar mixture.
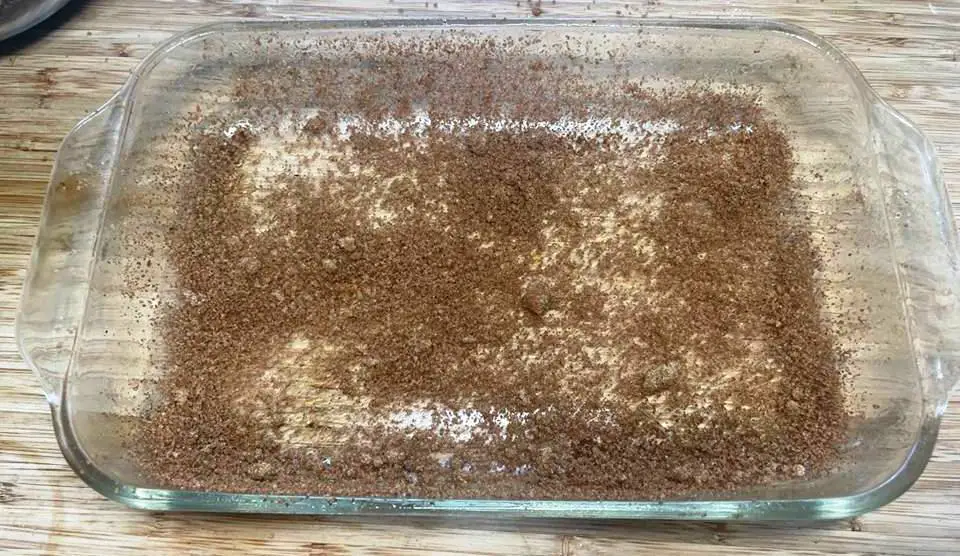
6. Pour the batter evenly into the pans.
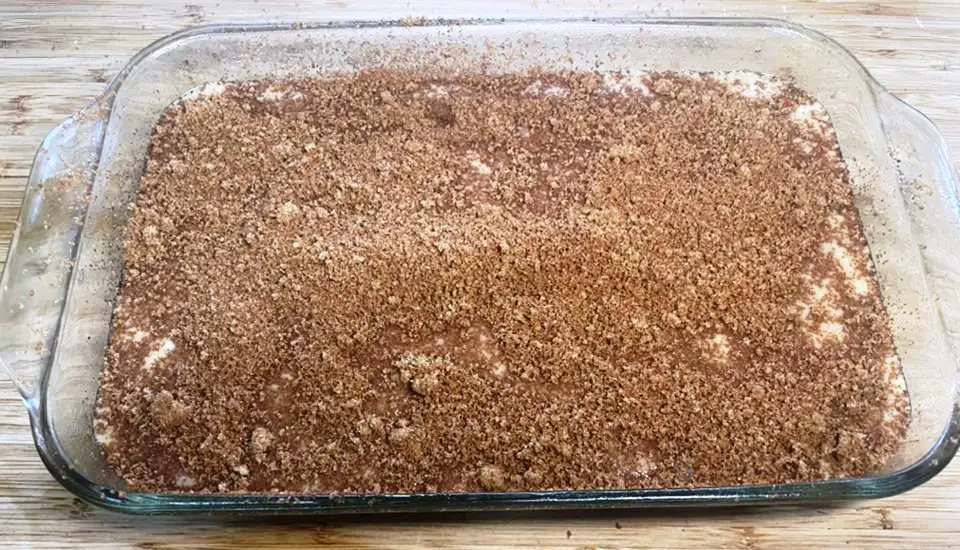
7. Sprinkle the rest of the cinnamon and sugar mix over the top.
8. Bake for 1 hour or until a toothpick comes out clean.
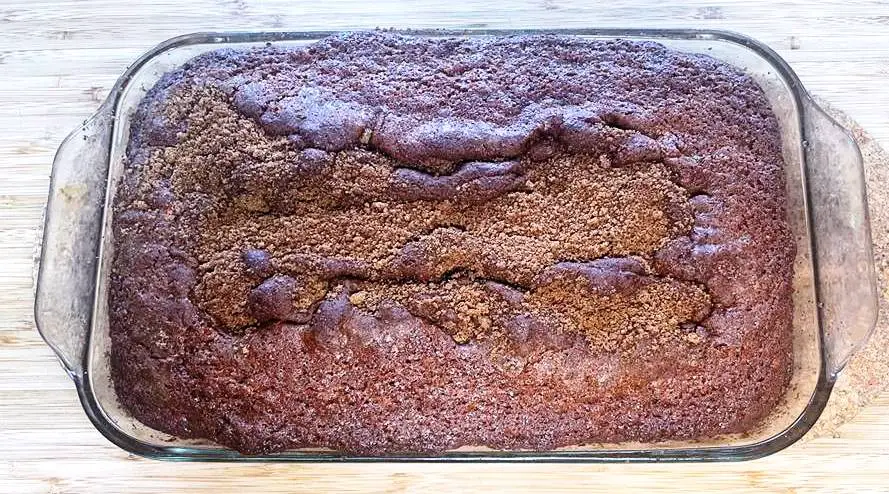
9. Cool and serve.
White Amish Friendship Bread
If you’re looking for a simple sandwich bread, this recipe is as easy as it is delicious. You will need to plan ahead a bit, as it does take some time and patience.
Ingredients:
- ½ Cup Amish Friendship Bread Starter
- ¼ Cup Vegetable Oil
- ½ Teaspoon Salt
- ¾ Cup Warm Water
- 3 cups all-purpose flour
Directions:
1. Whisk together oil, salt, water, and starter.
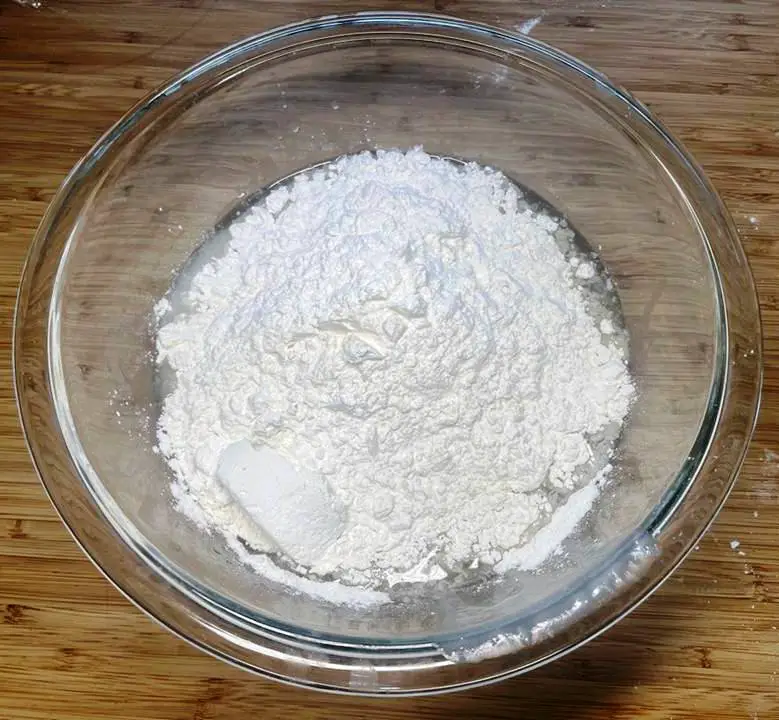
2. Slowly add the flour a little bit at a time. Keep mixing until a stiff dough forms.
3. Let the dough rest for about 30 minutes.
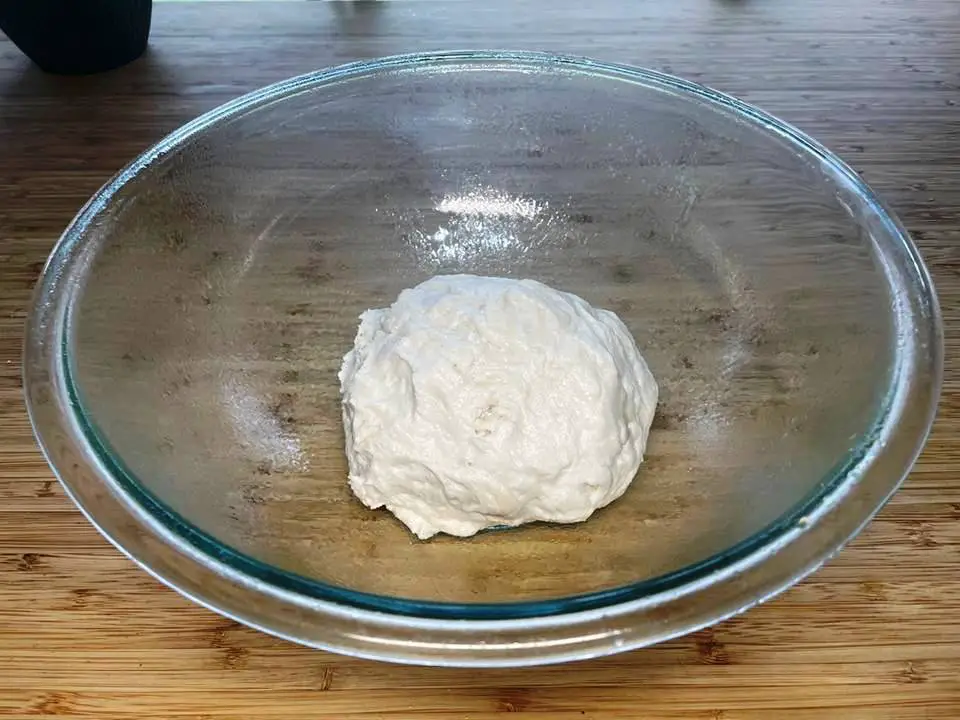
4. Spray a large glass bowl with cooking spray. Shape the dough into a ball, place it in the bowl, and then cover with plastic wrap.
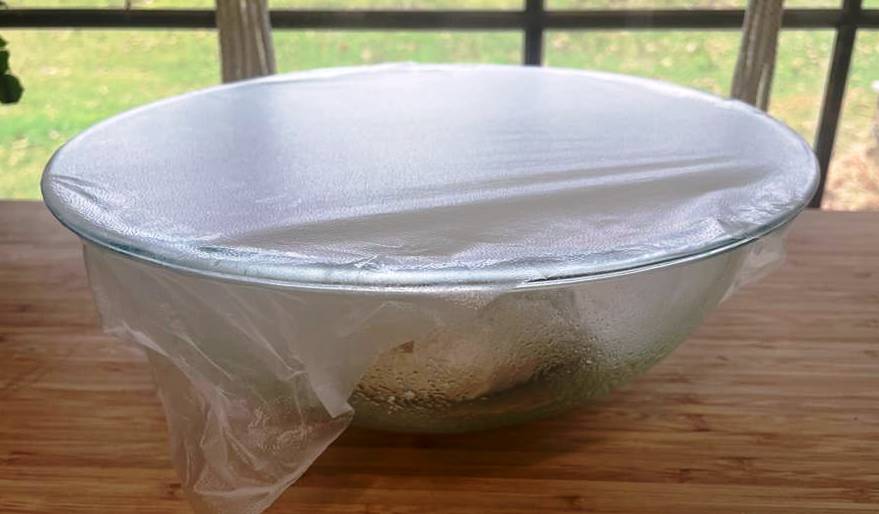
5. Let the dough sit at room temperature overnight or about 24 hours.
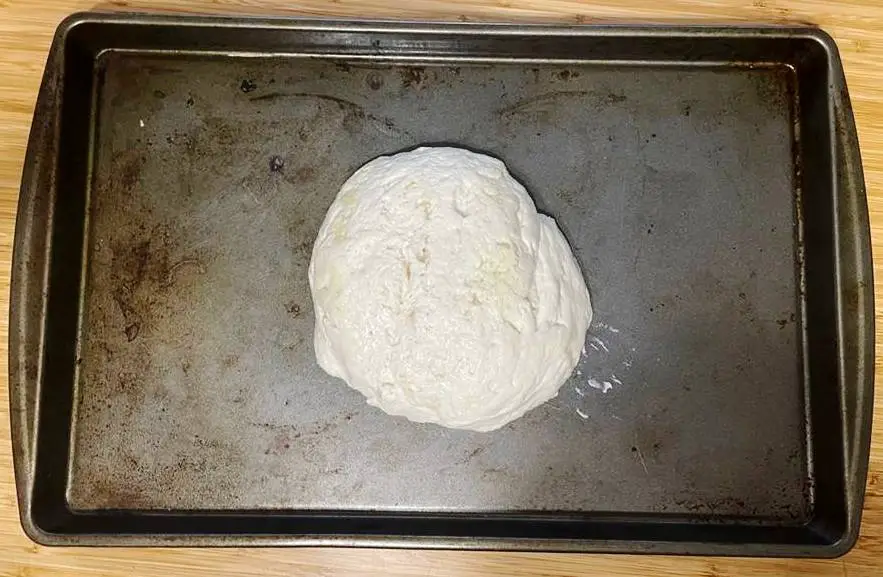
6. When the dough has risen slightly, knead it about 10 times.
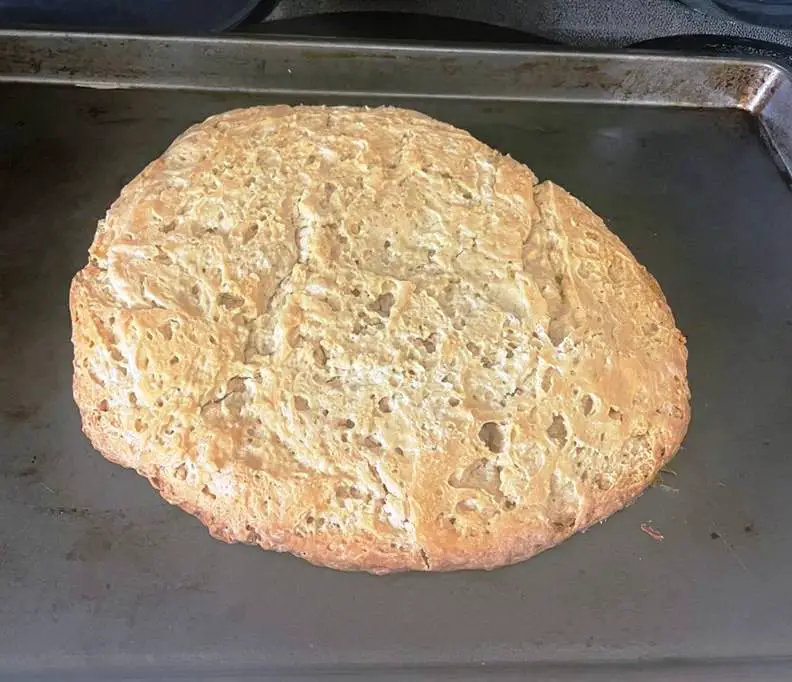
7. Grease your 9 x 5 loaf pan. Shape the dough into a loaf and place it in the pan. I used a baking sheet because I wanted a nice, round loaf.
8. Cover loosely and allow to rest overnight. The dough should rise and fill up your pan.
9. Preheat your over to 325 degrees Fahrenheit and bake for 35 to 40 minutes.
10. When the bread is slightly cooled, you can use a knife to loosen it from the pan and finish cooling on a wire rack.
Like this post? Don't Forget to Pin It On Pinterest!
Amish Friendship Bread
Equipment
- 1 Glass Bowl
- 1 Wooden spoon
- Measuring cups
- 1 Sharpie
Ingredients
- 1/4 cup warm water
- 1 package (2 1/4 teaspoons) Active dry yeast
- 1 cup all-purpose flour
- 1 cup granulated sugar
- 1 cup whole milk
Instructions
Amish Friendship Bread Starter
- First, write your directions on the Ziploc bags with a Sharpie.This makes it easier later on! If you don’t want to use a baggie, you can always make the starter in a glass jar or shallow bowl with a loose cover.
- Pour warm water into a small glass bowl.
- Sprinkle the yeast over the water and allow it to proof for 5 to 8 minutes.
- In another bowl, mix together your flour and sugar.
- Pour in the milk and stir well.
- Blend in your yeast mixture.
- Cover loosely and allow the mixture to stand until it gets bubbly.
- Pour the contents into your prepared baggie and seal it tightly so it doesn’t spill. Keep the sourdough mixture at room temperature but out of direct sunlight. This is day 1.
- Day 2. Squeeze or massage the bag to mix it up. My bag was full of gas as the starter fermented. Just open the bag, let the air out, and seal it up again as often as needed.
- Day 3. Squeeze the bag to mix it up.
- Day 4. Squeeze the bag to mix it up. My bag got a little bit wet on the outside and the ink came off on my countertop. Try to keep your bag dry or set it on a paper towel if you are worried about this happening to you.
- Day 5. Squeeze the bag to mix it up.
- Day 6. It’s time to feed your starter so it can keep on growing.In a glass bowl, mix up 1 cup of flour, 1 cup of sugar, and 1 cup of milk. Then pour it into your plastic bag. Squeeze the bag to mix it up.
- Day 7. Squeeze the bag to mix it up.
- Day 8. Squeeze the bag to mix it up.
- Day 9. Squeeze the bag to mix it up.
- Day 10. It’s time to feed and divide the starter.
- Pour your starter into a glass bowl. Add ½ cup flour, ½ cup sugar, and ½ cup of milk. Mix it all well with a wooden spoon. You will get 4 to 6 servings of starter from this bag.
- Write the directions on new bags and place 1 cup of starter mixture in each one. This becomes day 1. Seal well and pass them along to friends! Make sure to keep one bag for yourself to grow a new starter.
- You can begin baking with your starter if you don’t want to give away the bags. You can also freeze any unused bags. You should be able to thaw the bags, allow them to return to room temperature, and begin feeding again if desired.
Tips on NurturingYour Friendship Bread Starter
- Don’t use metal utensils or bowls.
- You may want to write the date of Day 1 on the front of the bag so you don’t forget what day it is.
- Be careful to keep the outside of the bag dry so the writing doesn’t come off on your countertop.
- If gas fills your bag, you can just ‘burp’ it and let it out. Make sure you keep the bag sealed tightly so it doesn’t spill.
- Remember to keep your growing starter at room temperature.
- Your starter should be bubbly and ‘active’ – if it isn’t, you might try giving it an extra feeding to give it a jump start. If you are storing your starter close to a window, sunlight or cold air can make it unpredictable. Generally, a nice warm counter is the best place to keep it safe. Starters are hard to kill and most of the time they can be resurrected if they aren’t bubbly enough.
- Your starter will have a fermented smell, but it shouldn’t smell rancid or look an off-color. If that happens, you’ll want to dump it and start again.
You May Also Like: