Estimated reading time: 9 minutes
I love planning, prepping, and planting my spring garden. It feels so good to finally get out there in the dirt and get planting. But what I don’t love is fumbling around with tiny little seeds. I always seem to plant too many in one spot, lose track of where I planted them, and end up spilling a bunch in the wrong area of the garden. I was so excited when I discovered that seed tape will solve all of these tiny little problems.
Seed tape is a strip of biodegradable paper or tape that has seeds affixed to it. The seeds are spaced appropriately for the type and size of seed, so that all you need to do is plant the tape in your garden. As the seeds germinate, the paper biodegrades, and the plants grow in perfectly spaced intervals, so you won’t need to thin them.
Seed tape is a great product to save work in the garden, and it also saves on wasted seeds. However, seed tape can be rather pricey. You can easily make your own tape at a fraction of the cost.
Want to save this post for later? Click Here to Pin It On Pinterest!
What are the advantages of using seed tape?
Seed tape makes it easy to handle very tiny seeds. You won’t have to worry about losing them, planting too many, or having them get washed out when you water them. You’ll save on wasted seeds by using seed tape instead of just sprinkling your seeds in the soil.
The seed tape will space your plants correctly, so you won’t need to thin them as they grow. It also makes storing and planting much simpler.
What kinds of seeds can you use when you make seed tape?
Technically, you could use just about any seeds to make your own seed tape. But to be honest, it works best with tiny seeds that can be planted closer together. Commercially, you are most likely to find seed tape that is embedded with carrot seeds, lettuce seeds, other greens, or even some herbs.
Larger seeds that are easier to handle are generally too heavy to be used with seed tape, but you certainly could experiment with different types of seeds if you like a challenge! I decided to stick to the tiny seeds for my own seed tape project.
Seed tape is a fun and easy project you can do with your family when its too cold to plant your seeds. Here’s how.
Want to start a homestead but not sure how?
Click Here to get a FREE book, "How To Homestead No Matter Where You Live."
How To Make Your Own Seed Tape
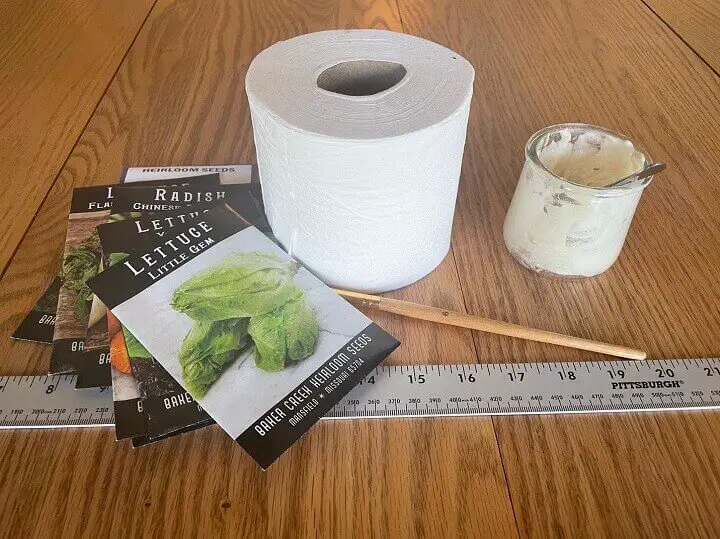
You’ll need a few items to get started:
- Equal parts flour and water. This serves as your glue to hold the seeds on to your tape.
- Toilet paper. Toilet paper is your ‘tape’ – this is what you will attach your seeds to.
- Seeds. Tiny seeds work best, such as carrot, lettuce, greens, and herb seeds.
- Paintbrush or Cotton Swab. You’ll use this to place your ‘glue’ onto the tape. You can also use it to place your seeds into the glue, as well.
- Ruler. You’ll need a ruler or measuring tape to mark where you are going to place your seeds. Your seed packet will tell you how far apart to place your seeds.
- Marker. You’ll want to clearly label your seed tape so you know what you are planting.
Now that you have your supplies, let’s get started!
DIY Seed Tape
1. Gather your supplies.
Gather all your materials and find a place to work. You’ll need enough room to stretch out your length of seed tape and allow it to dry.
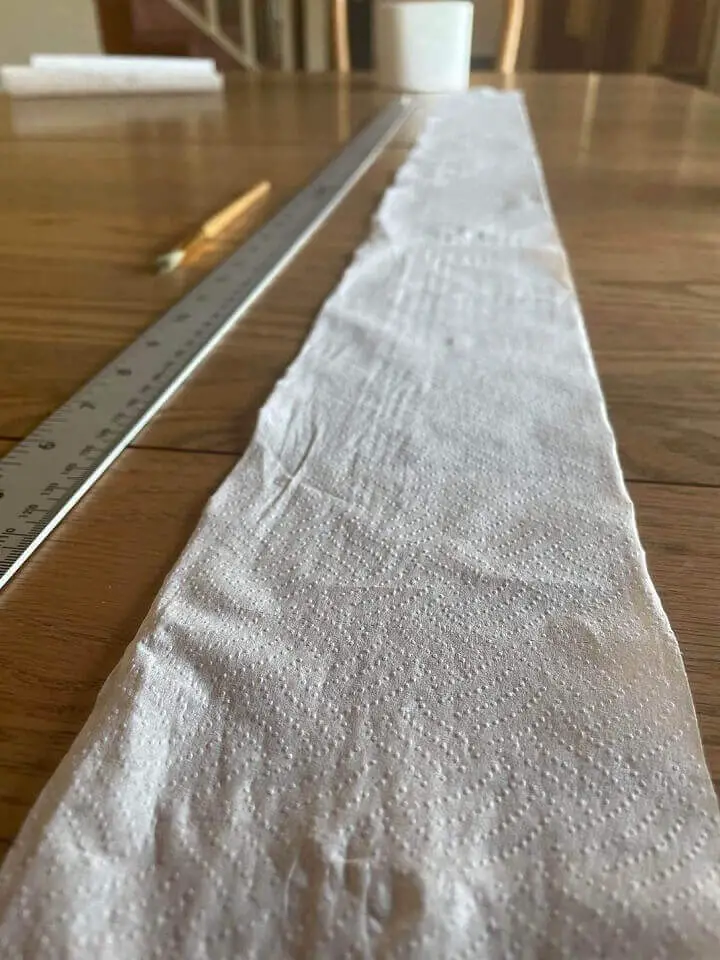
2. Decide how long you want your seed tape to be.
Typically, gardeners choose to make their tapes the length of their garden bed or row. But choose the size that works best for you. I used the length of my yardstick.
3. Unroll your toilet paper to the length that you desire.
Carefully fold the toilet paper down the middle, lengthwise, and make a crease, then unfold it. This will make folding the seed tape over easier when you’re all done.
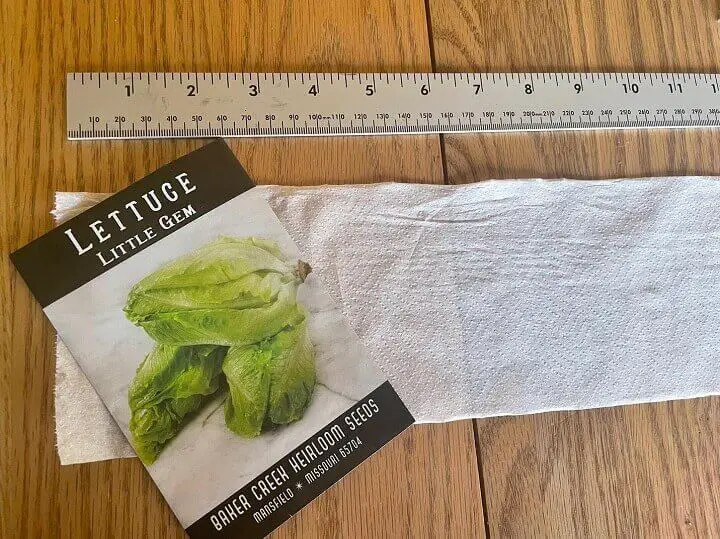
4. Decide how far apart your seeds need to be.
You should be able to find this information on the back of your seed packet. Little Gem Lettuce needs to be planted 6 inches apart.
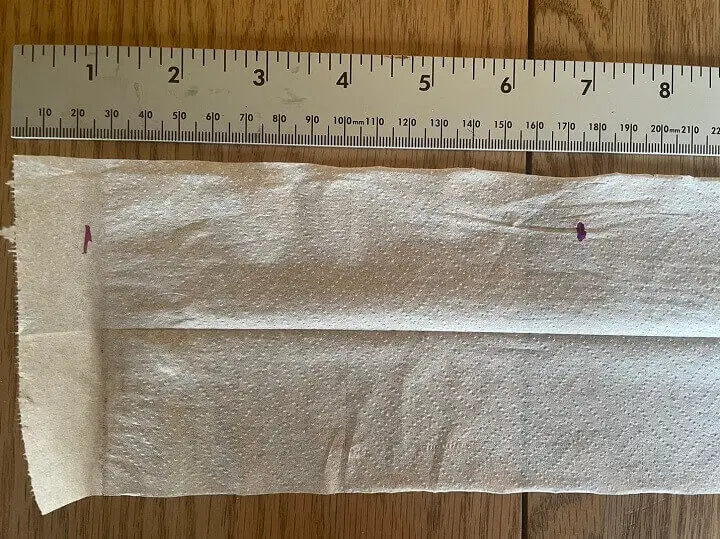
5. Use your marker and mark where you will put your seeds.
You’ll want to line them up on one half of the toilet paper.
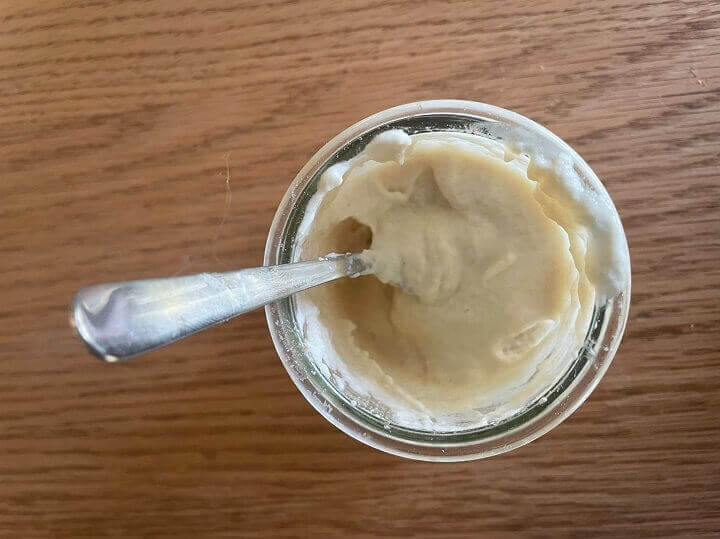
6. Mix your flour and water together to make a glue.
You won’t need very much glue for this project, so just make a little bit using equal parts flour and water. It should be like a wet paste. I used 3 tablespoons of each and had way more glue than I actually needed.
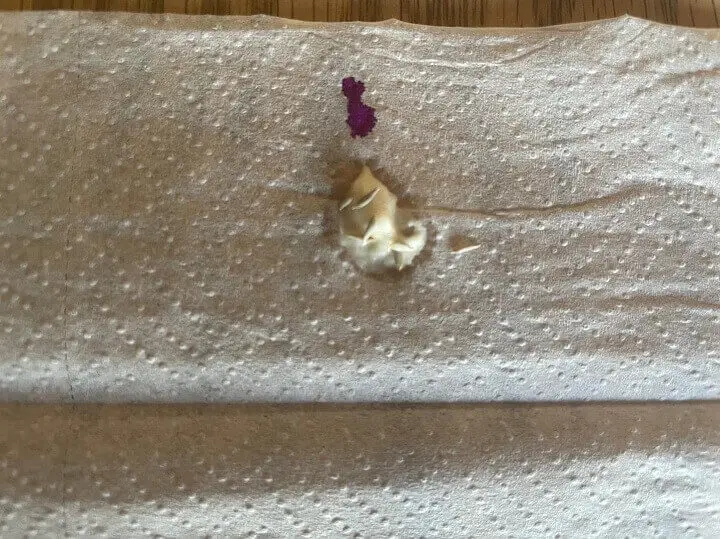
7. Put a small dollop of glue by each marking right where your seeds will go.
You only need just enough to make the seeds adhere to the paper.
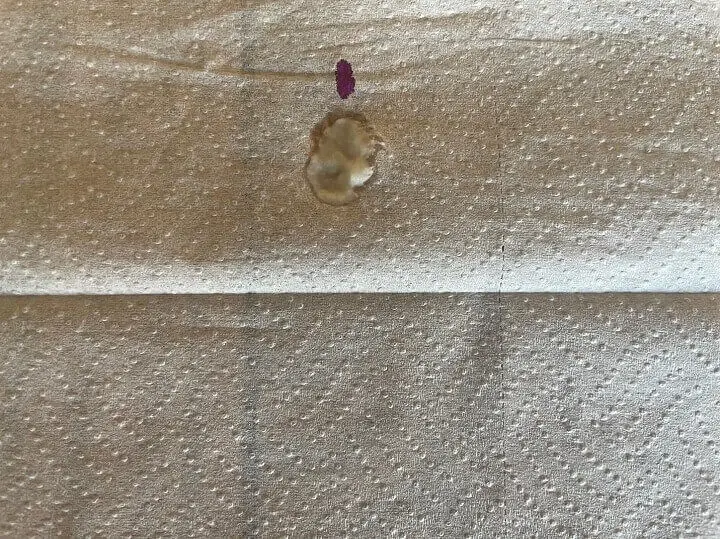
8. Put the desired number of seeds on each dollop.
You might want to transfer them with a cotton swab or paint brush if they are very tiny. I chose to use 3 seeds per dollop in case one or two didn’t germinate.
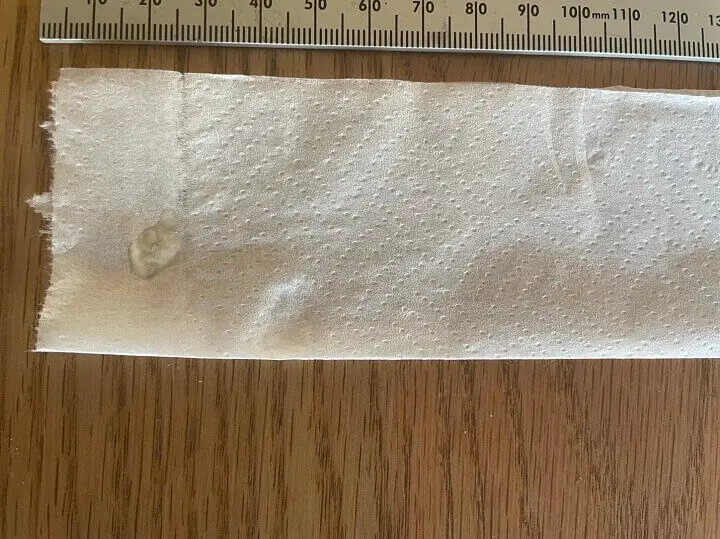
9. Carefully fold over the seed tape at the crease.
The flour mixture will help hold the seed tape closed.
10. Allow your tape to dry for a while.
Once it is dry enough, you can mark it and roll or fold it up.
Want to start a homestead but not sure how?
Click Here to get a FREE book, "How To Homestead No Matter Where You Live."
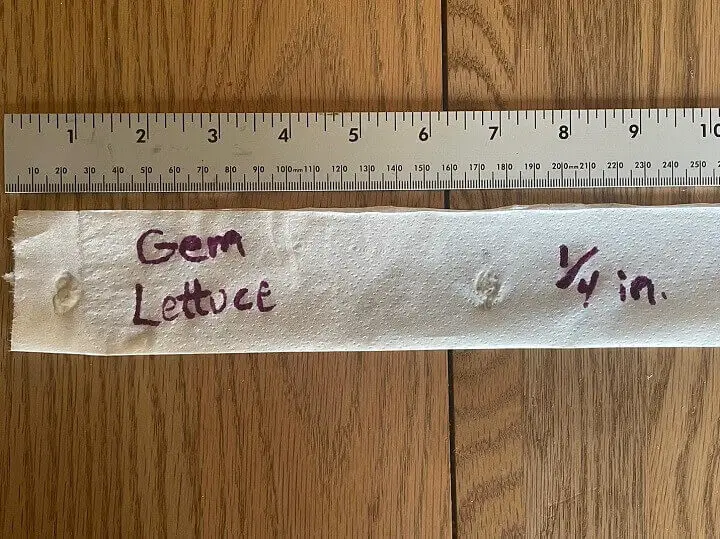
11. Mark your seed tape.
Its critical to mark your seed tape! Not only do you need to know what type of seeds these are, you may also want to include directions on how deep to plant them and how much to water them. You’ll also want to know what date you can safely plant your seed tape outdoors.
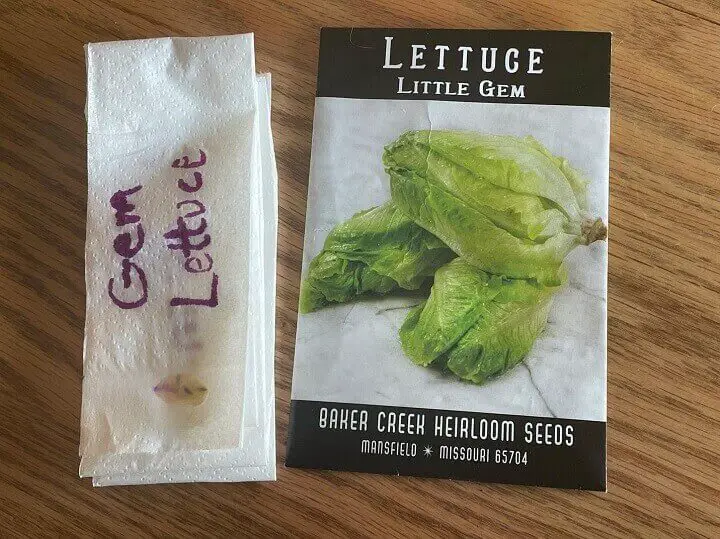
Store your seed tape in a cool, dry location until it is time to plant it outdoors. You may even be able to slide your seed tape back inside the seed package so you don’t lose the directions.
When it is time to plant, you can lay out your seed tape in the garden where you want your plants to grow. Cover it over with soil to create a small mound – use the guide from the seed packet to know how deep the soil should be. Make sure you cover over all of the seed tape so it looks nice!
Your seeds should sprout evenly. Because you already spaced them according to the package directions, you shouldn’t need to do any thinning.
Seed Mats
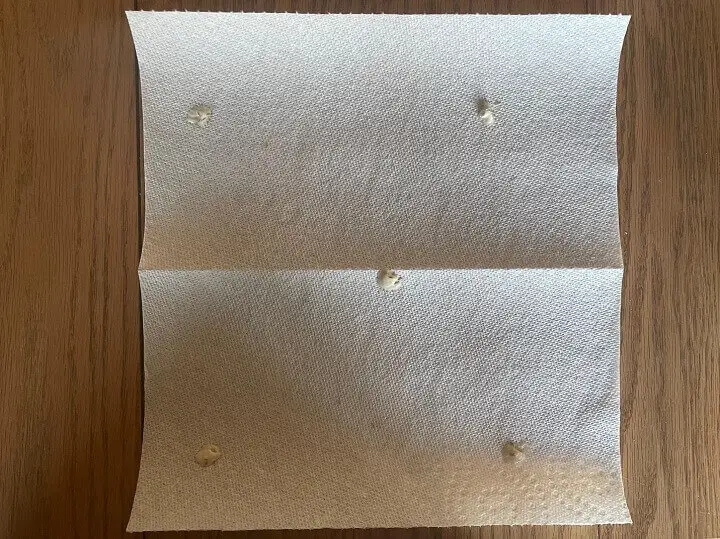
If prefer square foot gardening, you can still create your own project. Instead of using toilet paper to make a tape, you can use paper towels or organic paper to create a biodegradable seed mat. Just follow the same basic directions.
Use dollops of flour and water ‘glue’ to hold seeds onto your mat. Just be sure to space the seeds properly so you can plant the entire mat in your square foot garden.
Like this post? Don’t Forget to Pin It On Pinterest!


Leave a Reply