Estimated reading time: 4 minutes
There are tons of fancy chicken nesting box designs out there, but let’s face it: sometimes, simpler is better. If you're short on time or tools, this tote-based nesting box idea is a game-changer. It’s quick, inexpensive, and your hens will love it.
This tutorial comes from the YouTube channel Becky's Homestead. In this video, you'll learn how to build a chicken nesting box using just a plastic tote and a few basic supplies. It’s ideal for beginner chicken keepers or anyone who wants to scale up quickly without spending a lot of money.
Want to save this post for later? Click Here to Pin It On Pinterest!
What You’ll Need:
- 3 18-gallon totes
- 1 sheet of paper
- 1 Sharpie marker
- 1 utility knife
- 1 screwdriver
- 12 1-inch screws
- 12 washers (3/16″ × 3/4″)
- 1 2 x 8 x 8 board
- Hay or straw for bedding
How to Make a Single Nesting Box:
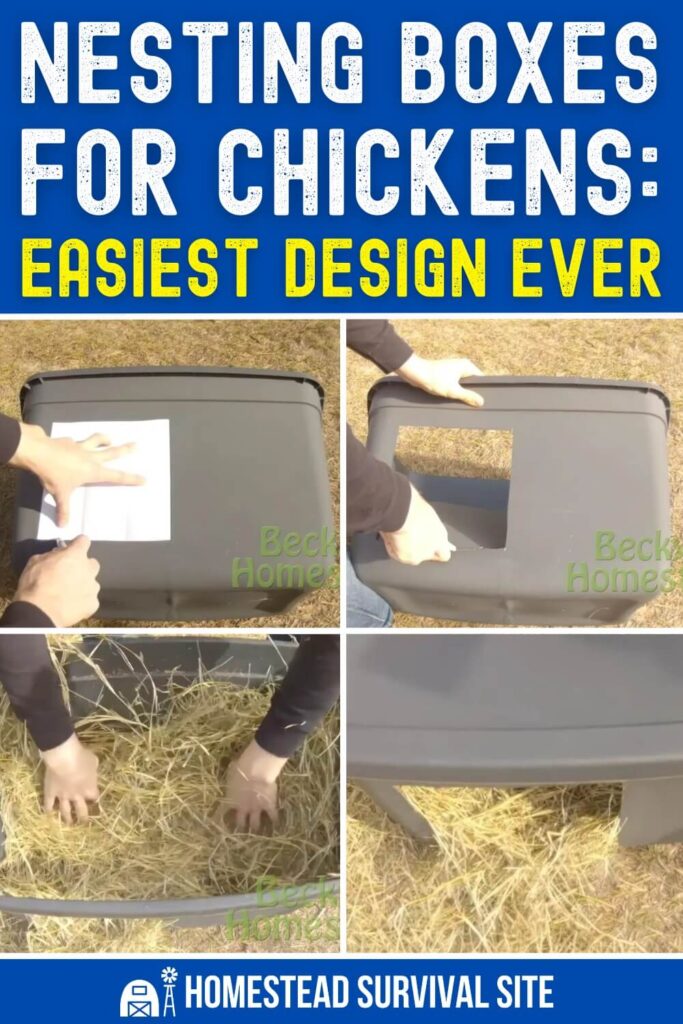
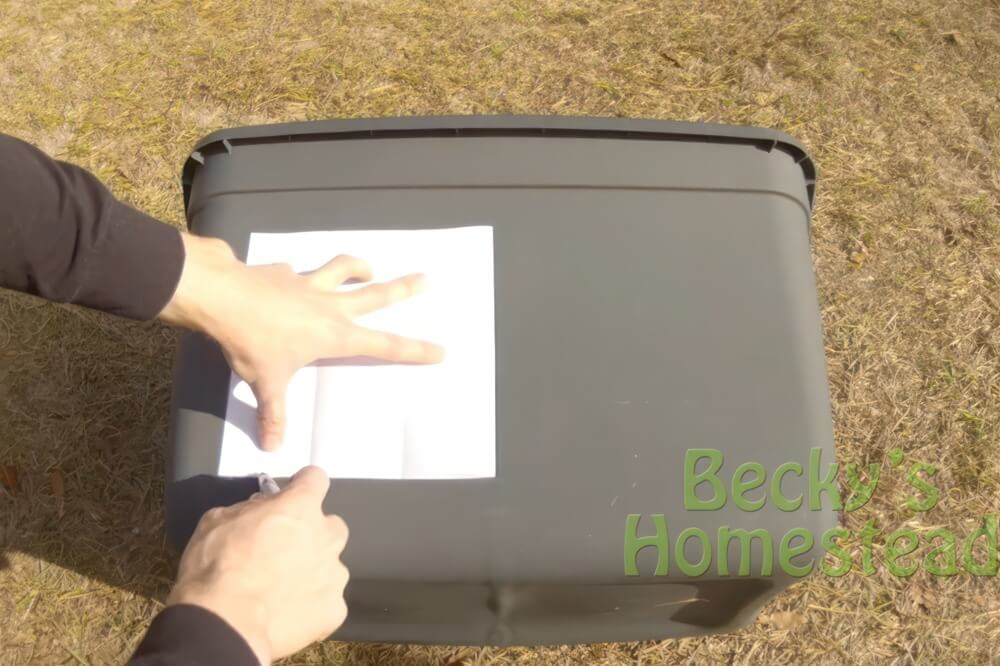
1. Create the Door Template: Fold a sheet of paper in half, then in half again. Unfold one quarter of the paper—this piece becomes your chicken-sized doorway.

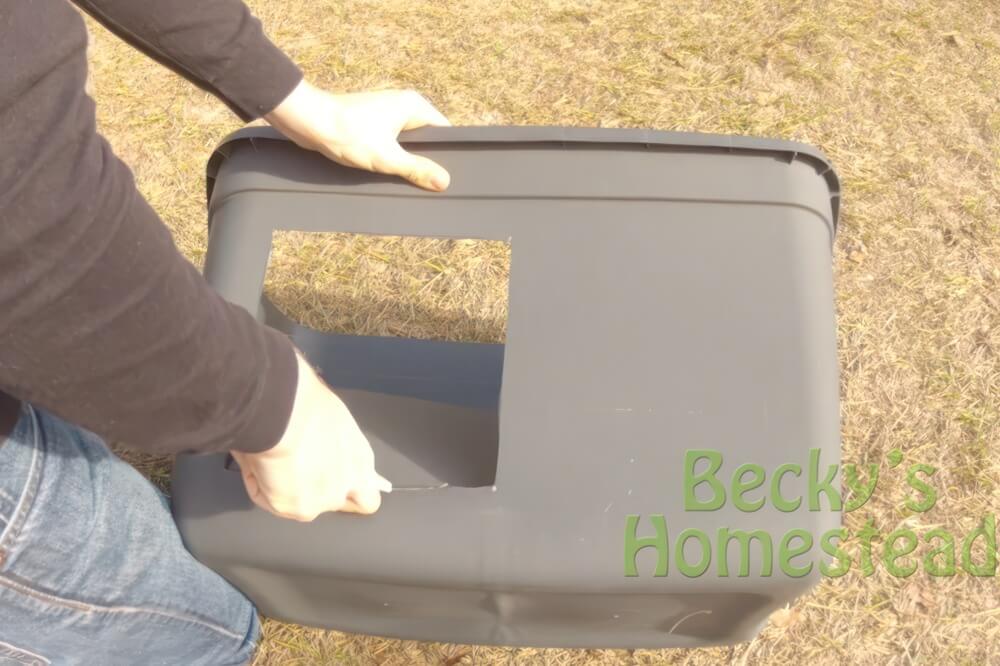
2. Mark the Tote: Place the paper near the bottom side of the tote, above the molded bottom line. Use the Sharpie to trace the doorway.
3. Cut Carefully: Using your utility knife, score a shallow outline first. Then go over it again for a deeper cut. This keeps the plastic from cracking and gives you cleaner edges.
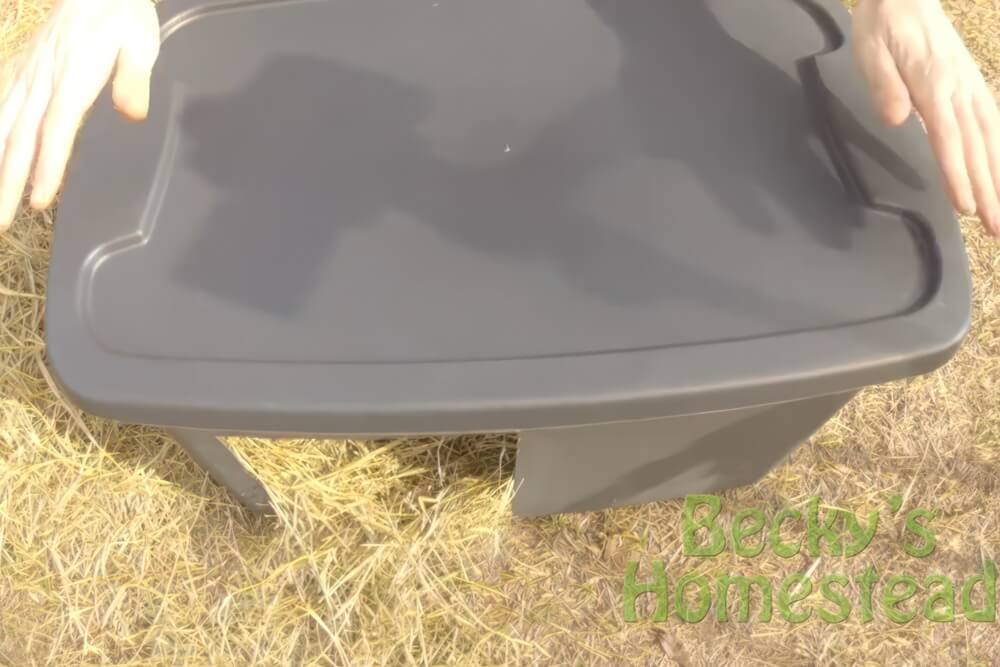
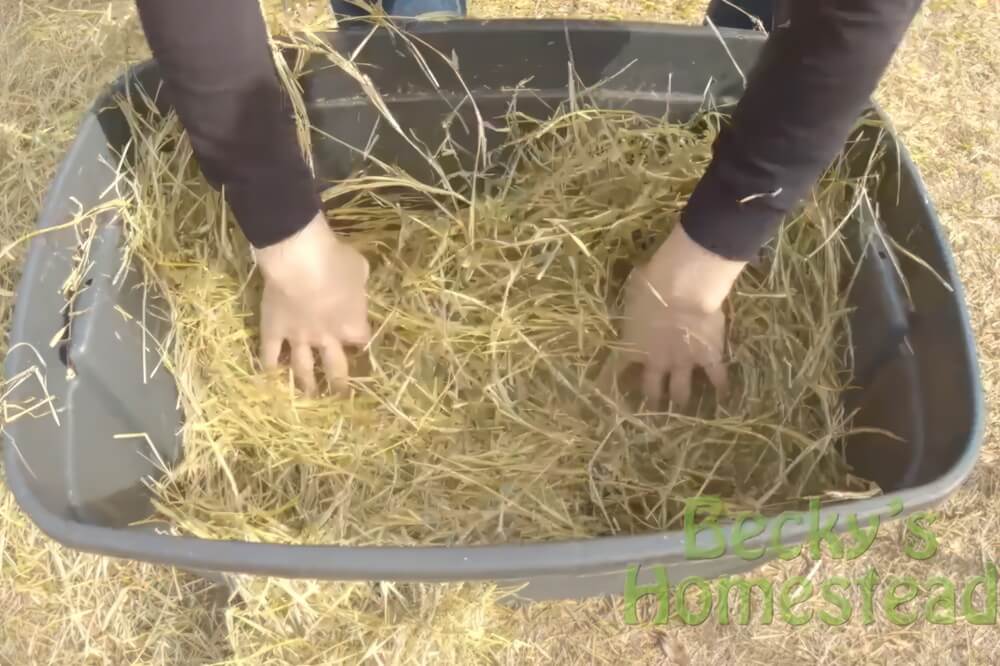
4. Add Bedding: Fill the tote with hay or straw—but not so much that it blocks the door. Keep it cozy and accessible.

5. Put the Lid On: When it’s time to collect eggs, just lift the lid. No need to disturb your birds or crouch down too far.
Want to Build a Triple Box System?
If you’ve got more hens (around 20 or so), you can also make a three-box unit:
1. Repeat the cutting process on three totes.
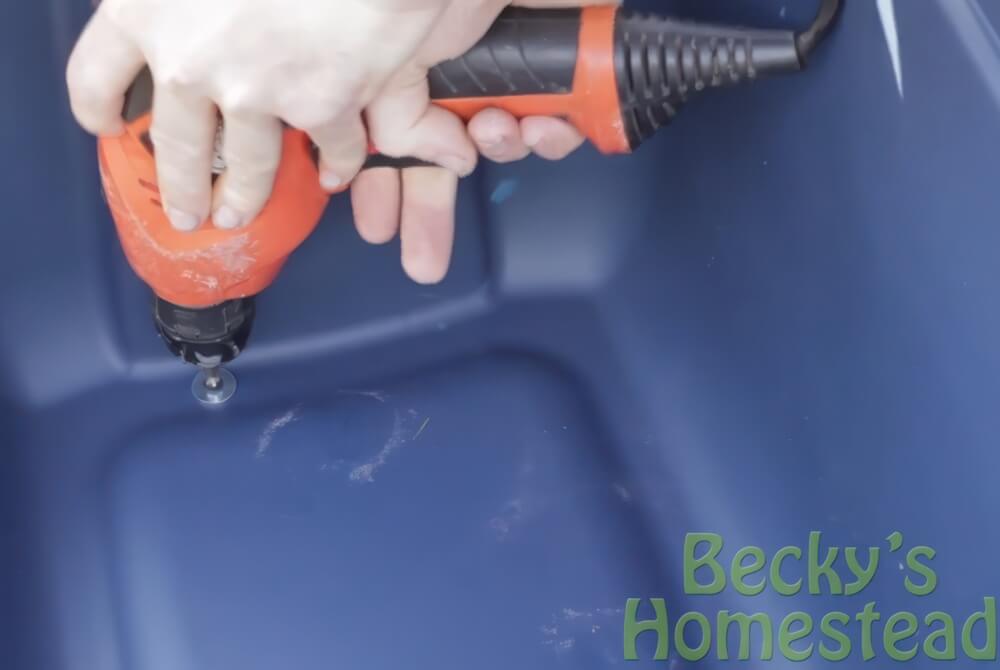
2. Line them up on a 2×8 board, evenly spaced.
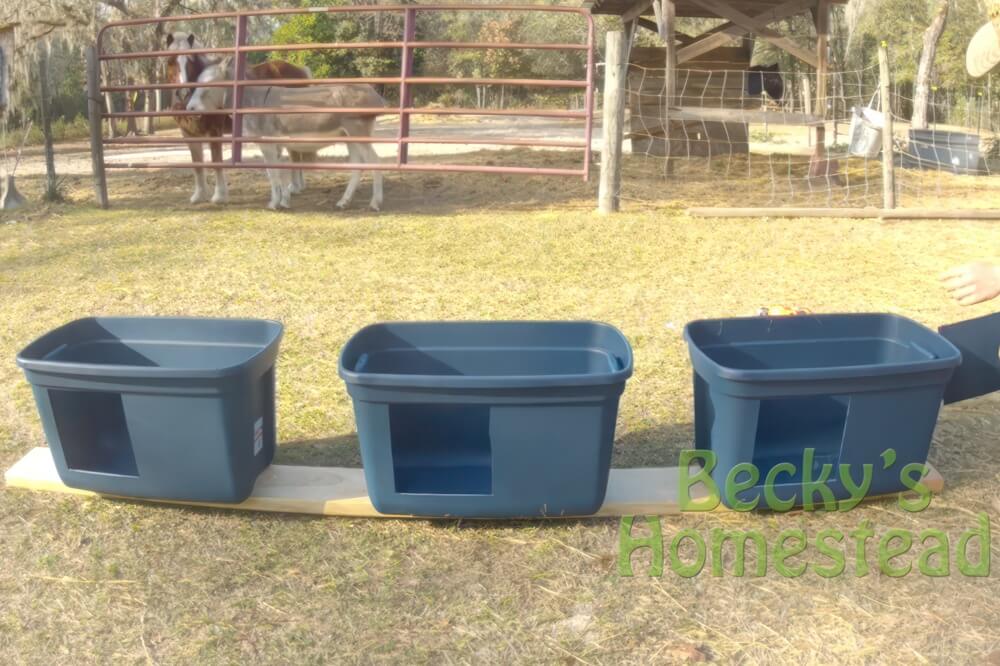
3. Use four screws and four washers per tote to secure them down—one in each corner.
4. Add bedding and you’re ready to go!
Why It Works:
- Affordable: No need to buy pricey nesting boxes.
- Simple: Minimal tools and easy-to-follow steps.
- Portable: The totes can be moved or rearranged as needed.
Like this post? Don't Forget to Pin It On Pinterest!
You May Also Like: